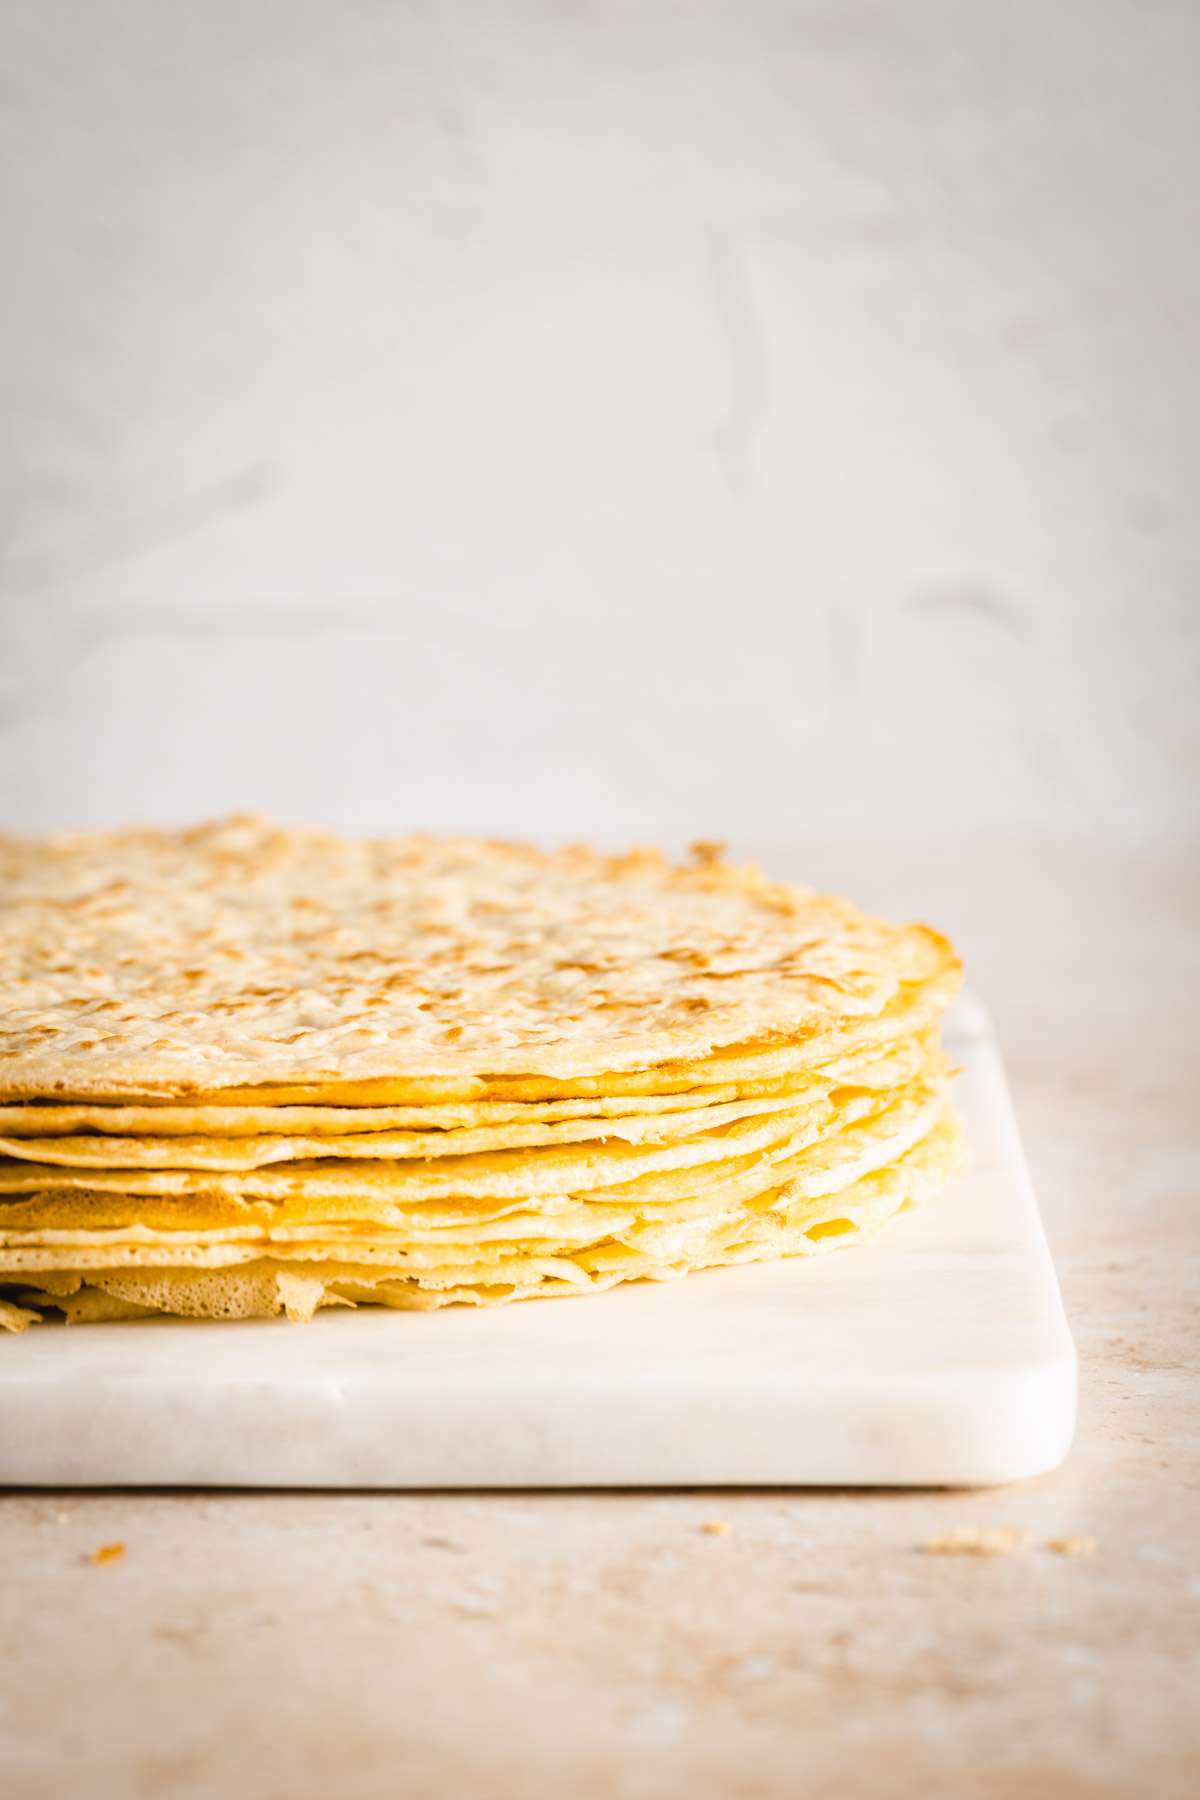
Nalesniki – Polish Crepes recipe
So, I know you have seen them around, and you probably had one or two, but Polish Crepes (Nalesniki) are so good that I had to make a post about them as well 🙂

Nalesniki, sure, have been my childhood favorite. My mom would often make these Polish crepes on Friday. My favorite way of eating them was and still is with a light sprinkle of sugar and a side of chicken noodle soup. Yes, just like that, nothing fancy, but yet this combination hits all the spots.
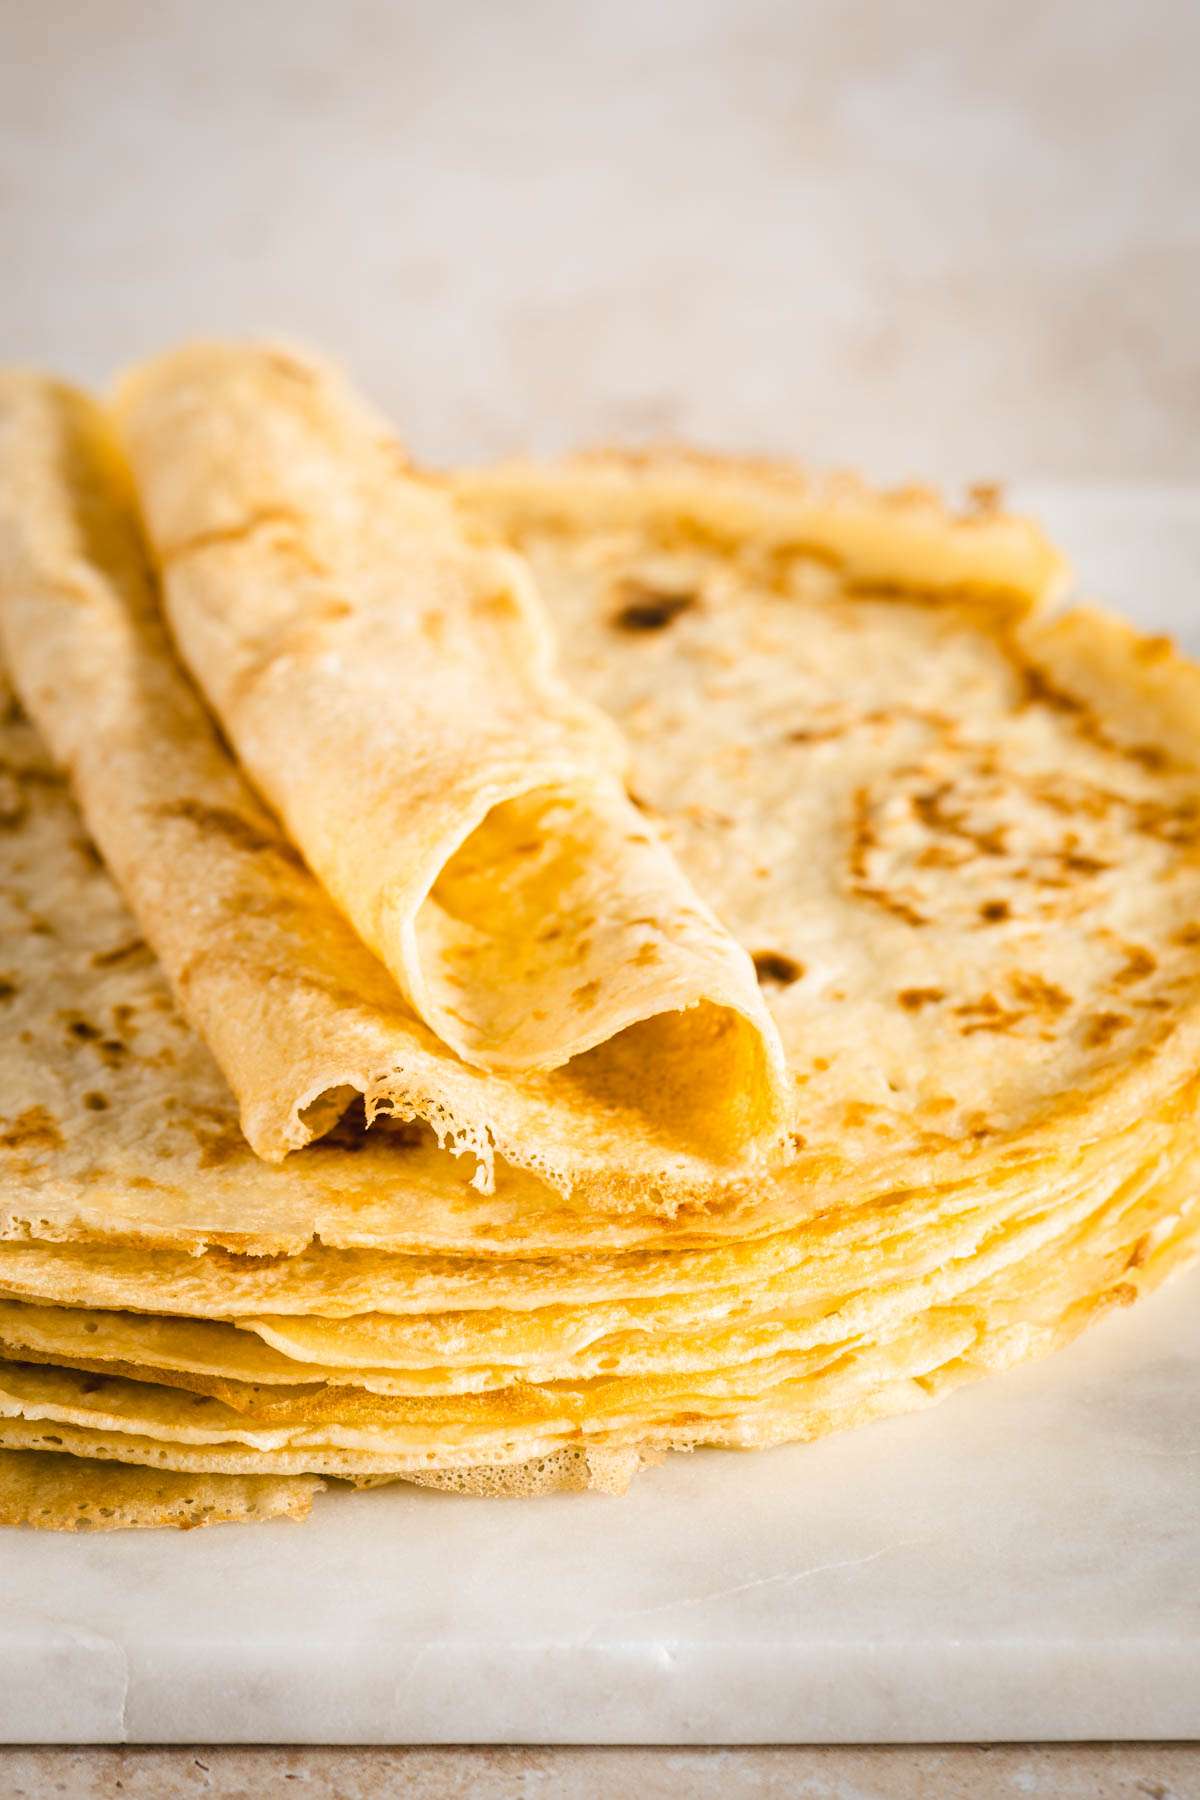
Why you will love Nalesniki (Polish Crepes)
Versatility – enjoy them as sweet or savory crepes filled with a variety of ingredients. You can make nalesniki for breakfast, dinner, or dessert.
Comfort food – there is something very comforting about a well-made crepe. The combination of soft, slightly crispy edges with a warm, flavorful cheese filling from different kinds of cheese (cream cheese, farmer cheese, cottage cheese – there are so many options!)
Simple ingredients – flour, milk, eggs, and a pinch of salt. Simple and easy to whip up without a trip to the grocery store.
Customizable – whether you’re gluten-free, vegetarian, or a die-hard carnivore, there’s a version of nalesniki for you.
Light yet satisfying – despite their light and delicate texture, nalesniki can be surprisingly filling.
Ingredients, Variations and Substitutions
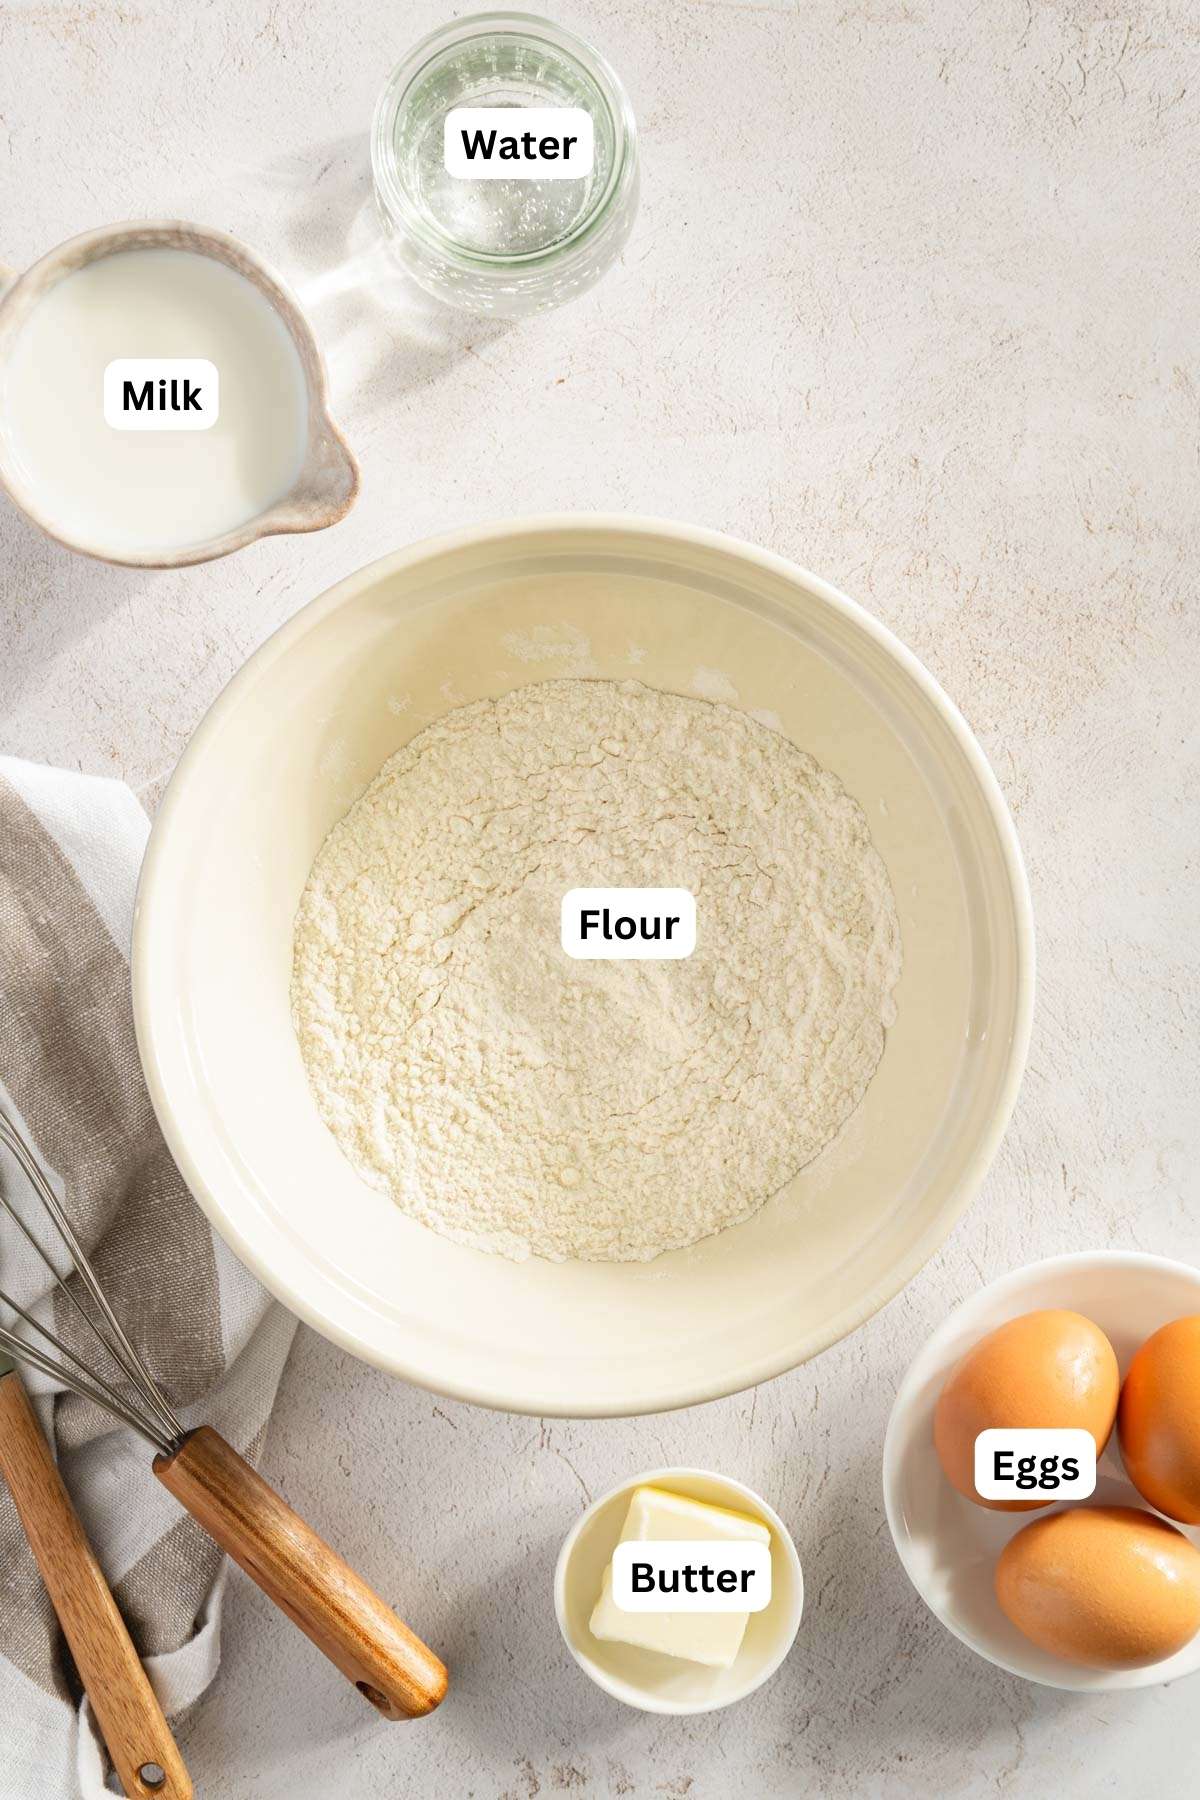
All-purpose flour – the base of your batter, providing structure. Make sure to sift the flour to avoid lumps. You can use gluten-free flour blends for a gluten-free version.
Milk – it gives the batter the right consistency and adds richness. Whole milk is ideal for a richer batter, but you can use any type. Non-dairy milk (almond, soy, oat) can be used for a dairy-free version.
Eggs/Egg Yolks – provide structure and help bind the batter. Use eggs at room temperature for better mixing. For a vegan option, use flax eggs (1 tbsp flaxseed meal + 2.5 tbsp water per egg).
Salt – just a pinch will enhance the flavor of the crepes. You can also omit it
Sugar (optional) – to add a hint of sweetness. Use honey, maple syrup, or a sugar substitute for different flavors.
Vanilla extract (optional) – adds a pleasant aroma and flavor, especially for sweet nalesniki. Almond extract or a bit of lemon zest can be used for a different twist.
Melted Butter or Vegetable Cooking Oil for cooking – Using melted butter prevents sticking and adds flavor during cooking. Butter gives a richer taste, while vegetable oil has a higher smoke point. Use coconut oil, ghee, or a non-stick spray for various dietary needs.
Equipment you will need
- Mixing Bowls
- Whisk
- Measuring Cups and Spoons
- Non-stick skillet or Crepe Pan:
- Spatula
- Ladle or Measuring Cup:

Top Tips for success when making Nalesniki
Rest the batter – allowing the batter to rest for 15-30 minutes helps the flour fully hydrate and any air bubbles to settle, resulting in smoother, more tender crepes. Cover the batter and let it rest at room temperature. If resting for longer, you can refrigerate it.
Consistent batter consistency – a batter that’s too thick will make thick, heavy crepes, while a batter that’s too thin will be hard to handle. The batter should be the consistency of heavy cream. If it’s too thick, add a little more milk. If too thin, add a bit more flour.
Proper pan temperature – a frying pan that’s too hot can burn the crepes, while a pan that’s too cool will make them rubbery. Heat the pan over medium heat and test with a small amount of batter. It should sizzle gently and set quickly without browning too fast.
Even spreading – spreading the batter evenly ensures thin, uniform crepes. Pour the batter into the center of the pan and quickly tilt the pan in a circular motion to spread it out evenly.
Minimal greasing – too much butter or oil can make the crepes greasy.
Quick flipping – overcooking can make the crepes dry and brittle. Flip the crepes when the edges start to lift and the surface looks set but not dry. The second side will cook faster than the first.
Keep warm and moist – crepes can cool and dry out quickly. Stack cooked crepes on a plate and cover with a clean kitchen towel to keep them warm and moist.
Be patient and practice – the first crepe often doesn’t turn out perfect due to the pan’s temperature adjustment and possibly the batter consistency. Adjust and try again. You will get it!.
Step-by-step instructions
- In a mixing bowl, sift together 2 cups of all-purpose flour and a pinch of salt. If you’re using sugar (powdered sugar, vanilla sugar, or granulated sugar), add it to the dry ingredients.
- To another bowl, add 3 large eggs, 2 cups of milk and 1 tsp of vanilla extract (if using). Mix well until combined.
- Gradually pour the wet ingredients into the dry ingredients, whisking continuously to avoid lumps. The batter should be smooth and slightly thinner than pancake batter.
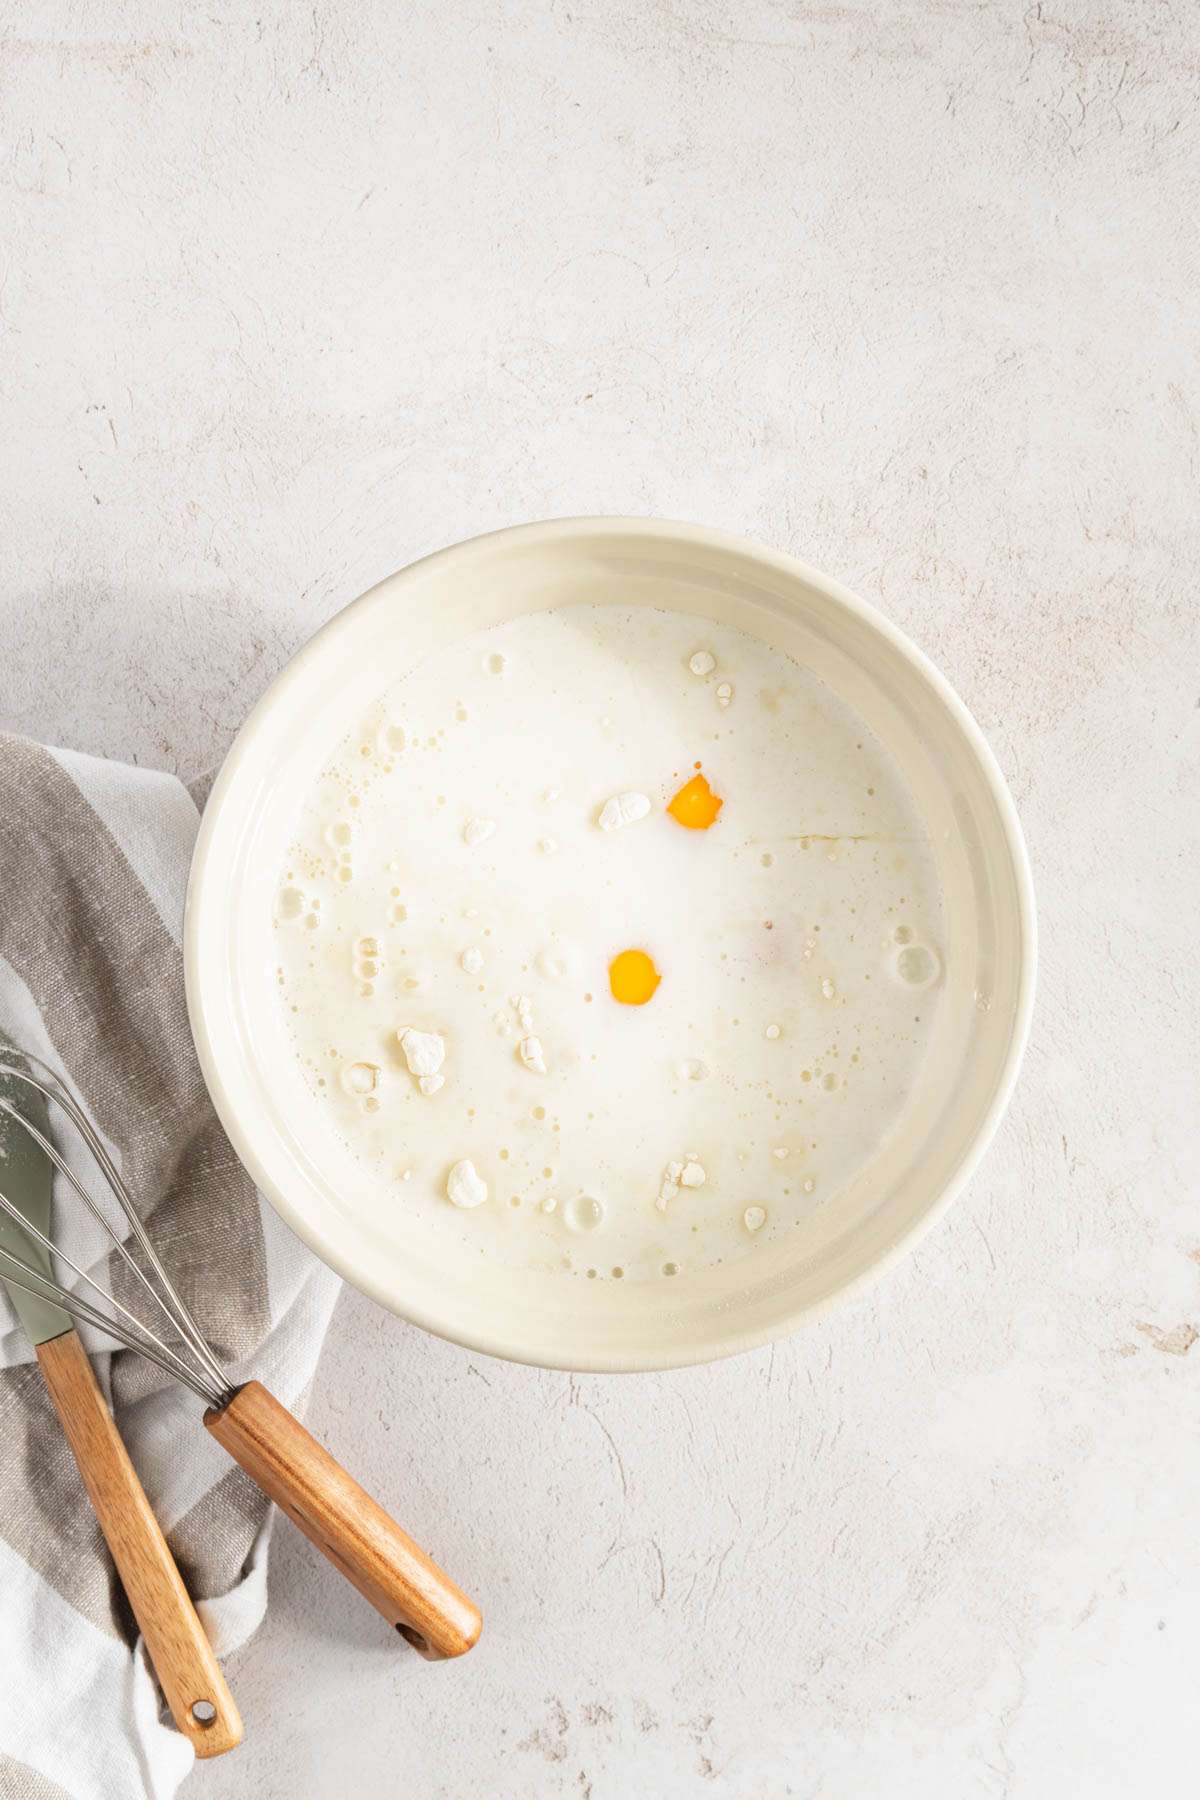
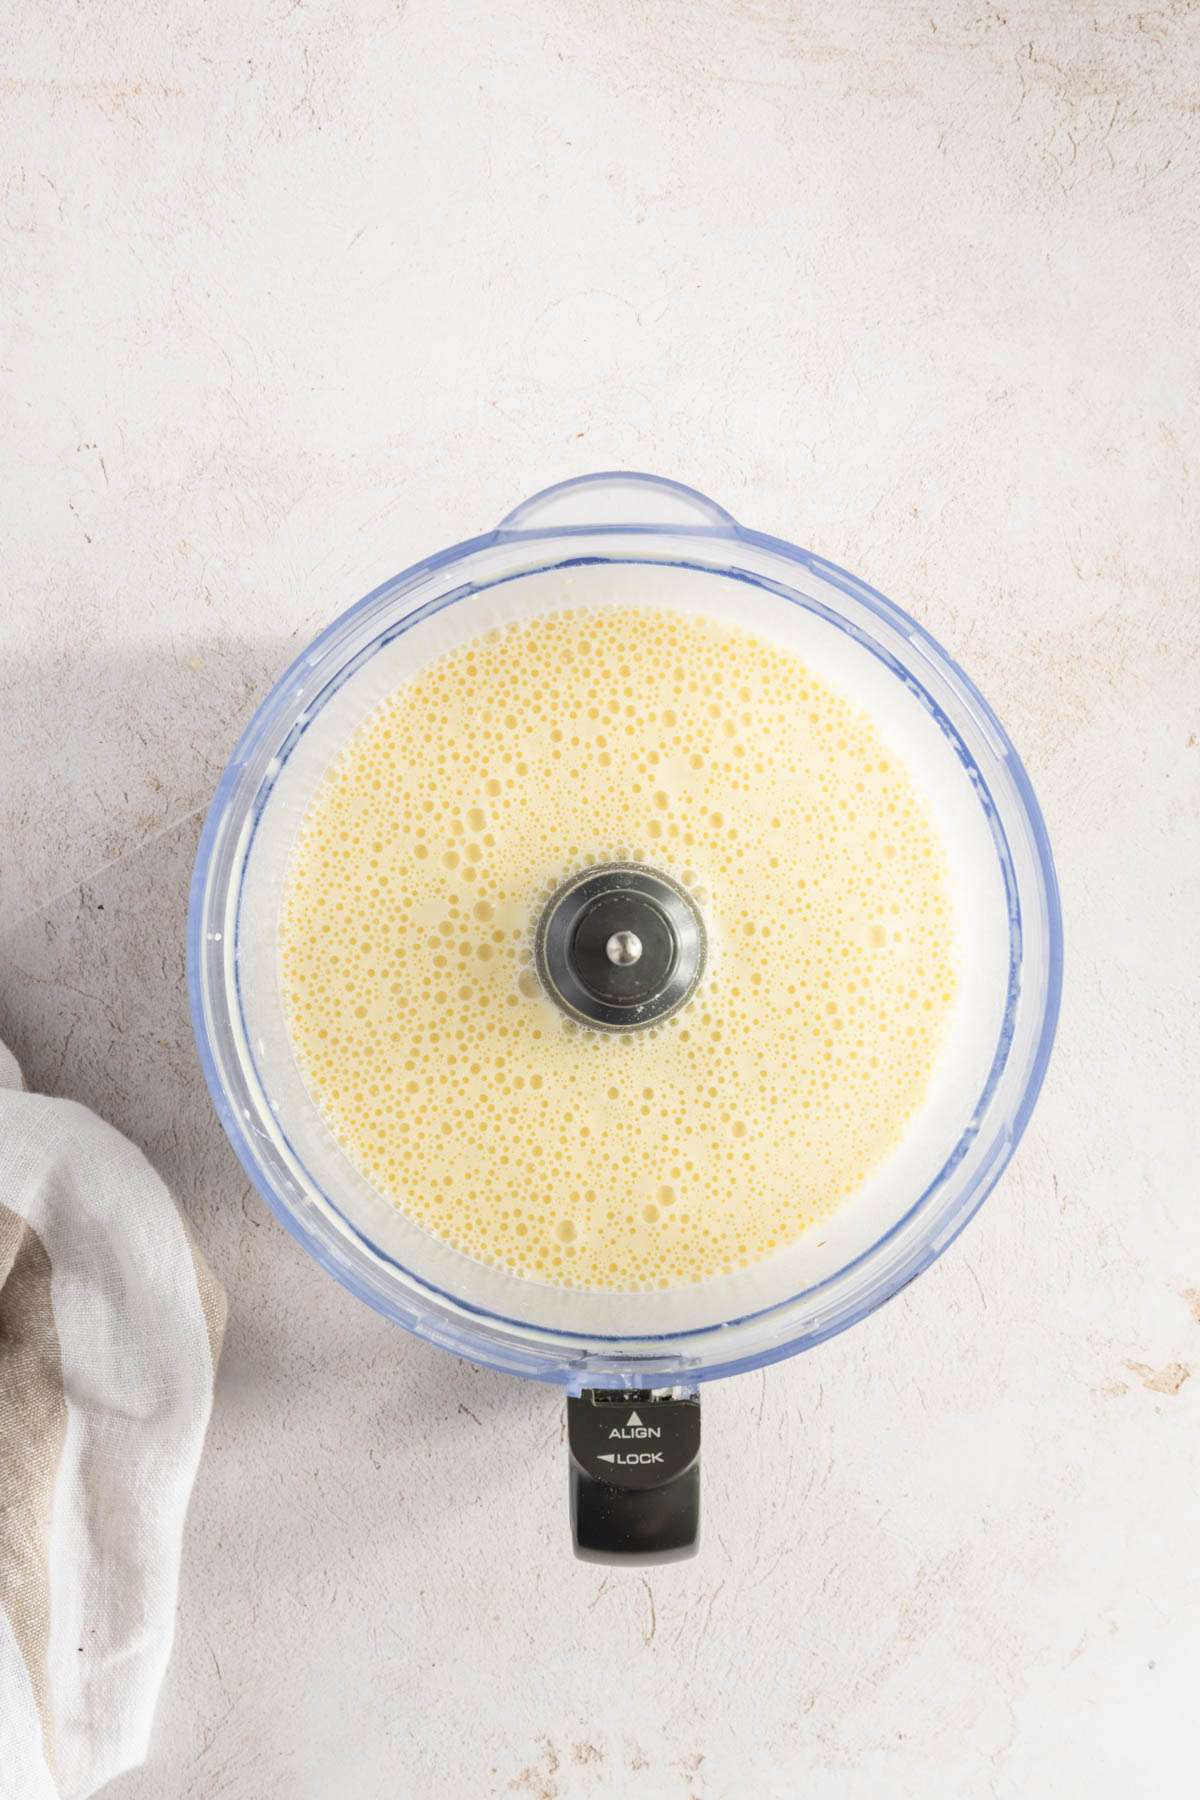
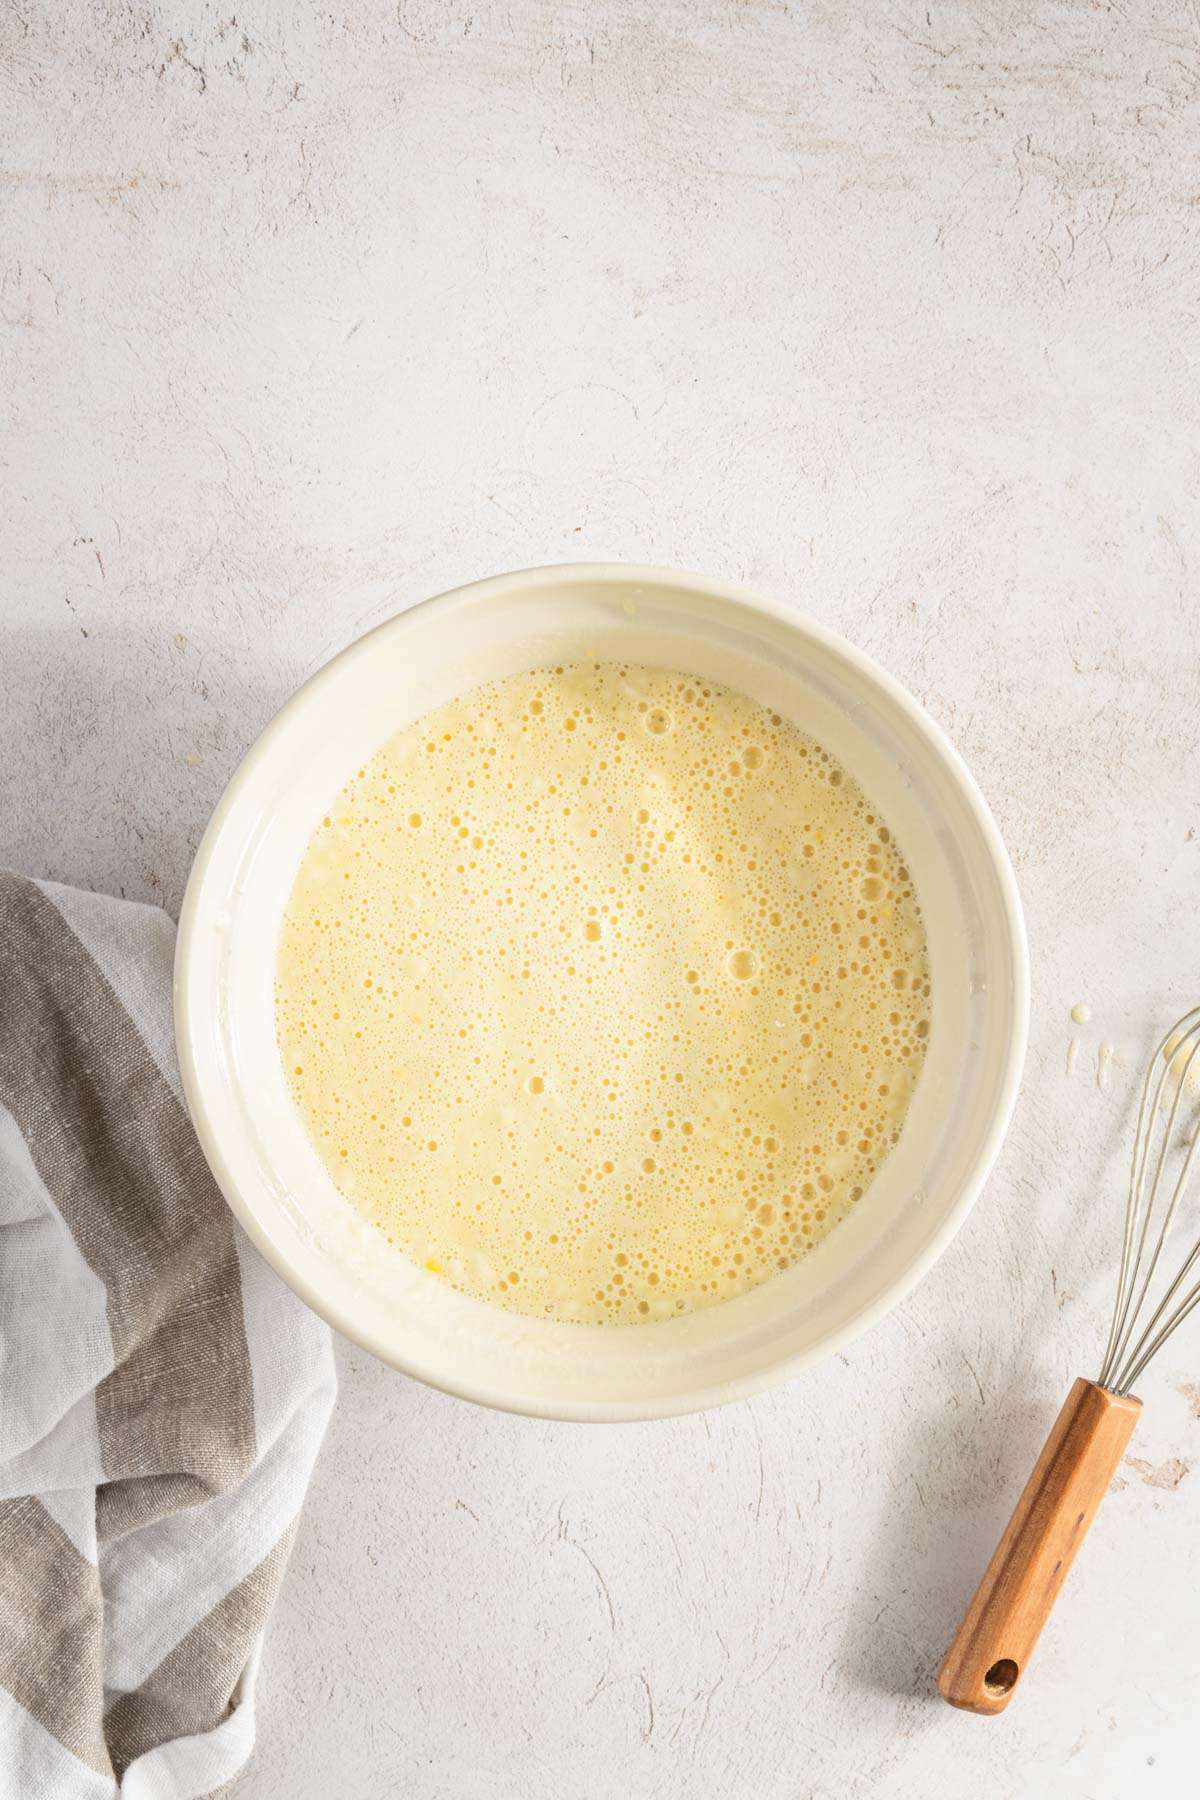
- Let the crepe batter rest for 15-30 minutes at room temperature to allow the flour to fully hydrate.
- Heat a nonstick pan or skillet over medium heat. Add a small amount of butter or oil and swirl to coat the pan evenly.
- Using a ladle or measuring cup, pour about 1/4 cup of batter into the center of the pan.
- Quickly tilt in a circular motion to spread the batter evenly across the bottom of the pan.
- Cook for about 1-2 minutes, until the edges start to lift and the bottom is lightly golden brown.
- Carefully flip the crepe using a spatula and cook for another 30 seconds to 1 minute on the other side, until lightly browned.
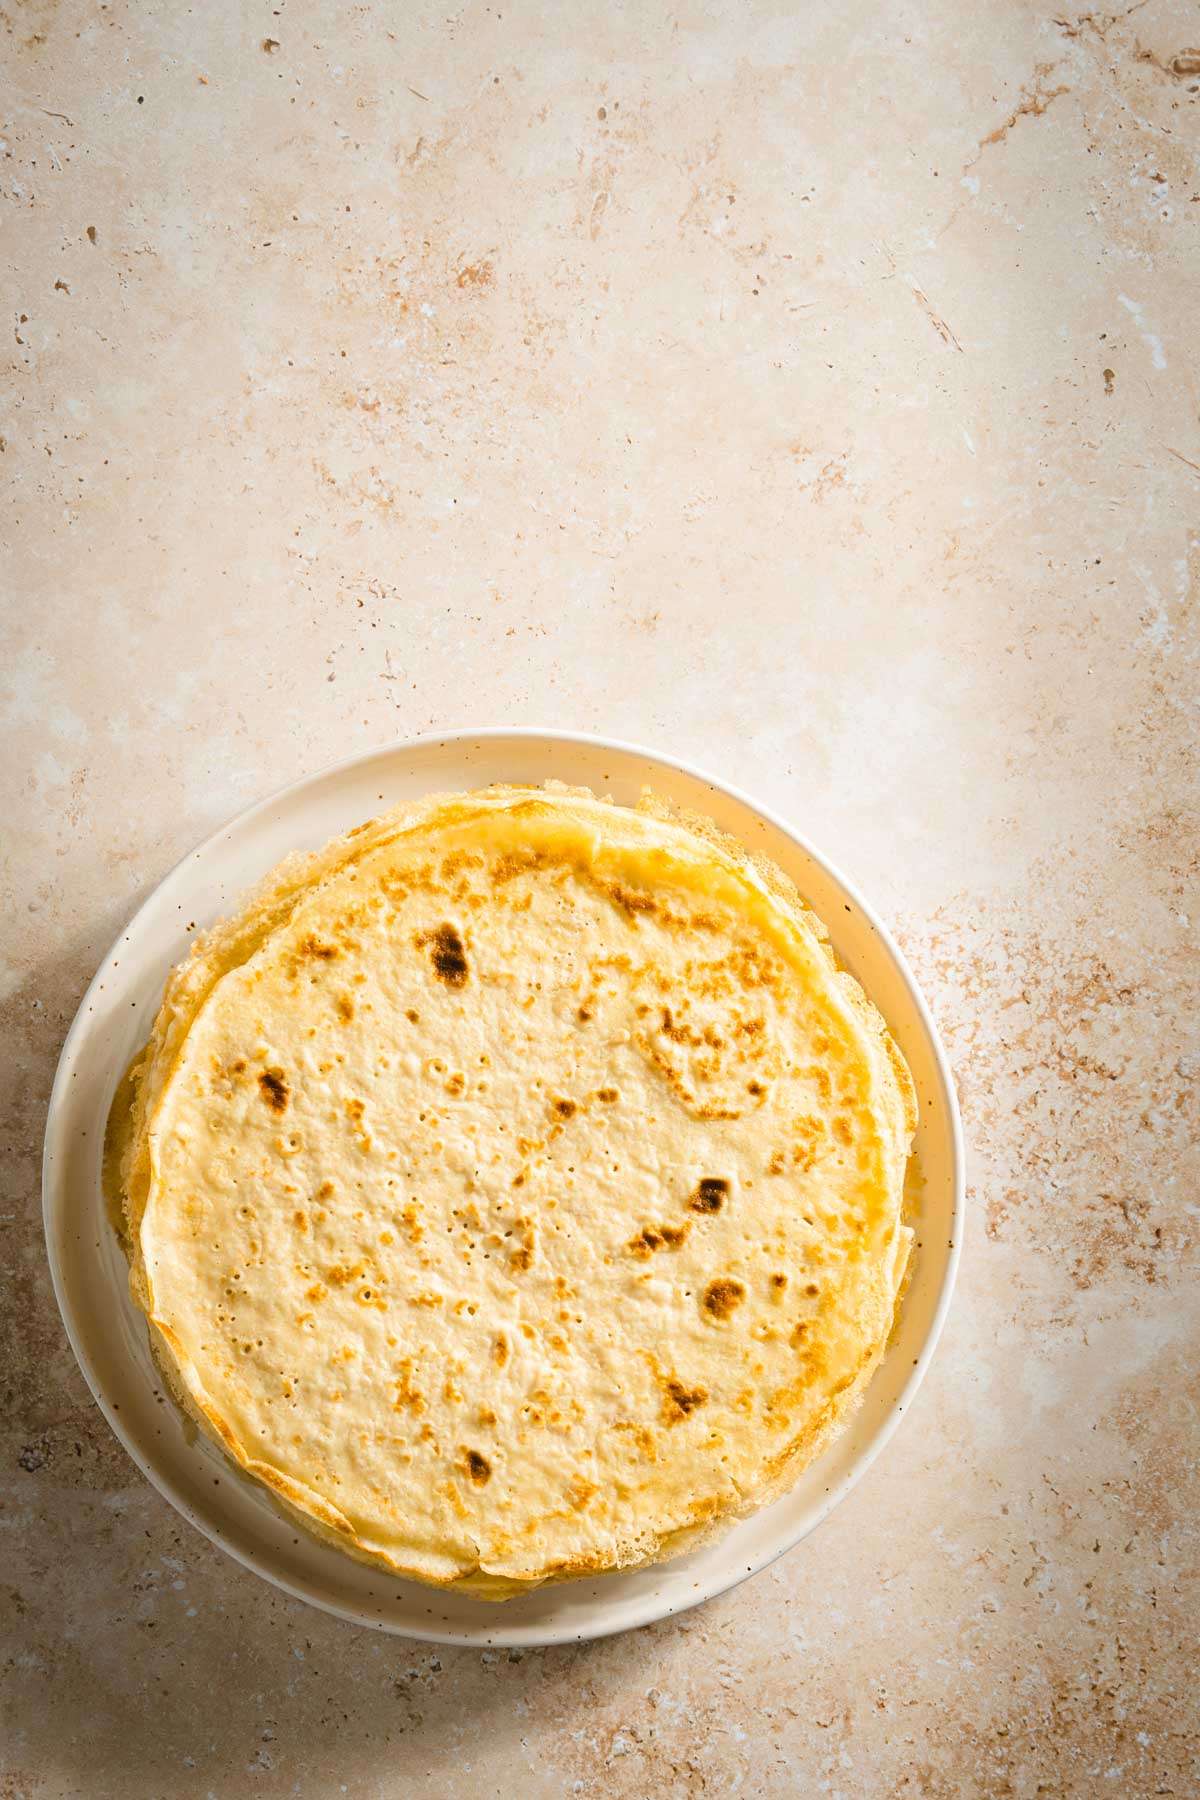
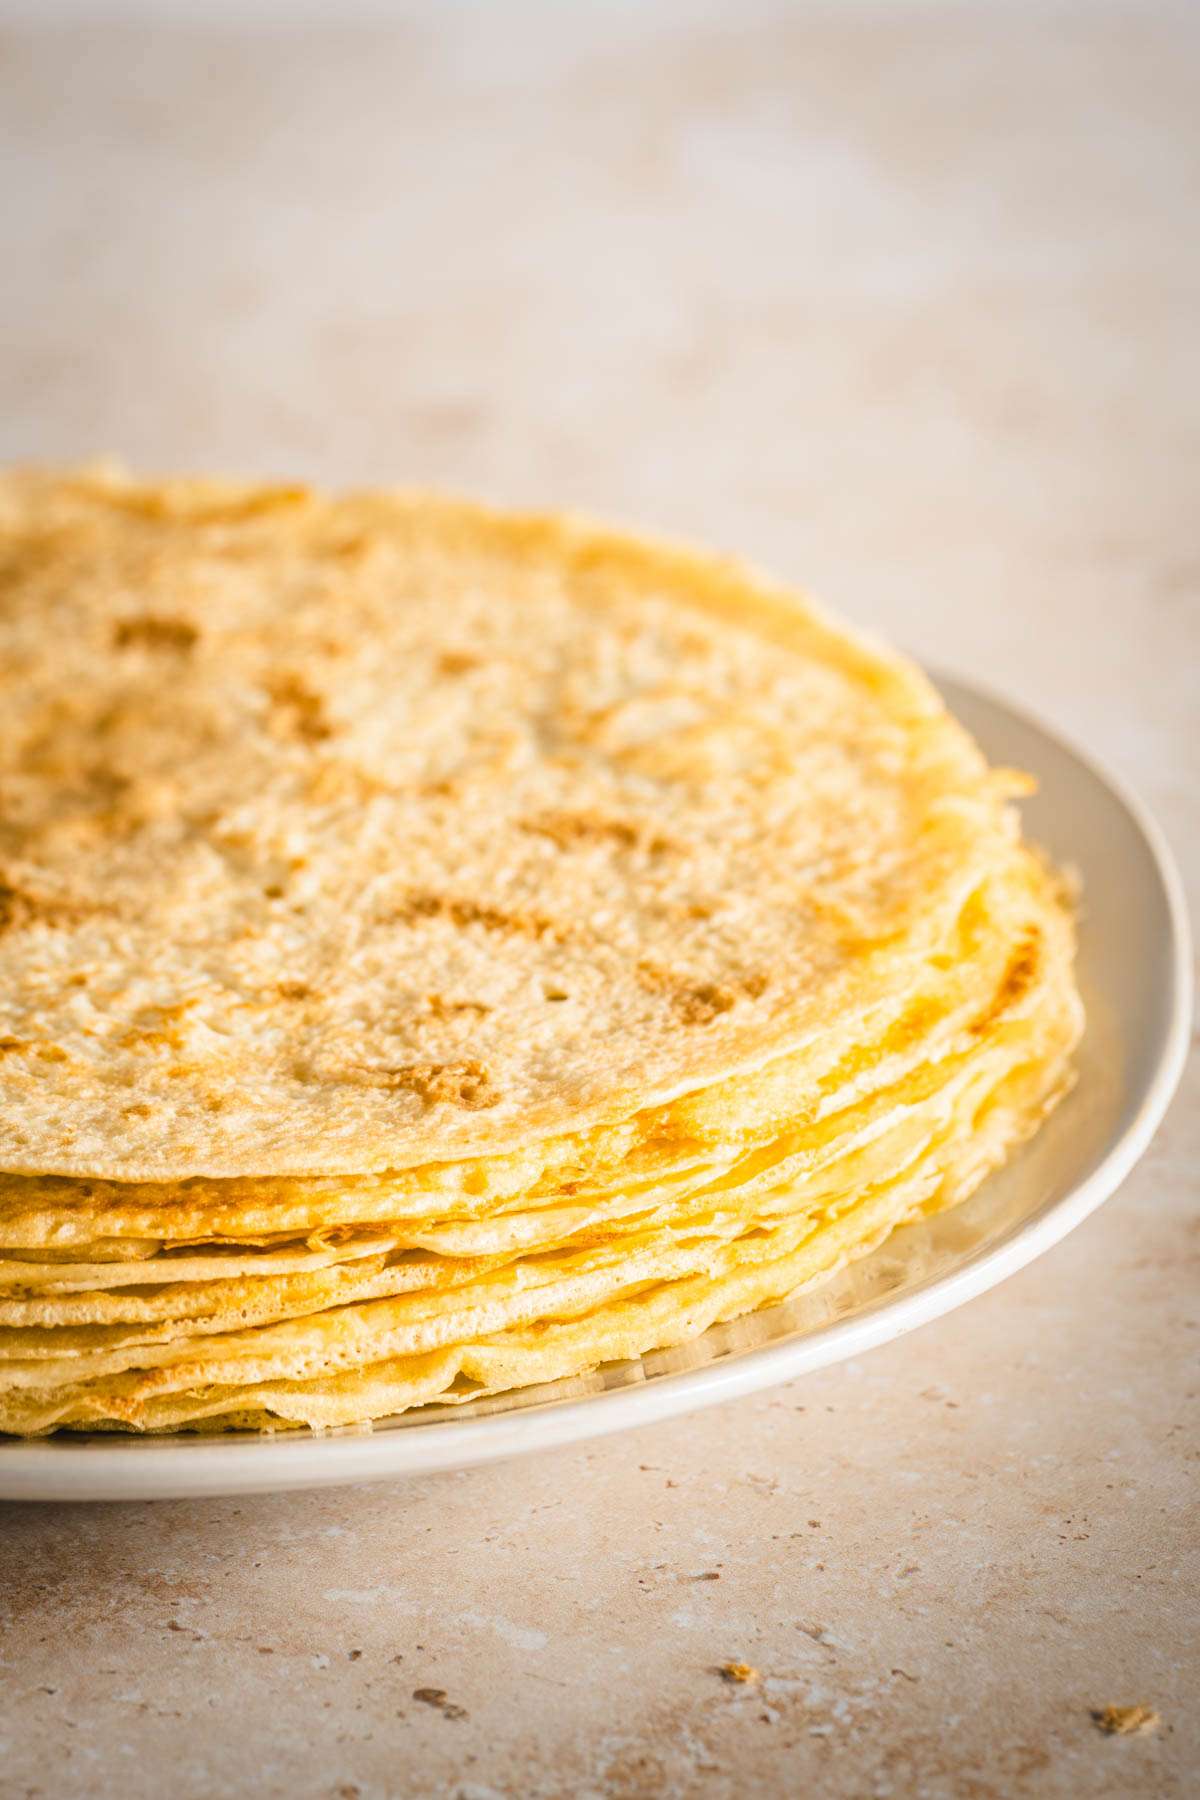
- Remove the cooked crepe from the pan and place it on a plate. Cover with a clean kitchen towel to keep the golden brown crepes warm.
- Repeat with the remaining batter, adding more butter or oil to the pan as needed. Stack the cooked crepes on top of each other.
How to best enjoy Nalesniki
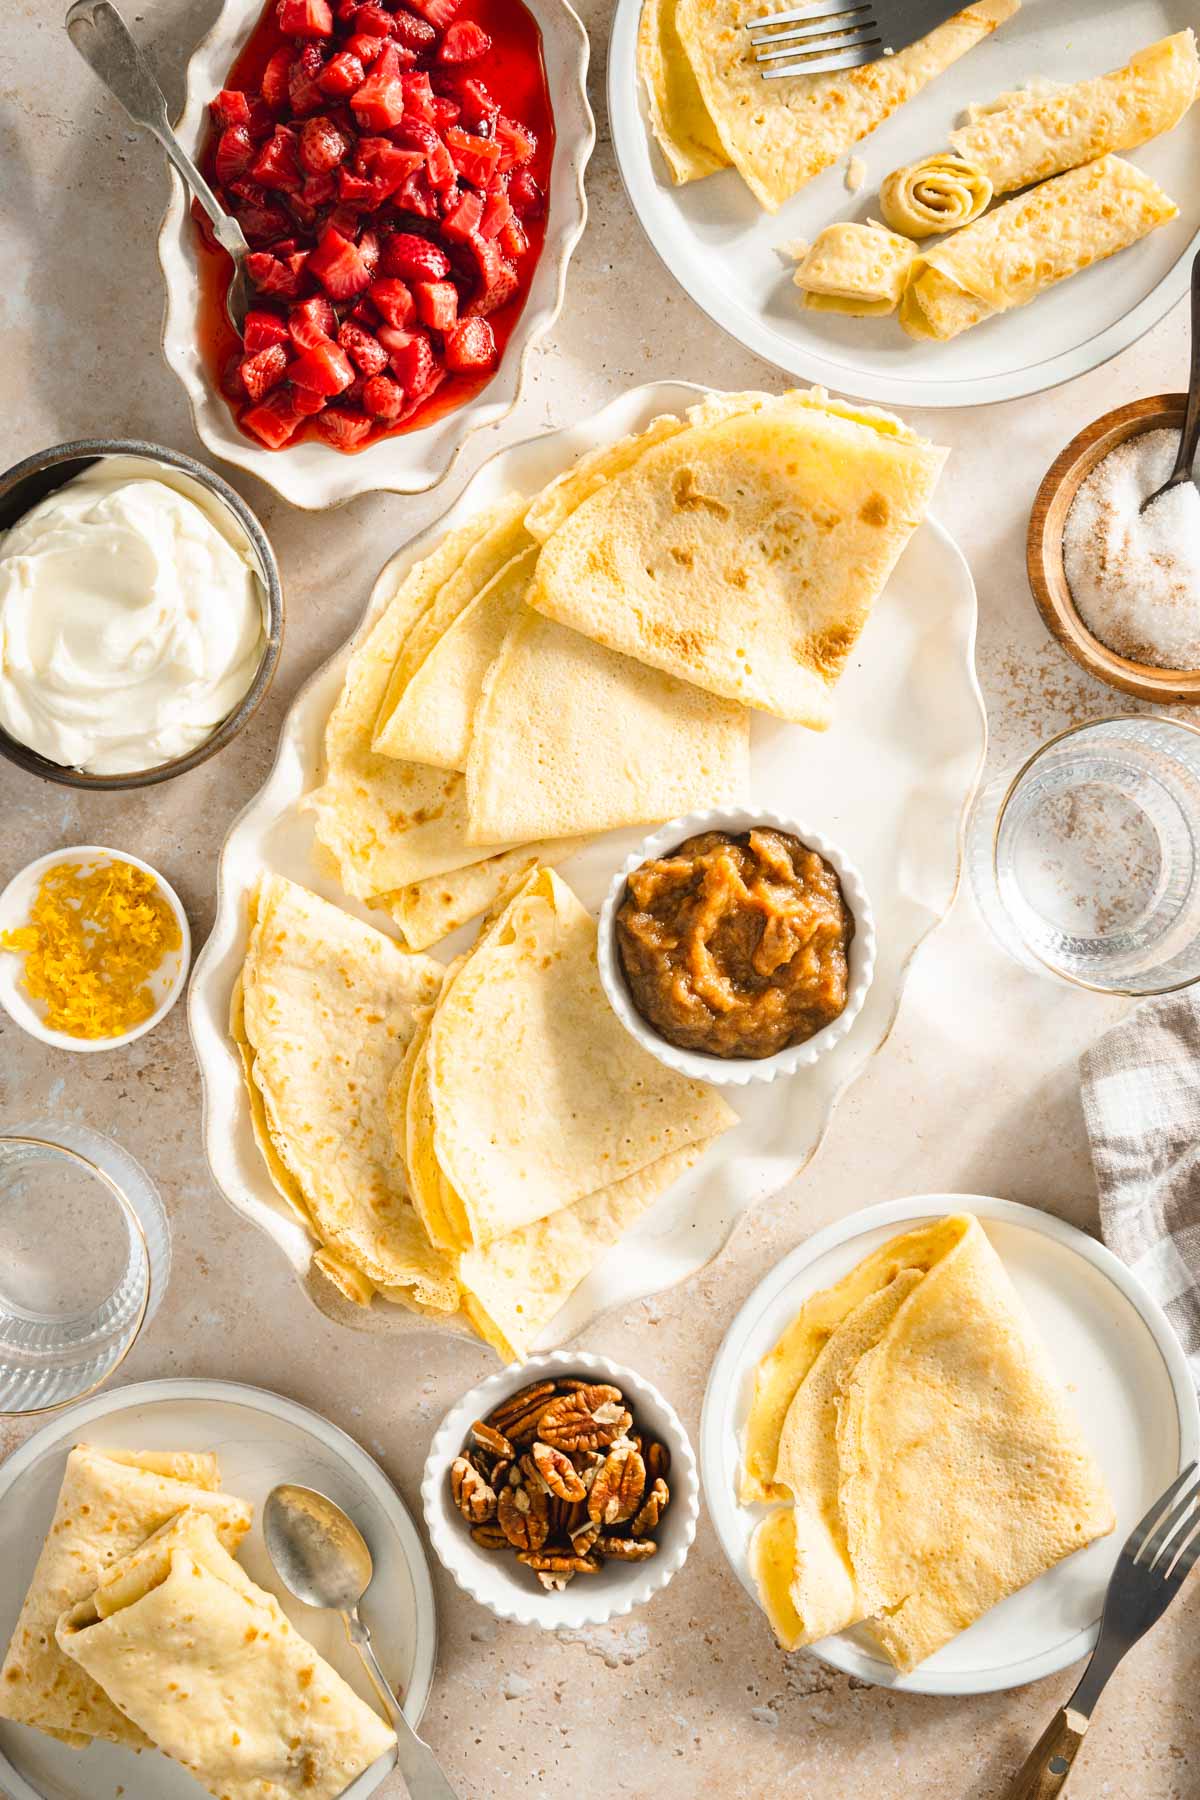
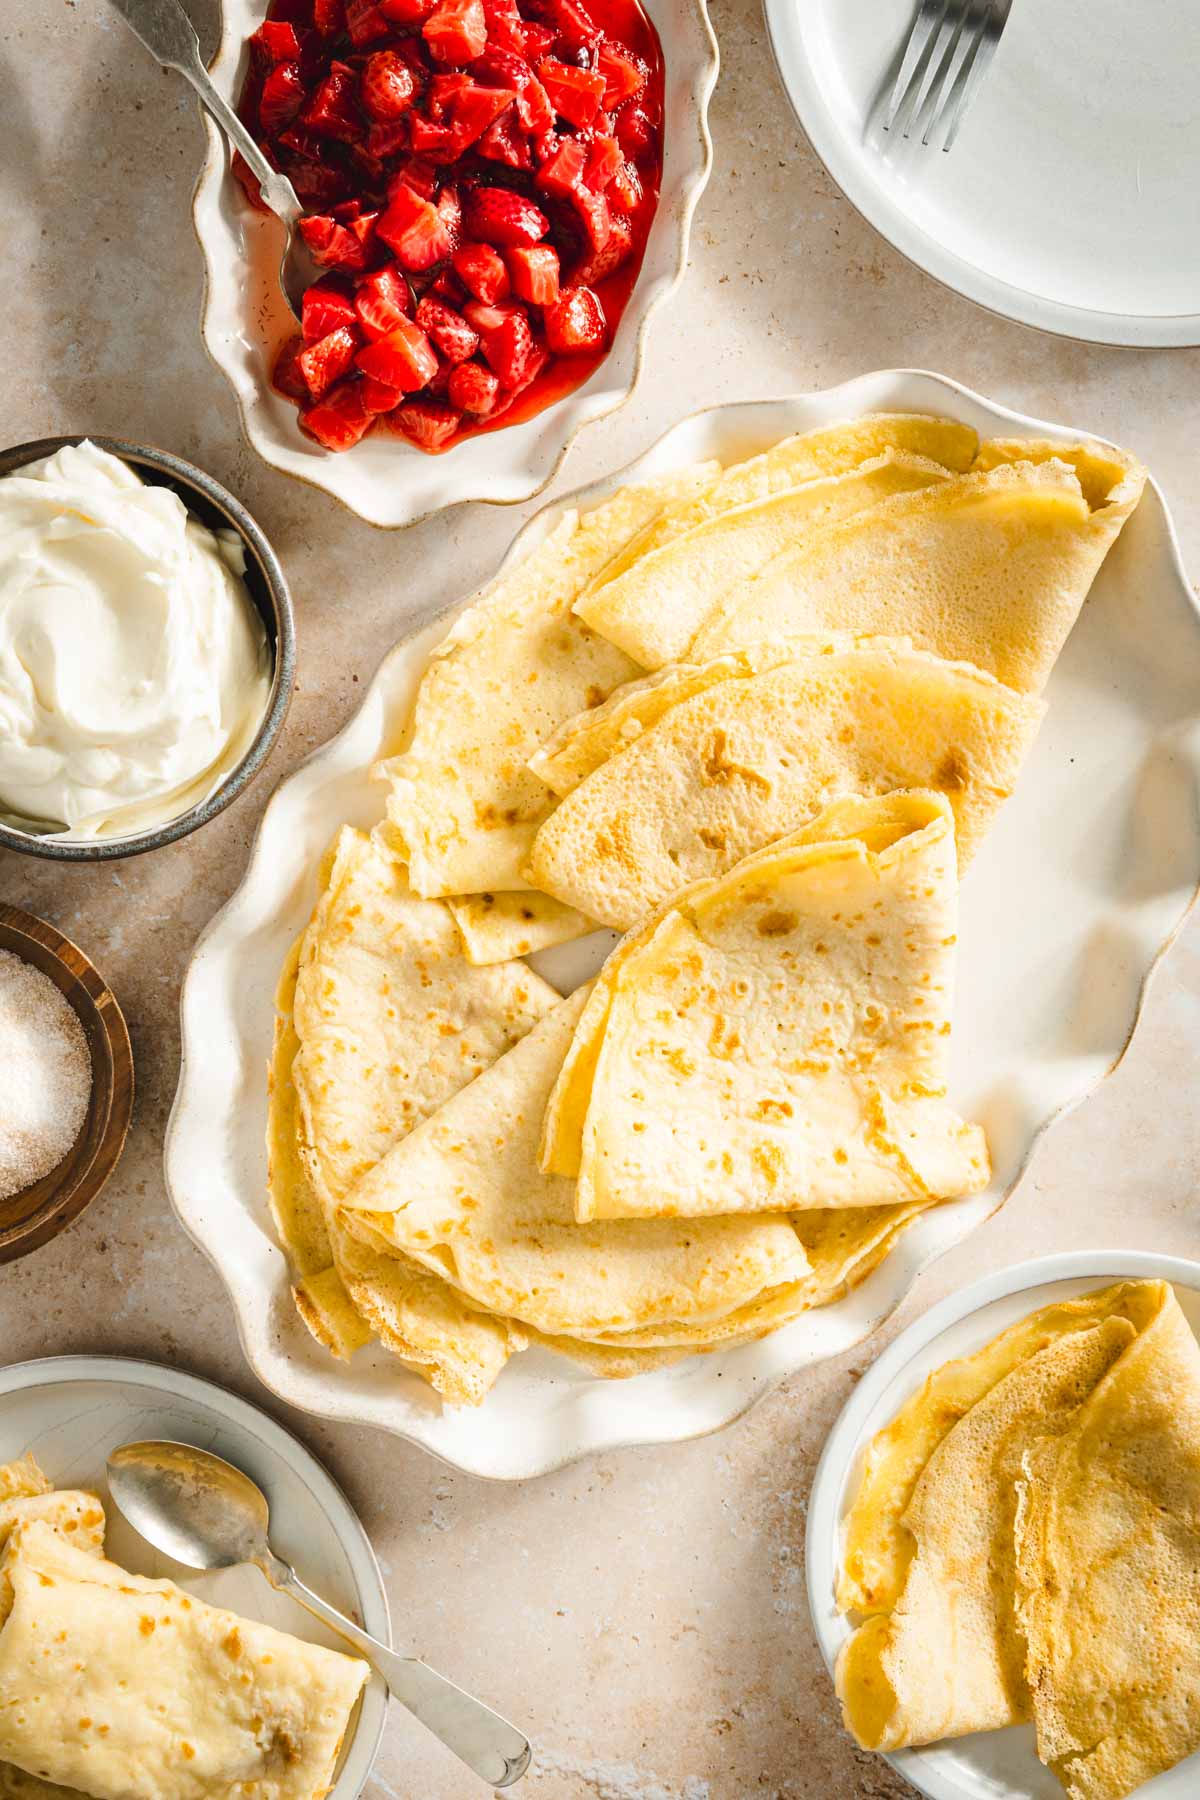
Sweet cheese filling (cream or cottage cheese) with fresh fruit, yogurt, sour cream, and granola or roasted nuts topping. Serve them warm or at room temperature.
Savory cheese (like farmer’s cheese) and veggie filling with veggies.
Fruit jam or fruit butter (Rhubarb or Apple), or melted chocolate sauce.
Ham and Cheese – served hot and melty. Try a variety of cheeses for a flavorful filling.
Plain for breakfast or brunch with a side of bacon, eggs and syrup.
You may also like:
Storage instructions, reheating
Refrigeration:
- Unfilled Crepes:
- Allow the crepes to cool completely on a wire rack.
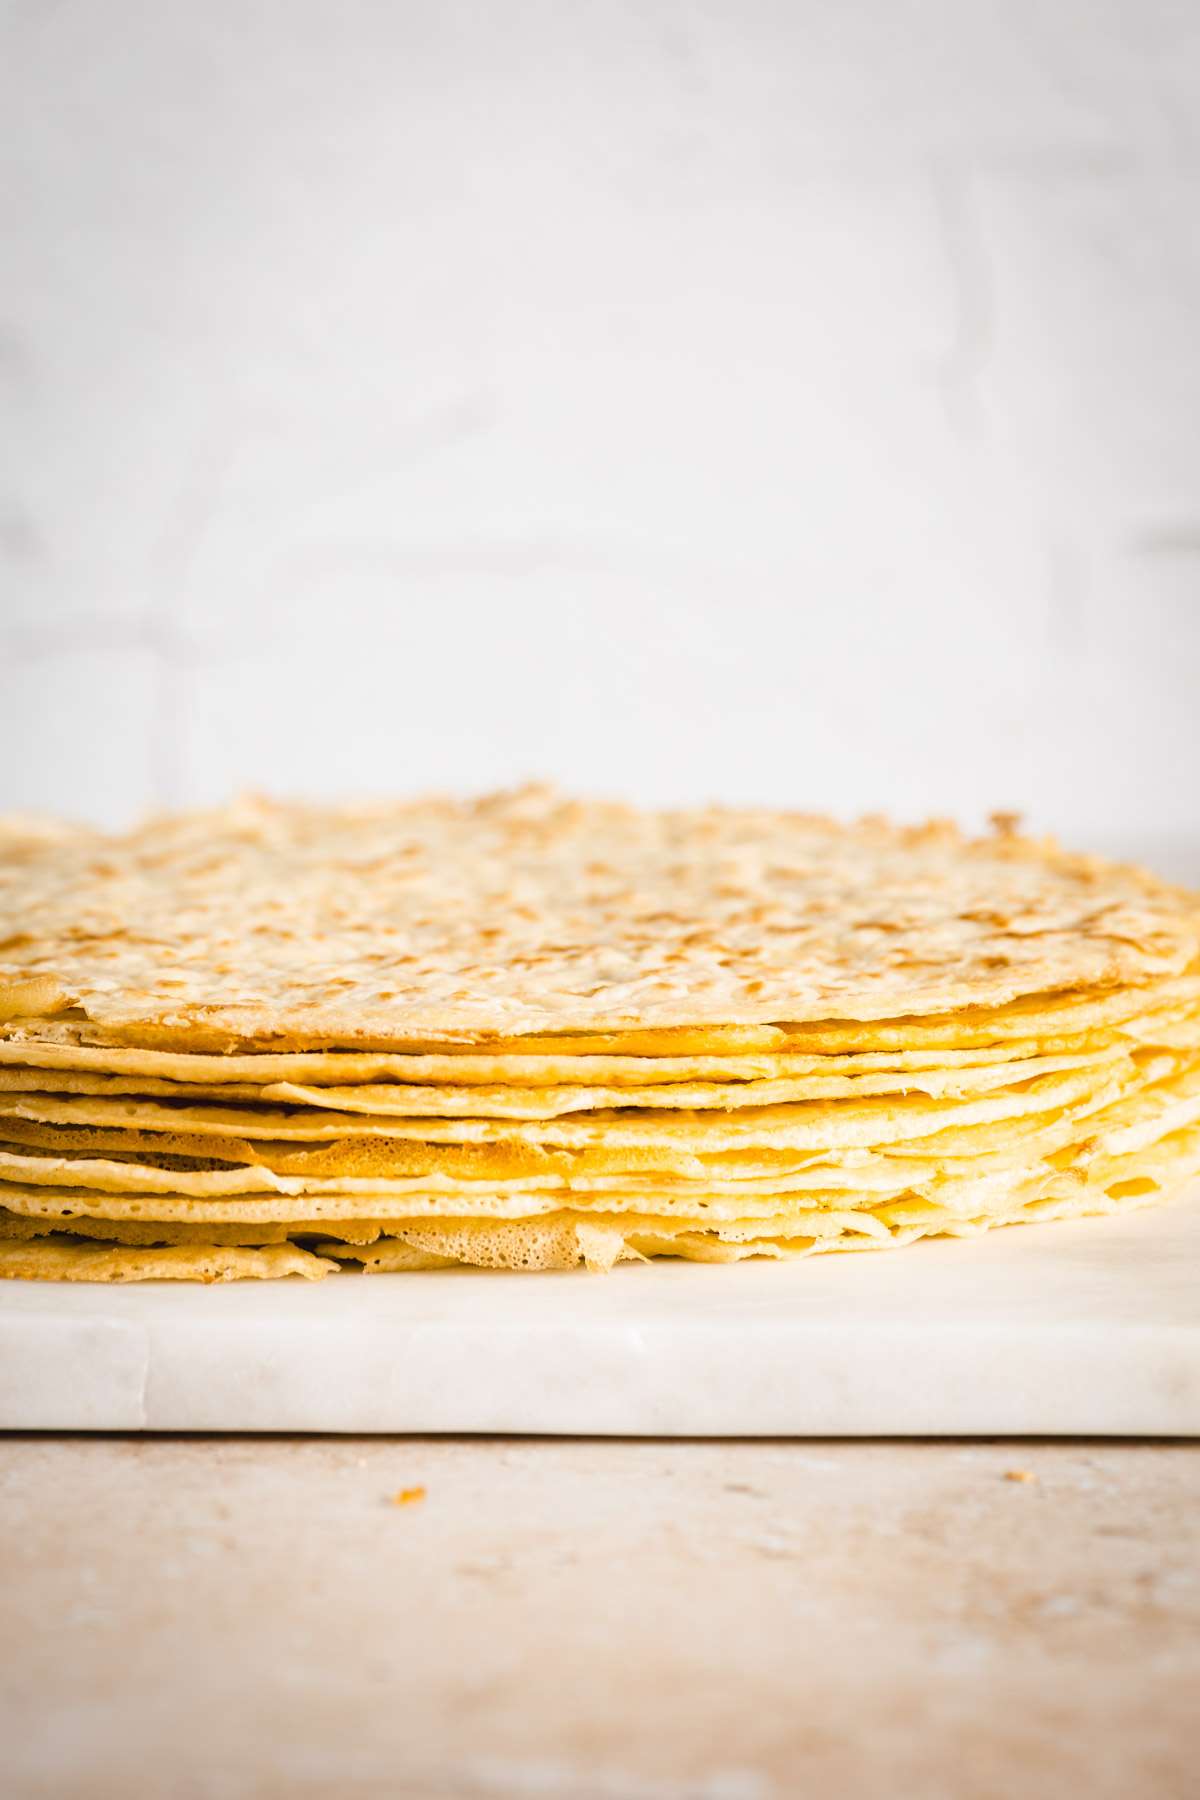
- Place a piece of parchment paper between each crepe to prevent sticking.
- Transfer the stack to an airtight container or a resealable plastic bag.
- Store in the refrigerator for up to 3 days.
- Filled Crepes:
- Let the filled crepes cool to room temperature.
- Wrap each crepe tightly in plastic wrap or aluminum foil.
- Place the wrapped crepes in an airtight container.
- Store in the refrigerator for up to 2-3 days.
Freezing:
- Unfilled Crepes:
- Allow the crepes to cool completely.
- Place parchment paper between each crepe.
- Wrap the entire stack tightly in plastic wrap, then in aluminum foil, or place in a resealable freezer bag.
- Store in the freezer for up to 2 months.
- Filled Crepes:
- Let the filled crepes cool.
- Wrap each filled crepe tightly in plastic wrap and then in aluminum foil.
- Place the wrapped crepes in a freezer-safe container or bag.
- Store in the freezer for up to 1-2 months.
Reheating Instructions
From Refrigerated:
- Unfilled Crepes:
- Microwave: Place a crepe on a microwave-safe plate, cover with a damp paper towel, and heat for 20-30 seconds until warm.
- Stovetop: Heat a non-stick skillet over medium heat, lightly grease, and warm each crepe for about 30 seconds per side.
- Filled Crepes:
- Oven: Preheat the oven to 350°F (175°C). Place the filled crepes on a baking sheet, cover with foil, and bake for 10-15 minutes until heated through.
- Microwave: Place the filled crepe on a microwave-safe plate, cover with a damp paper towel, and heat for 1-2 minutes until warm.
From Frozen:
- Unfilled Crepes:
- Thaw: Remove from the freezer and thaw in the refrigerator overnight or at room temperature for 1-2 hours.
- Reheat: Follow the instructions for reheating from the refrigerator.
- Filled Crepes:
- Thaw: Remove from the freezer and thaw in the refrigerator overnight.
- Oven: Preheat the oven to 350°F (175°C). Place the thawed filled crepes on a baking sheet, cover with foil, and bake for 15-20 minutes until heated through.
- Microwave: Place the thawed, filled crepe on a microwave-safe plate, cover with a damp paper towel, and heat for 1-3 minutes until warm.
Additional Tips:
- Be cautious not to overheat the crepes, especially in the microwave, as they can become tough and rubbery.
- For filled crepes, ensure fillings like cheese are fully melted and meats are heated through.
- When microwaving, covering with a damp paper towel helps keep the crepes moist.

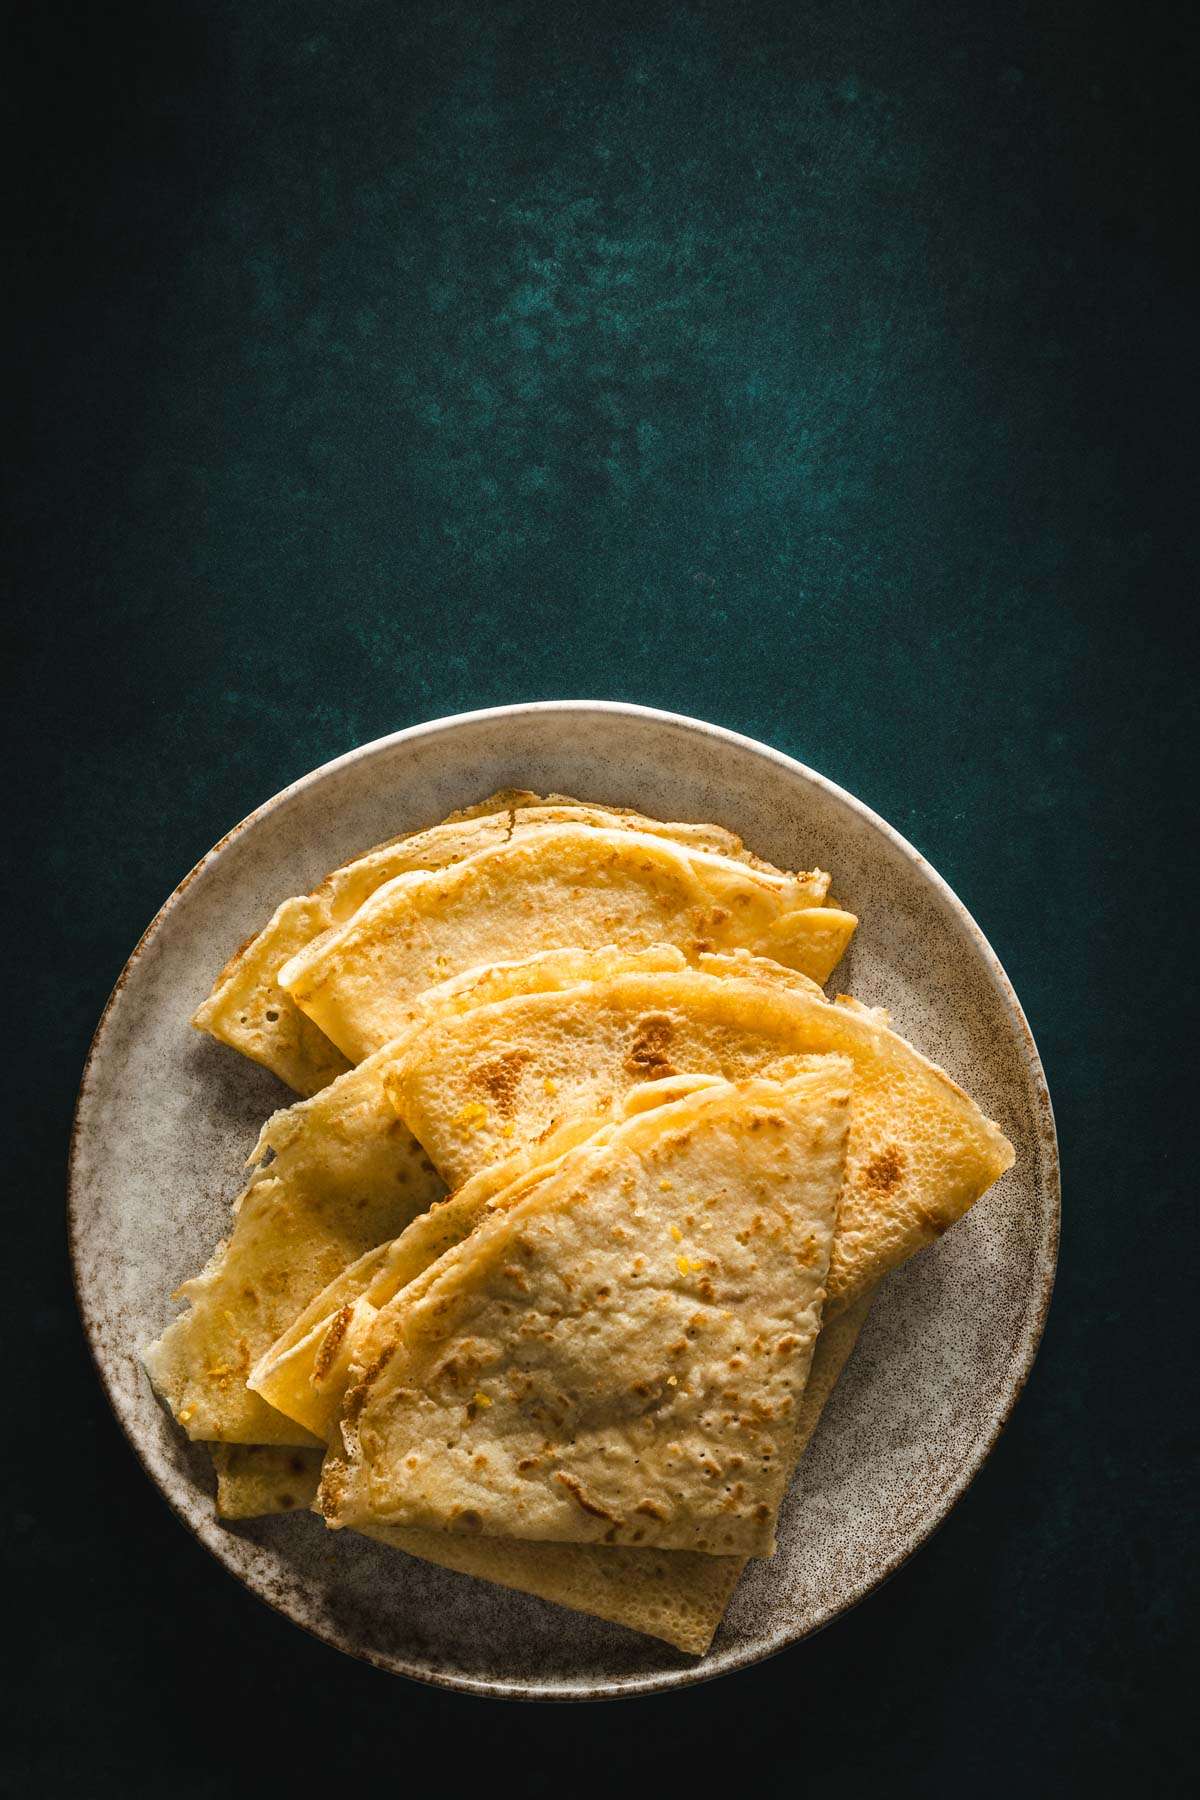

Nalesniki – Polish Crepes
Equipment
- mixing bowls
- whisk or blender
- measuring cups and spoons
- non-stick skillet or crepe pan
- spatula
- ladle or measuring cup
Ingredients
- 3 eggs
- 2 cups milk
- 1.5 cups flour
- pinch salt
- pinch sugar
- 1 tsp vanilla extract
- butter or oil for cooking
Instructions
- In a mixing bowl, sift together 1.5 cup of all-purpose flour and a pinch of salt. If you're using sugar, add it to the dry ingredients.
- To another bowl add 3 large eggs, 2 cups of milk and 1 tsp of vanilla extract (if using). Mix well until combined.
- Gradually pour the wet ingredients into the dry ingredients, whisking continuously to avoid lumps. The batter should be smooth and slightly thinner than pancake batter.
- Let the batter rest for 15-30 minutes at room temperature to allow the flour to fully hydrate.
- Heat a non-stick skillet or crepe pan over medium heat. Add a small amount of butter or oil and swirl to coat the pan evenly.
- Using a ladle or measuring cup, pour about 1/4 cup of batter into the center of the pan.
- Quickly tilt the pan in a circular motion to spread the batter evenly across the bottom.
- Cook for about 1-2 minutes, until the edges start to lift and the bottom is lightly golden brown.
- Carefully flip the crepe using a spatula and cook for another 30 seconds to 1 minute on the other side, until lightly browned.
- Remove the cooked crepe from the pan and place it on a plate. Cover with a clean kitchen towel to keep warm.
- Repeat with the remaining batter, adding more butter or oil to the pan as needed. Stack the cooked crepes on top of each other.
Notes
Nutrition
Did you make this recipe?
Tag me @sylwiavaclavekphotography or tag me using #myomnikitchen so I can see your creations! You can also leave a comment below!
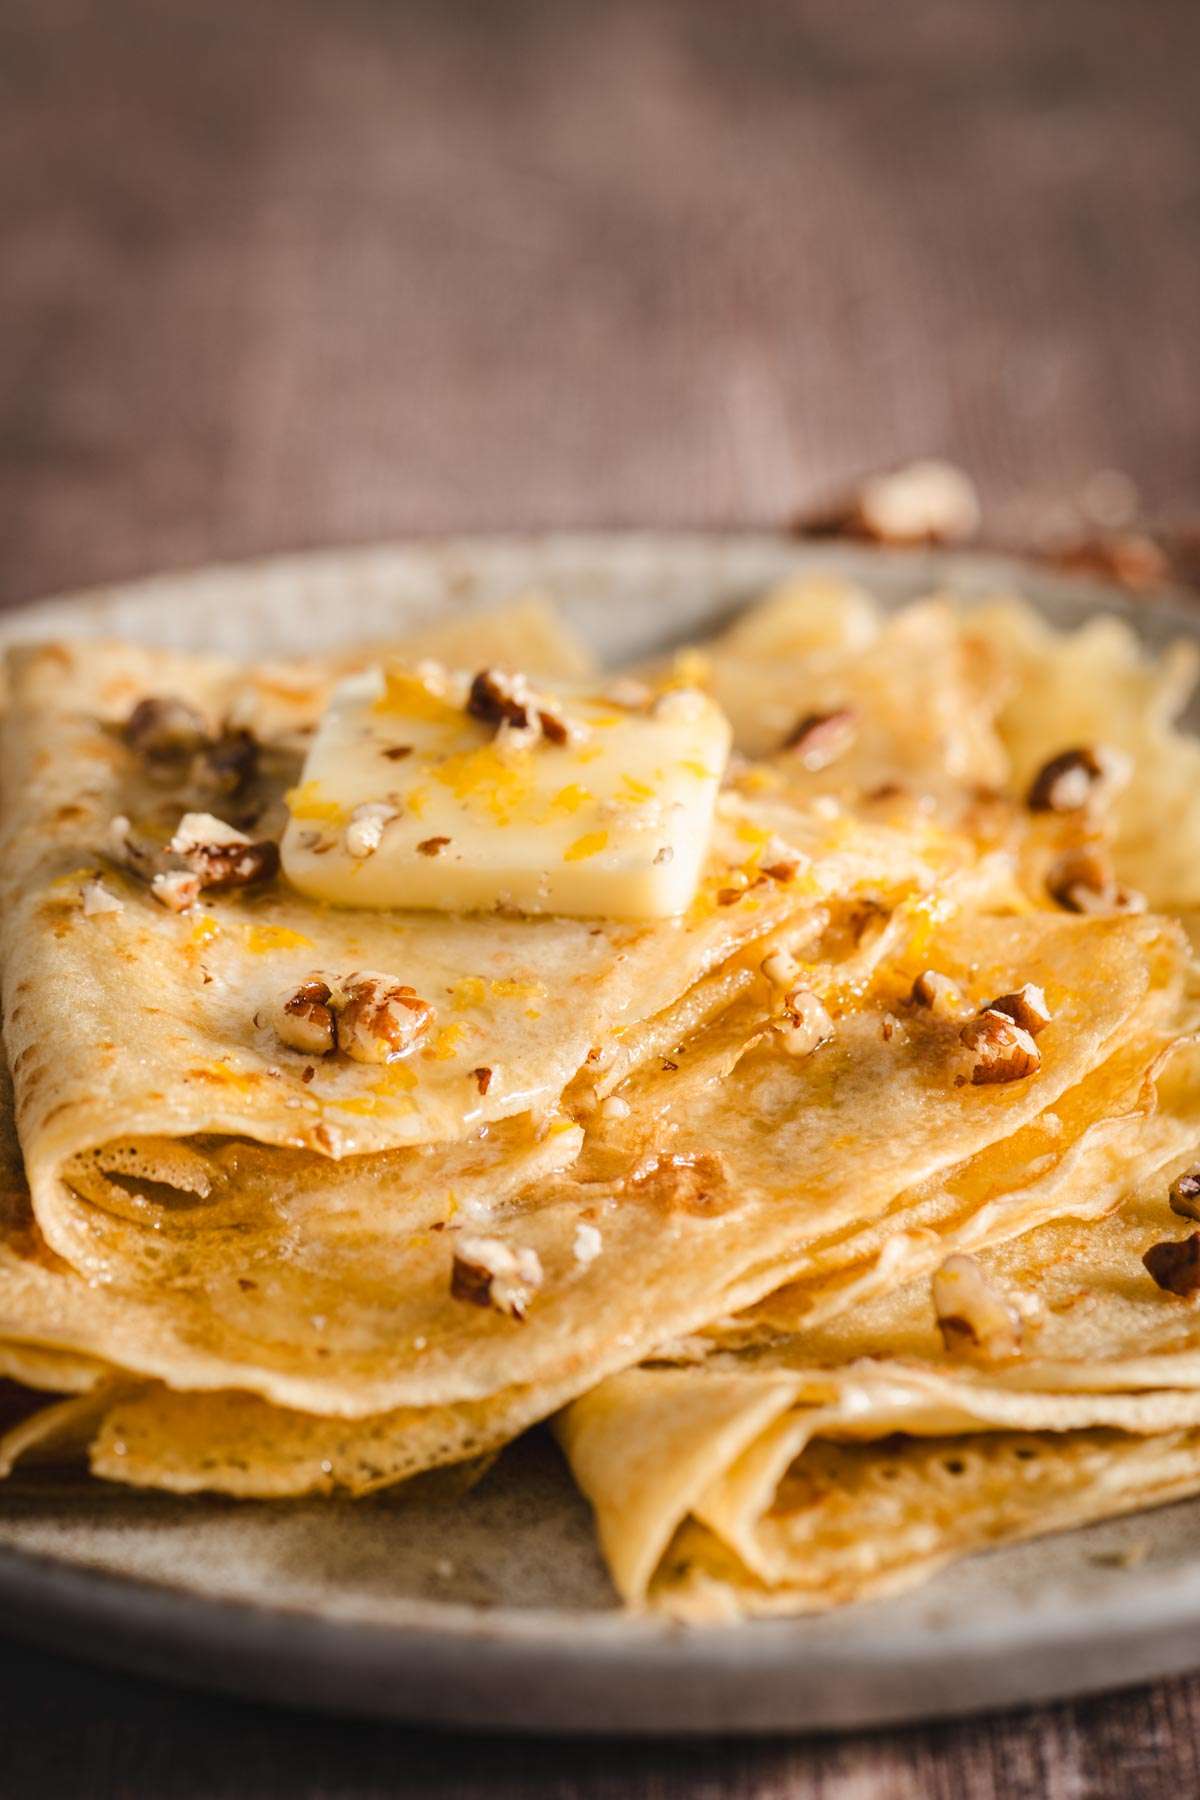
Conclusion
Nalesniki, are a popular and versatile food in so many cuisines. A blank canvas for your culinary experimentation.
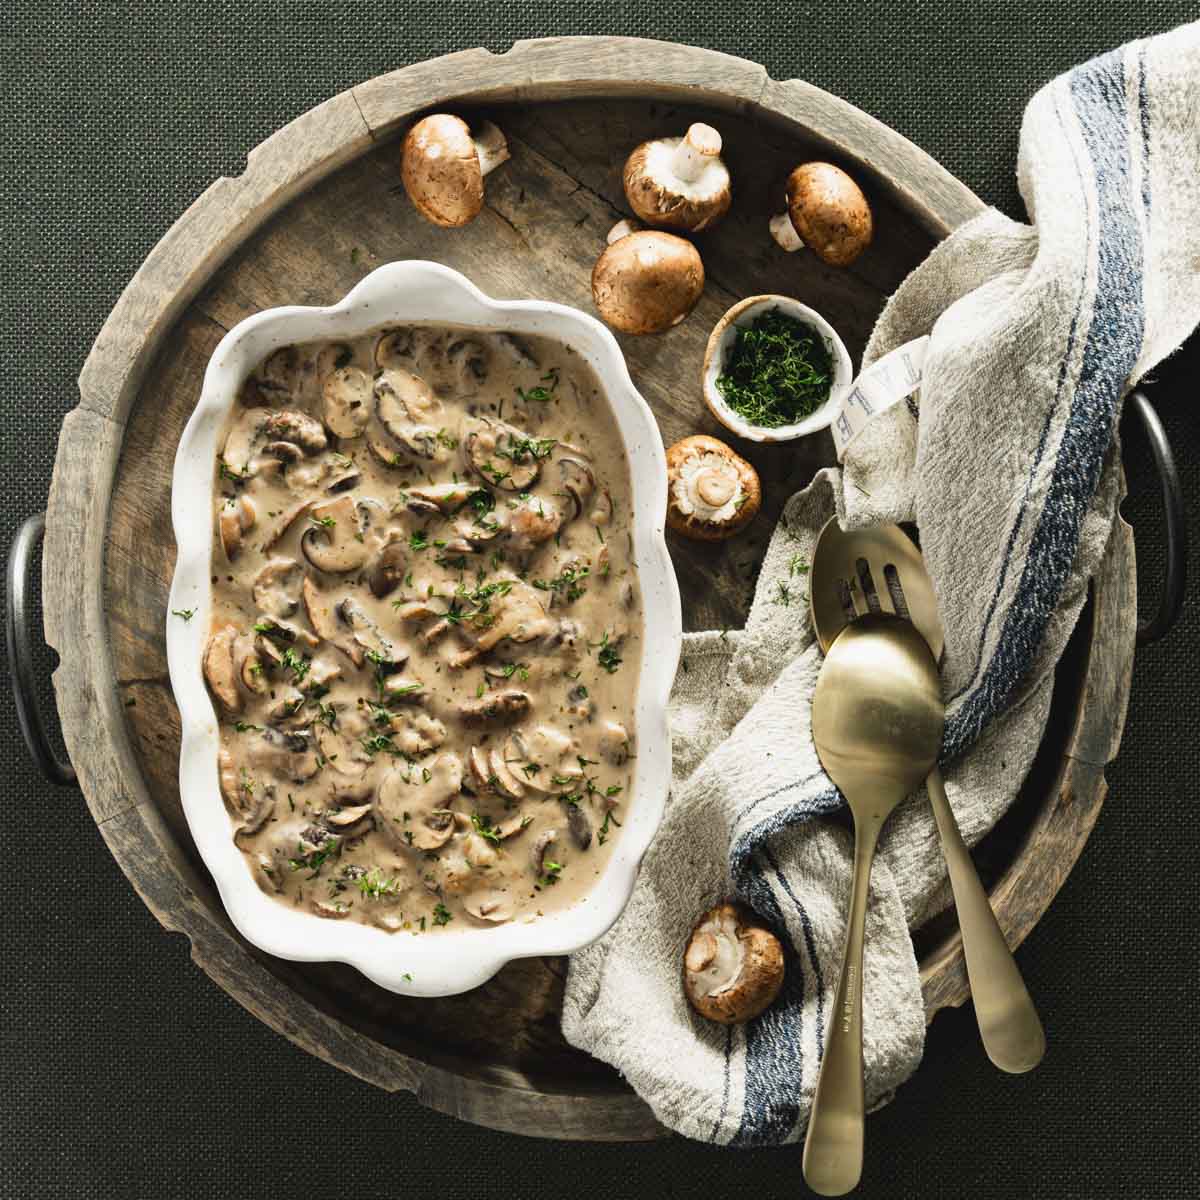
These delicate crepes, whether filled with sweet cheese and fruit for a delightful dessert or savory mushrooms and cheese offer a hearty and comforting meal.
Enjoy them as a cozy breakfast, elegant brunch, or satisfying dinner. Nalesniki are sure to charm with their simple yet irresistible appeal.
FAQ
What’s the difference between Nalesniki and crepes?
Nalesniki are Polish crepes that are similar to French crepes but often slightly thicker and more substantial. They can be filled with a variety of sweet or savory fillings, just like crepes. The primary difference lies in the cultural context and traditional fillings; Nalesniki often feature fillings like sweet cheese or mushrooms, which are popular in Polish cuisine.
How do you pronounce “Nalesniki”?
“Nalesniki” is pronounced “nah-lesh-NEE-kee.” The emphasis is on the second syllable.
What are the best fillings for Nalesniki?
Oh, so many options and there are no limits. If you are in ‘sweet’ mood, try: jam, fresh fruit, sweetened cottage or farmer’s cheese, fruit butter (Rhubarb or Apple), or chocolate spread. For a savory option, you may want to try: farmer’s cheese, sauteed veggies, kraut and mushrooms, ham and cheese, or ground meat.
Can Nalesniki be made gluten-free?
Yes, make sure to use a blend that includes a binding agent like xanthan gum for the best results. You may need to adjust the liquid amount slightly to achieve the desired batter consistency.
How do you prevent Nalesniki from tearing or sticking to the pan?
Ensure your batter is smooth and lump-free. Let the batter rest for at least 15-30 minutes. Use a well-seasoned non-stick skillet or crepe pan. Heat the pan to medium heat before adding batter. Lightly grease the pan with butter or oil before each crepe. Cook the crepes until the edges start to lift and the surface looks set before flipping.
Are Nalesniki served hot or cold?
Nalesniki are typically served warm. However, they can also be enjoyed at room temperature or cold, particularly if filled with fruit or served as a dessert.
Can Nalesniki be made ahead of time and reheated?
Yes, Nalesniki can be made ahead of time and reheated. Store them in an airtight container with parchment paper between each crepe. Reheat in a non-stick skillet over medium heat or in the microwave covered with a damp paper towel. Click HERE to read more about freezing nalesniki.
What beverages pair well with Nalesniki?
For sweet nalesniki I would recommend: coffee, tea, hot chocolate, or a dessert wine like Moscato. Savory nalesniki pair great with a crisp white wine, light beer, or a refreshing lemonade. For breakfast or brunch, orange juice or a mimosa works well
