Dill & Ricotta Filled Pierogis
I did it again 🙂 but this time, I made herby, cheesy, and delicious Dill and Ricotta-filled Pierogis. Sorry, not sorry, but I told you we Poles love our pierogis.
A few weeks ago, I met our local grower, and she had beautiful dill plants everywhere. It was like a dill paradise 🙂 In an instant, I started plotting recipes I could make using those gorgeous dill plants. I’m Polish, of course, the first dish I thought of was Dill Pierogis.
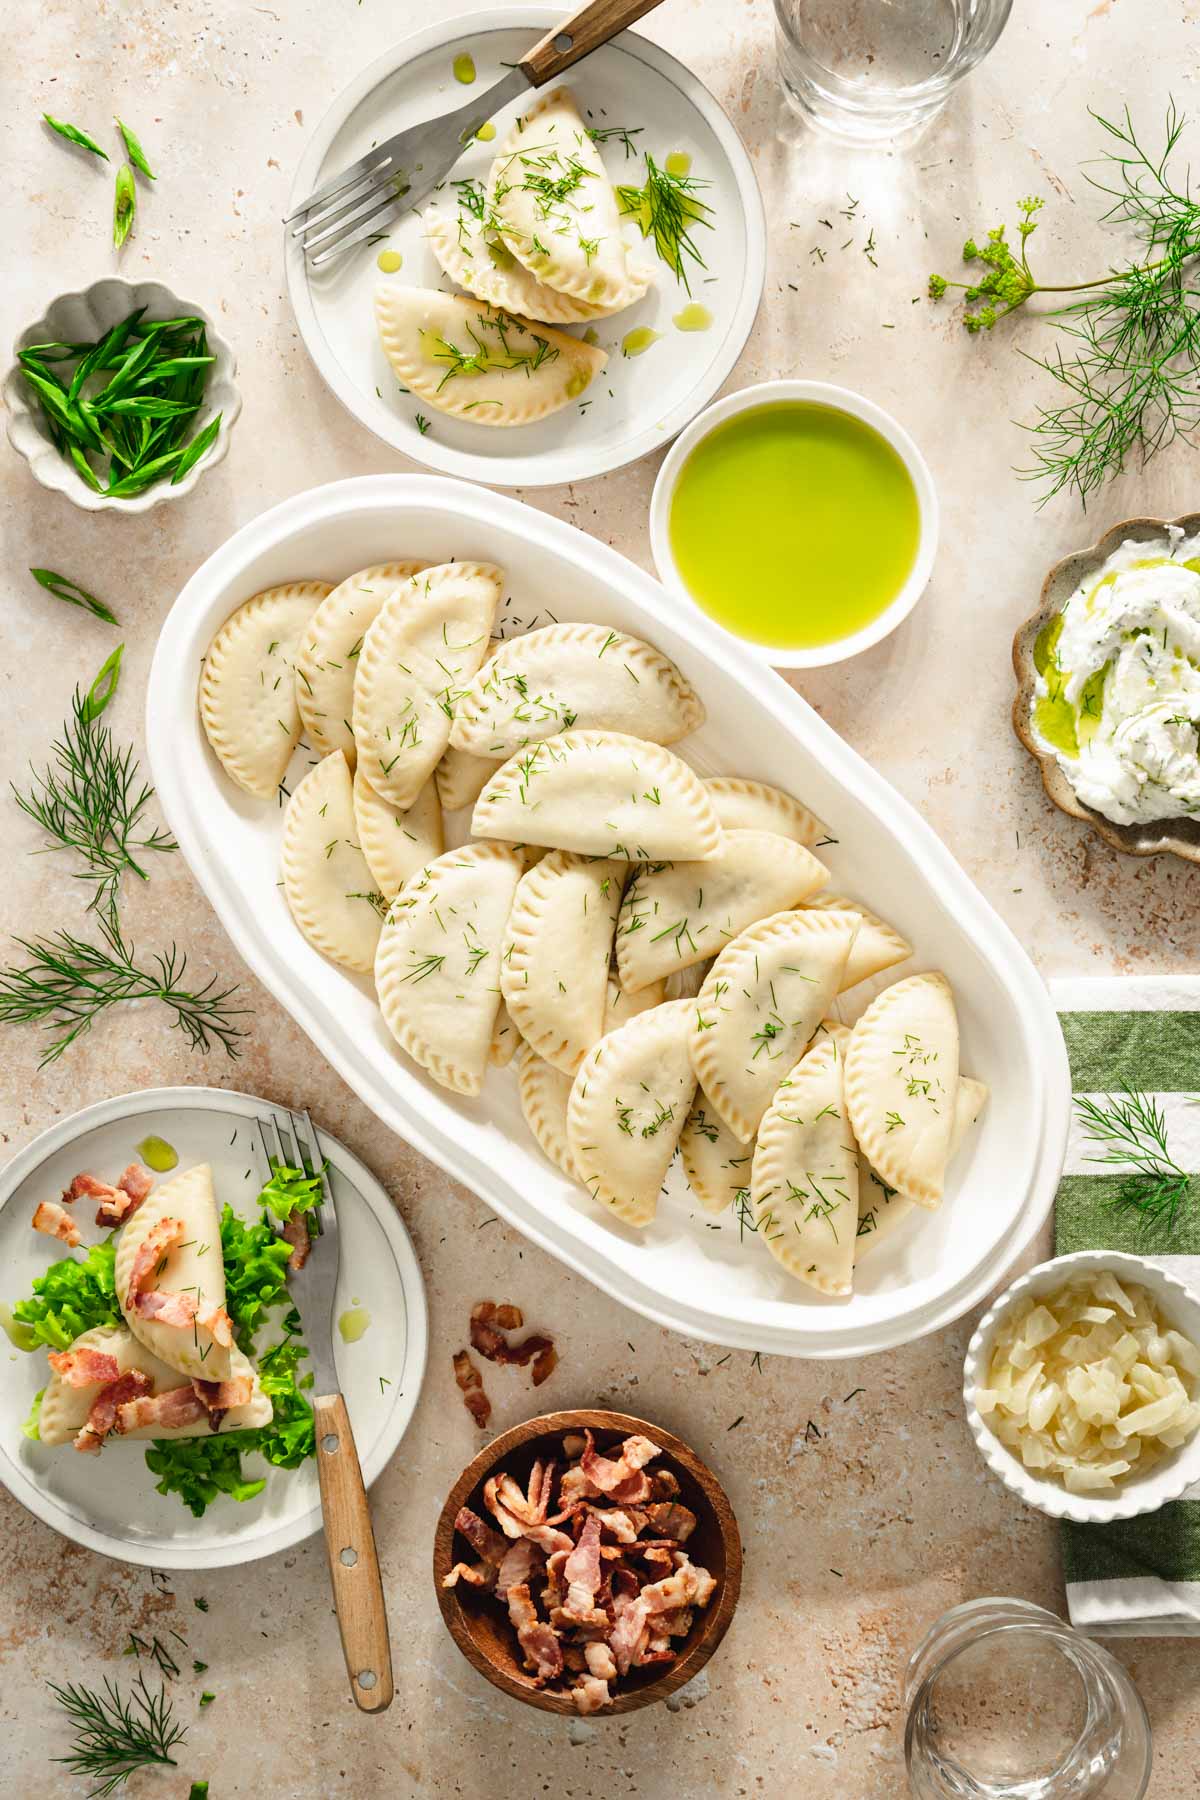
I used a different dough recipe to make the Dill Pierogis, and I have to say it was a perfect match 🙂
Making pierogi is a labor of love. It takes a little bit of time and some elbow grease, but the reward is so worth it. Pierogi are delicious, comforting, and versatile. Whether you like sweet or savory flavors, there are pierogis you can make.
Why you will love Dill Pierogis
Flavor Combination – the fresh, vibrant flavor of dill pairs beautifully with the creamy, tangy taste of ricotta cheese, creating a deliciously balanced filling.
Texture – the smooth cheese filling nicely complements the tender pierogi dough, providing a very satisfying bite.
Versatility – dill and cheese pierogies can be served in various ways, making them a versatile dish.
Crowd-Pleaser – their bite-sized nature makes them perfect for sharing.
Ingredients, Variations and Substitutions
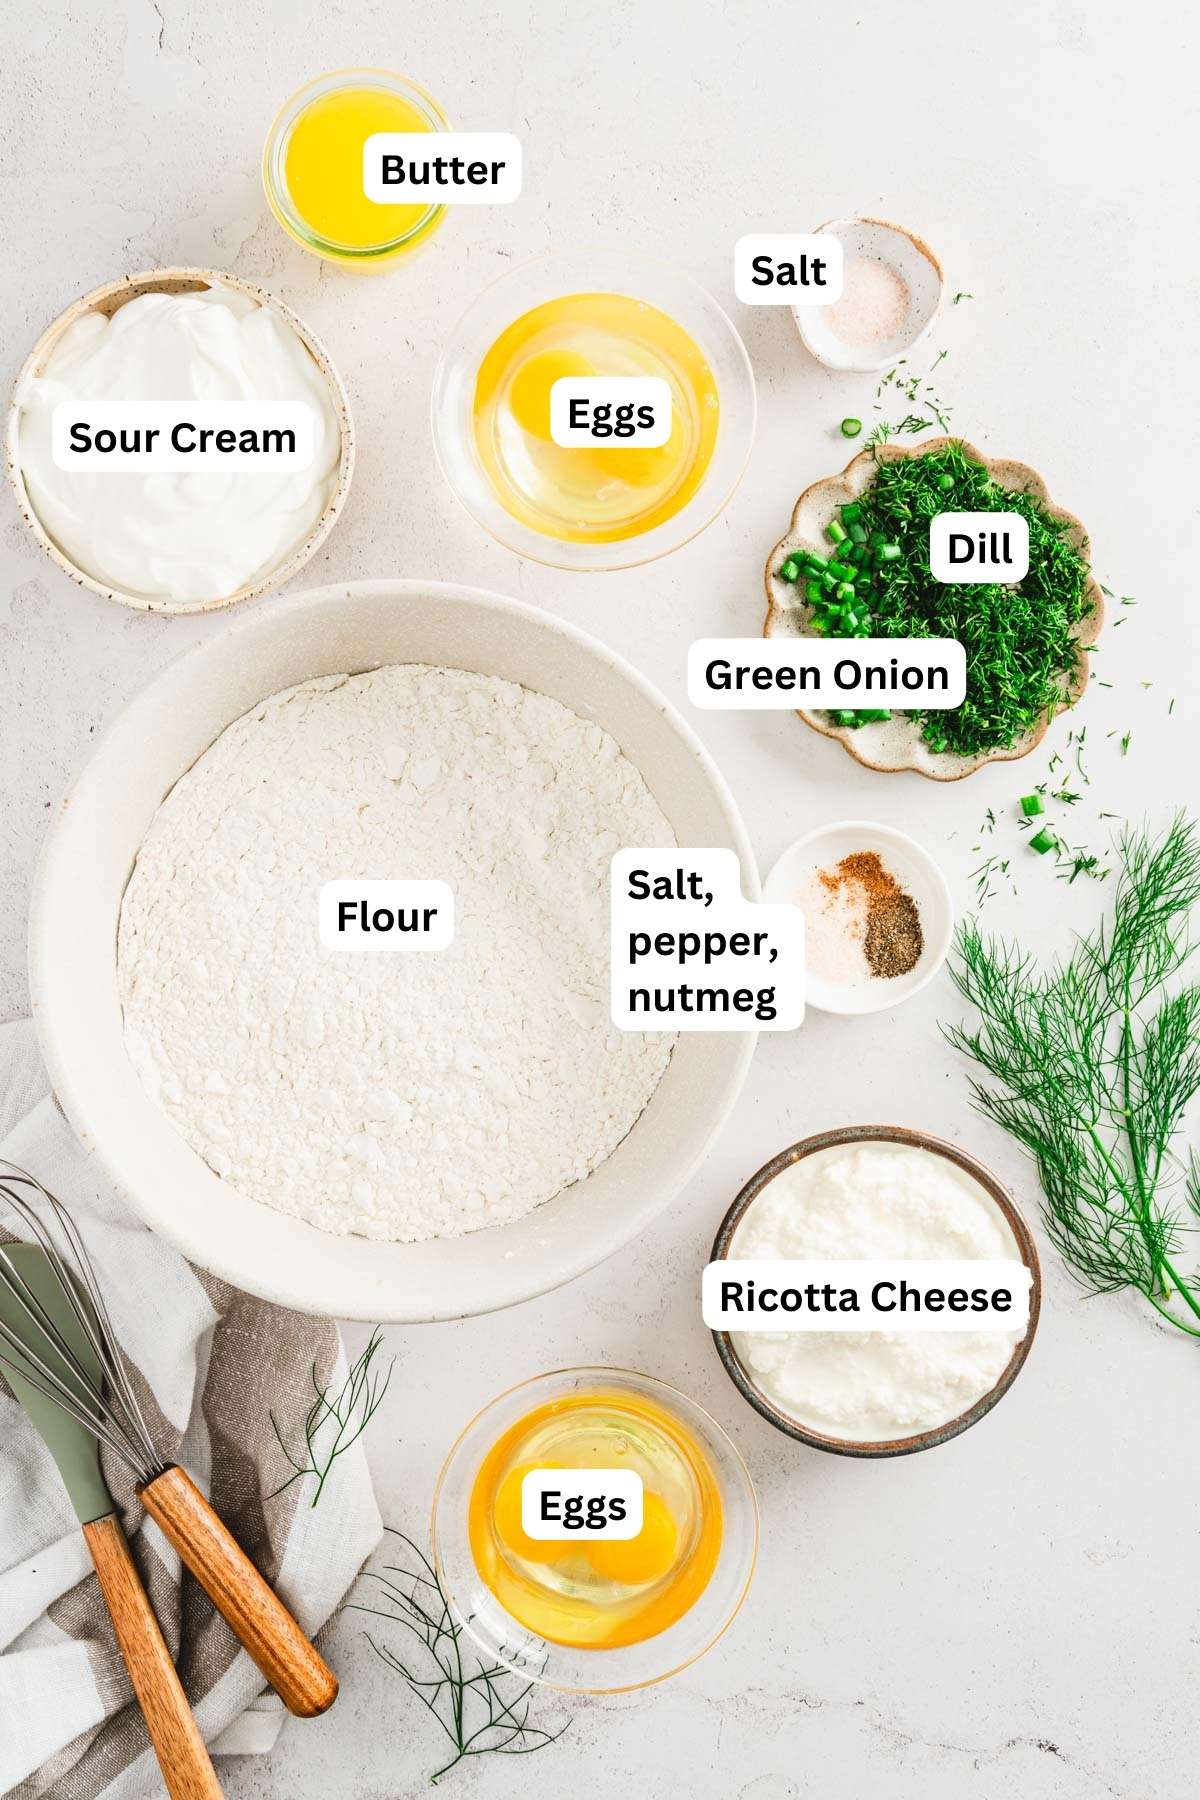
Dough
All-Purpose Flour – use unbleached flour for a more natural flavor. You can use whole wheat flour for a nuttier flavor, but it may result in a denser dough. For a gluten-free version, you can use garbanzo bean flour mixed with tapioca flour. Make sure to add binding agents like xantham gum or guar gum.
Salt – enhances flavor and strengthens gluten structure. Sea salt or kosher salt can be used.
Eggs – add richness and color and help bind the dough. Use room-temperature eggs for better incorporation. For a vegan version, use flax eggs (1 tablespoon flaxseed meal + 2.5 tablespoons water per egg).
Sour Cream – provides moisture, tenderness, and slight tanginess. Full-fat sour cream provides the best texture. Greek yogurt, plain yogurt, or buttermilk can also be used.
Butter – ensure it’s fully melted and slightly cooled to avoid cooking the eggs. Margarine, coconut oil, or vegetable oil are great alternatives.
Warm water – helps hydrate the dough to the right consistency. Add gradually to avoid making the dough too wet. Milk or plant-based milk for a richer dough.
Filling
Ricotta Cheese – creamy base for the filling. Don’t forget to drain excess moisture to prevent runny filling. Cottage cheese (drained), cream cheese, or mashed potatoes can also be used.
Fresh Dill – star of the pierogi filling. Use fresh dill for the best flavor. Dried dill (use less, about one tablespoon), parsley, or chives can be used instead.

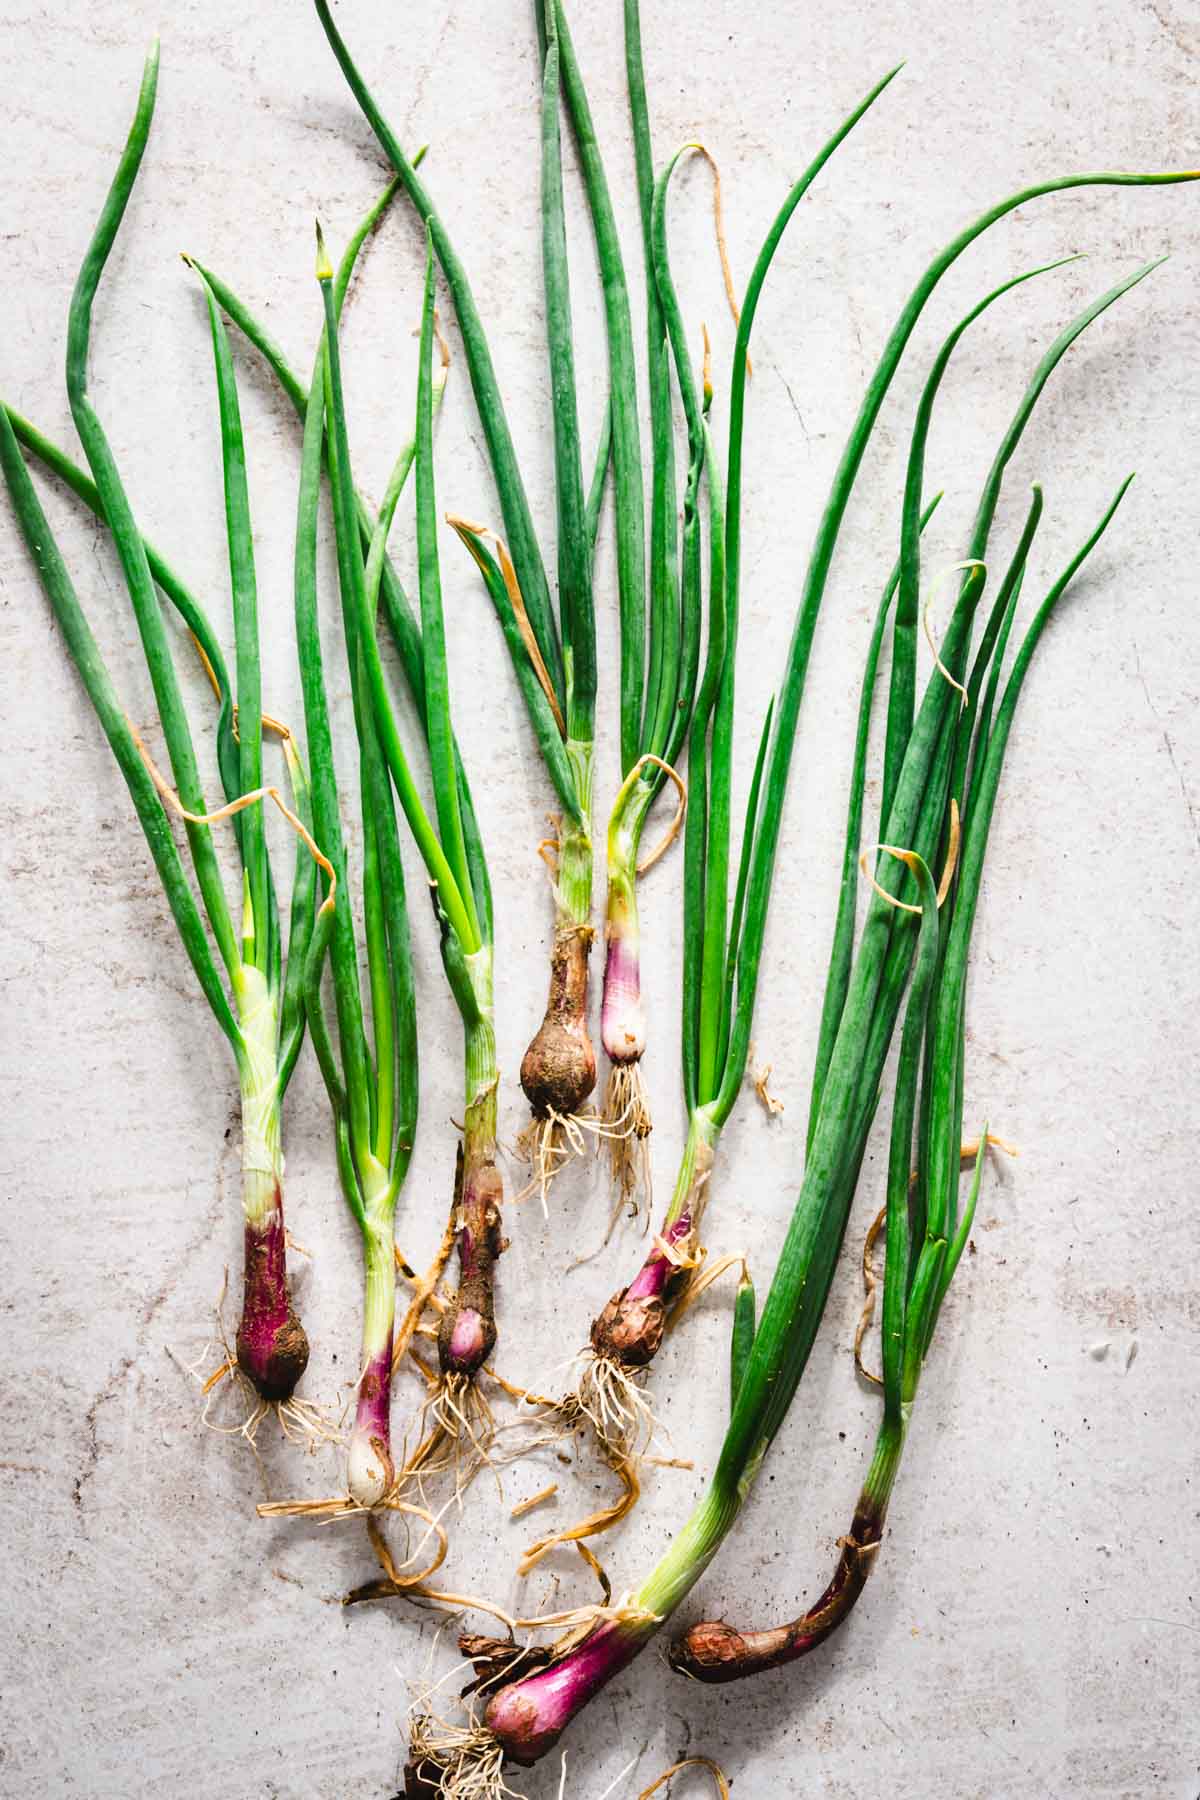
Green Onions or Chives – add mild onion flavor to the filling. Adjust the quantity to your liking, and remember that the onion flavor may be overpowering. Shallots, leeks, or finely chopped regular onions may also be used.
Egg – helps to bind the filling. Using beaten egg ensures even distribution. You can also use just the yolk for a richer filling. For a vegan option, use a flax egg or omit it and add a tablespoon of breadcrumbs.
Salt and Pepper – for the best flavor, use sea salt or kosher salt and freshly ground black pepper.
Nutmeg – adds a subtle warmth and depth. Ground cinnamon or allspice in a pinch, but use sparingly.
Equipment you will need
- Large Mixing Bowl
- Measuring Cups and Spoons.
- Fork or Whisk
- Rolling Pin
- Round cookie cutter (about 3 inches in diameter)
- Wooden spoon or Small Scoop
- Clean Kitchen Towel or Plastic Wrap
- Pot for Boiling.
- Slotted Spoon
- Colander
- Fine-mesh sieve or Cheesecloth
- Large Skillet or Frying Pan
- Spatula or Tongs
- Optional equipment: baking sheet, food processor,
Top Tips
Use room temperature ingredients – eggs and sour cream should be at room temperature to mix more easily with the flour.
Avoid overworking the dough – knead the dough until it’s just smooth and elastic. Over-kneading can make it tough.
Rest the dough – let the dough rest for at least 30 minutes. This relaxes the gluten and makes the dough easier to roll out and handle.
Roll evenly – roll the dough to an even thickness of about 1/8 inch. Thicker dough can result in heavy pierogies, while thinner dough can tear.
Drain ricotta – make sure to drain the ricotta cheese well to avoid a runny filling. You can use a fine-mesh sieve or cheesecloth for this.
Adjust consistency – if the filling is too runny, add a small amount of cornstarch, breadcrumbs, or grated cheese to thicken it.
Don’t overfill – use about a teaspoon of filling for each pierogi to prevent overstuffing. If you are making larger pierogis, adjust the amount of filling accordingly.
Seal properly – ensure the edges are sealed well to prevent the filling from leaking out. Use a fork to crimp the edges or pinch them tightly with your fingers.
Cook gently – add the pierogies to boiling water in batches and cook them gently. Once they float to the surface, cook for an additional 2-3 minutes.
Use plenty of water – boil the pierogies in a large pot with plenty of water to prevent them from sticking together.
Drain well – use a slotted spoon to remove the pierogies from the water and drain them well.
Step-by-step instructions
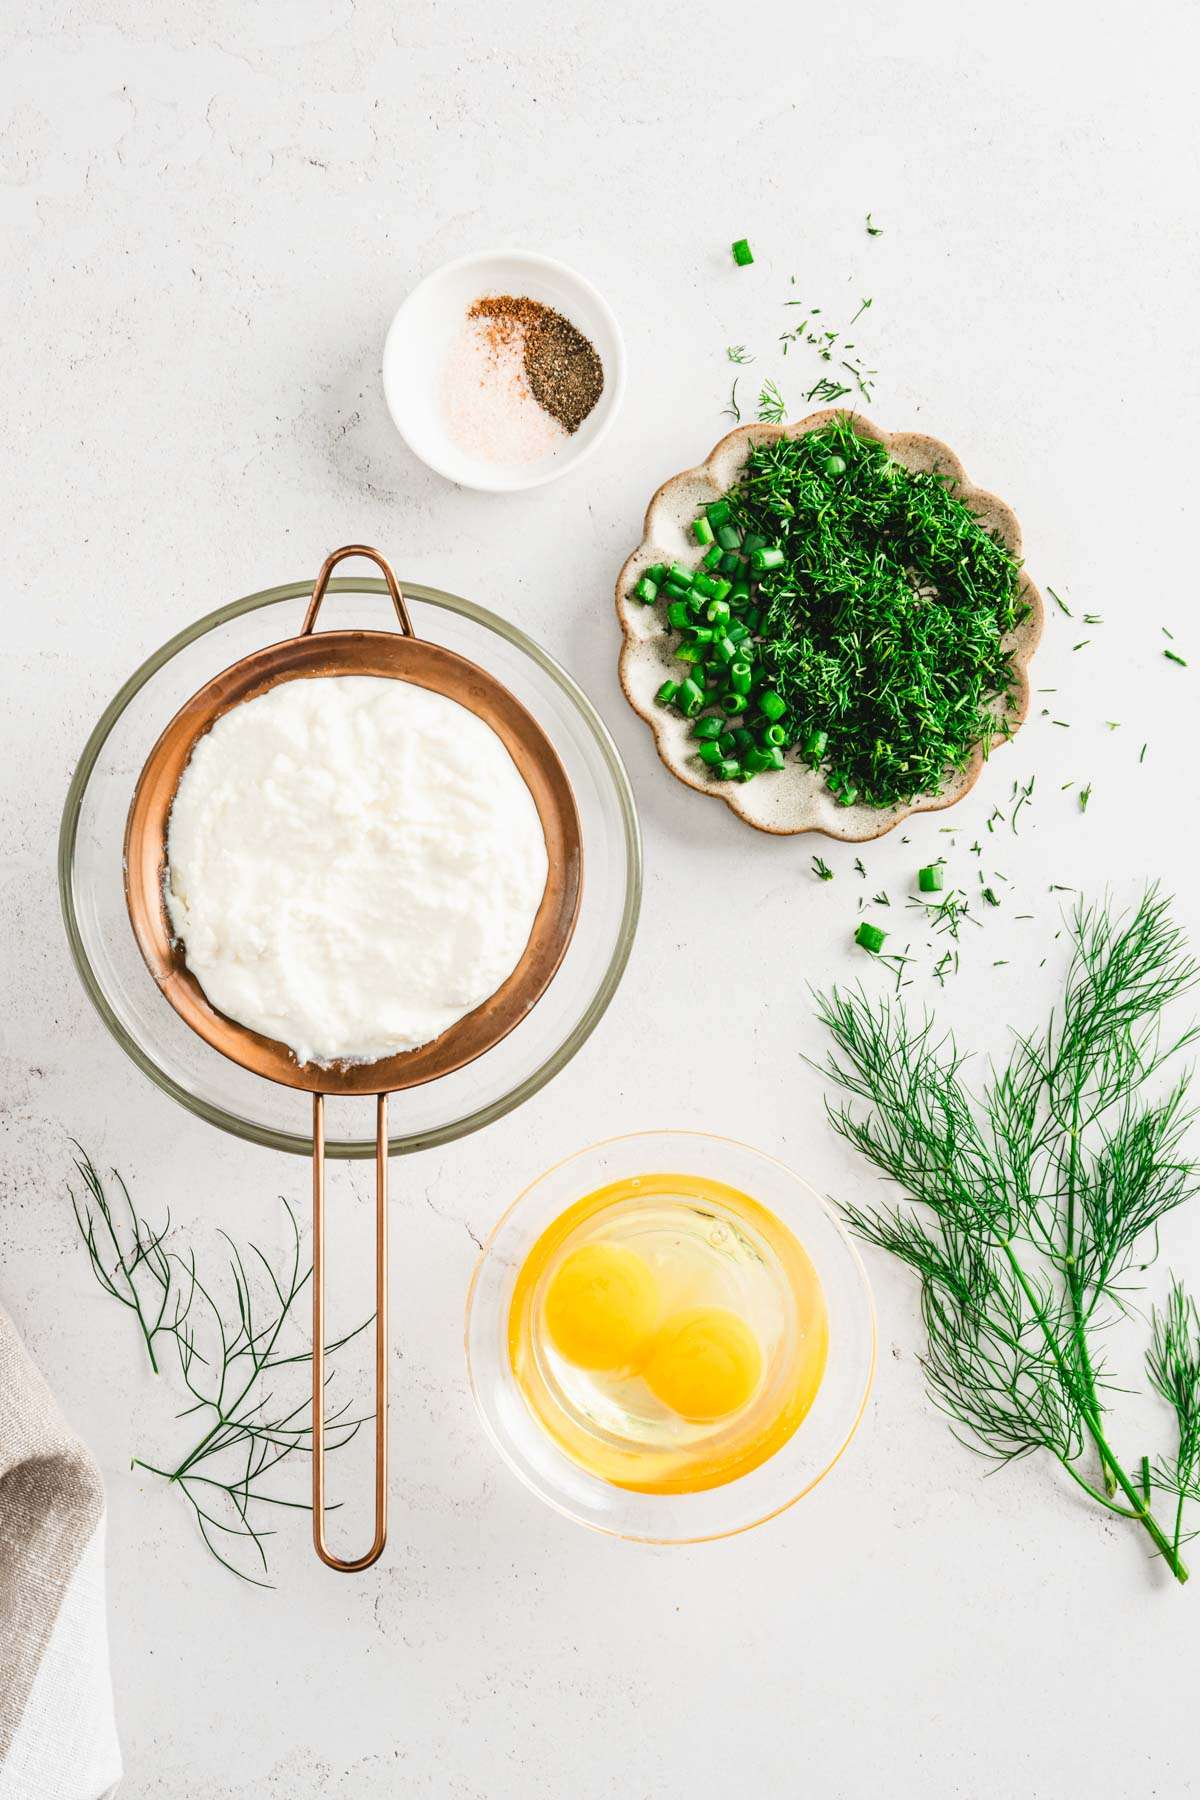
- Using a fine mesh sieve or cheesecloth, set the ricotta cheese to drain over a medium bowl.
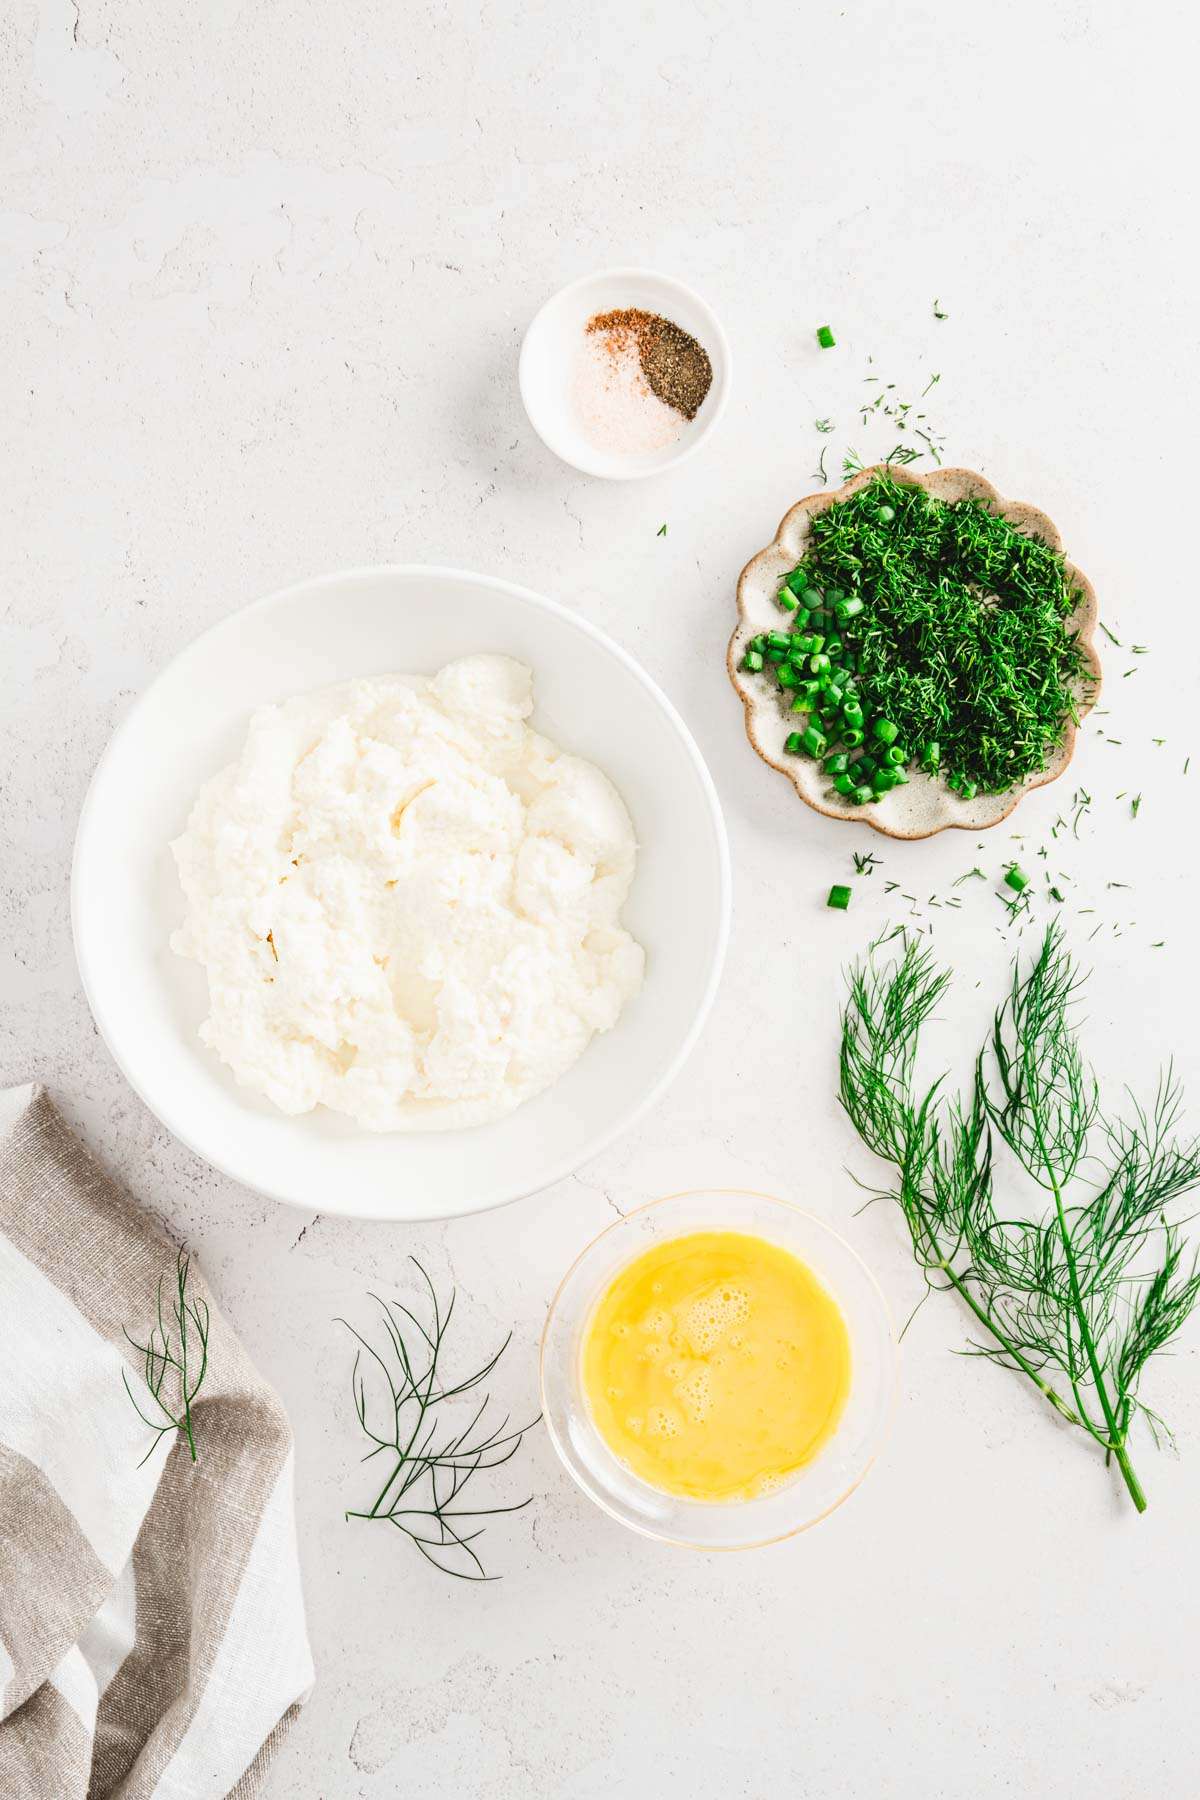
- In a large mixing bowl, combine the flour and salt.
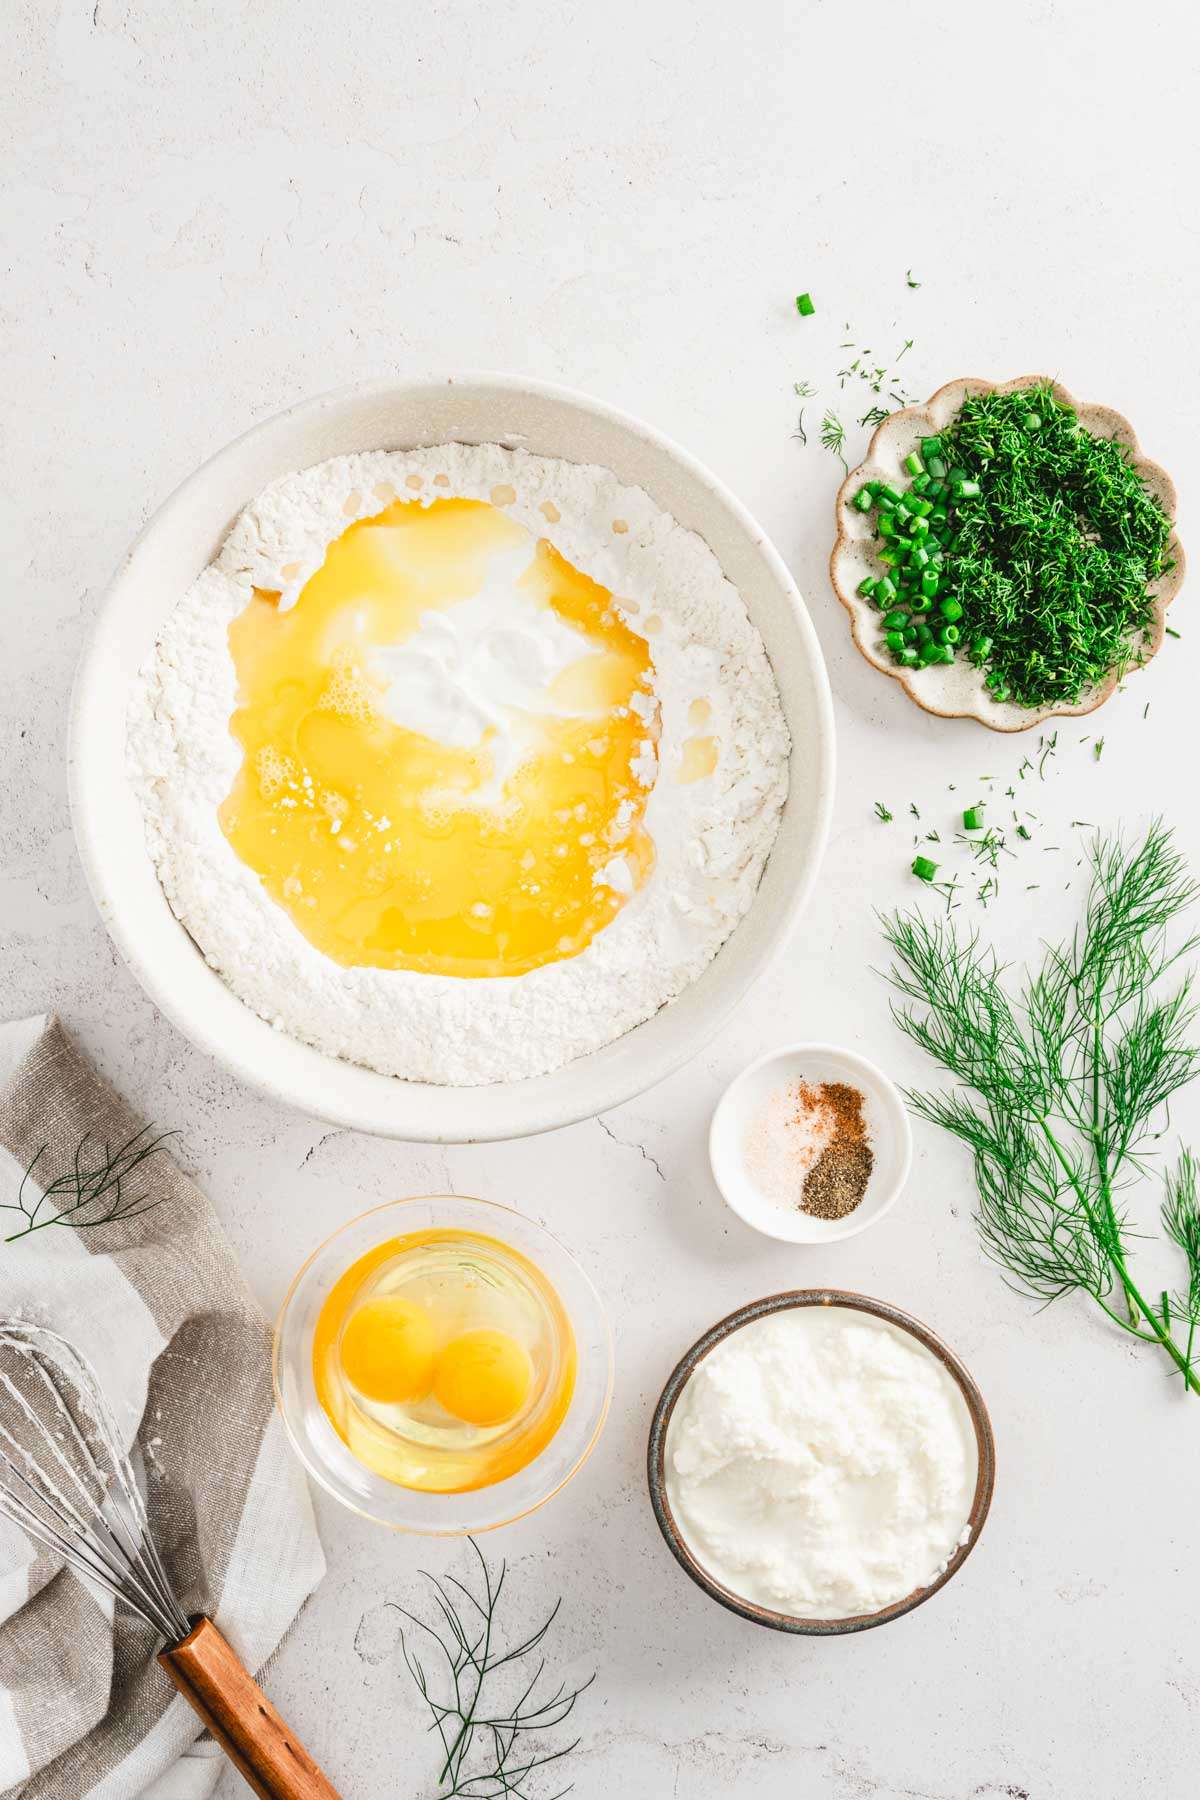
- Create a well in the center of the flour mixture. Add the eggs, sour cream, and melted butter into the well.
- Using a fork or your hands, mix the ingredients together. Gradually add the warm water, until the dough starts to come together.
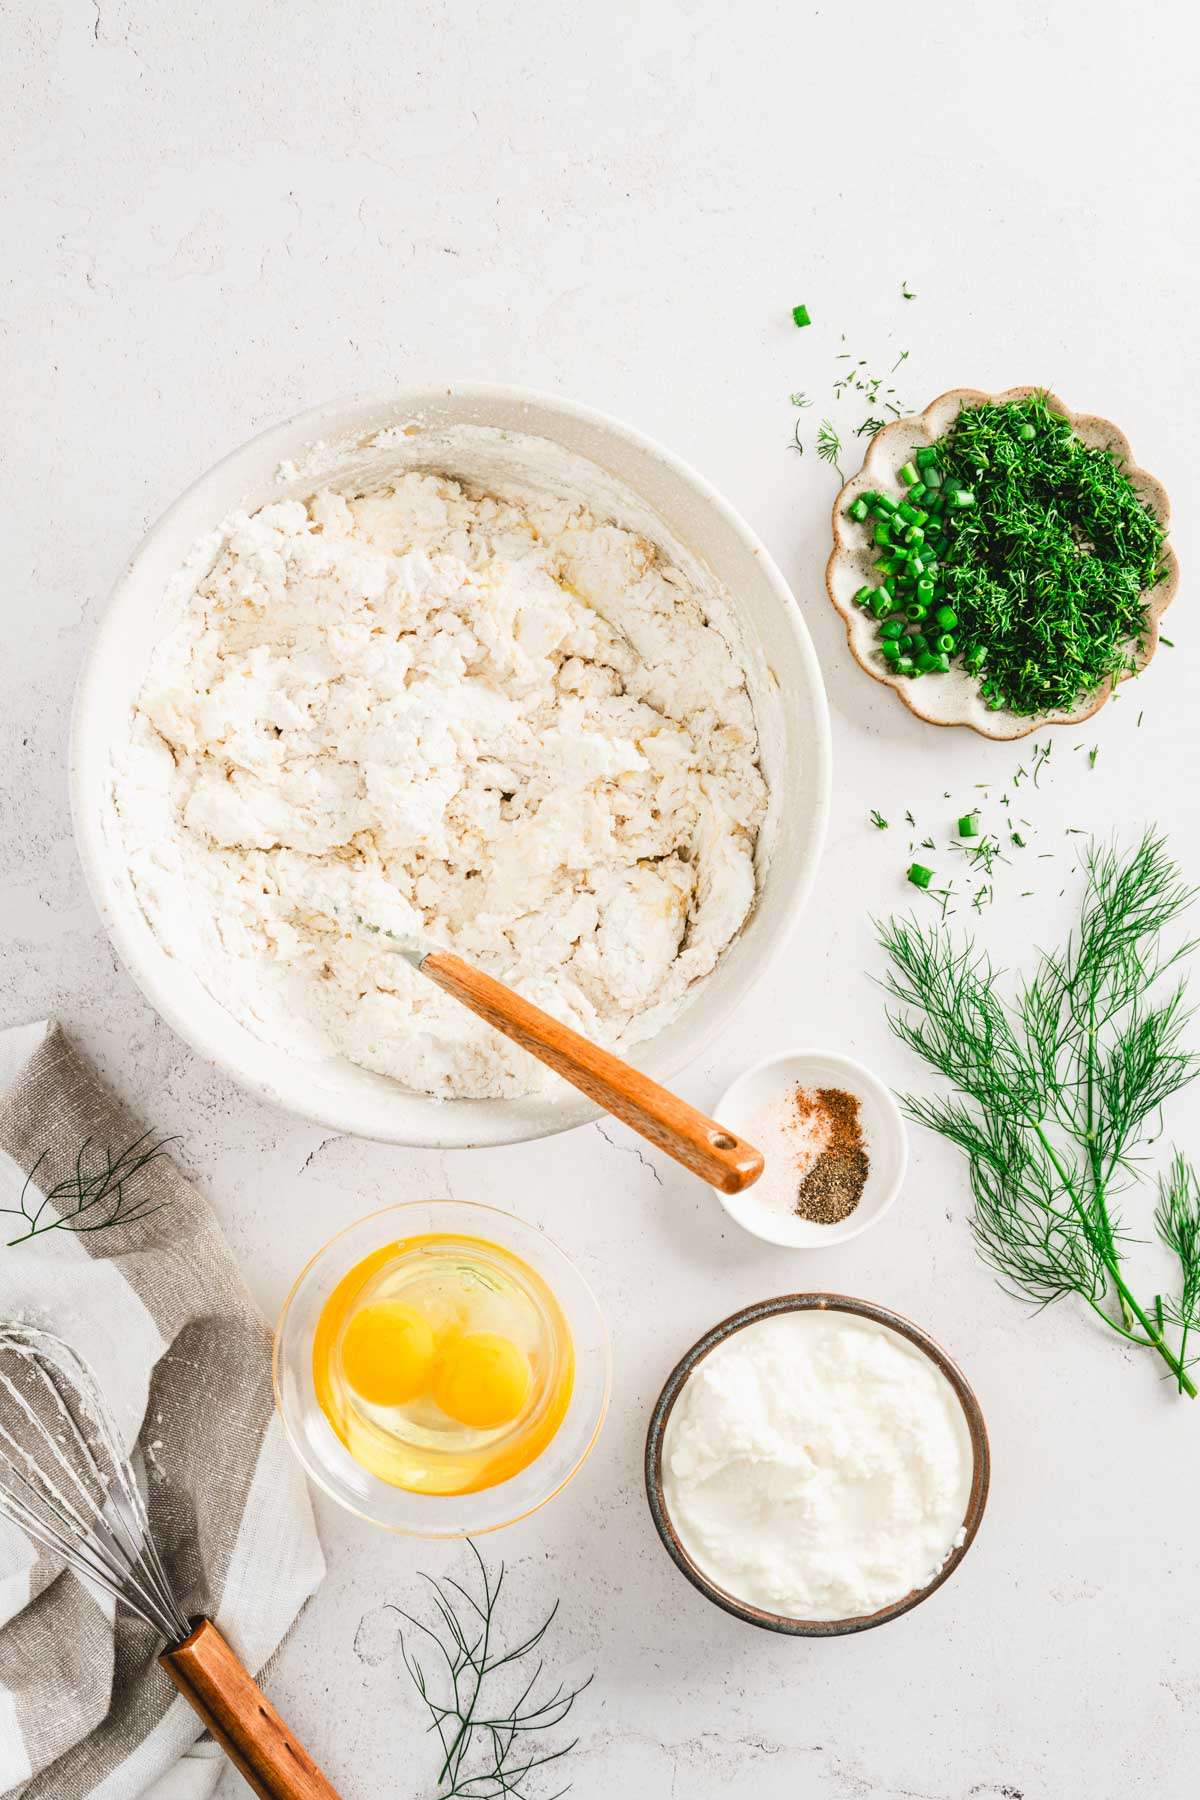
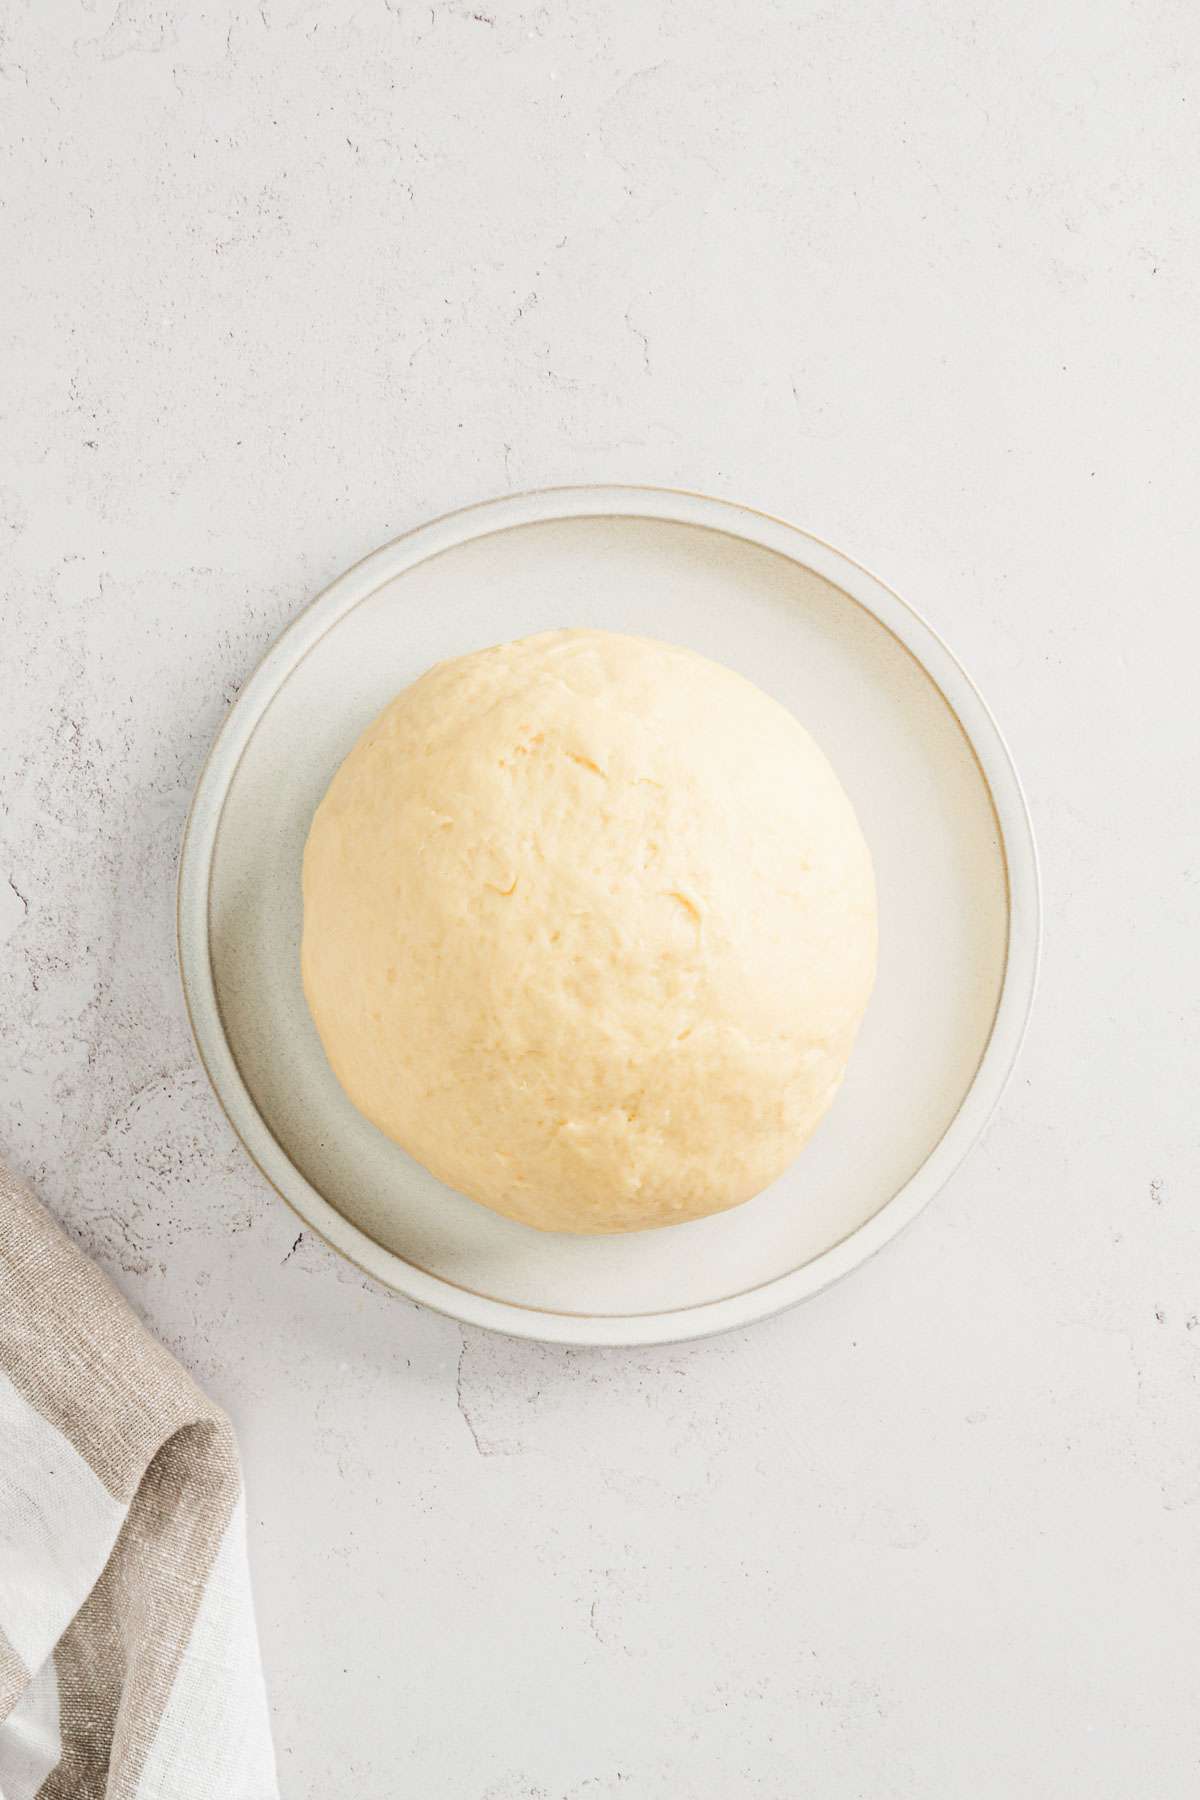
- Transfer the dough to a lightly floured surface and knead it for about 5-7 minutes until it becomes smooth and elastic. Add more water or flour as needed to reach the right consistency.
- Wrap the dough in plastic wrap or cover it with a clean kitchen towel. Let it rest for at least 30 minutes at room temperature.
- Transfer the drained ricotta to a large mixing bowl. Add finely chopped fresh dill, chopped green onions, salt, pepper, nutmeg, and lightly whisked egg.

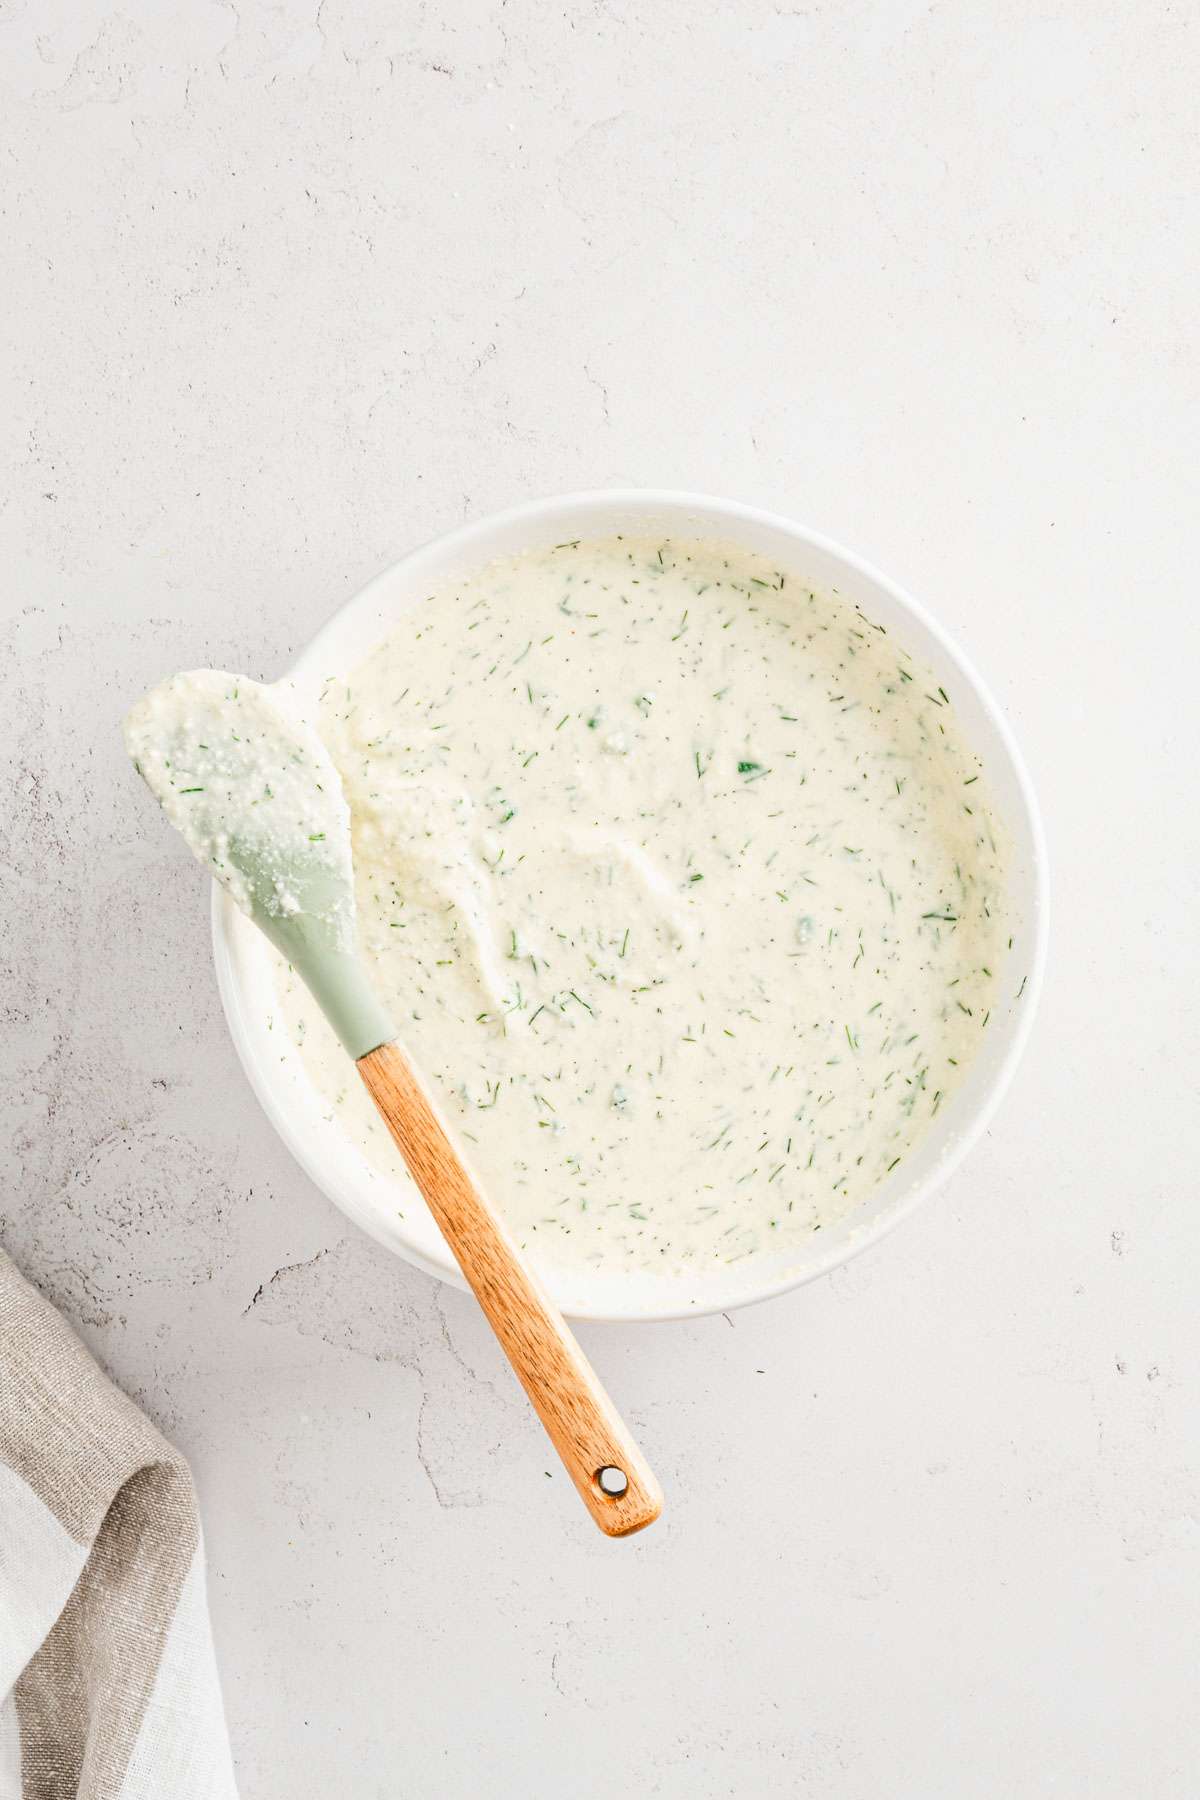
- Use a spoon or spatula to mix everything until it is well combined. Make sure the egg is evenly distributed throughout the mixture.
- If the filling seems too soft or if you want to make it easier to handle, you can chill it in the refrigerator for about 30 minutes. You can also add cornstarch or flour to absorb the extra moisture,
- On a floured surface, roll out the dough to about 1/8-inch thickness. Cut out circles of dough using a round cutter (about 3 inches in diameter).
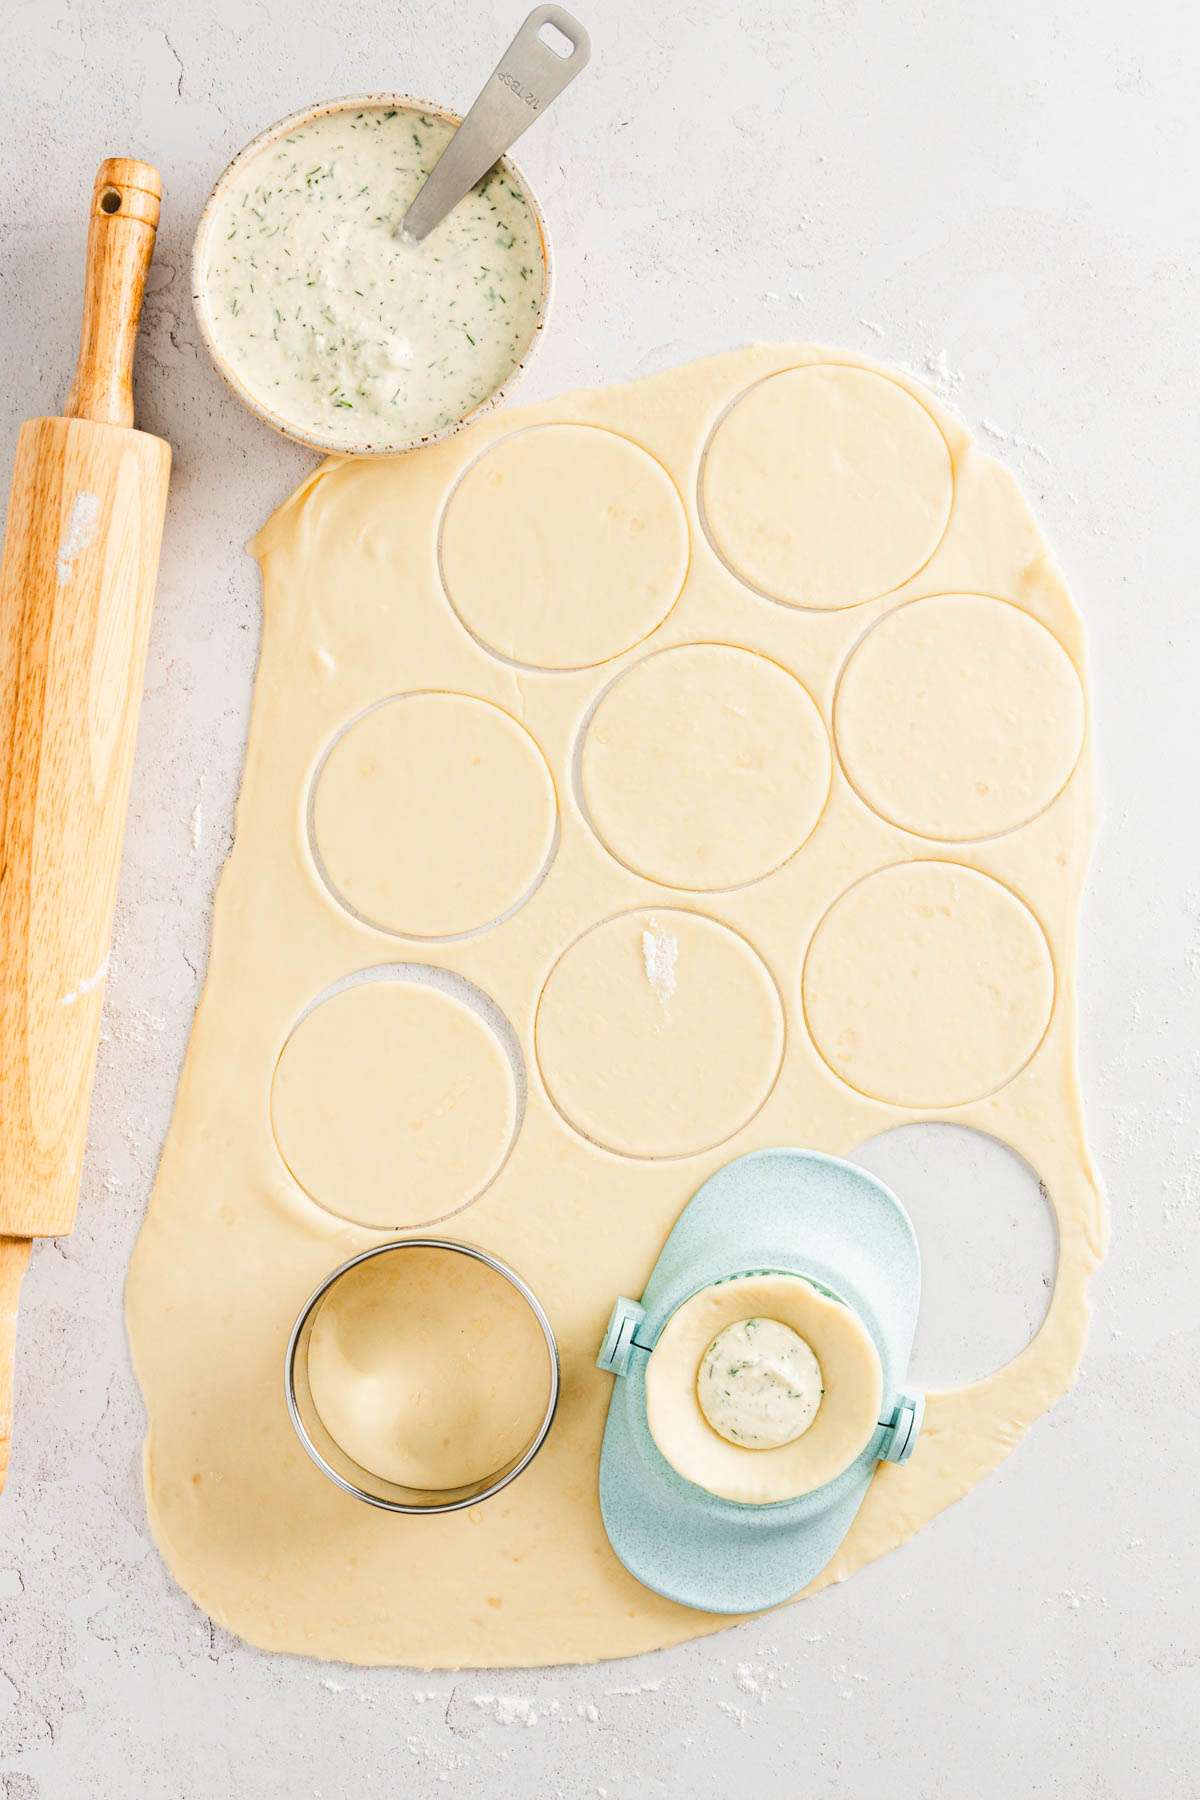
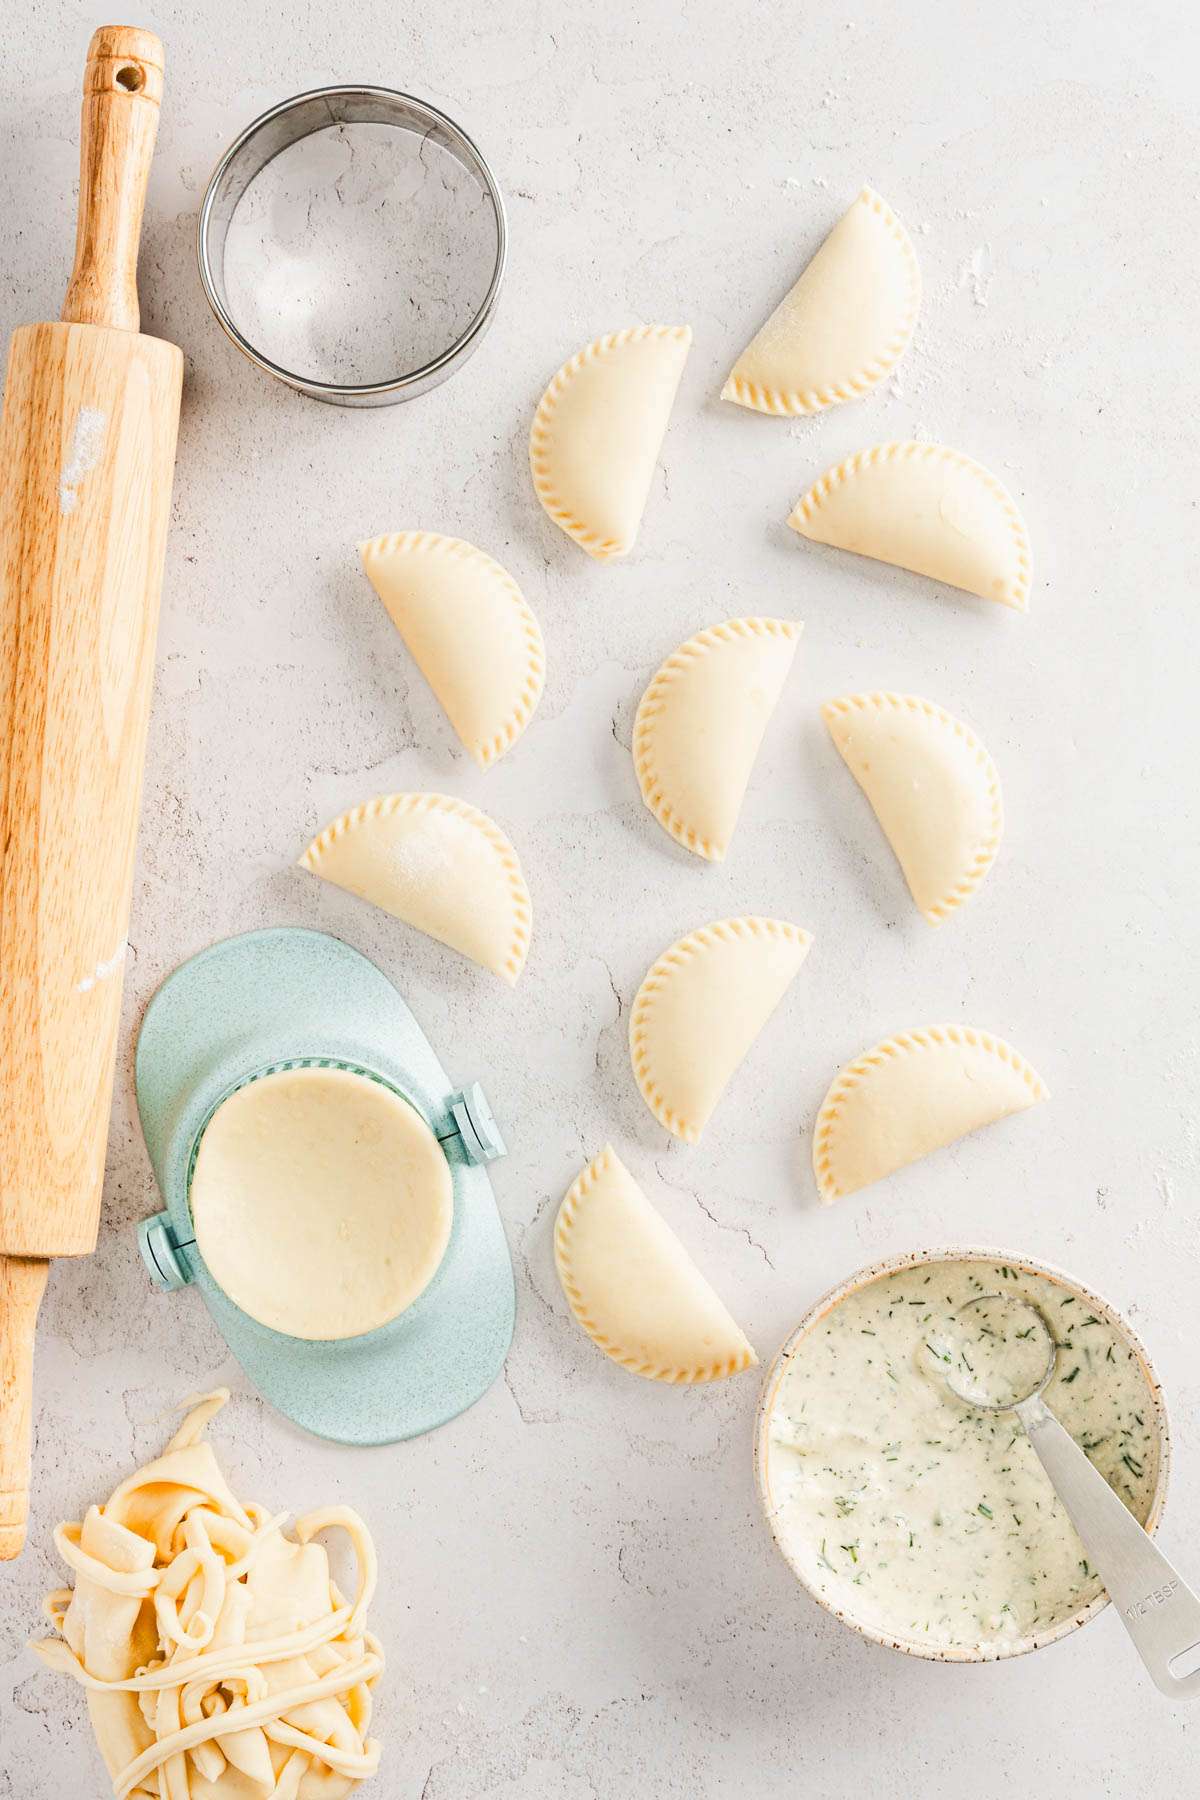
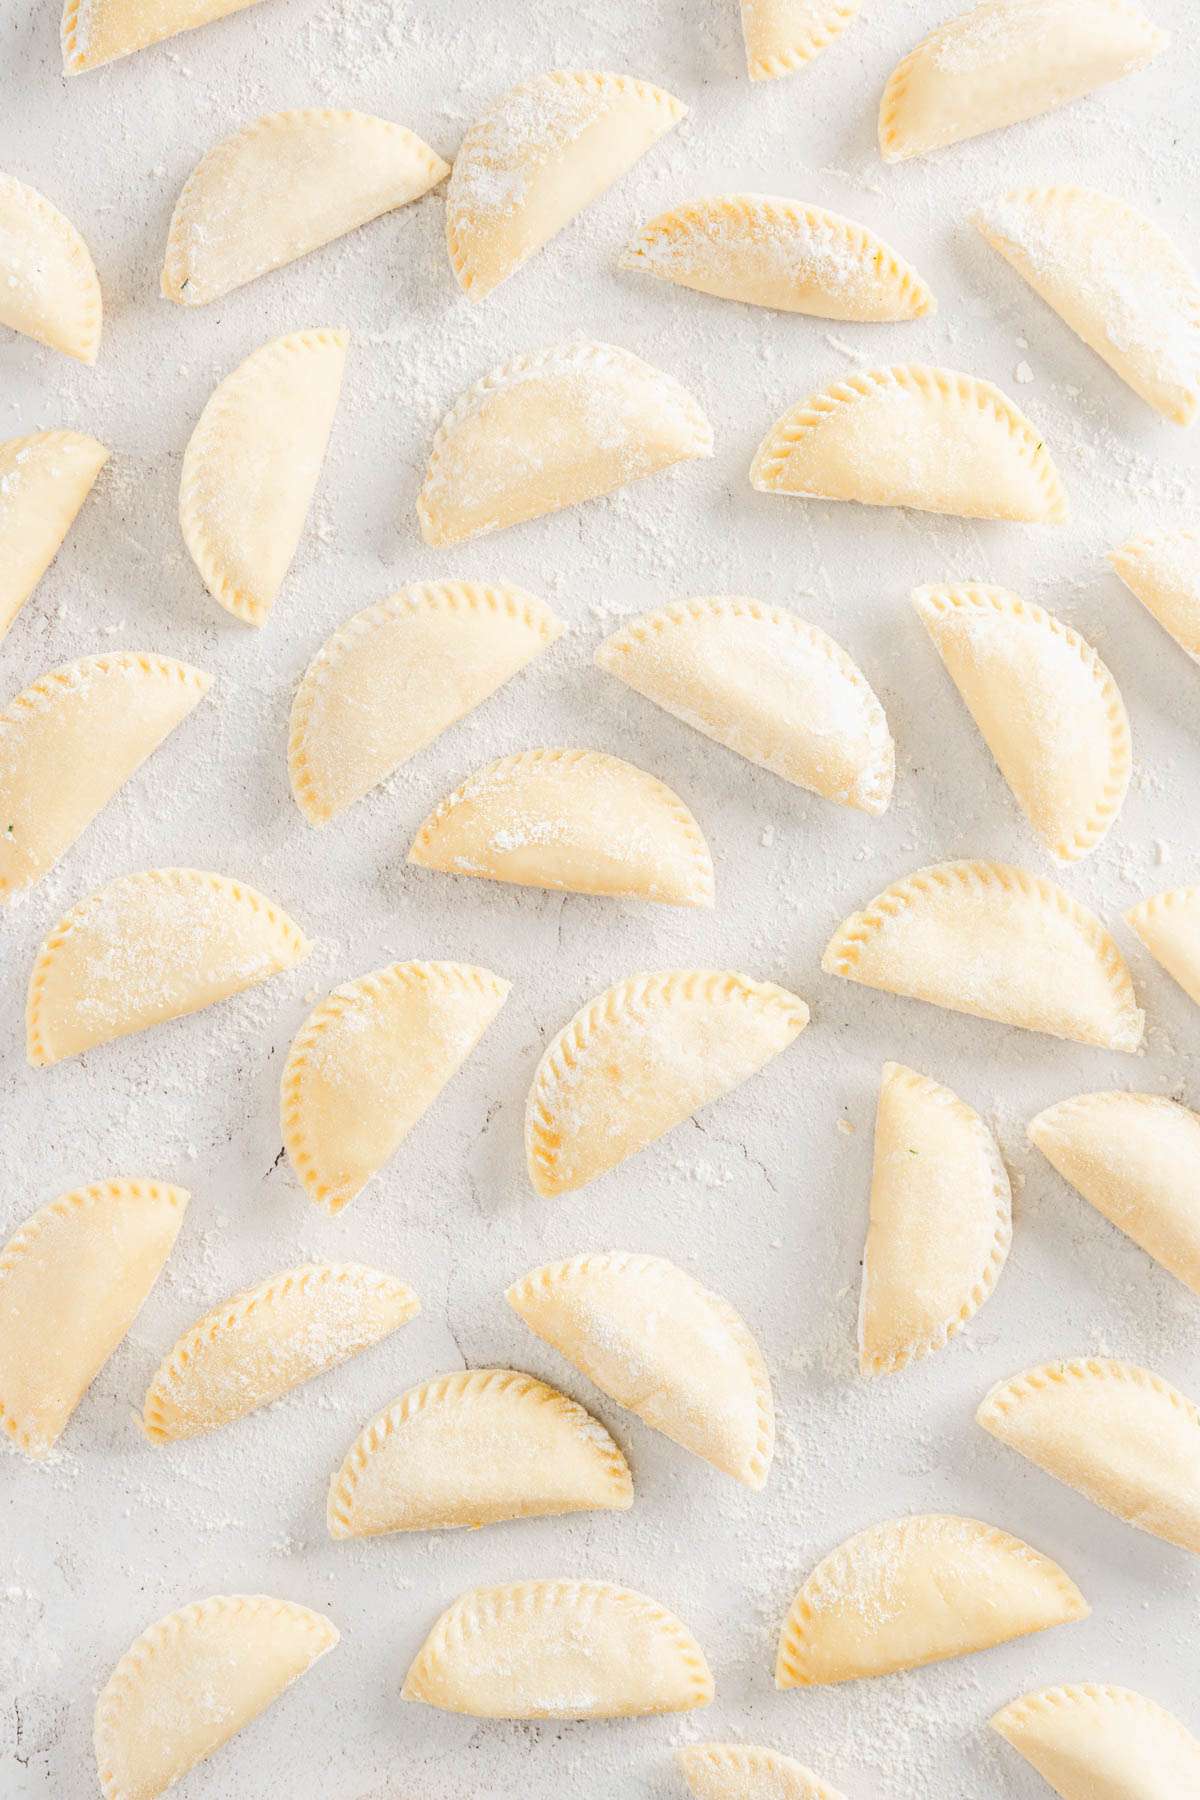
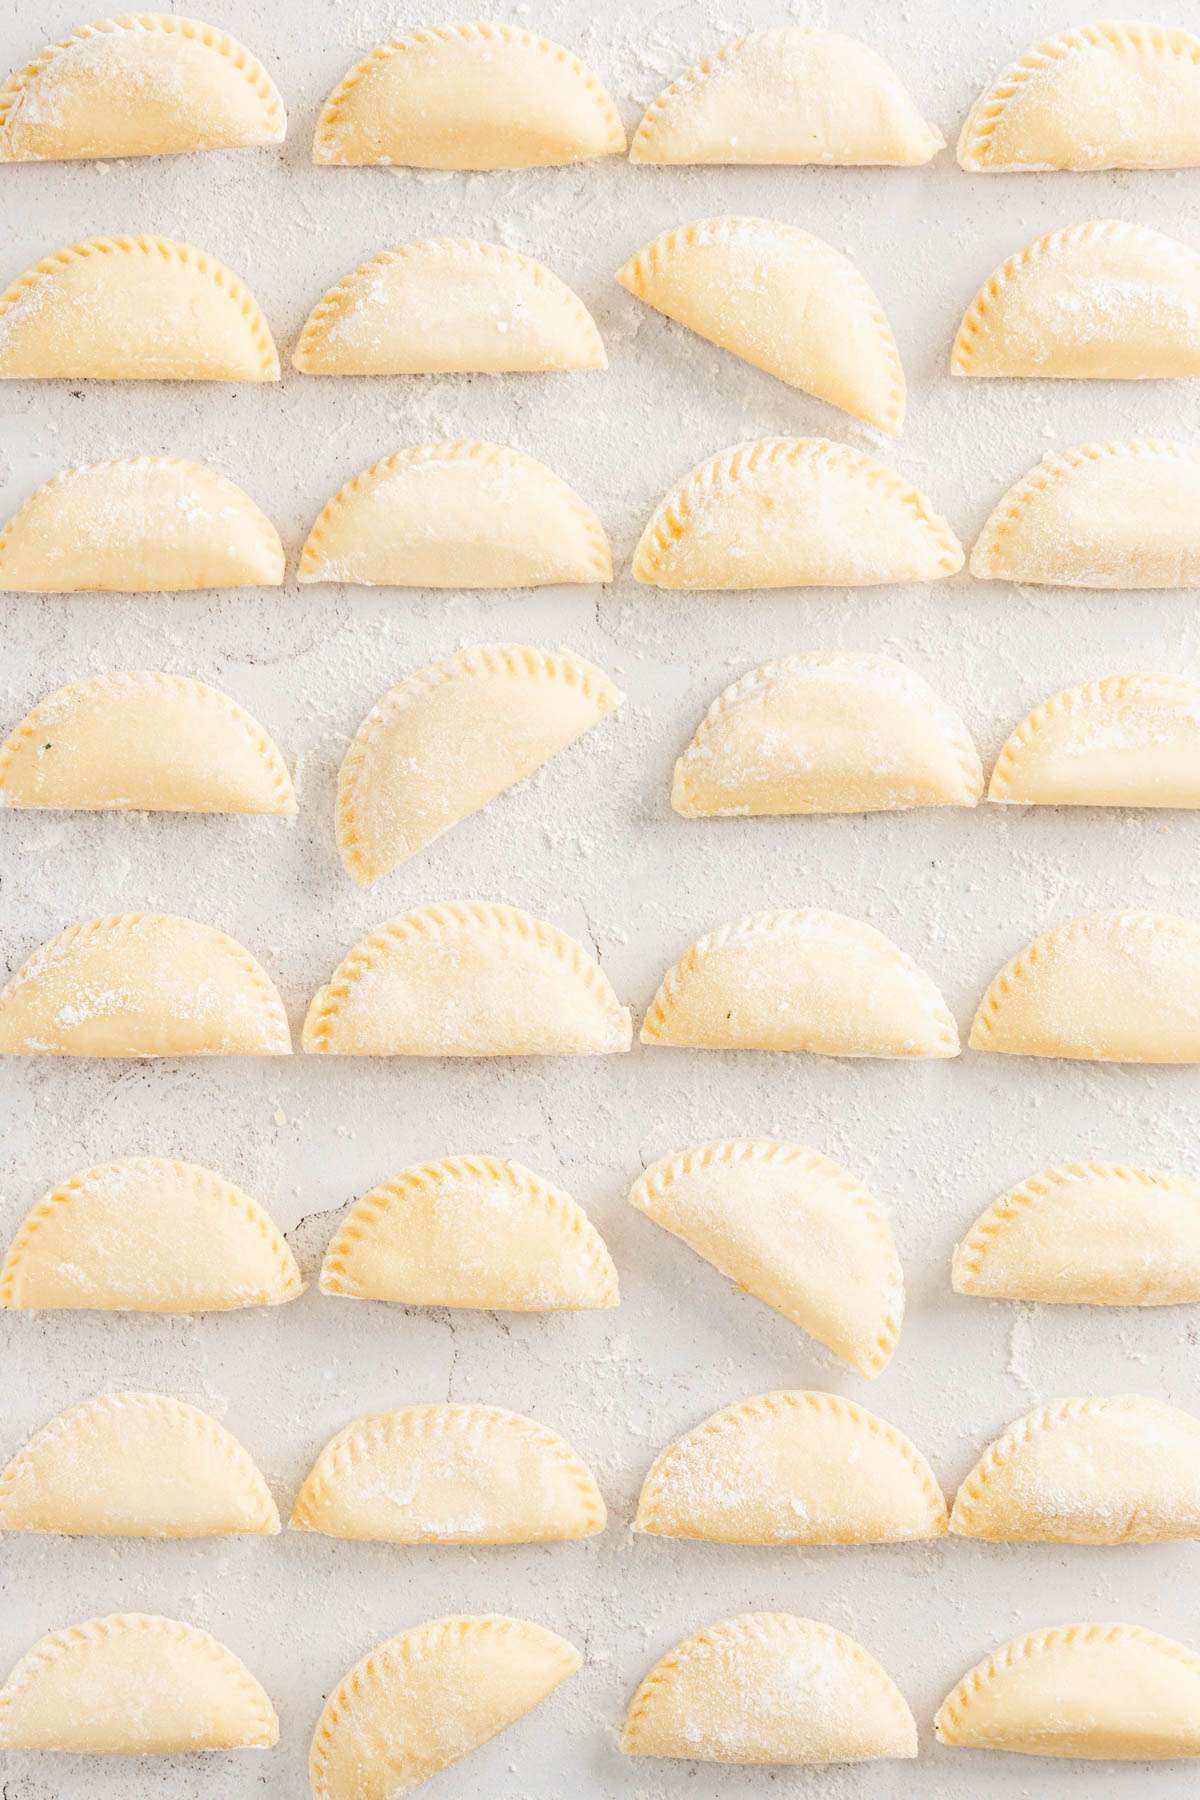
- Place a small spoonful (1.5 tsp) of your filling in the center of each dough circle. Fold the dough over to create a half-moon shape and press the edges together to seal. Crimp the edges with a fork for extra security.
- While you are assembling the pierogi, bring a large pot of salted water to a boil.
- Add the pierogis in batches, making sure not to overcrowd the pot. Boil them until they float to the surface, which takes about 2-3 minutes. Remove them with a slotted spoon and drain.
How to best enjoy Dill Pierogis
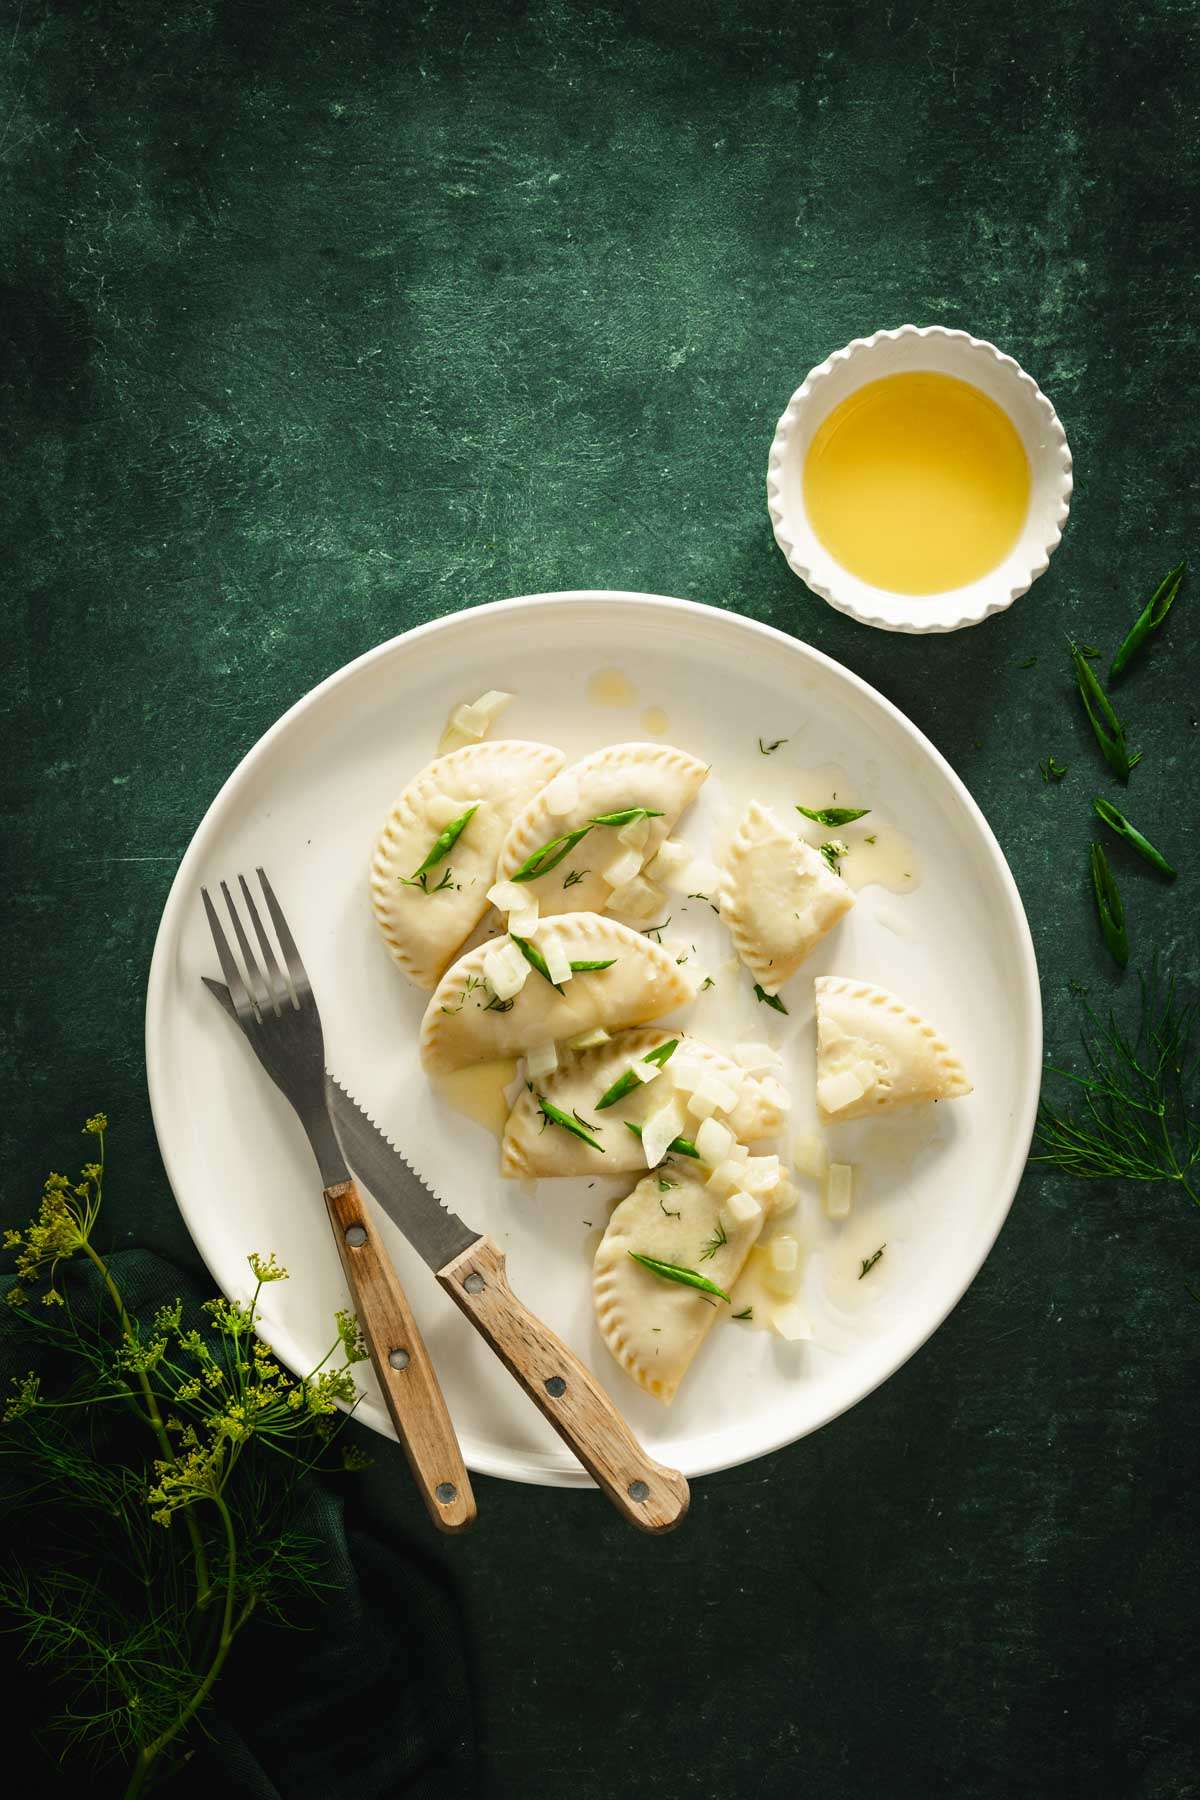
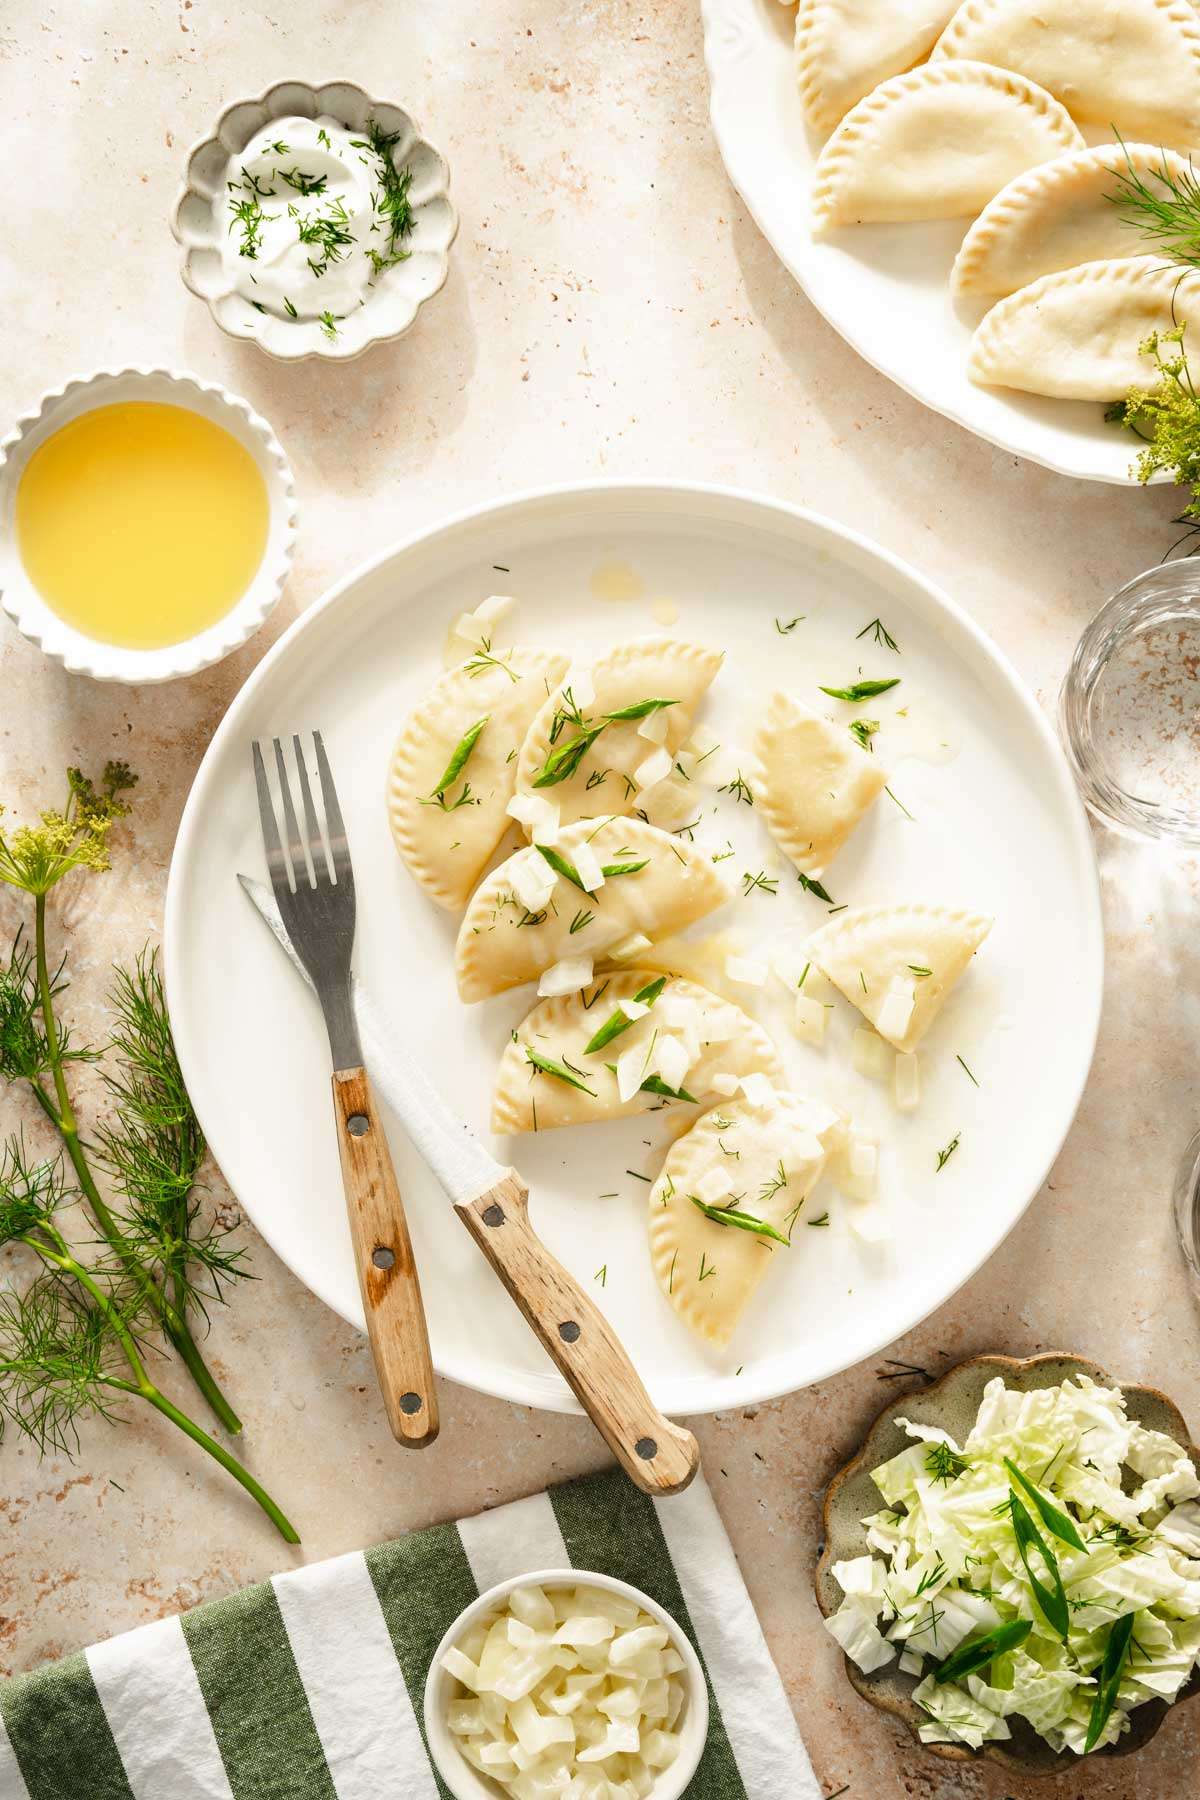
- With butter and onions
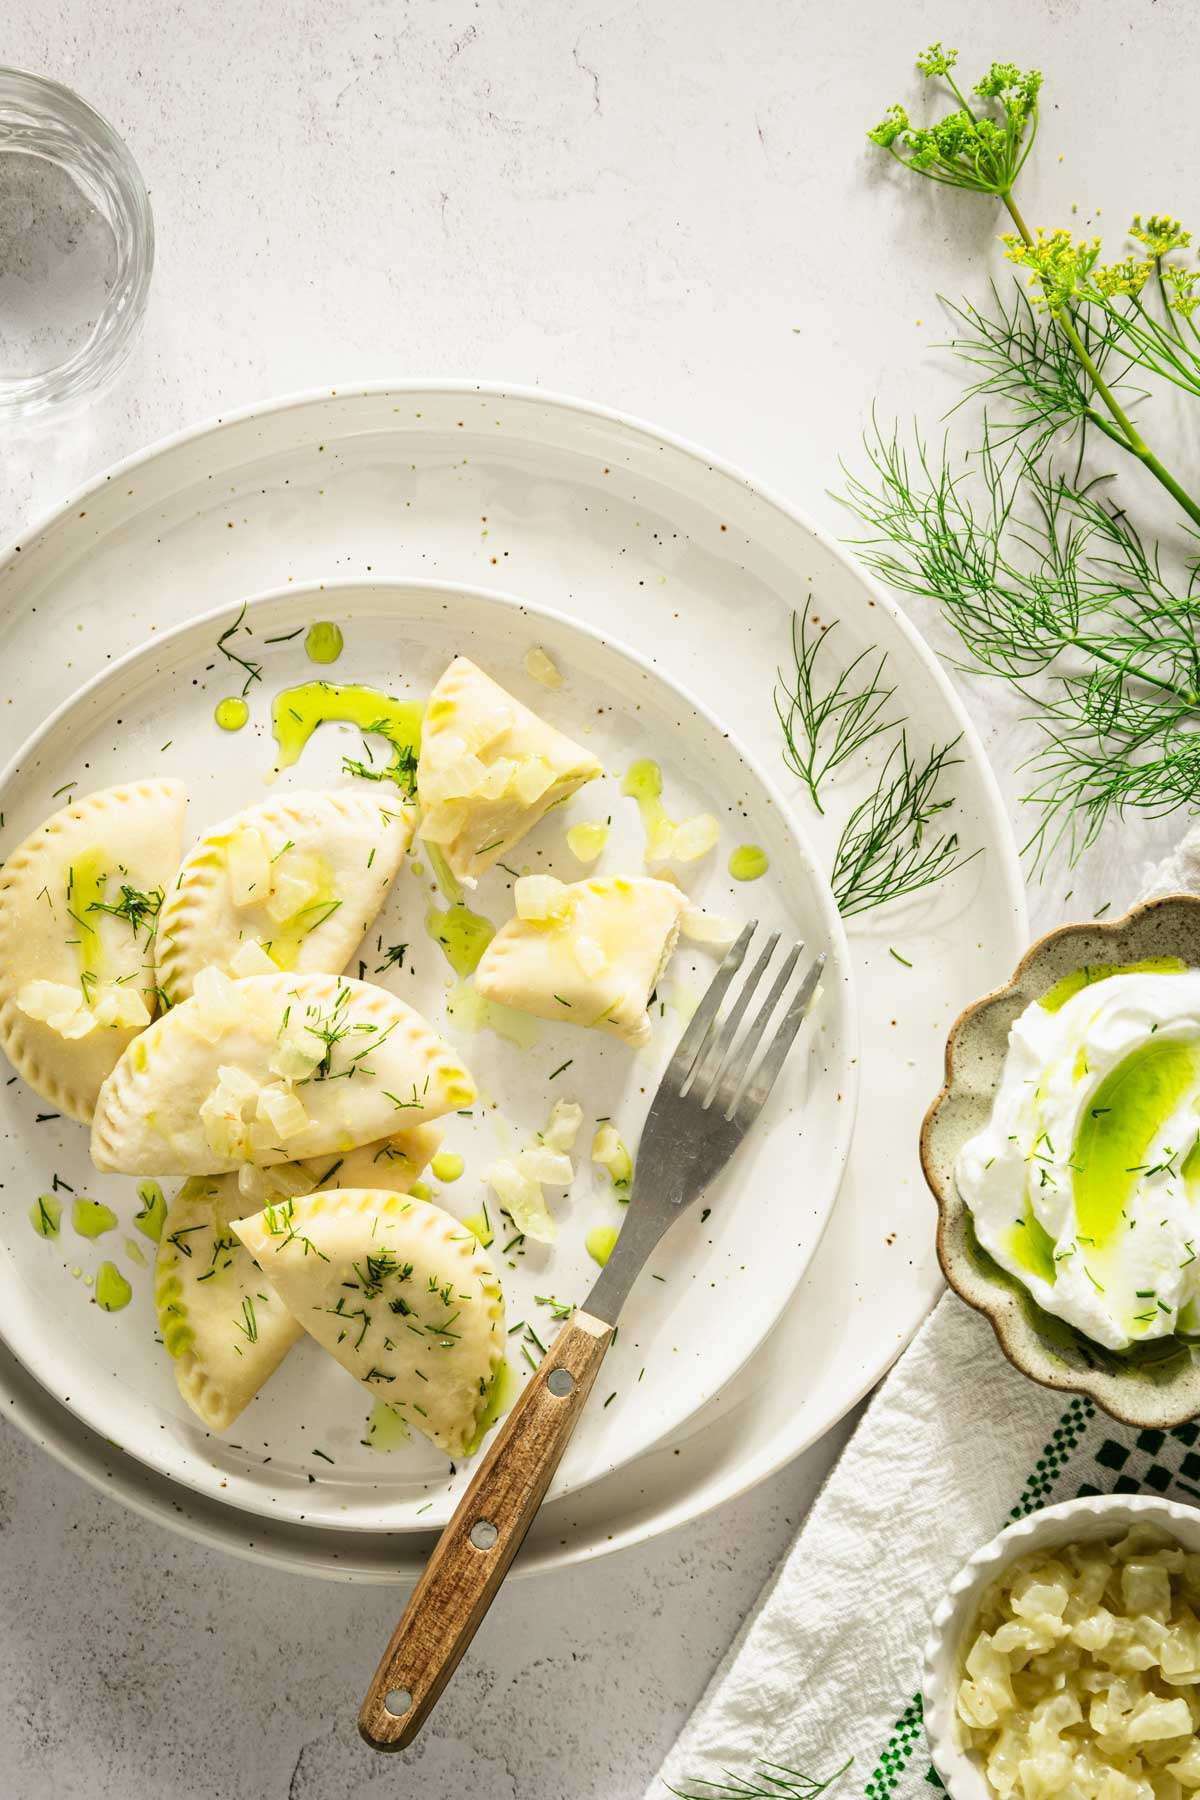
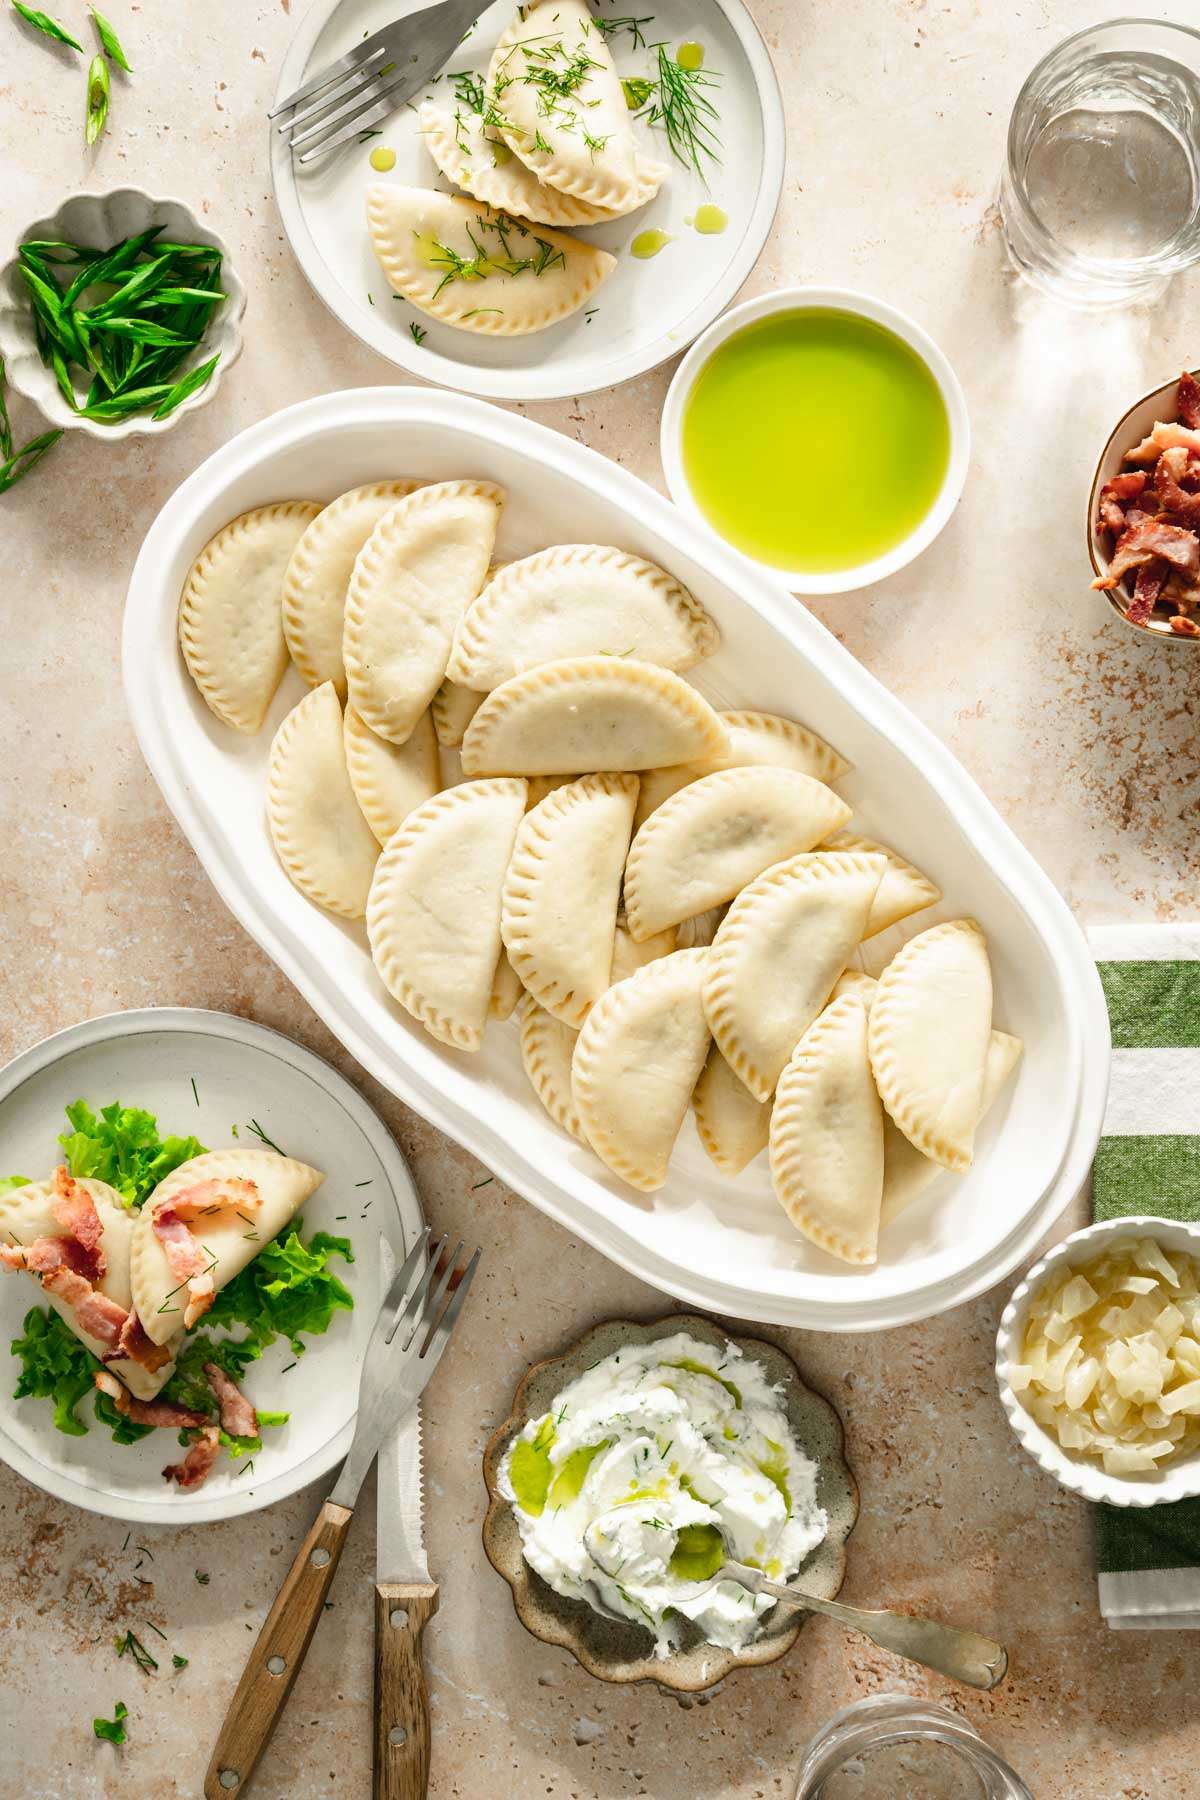
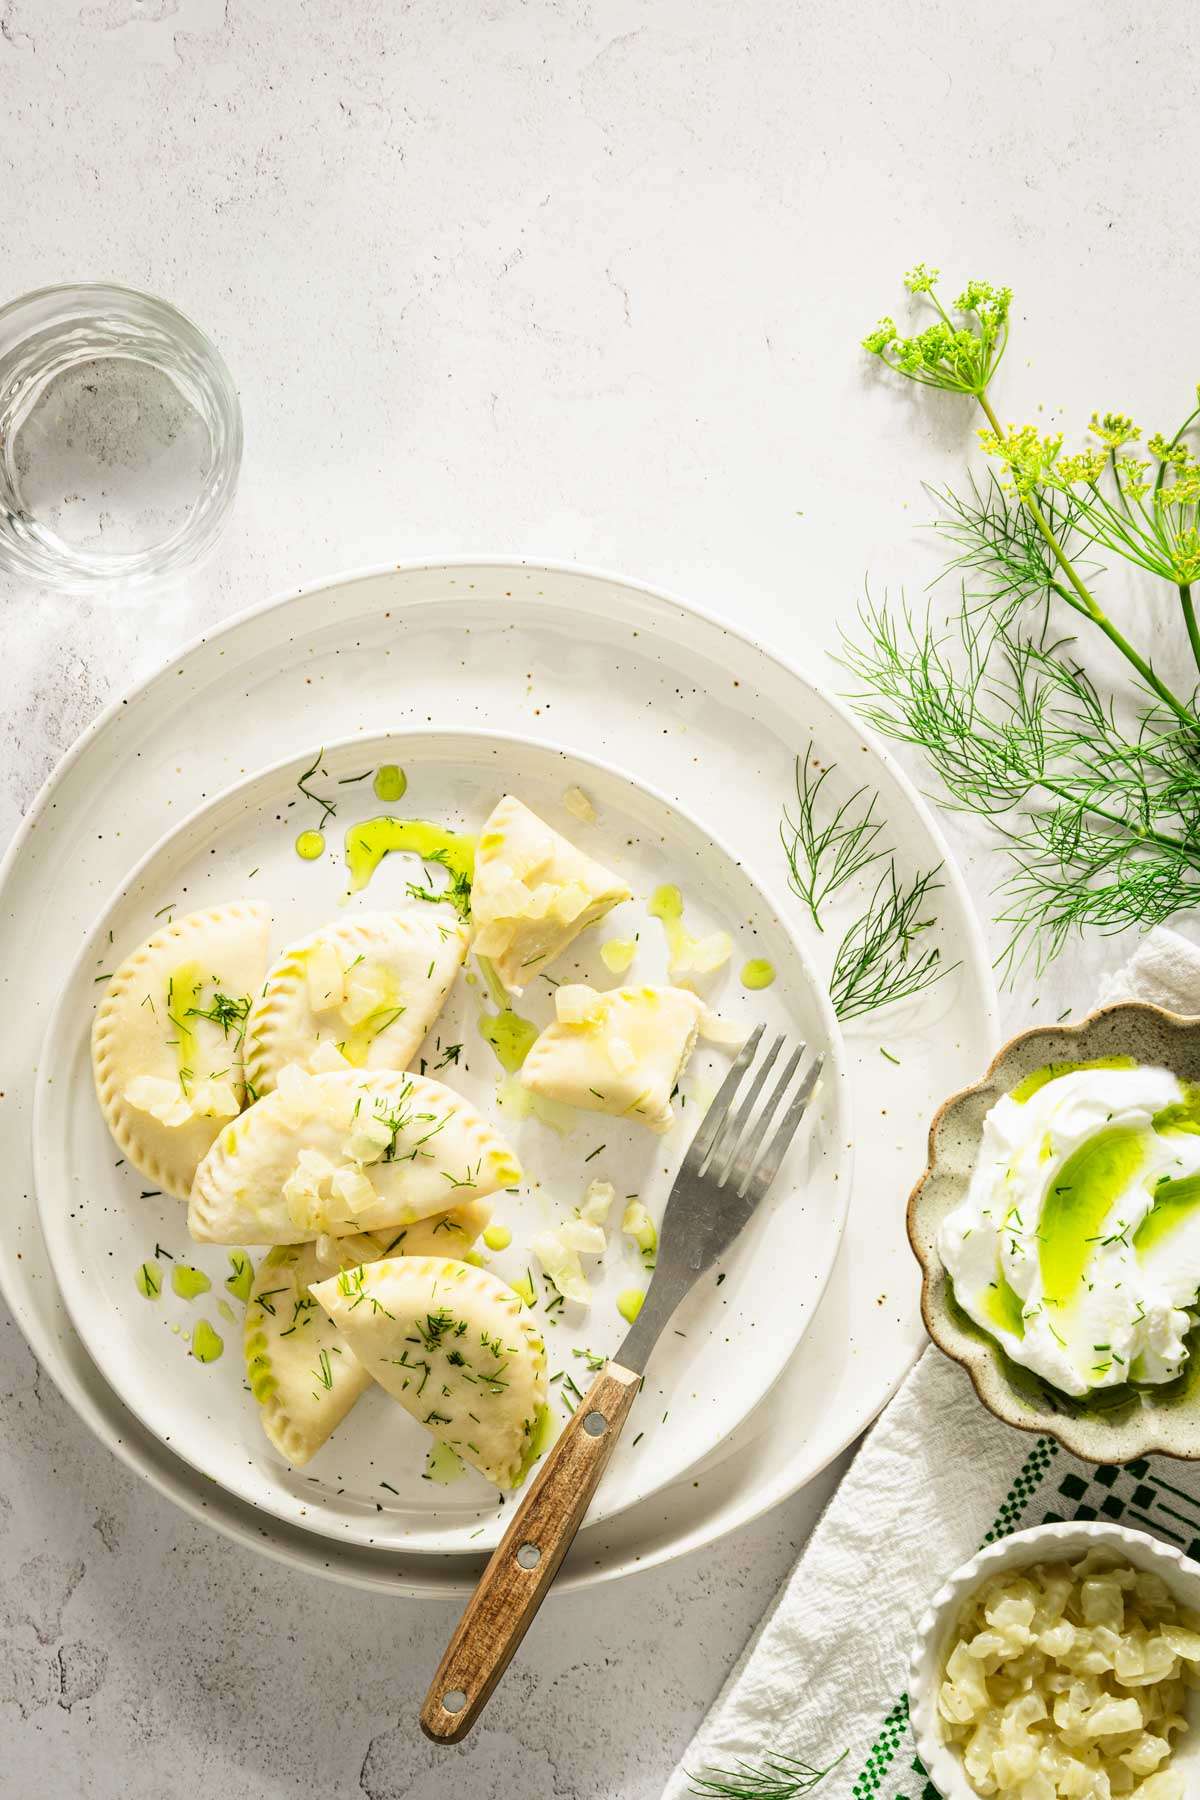
- With a dollop of sour cream or Greek yogurt drizzled with dill oil
- With Mushroom sauce
- Garnished with fresh herbs: dill, parsley, or chives
- Topped with sautéed bacon
- With sauerkraut, pickled vegetables, or light green salad
- Pierogi casserole – layer cooked pierogies in a baking dish with sautéed onions, mushrooms, and cheese. Bake until bubbly and golden.
- Roasted vegetables – pair with roasted root vegetables like carrots, parsnips, and beets
You may also like:
Storage instructions, reheating
Refrigeration:
- Allow the cooked pierogies to cool to room temperature.
- Place them in an airtight container, separating layers with parchment paper to prevent sticking.
- Store in the refrigerator for up to 3-4 days.
Freezing:
- Lay the uncooked pierogies in a single layer on a baking sheet lined with parchment paper.
- Place the baking sheet in the freezer until the pierogies are frozen solid, about 2-3 hours.
- Transfer the frozen pierogies to a freezer-safe bag or airtight container, separating layers with parchment paper.
- Label with the date and freeze for up to 2-3 months.
Reheating Instructions
From Refrigerated:
- Bring a pot of salted water to a boil. Add the refrigerated pierogies and cook for about 1-2 minutes until heated through.
- Heat some butter or oil in a skillet over medium heat. Add the refrigerated pierogies and sauté until they are warmed through.
- Place pierogies on a microwave-safe plate, cover with a damp paper towel, and microwave in 30-second intervals until heated through.
From Frozen:
- Bring a pot of salted water to a boil. Add the frozen pierogies and cook for about 4-5 minutes until they float to the surface.
- After boiling, heat some butter or oil in a skillet over medium heat. Sauté the pierogies until they are golden brown on both sides.

Dill & Ricotta Filled Pierogis
Equipment
- large mixing bowls
- measuring cups and spoons
- fork or whisk
- round cookie cutter (about 3 inch diameter)
- Rolling Pin
- clean kitchen towel or plastci wrap
- large pot for cooking pierogis
- slotted spoon
- colander
- fine mesh sieve or cheesecloth
Ingredients
Dough
- 5 cups all-purpose flour
- 1 1/4 teaspoons salt
- 2 large eggs
- 2/3 cup sour cream or Greek yogurt
- 1/4 cup unsalted butter melted
- 1/2 to 3/4 cup warm water as needed
Filling
- 2 cups ricotta cheese
- 1/4 cup fresh dill finely chopped
- 2-3 green onions or chives finely chopped
- 1 large egg beaten or just the yolk
- Salt and pepper
- pinch of nutmeg
Instructions
- Using a fine mesh sieve or cheesecloth, set the ricotta cheese to drain over a medium bowl.
- In a large mixing bowl, combine the flour and salt.
- Create a well in the center of the flour mixture. Add the eggs, sour cream, and melted butter into the well.
- Using a fork or your hands, mix the ingredients together. Gradually add the warm water, until the dough starts to come together.
- Transfer the dough to a lightly floured surface and knead it for about 5-7 minutes until it becomes smooth and elastic. Add more water or flour as needed to reach the right consistency.
- Wrap the dough in plastic wrap or cover it with a clean kitchen towel. Let it rest for at least 30 minutes at room temperature.
- Transfer the drained ricotta to a large mixing bowl. Add finely chopped fresh dill, chopped green onions, salt, pepper, nutmeg, and lightly whisked egg.
- Use a spoon or spatula to mix everything until it is well combined. Make sure the egg is evenly distributed throughout the mixture.
- If the filling seems too soft or if you want to make it easier to handle, you can chill it in the refrigerator for about 30 minutes. You can also add cornstarch or flour to absorb the extra moisture,
- On a floured surface, roll out the dough to about 1/8-inch thickness. Cut out circles of dough using a round cutter (about 3 inches in diameter).
- Place a small spoonful (1.5 tsp) of your filling in the center of each dough circle. Fold the dough over to create a half-moon shape and press the edges together to seal. Crimp the edges with a fork for extra security.
- While you are assembling the pierogi, bring a large pot of salted water to a boil.
- Add the pierogis in batches, making sure not to overcrowd the pot. Boil them until they float to the surface, which takes about 2-3 minutes. Remove them with a slotted spoon and drain.
Notes
Nutrition
Did you make this recipe?
Tag me @sylwiavaclavekphotography or tag me using #myomnikitchen so I can see your creations! You can also leave a comment below!

Conclusion
There is no doubt that you need to be making Dill Pierogis. This delightful twist on a classic will get you pierogi points amongst family and friends.
Whether you enjoy them boiled, sautéed, or topped with your favorite accompaniments, these pierogies are sure to impress even the picky eaters.
I hope that just, like for us Poles, Dill Pierogis will become a beloved comfort food for your family.
FAQ
Can I make the pierogi dough ahead of time?
Yes, you can make the dough ahead of time. Wrap it tightly in plastic wrap and store it in the refrigerator for up to 2 days. Let it come to room temperature before rolling it out.
Can I freeze the pierogies?
Yes, pierogies freeze well. Click HERE to read more about pierogi storage.
How do I prevent the pierogies from sticking together?
Ensure the pierogies are not touching each other when boiling or freezing. Use plenty of water when boiling and stir gently. If freezing, place them in a single layer on a baking sheet before transferring to a storage bag.
What can I use instead of ricotta cheese for the filling?
You can substitute ricotta with cottage cheese (drained), cream cheese, farmer’s cheese, or even mashed potatoes for a different texture and flavor.
Can I use dried dill instead of fresh?
Yes, you can use dried dill. Since dried herbs are more concentrated, use about 1 tablespoon of dried dill in place of the 1/4 cup of fresh dill.
What should I do if the filling is too runny?
If the filling is too runny, you can thicken it by adding a small amount of cornstarch (1-2 tsp), breadcrumbs (1-2 tbsp), or grated cheese. Draining the ricotta cheese well before using it can also help.
Can I make a vegan version of these pierogies?
Yes, you can make vegan pierogies by using flax eggs (1 tablespoon flaxseed meal + 2.5 tablespoons water per egg) and substituting the sour cream with a dairy-free alternative. Use a vegan cheese or mashed potatoes for the filling.
How do I reheat leftover pierogies?
Reheat refrigerated pierogies by boiling them for 1-2 minutes. Click HERE to read more about reheating the pierogis.
Can I make pierogies without a round cutter?
Yes, you can use a glass or any round object with a sharp edge to cut the dough. Alternatively, you can cut the dough into squares and fold them into triangles.

