Pączki Recipe (Polish Doughnuts)
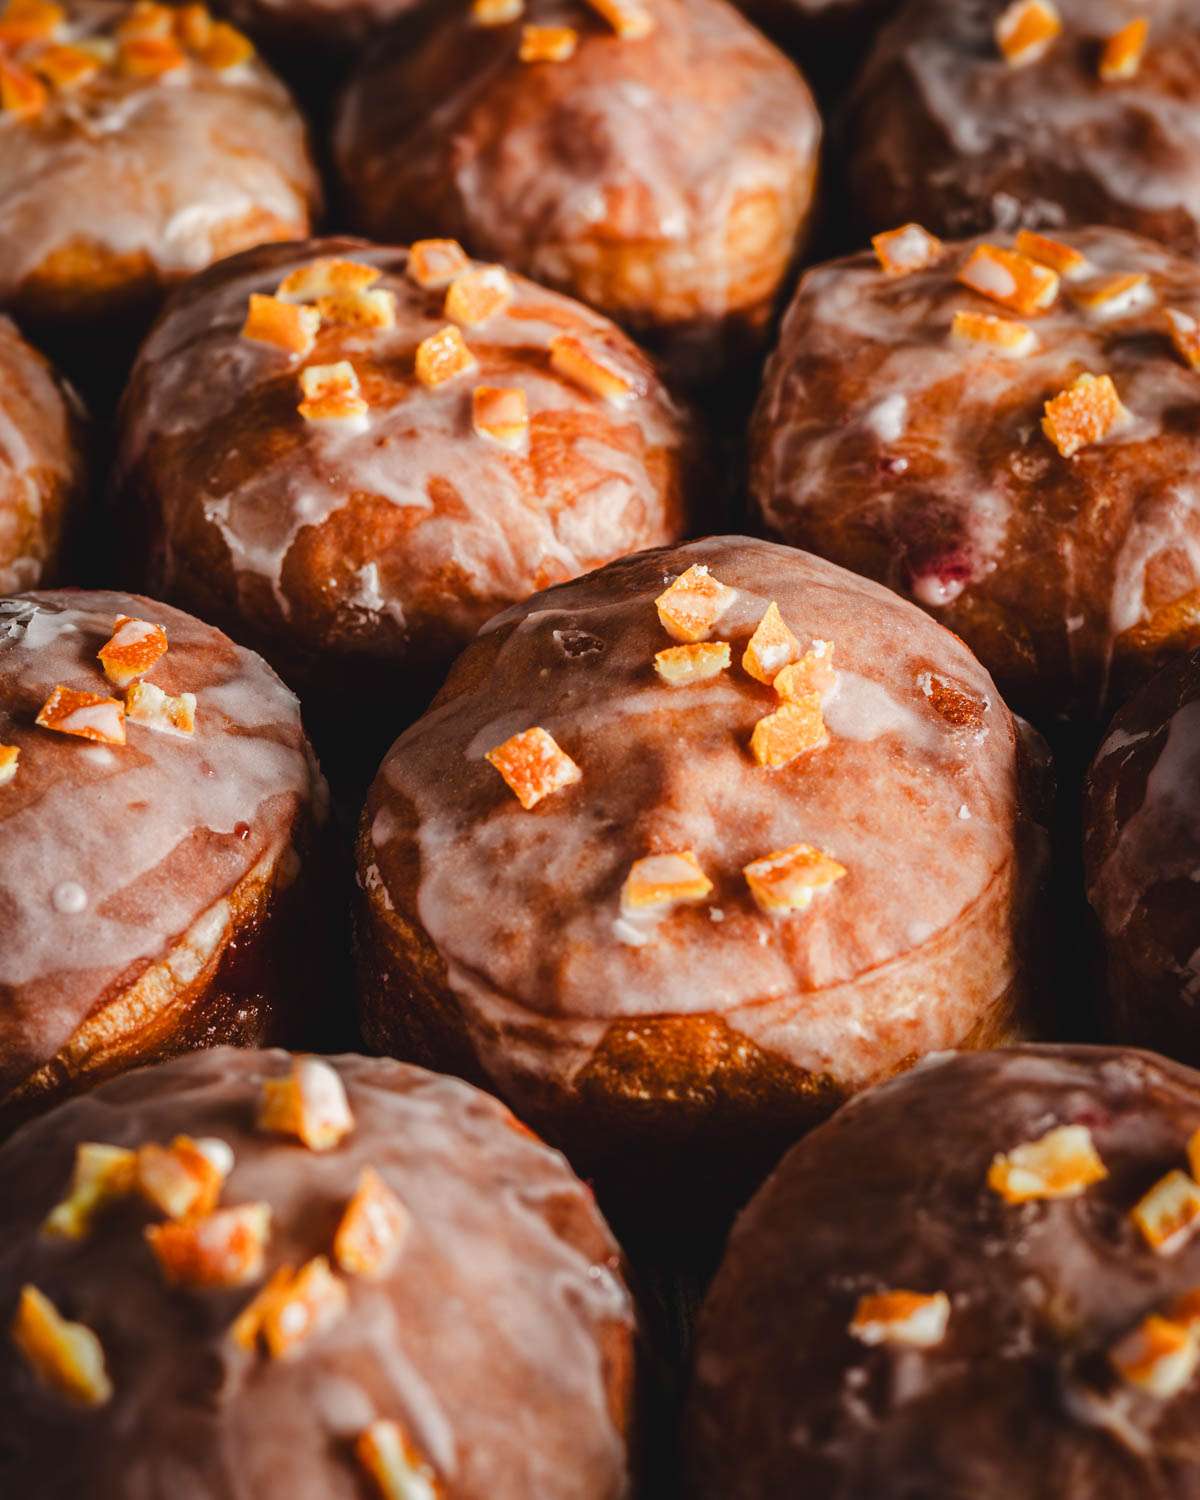
The ultimate, best Polish dessert you can enjoy year round is Pączki. I dare to say they outrank donuts by a mile. Don’t hate me 🙂 After you make Polish Pączki recipe, you will admit I was right.
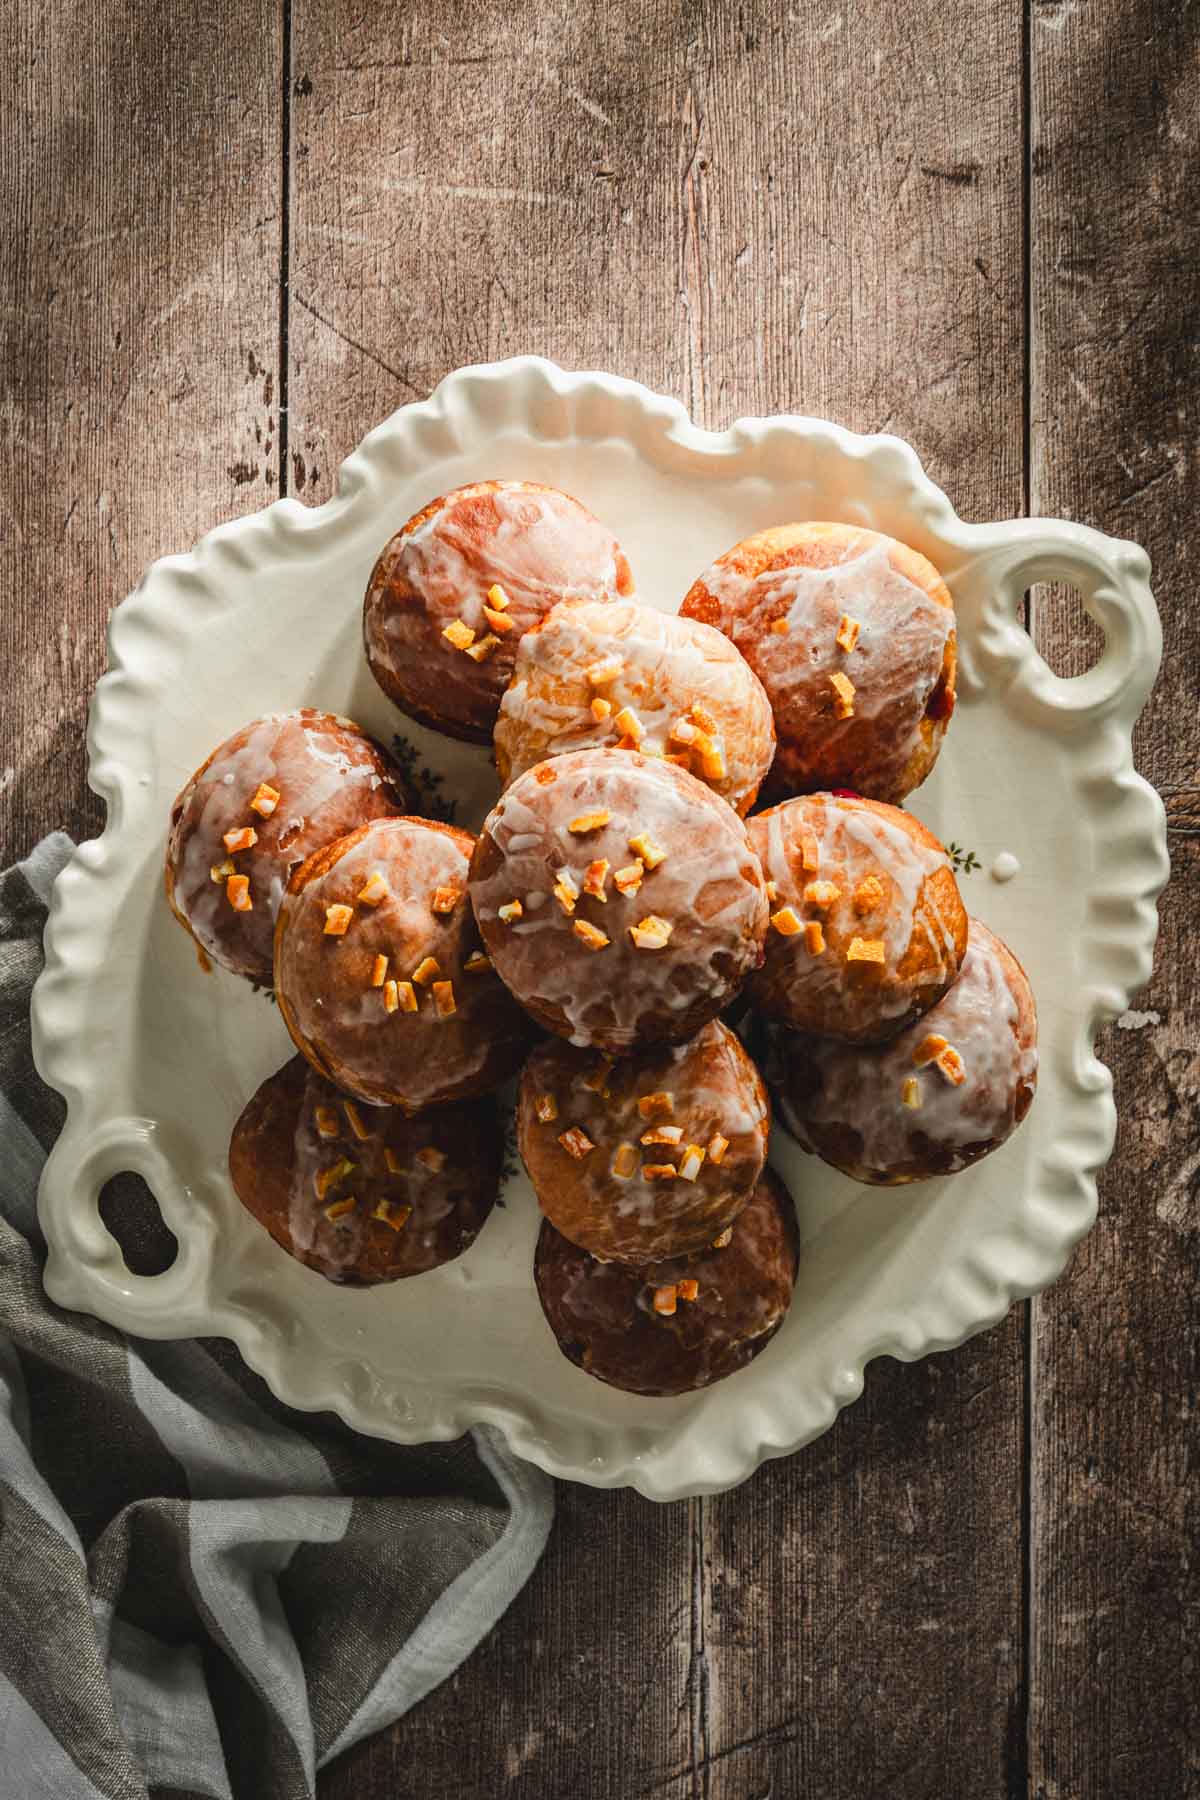
Get ready to celebrate Fat Thursday and Fat Tuesday like never before with this authentic Polish Pączki recipe. But note there’s no need to wait for a special occasion; these delightful treats are perfect for enjoying just because. Join me in honoring a delicious tradition that makes these days so special. Whether you’re new to making Pączki or a seasoned pro, this guide will help you bring a taste of Poland to your kitchen.
Pączki Recipe: Fair Warning –
The process of making pączki is lengthy. We are using basic ingredients and kitchen equipment, but it takes a few hours. Why? well the basic ingredients must be transformed into delicious, airy dough. Yeast needs it’s time to make it happen. Final transformation takes place during the deep fry. It is only a few seconds, a minute, but this is the final magic touch.
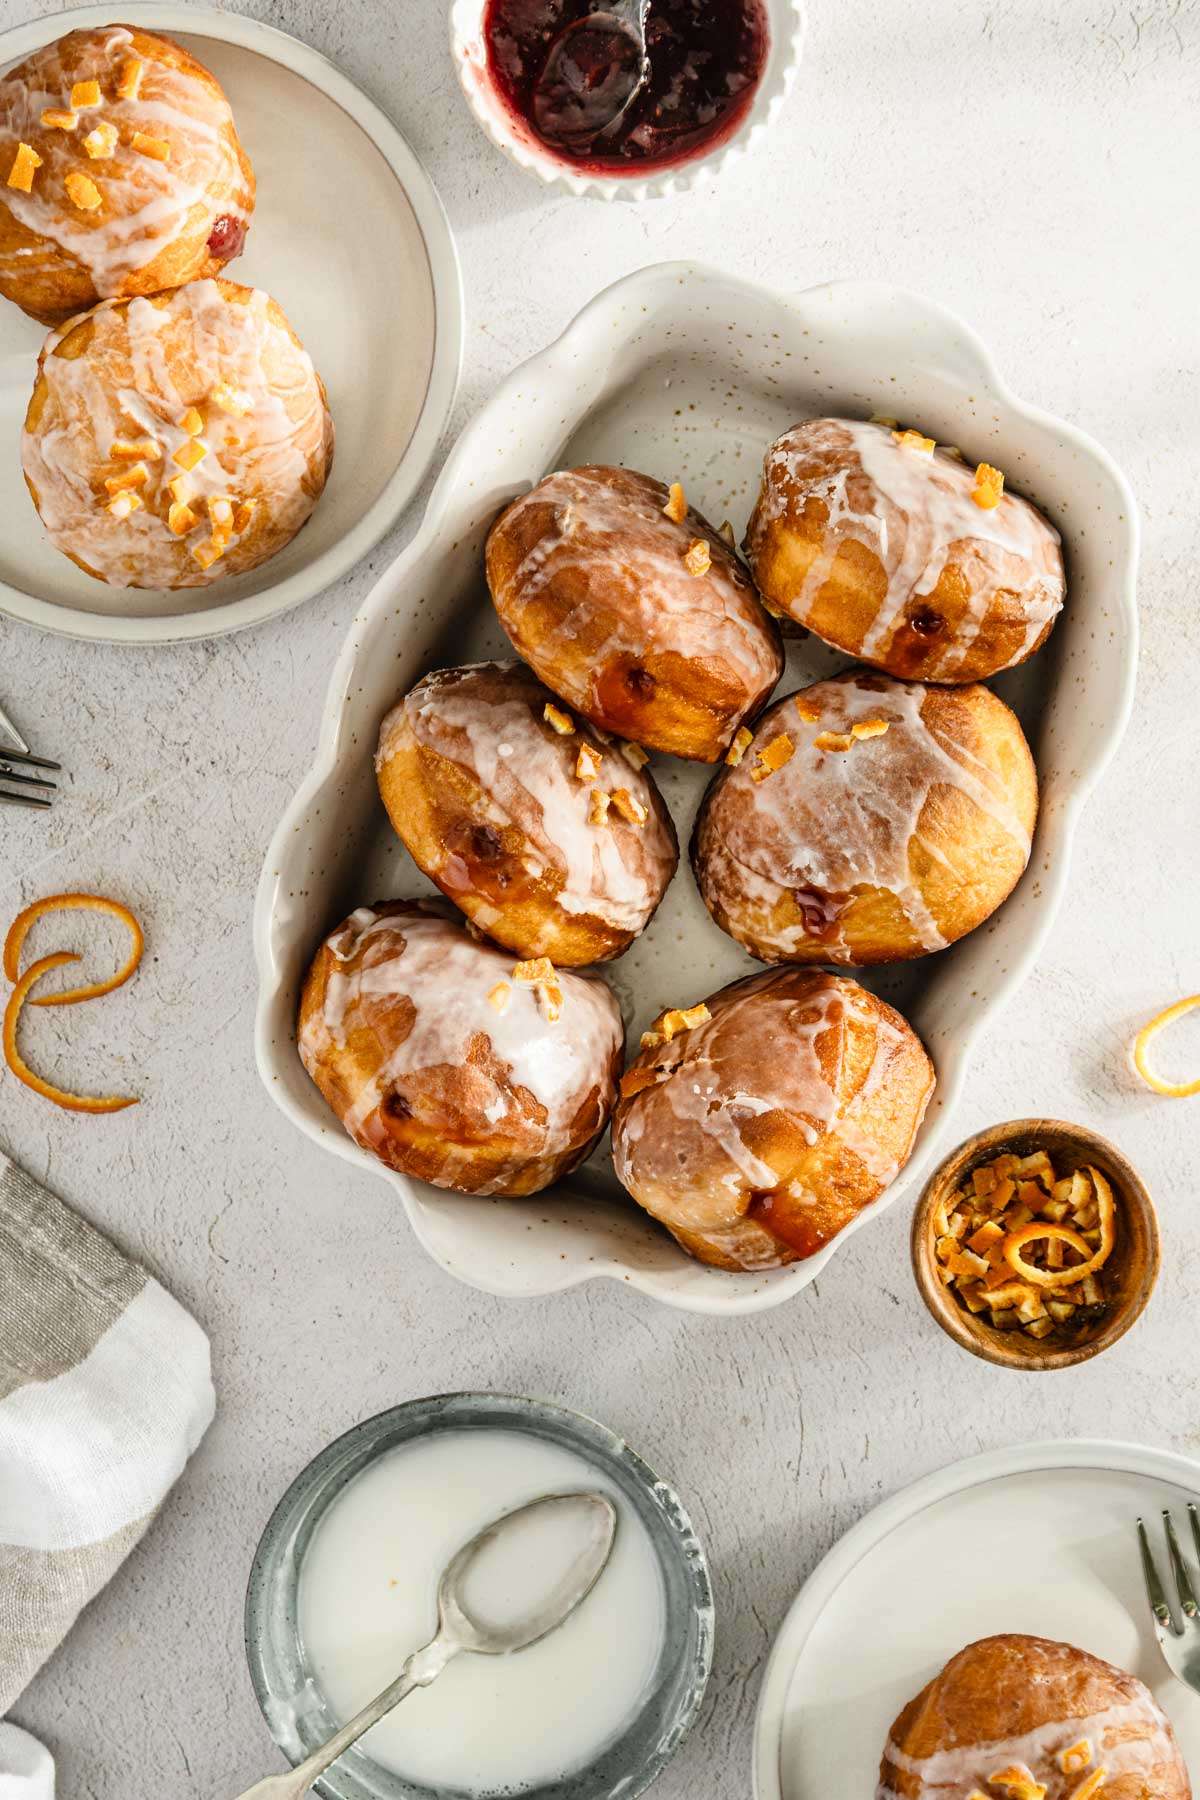
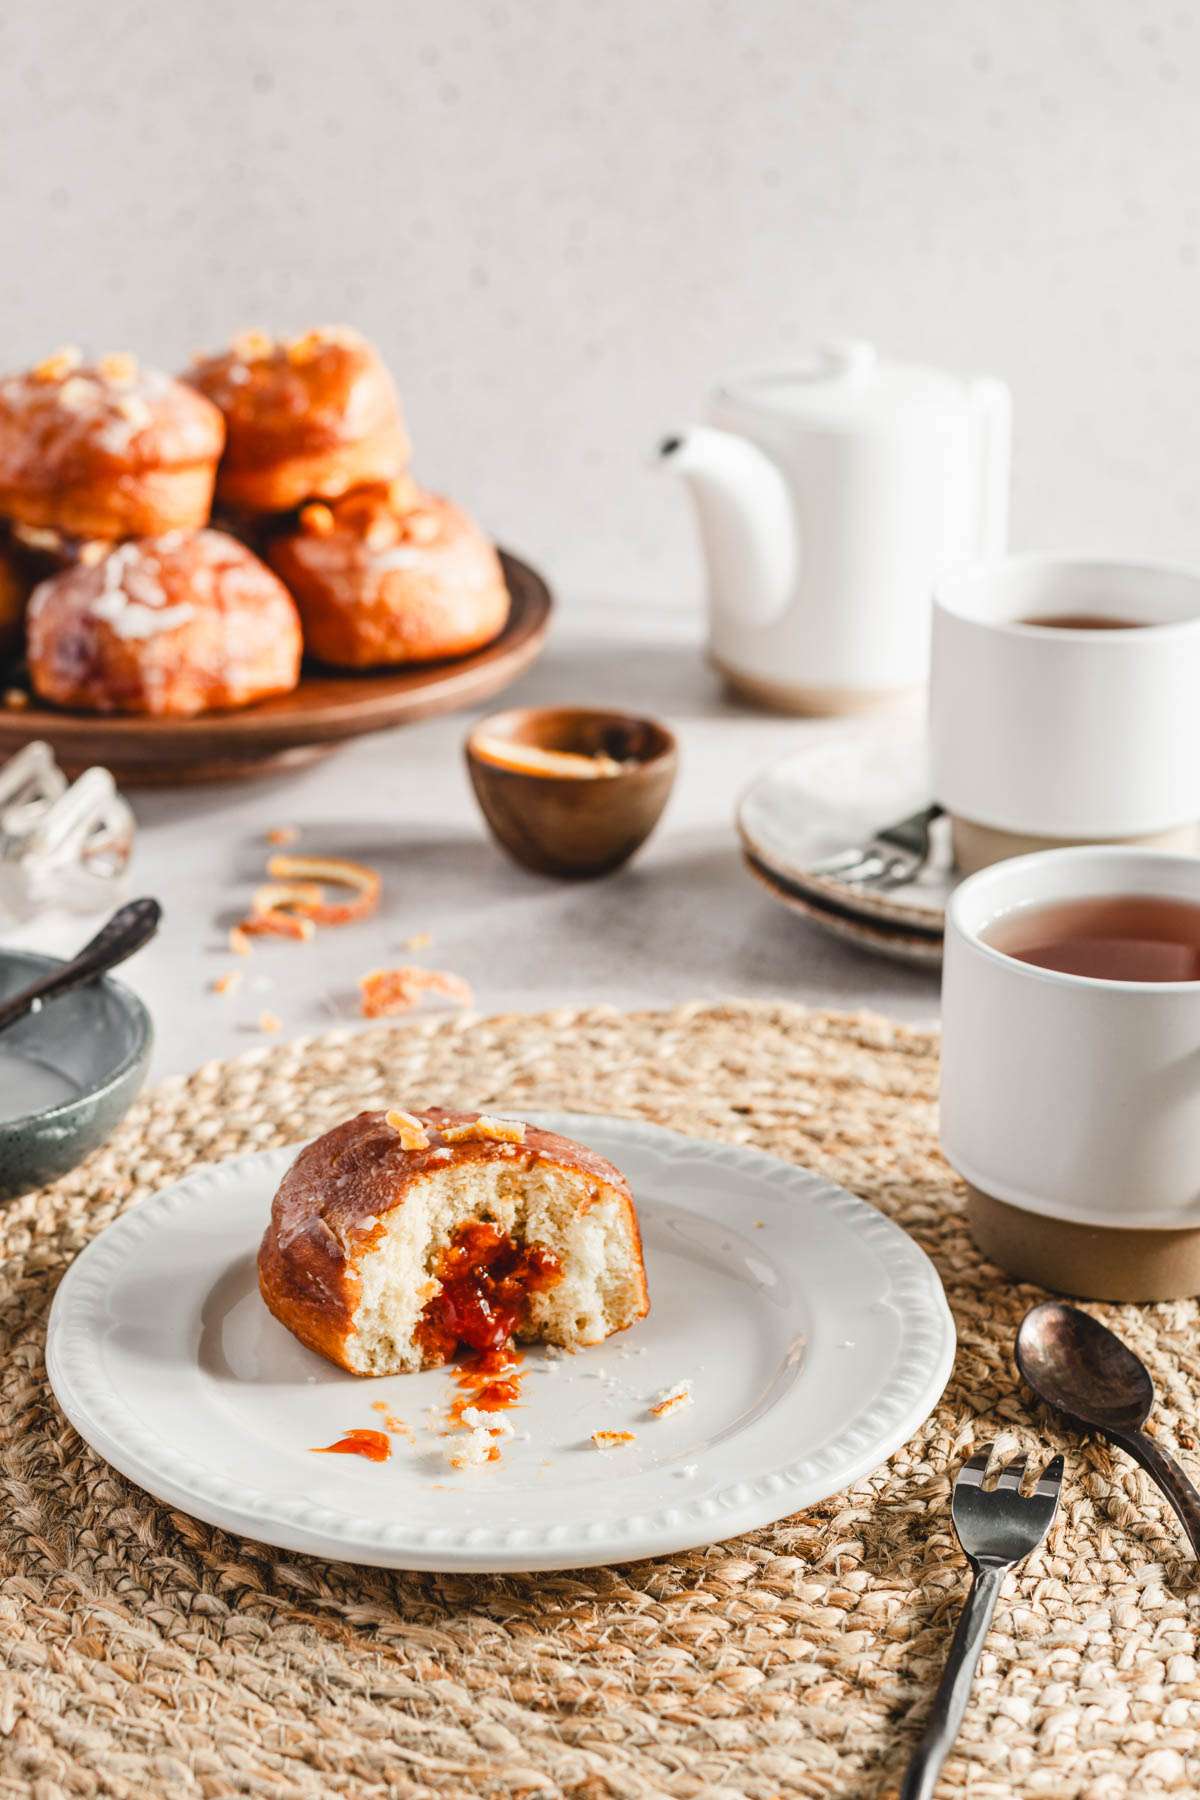
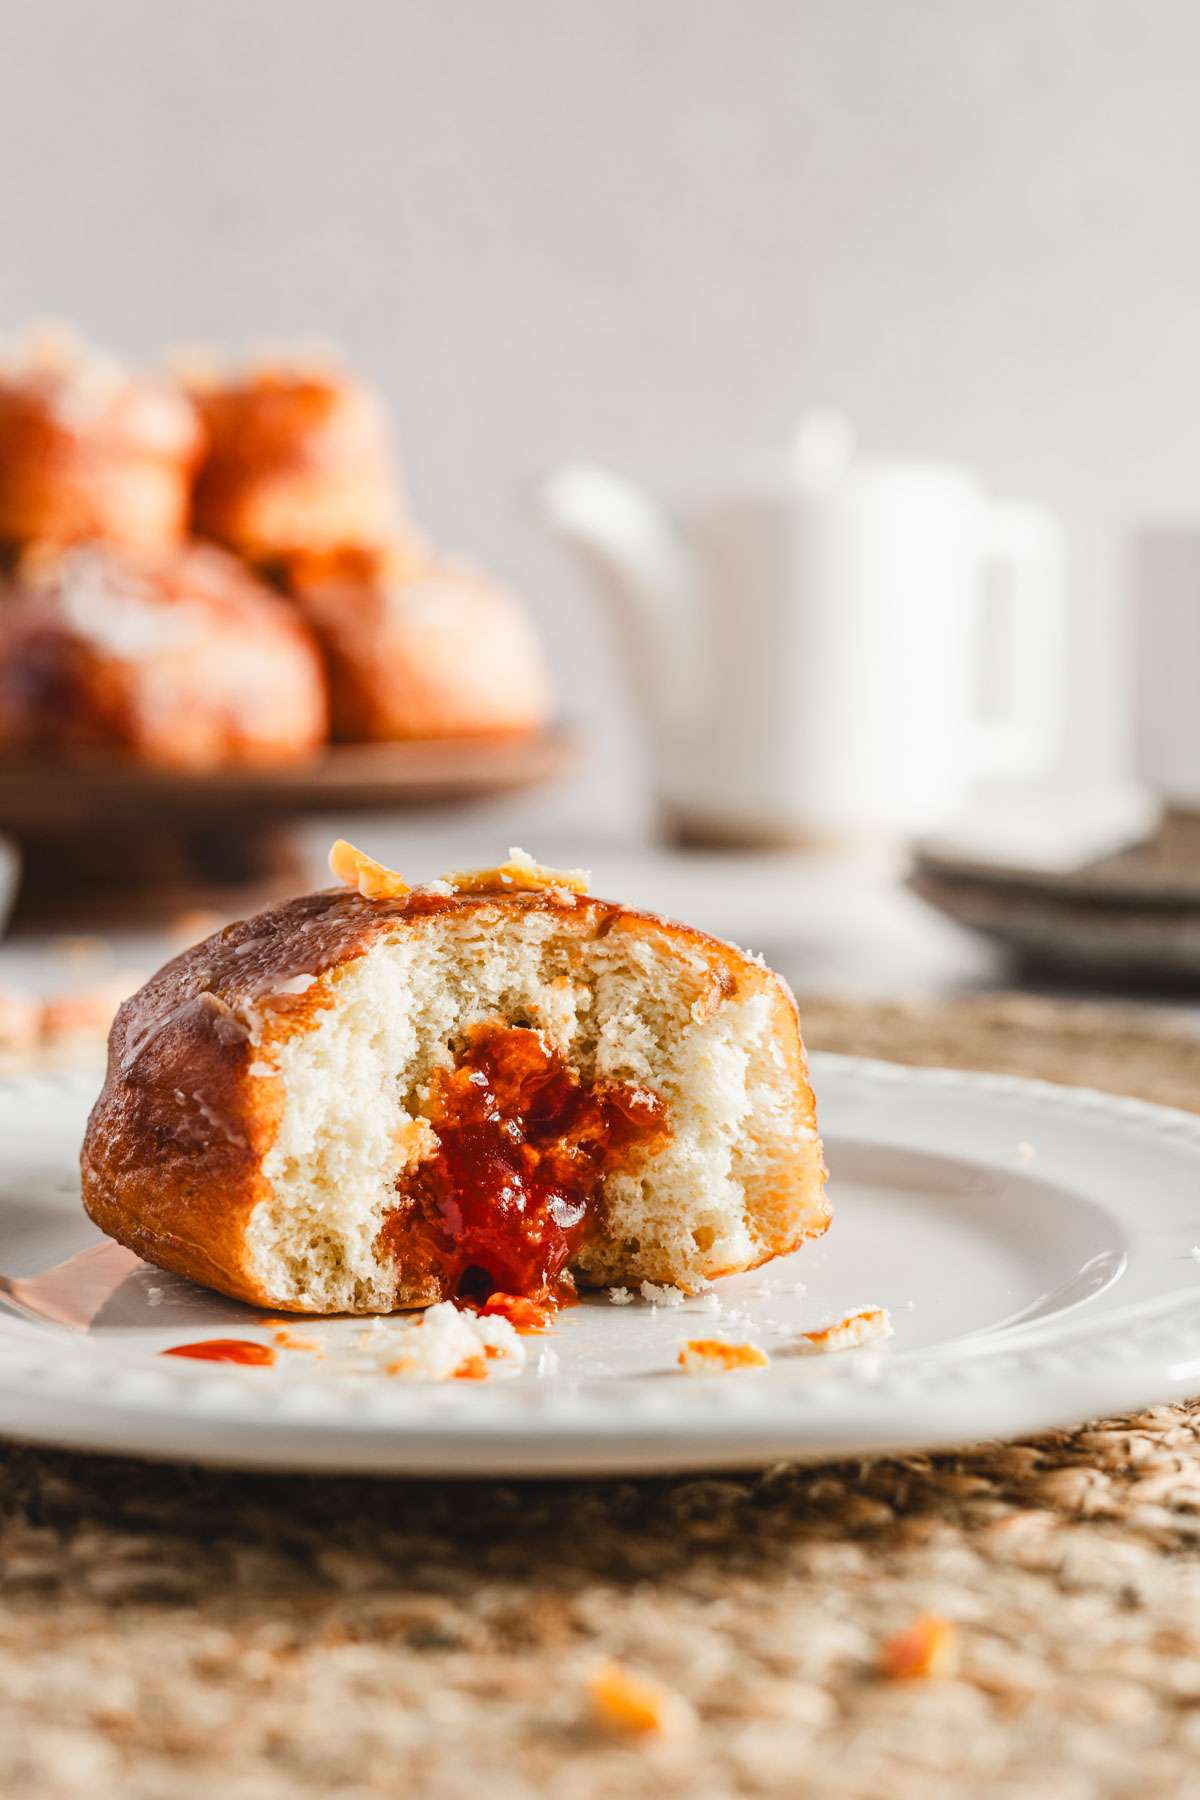
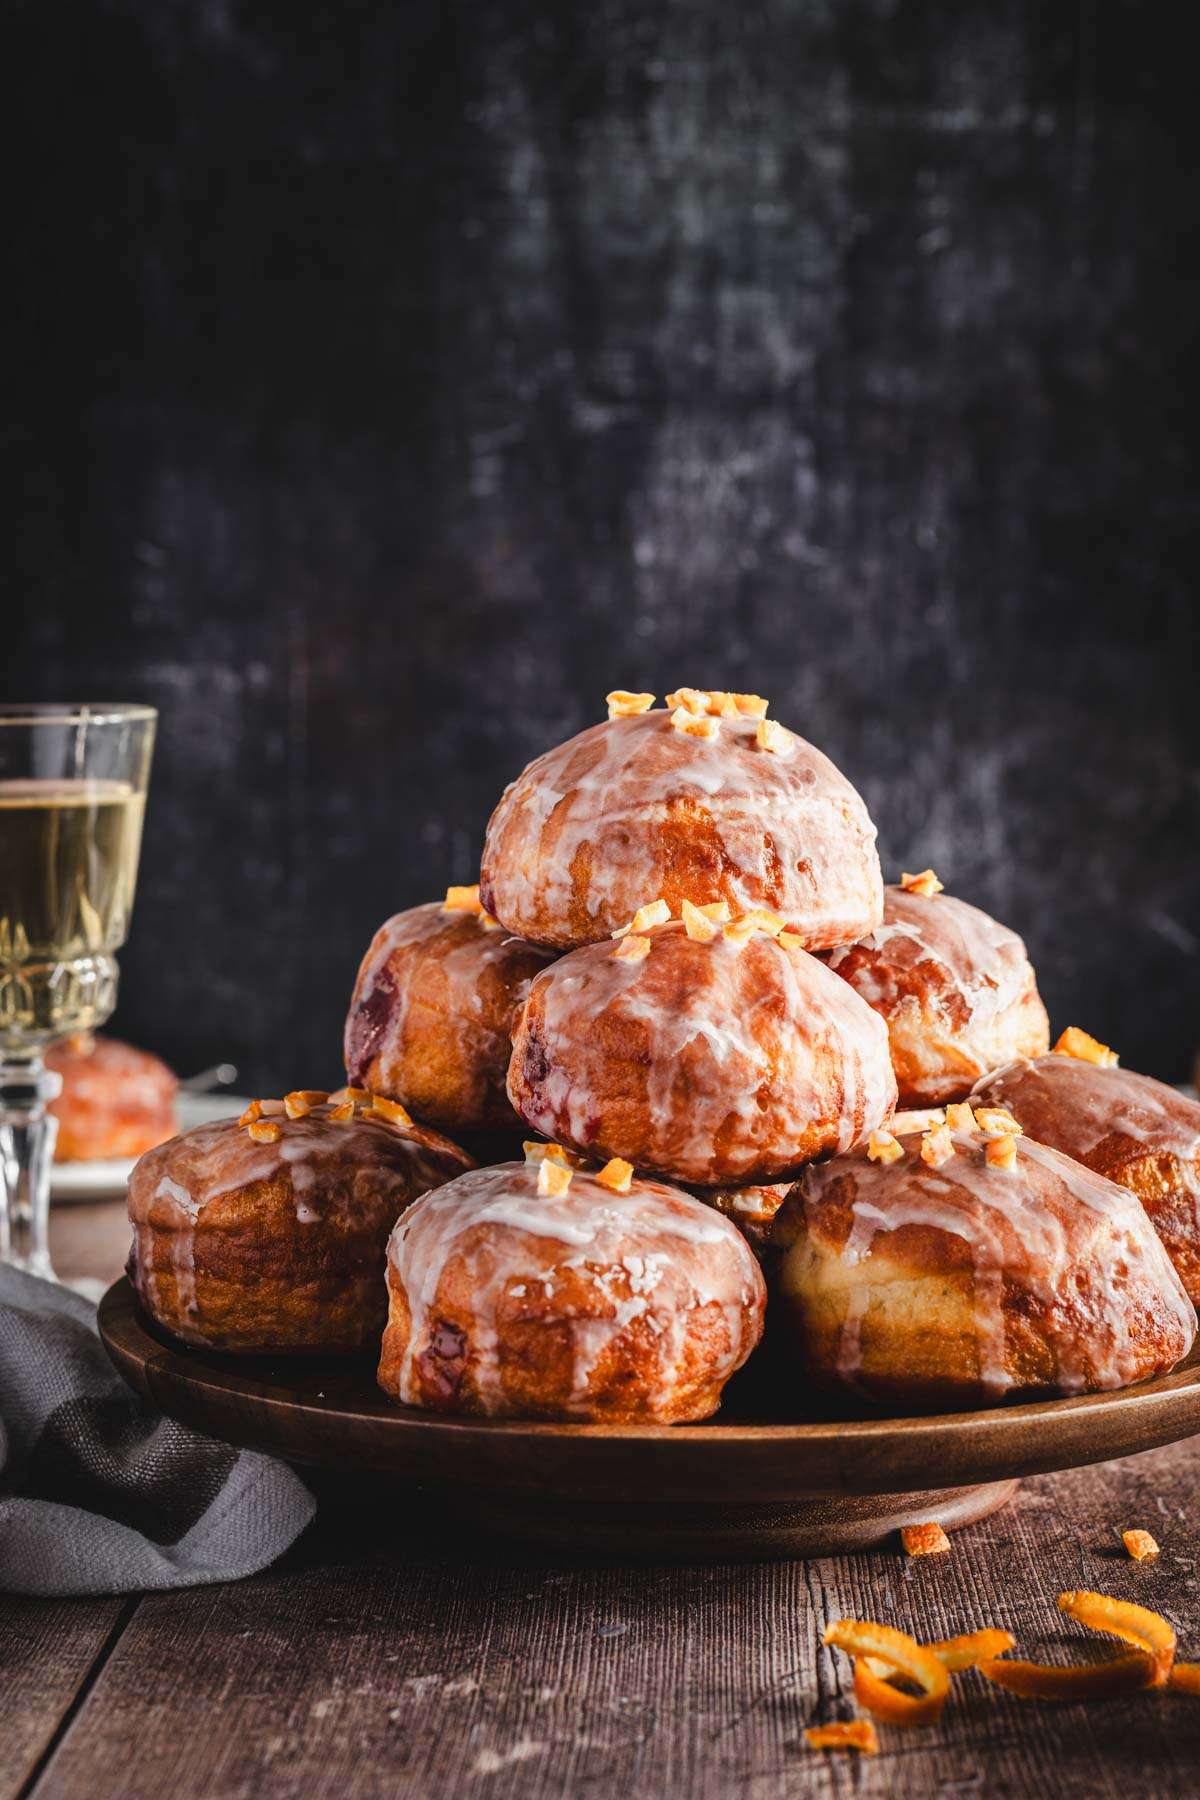
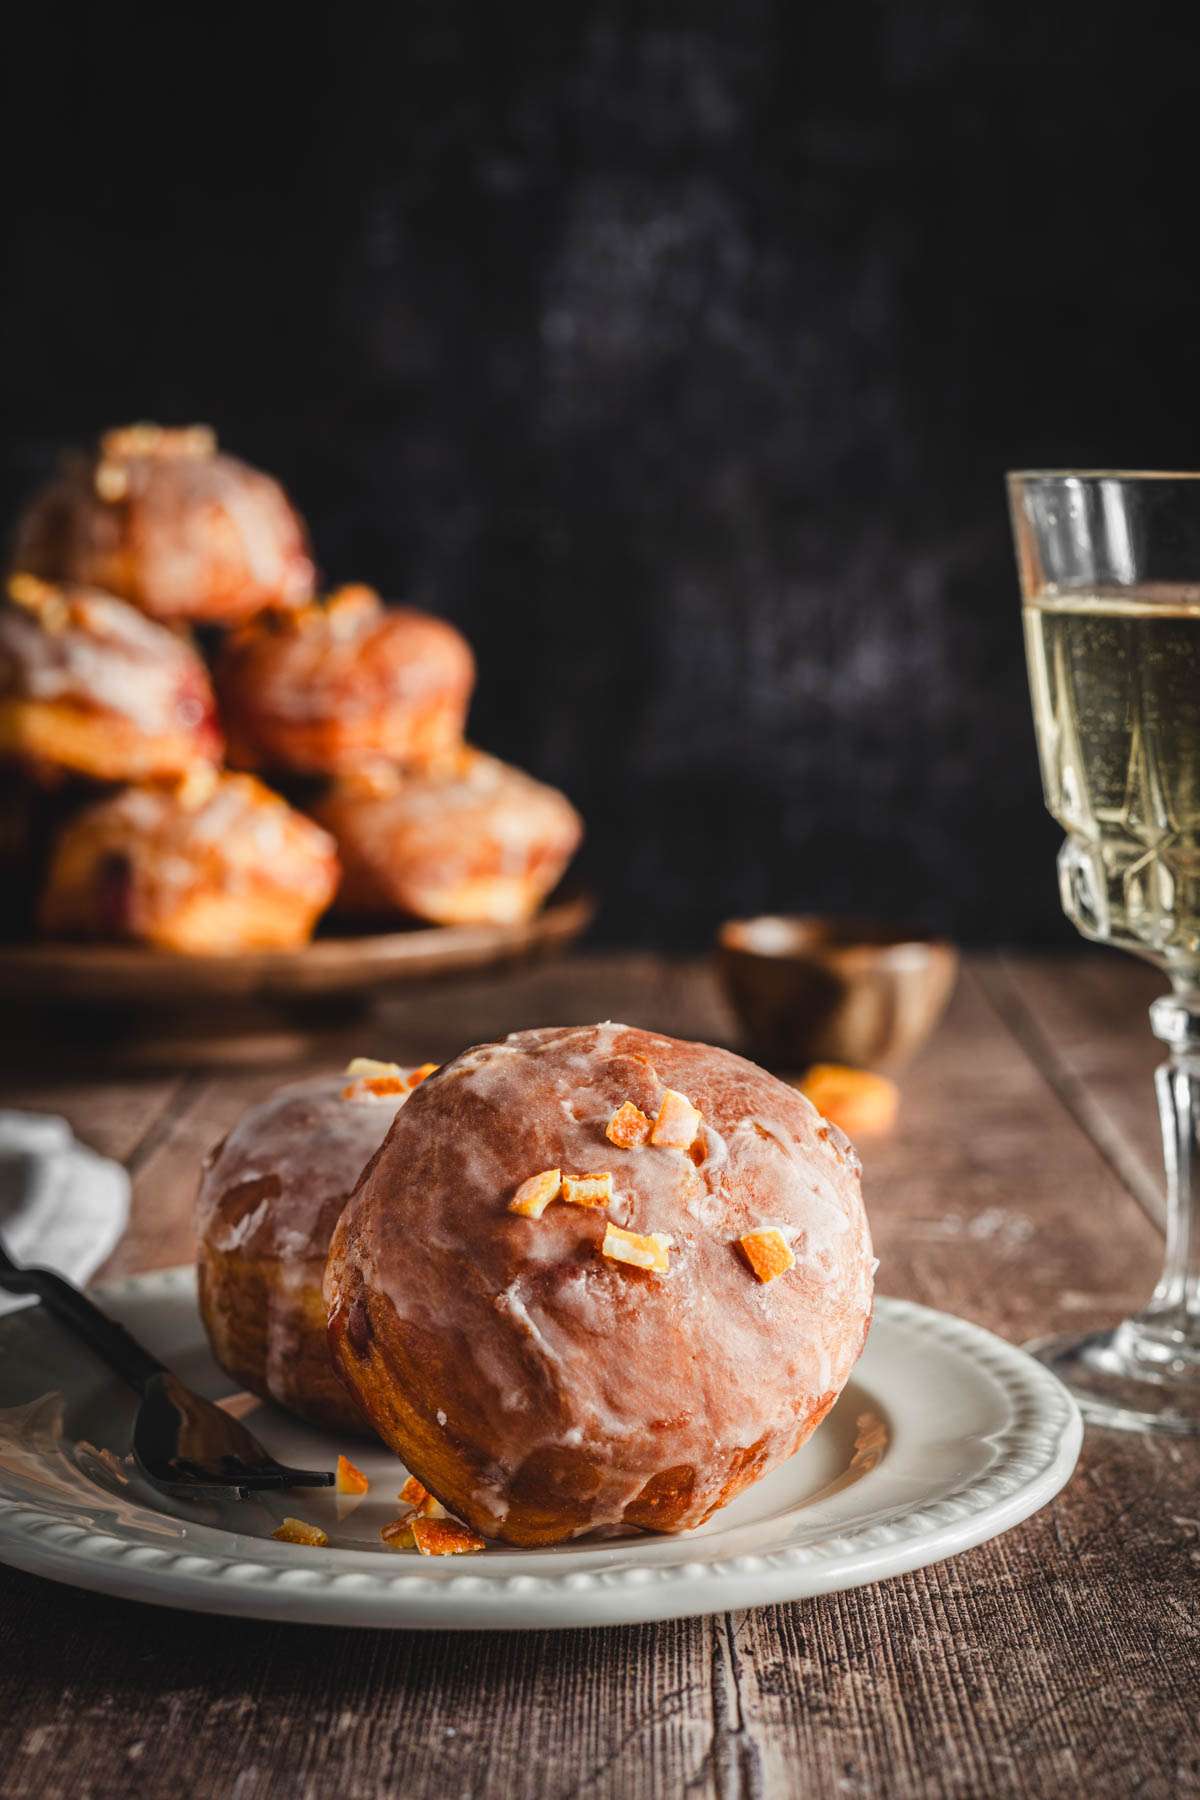
All this is so worth the first bite. That sound of the light crunch, breaking the skin of pączki and biting into that airy dough, oh yeah and there is the jelly peeking out.
Finger licking messy and beyond delicious!
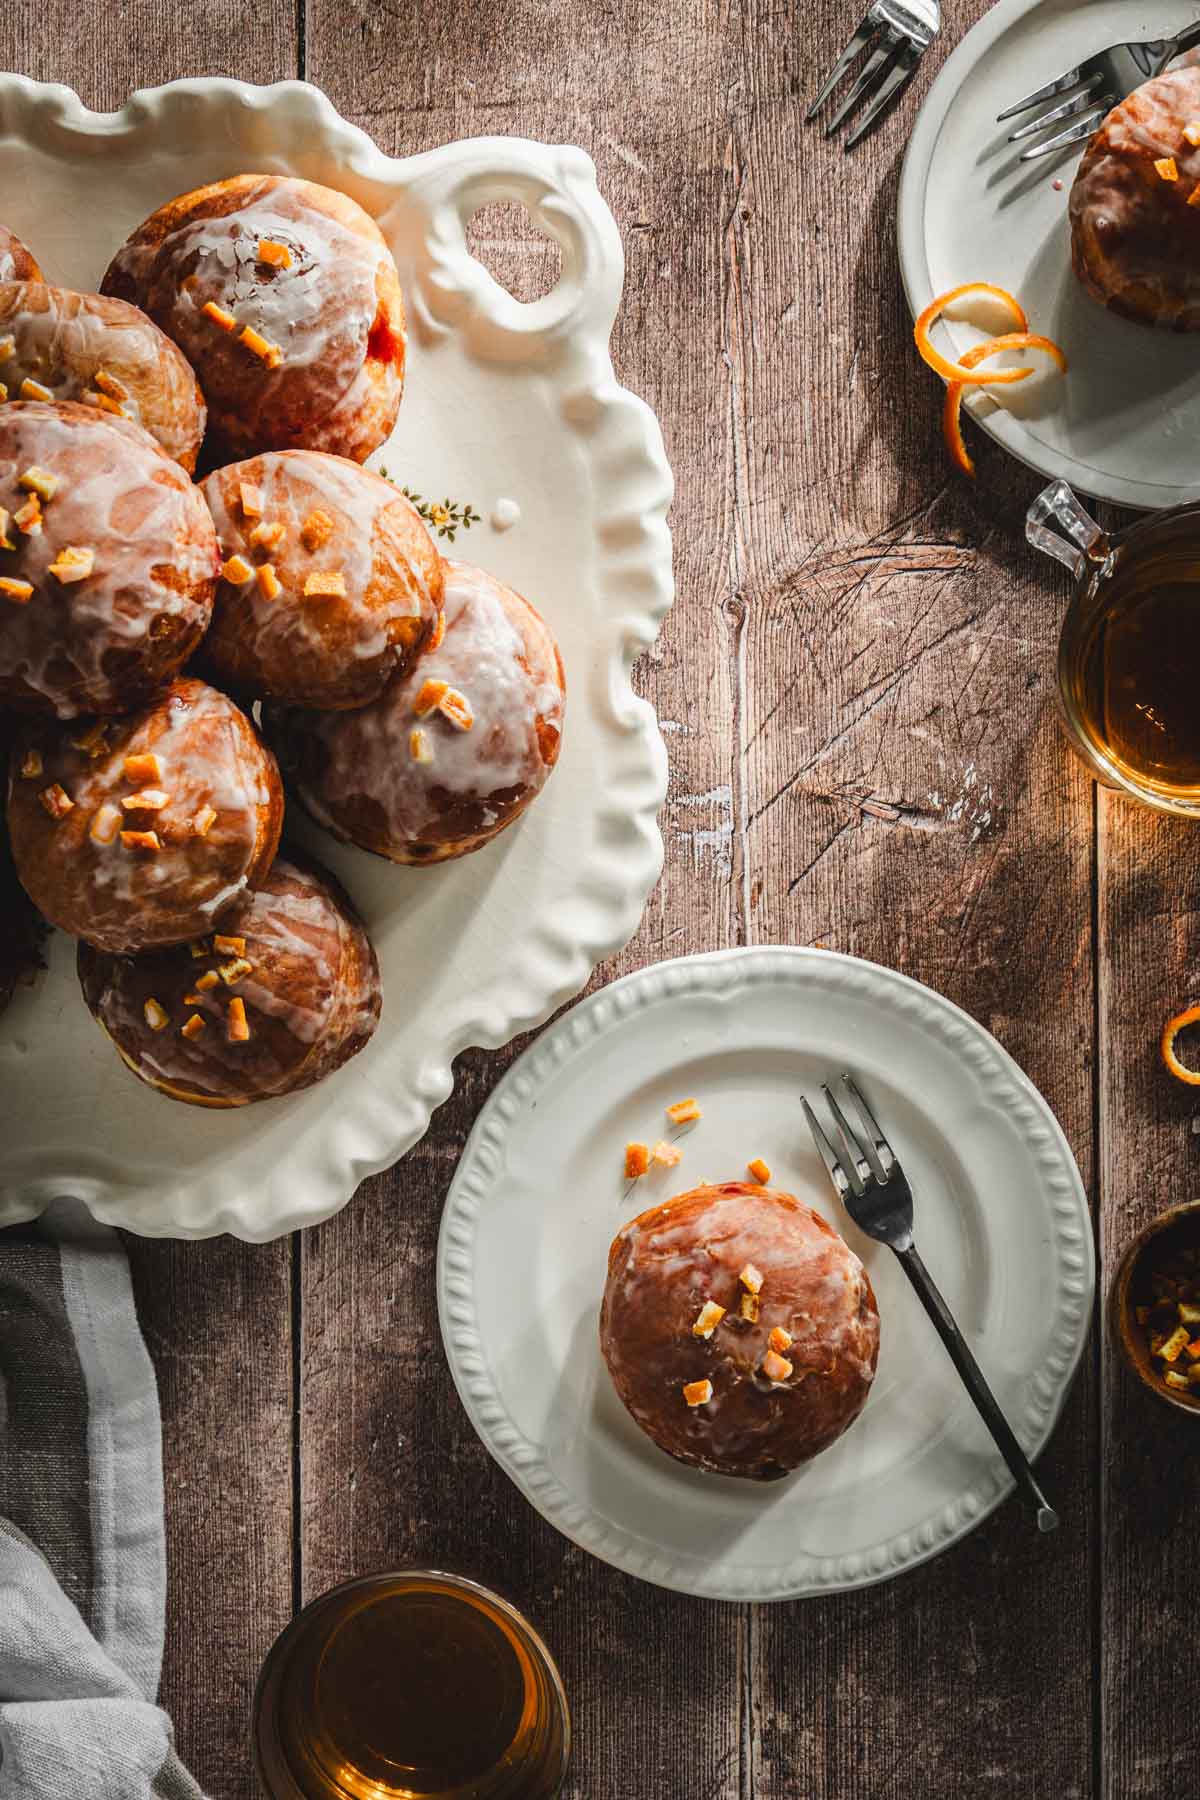
Why you will love Pączki
- There is that specific flavor and texture to the dough that instantly makes you feel better
- Options of filling are up to you: jam, jellies, cream, pudding, should I keep going?
- They taste even better the next day
- Glaze, or no glaze, orange peel or nuts, crushed salty pretzel, make it to your liking
- One batch gives you two dozen. I can eat a dozen myself, but yeah sharing is caring 🙂
- Polish tradition – share your heritage with your guests by serving them pączki.
Ingredients, Variations and Substitutions:
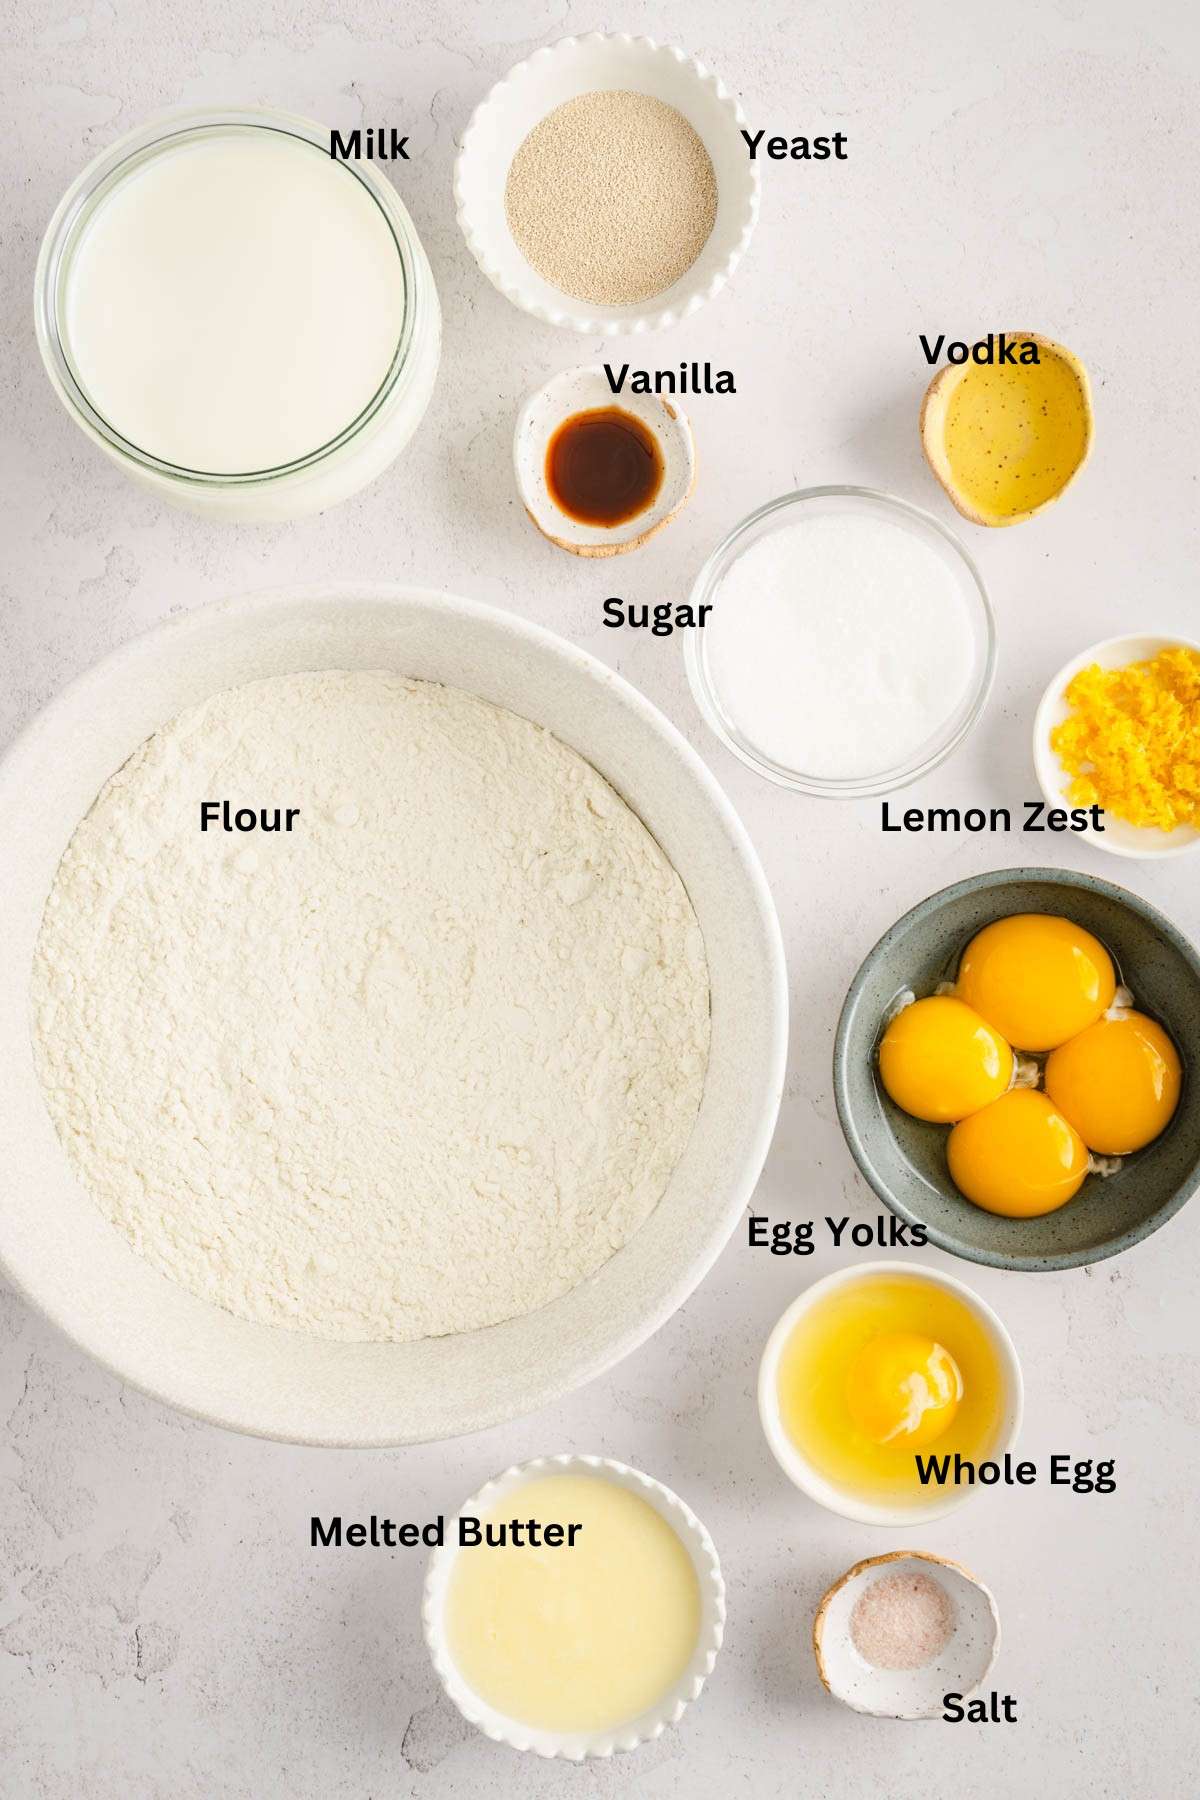
Milk (heated to 110F) – The warm milk activates the yeast and adds a tender crumb to our pączki. Non-dairy milk like almond or soy can be a great alternative. Just make sure it’s warmed to the right temperature for the yeast to do its magic.
Dry active yeast – The yeast is the magic worker, creating those airy pockets in our pączki. If you’re in a pinch, instant yeast is a speedy alternative.
Granulated sugar – Sweetness that balances the flavors and aids in the yeast’s fermentation process. Swap with honey or maple syrup.
Melted butter – Butter brings a luscious flavor and adds to the overall indulgence. For a dairy-free twist, coconut oil can step in with its tropical flair.
Egg – binds the dough together, ensuring a moist and fluffy texture. If you’re looking for an egg substitute, try applesauce or mashed bananas for a slightly different texture. Keep in mind they may alter the flavor as well.
Egg yolks – These golden yolks contribute to the richness and vibrant color of our pączki. No yolks? No problem. Add a bit of extra butter for that velvety touch.
Vodka – Vodka adds a unique touch, enhancing the dough’s tenderness without leaving a boozy taste. If you prefer alcohol-free, just replace with water.
Vanilla – A hint of vanilla for that aromatic touch. Try almond or orange extract for a flavor twist.
Zest of one lemon – a burst of citrusy brightness. Orange or lime zest can switch things up.
Salt – A pinch of salt enhances all the flavors and balances the sweetness. If using salted butter, adjust the added salt accordingly.
All purpose flour – The backbone of our pączki. Provides structure and that perfect doughy bite. Feel free to experiment with whole wheat flour, or a gluten-free blend if you’re catering to different dietary needs.
Jelly for the filling – traditionally Rose jelly is used to fill Polish Pączki; in recent years many other alternatives surfaced; ultimately it is up to you; use filling that you like and have available at home; make sure it is smooth in texture if you are planning on using piping bag. Popular options include homemade lemon curd, raspberry, strawberry or plum jam.
Oil for deep frying – use high smoke, neutral flavor vegetable oil; lard is also a great option; the quantity will depend on the size of your pan; you will need at least 3 inches of oil to easily flip the pączki. Recommended oils: vegetable, peanut, sunflower, safflower, or canola oil.
Equipment you will need
- Medium size cooking pan
- Large baking sheet
- Large mixing bowl
- Measuring cups and spoons
- Stand mixer with paddle attachment and dough hook
- Rolling pin
- Cookie cutter or a glass
- Chef’s knife
- Wire spoon
- Paper towel or cooling rack
- Whisk
Top Tips for successful pączki making:
- Respect the Yeast – ensure the milk is just warm enough (around 110°F) for optimal activation. Fresh yeast is also a game-changer.
- Be Patient – give the pączki dough time to rise and double in size. Rushing this process can lead to dense results.
- Don’t Overmix – Once the dough comes together smoothly, resist the urge to keep mixing. Overmixing can lead to a tougher texture.
- Temperature Matters – use a thermometer to check the oil temperature before frying. Consistent heat ensures evenly cooked and golden-brown pączki.
- Fry in Batches – Don’t overcrowd the frying pan. Fry pączki in batches to maintain the oil temperature and ensure even cooking.
- Keep an Eye on Flipping – watch for the bottom of the pączki to achieve that perfect color before flipping. Quick and attentive flipping is the secret.
- Drain Excess Oil – after frying, let pączki rest on paper towels or a cooling rack to remove any extra oil.
- Moderate Fillings – while it’s tempting to go all-in on fillings, moderation is key.
- Use Fresh Ingredients – fresh yeast, quality flour, and eggs will make a difference.
- Thickness Matters – when rolling out the dough, aim for about 1-inch thickness. Too thin, and pączki might end up flat; too thick, and they might not cook through properly.
- Have Fun with Flavors – while traditional pączki are fantastic, don’t be afraid to experiment with flavors. Whether it’s different extracts or creative fillings, make it your own!
Step by Step instructions – deep fry
- Lightly heat up the milk to 110F. Add the dry active yeast, 1 tbsp sugar and stir to combine
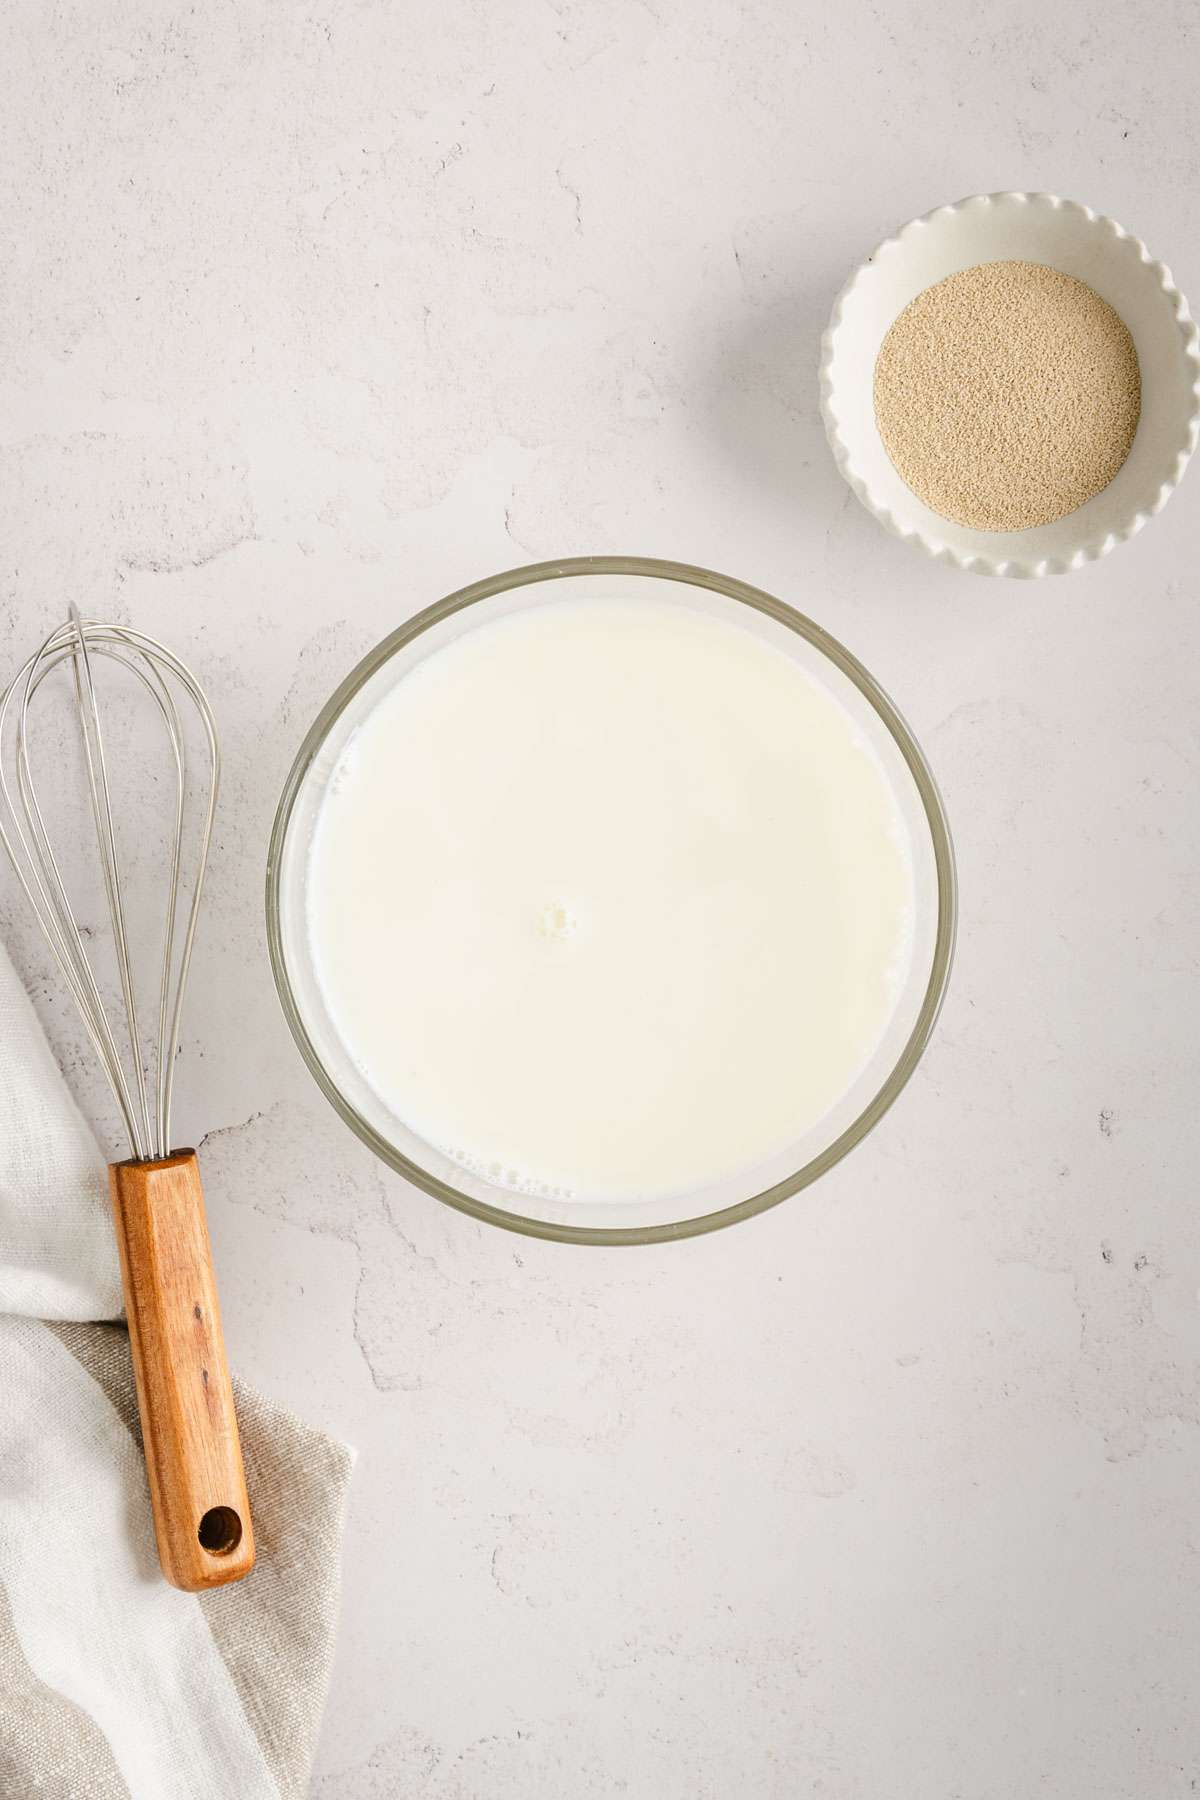
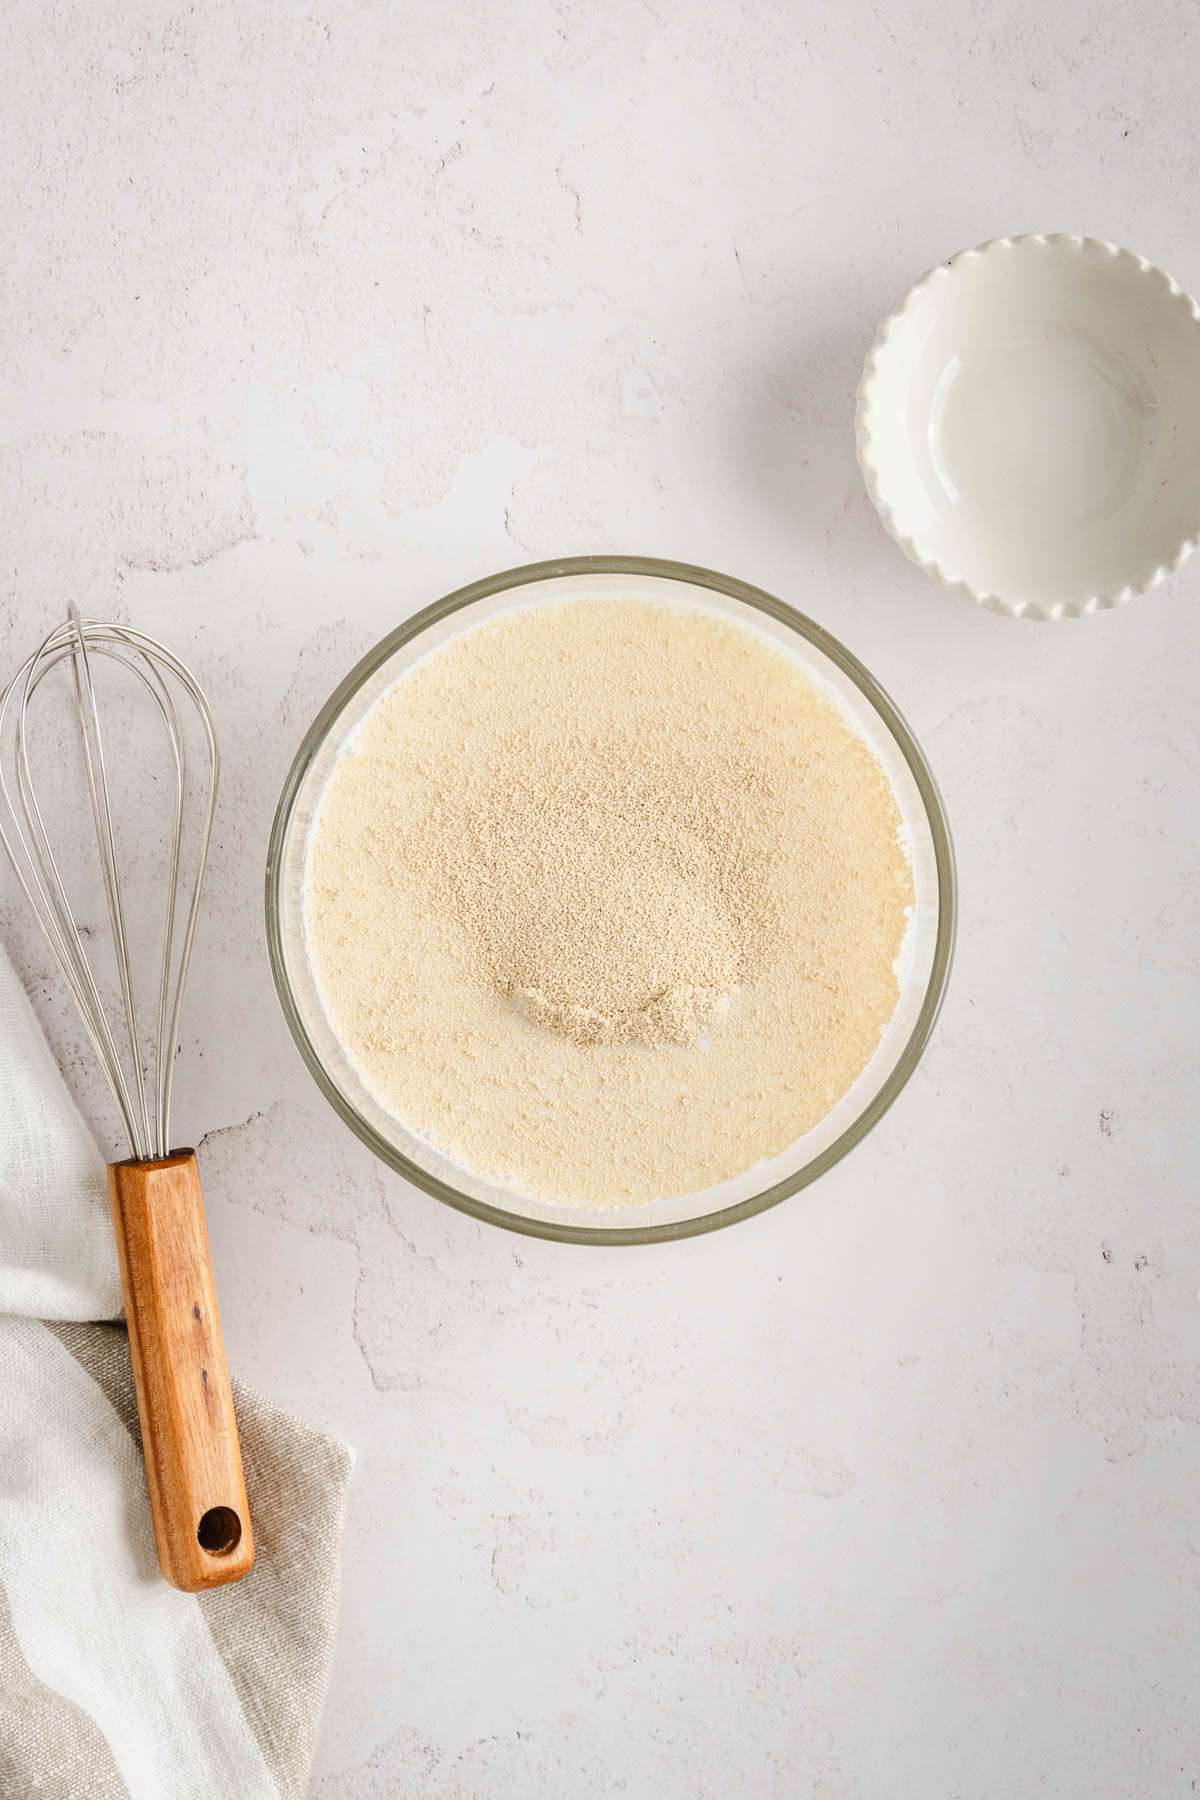
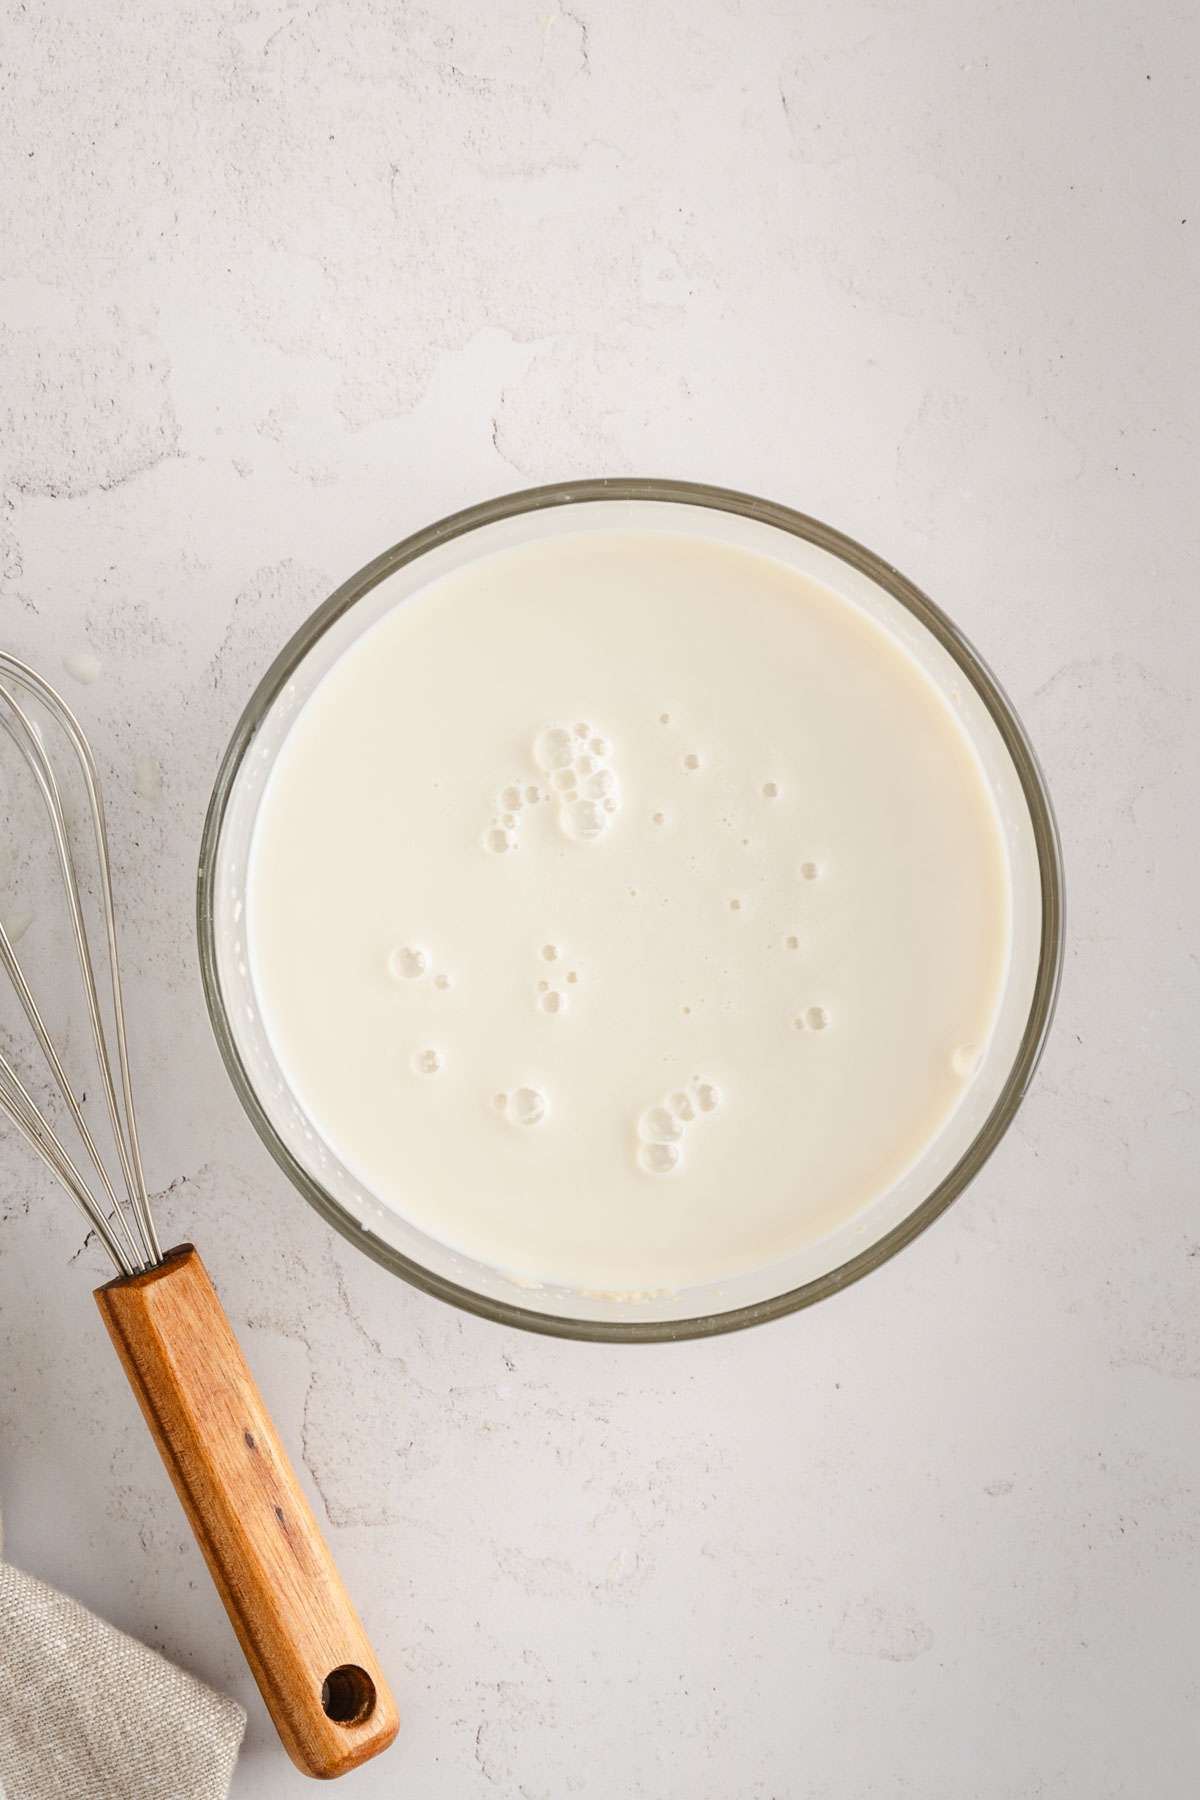
- Set the mixture in a warm place and let it work its magic. You should see it bubbling, getting foamy on the surface
- To the bowl of your stand mixer add melted butter and sugar. Using paddle attachment, cream it until fluffy.
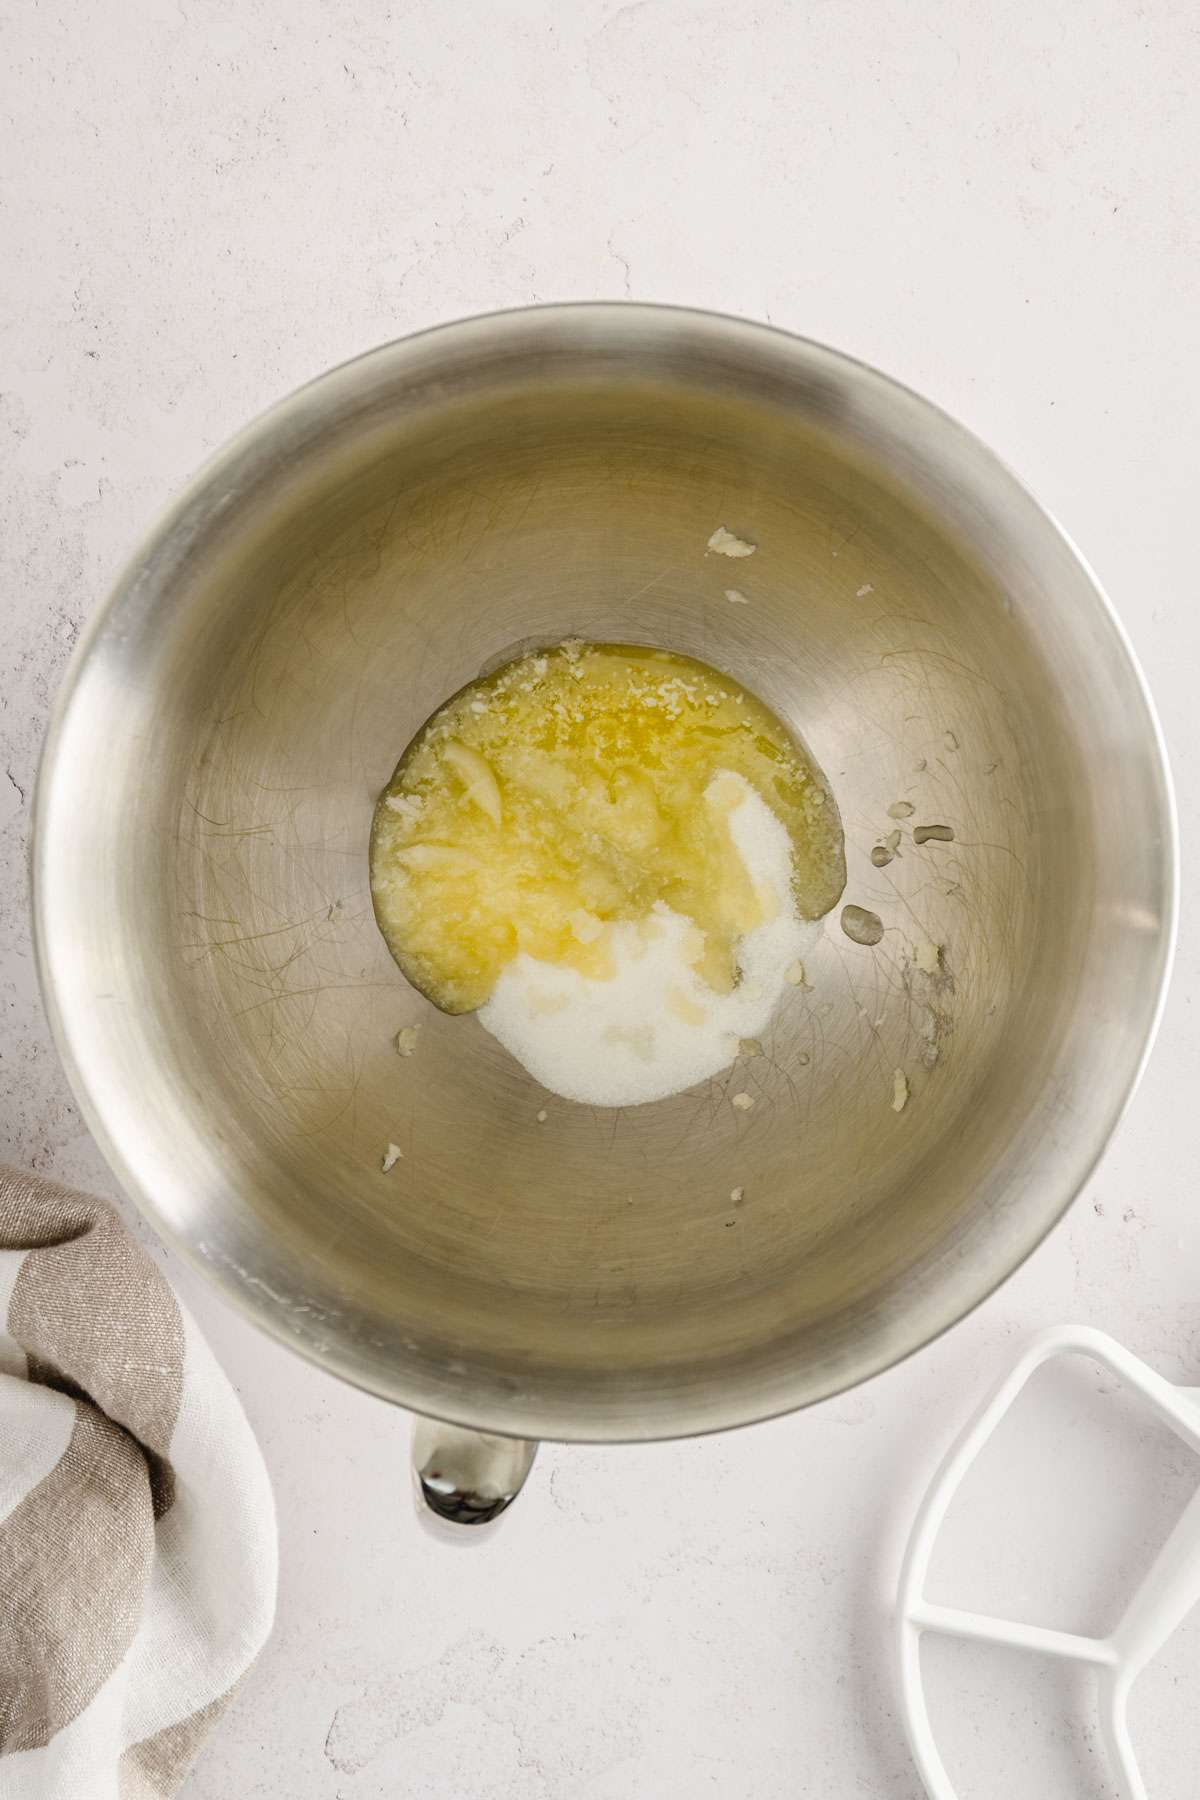
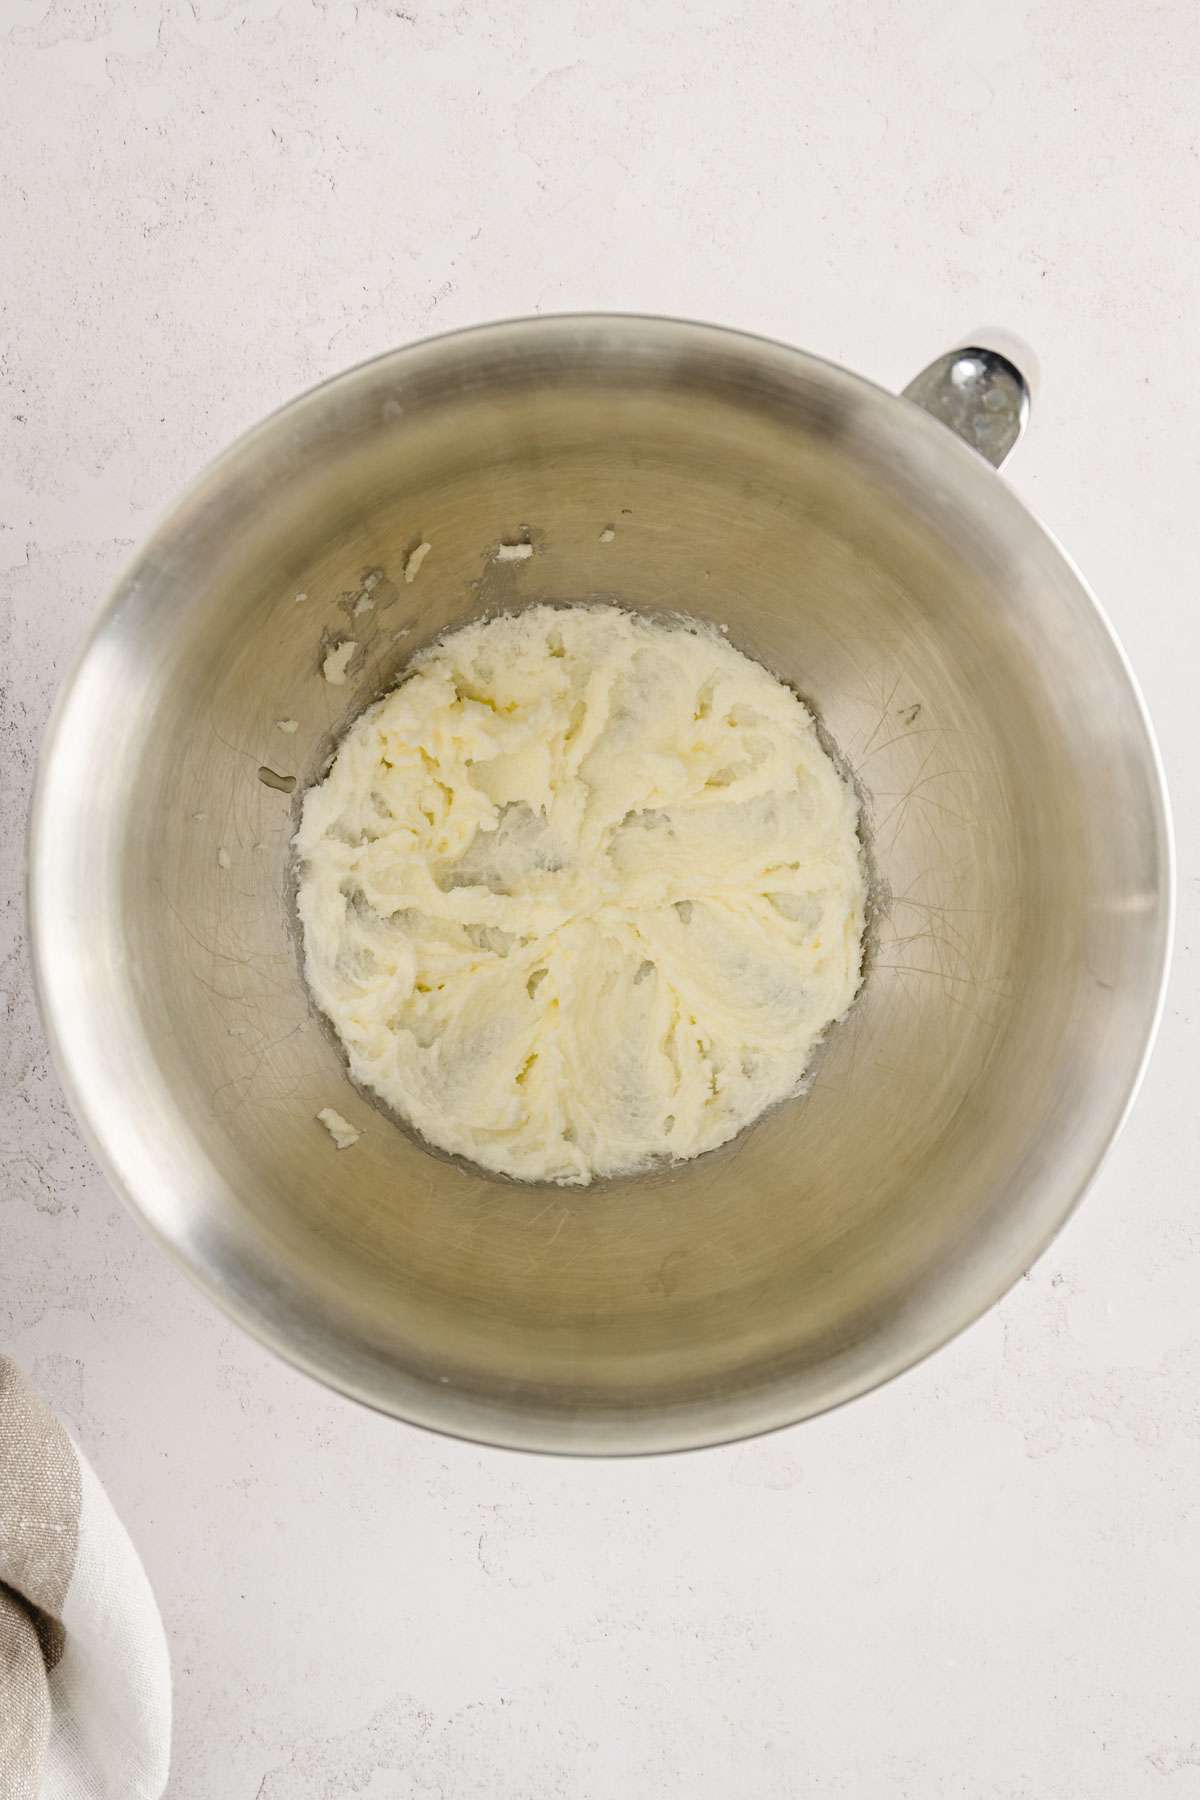
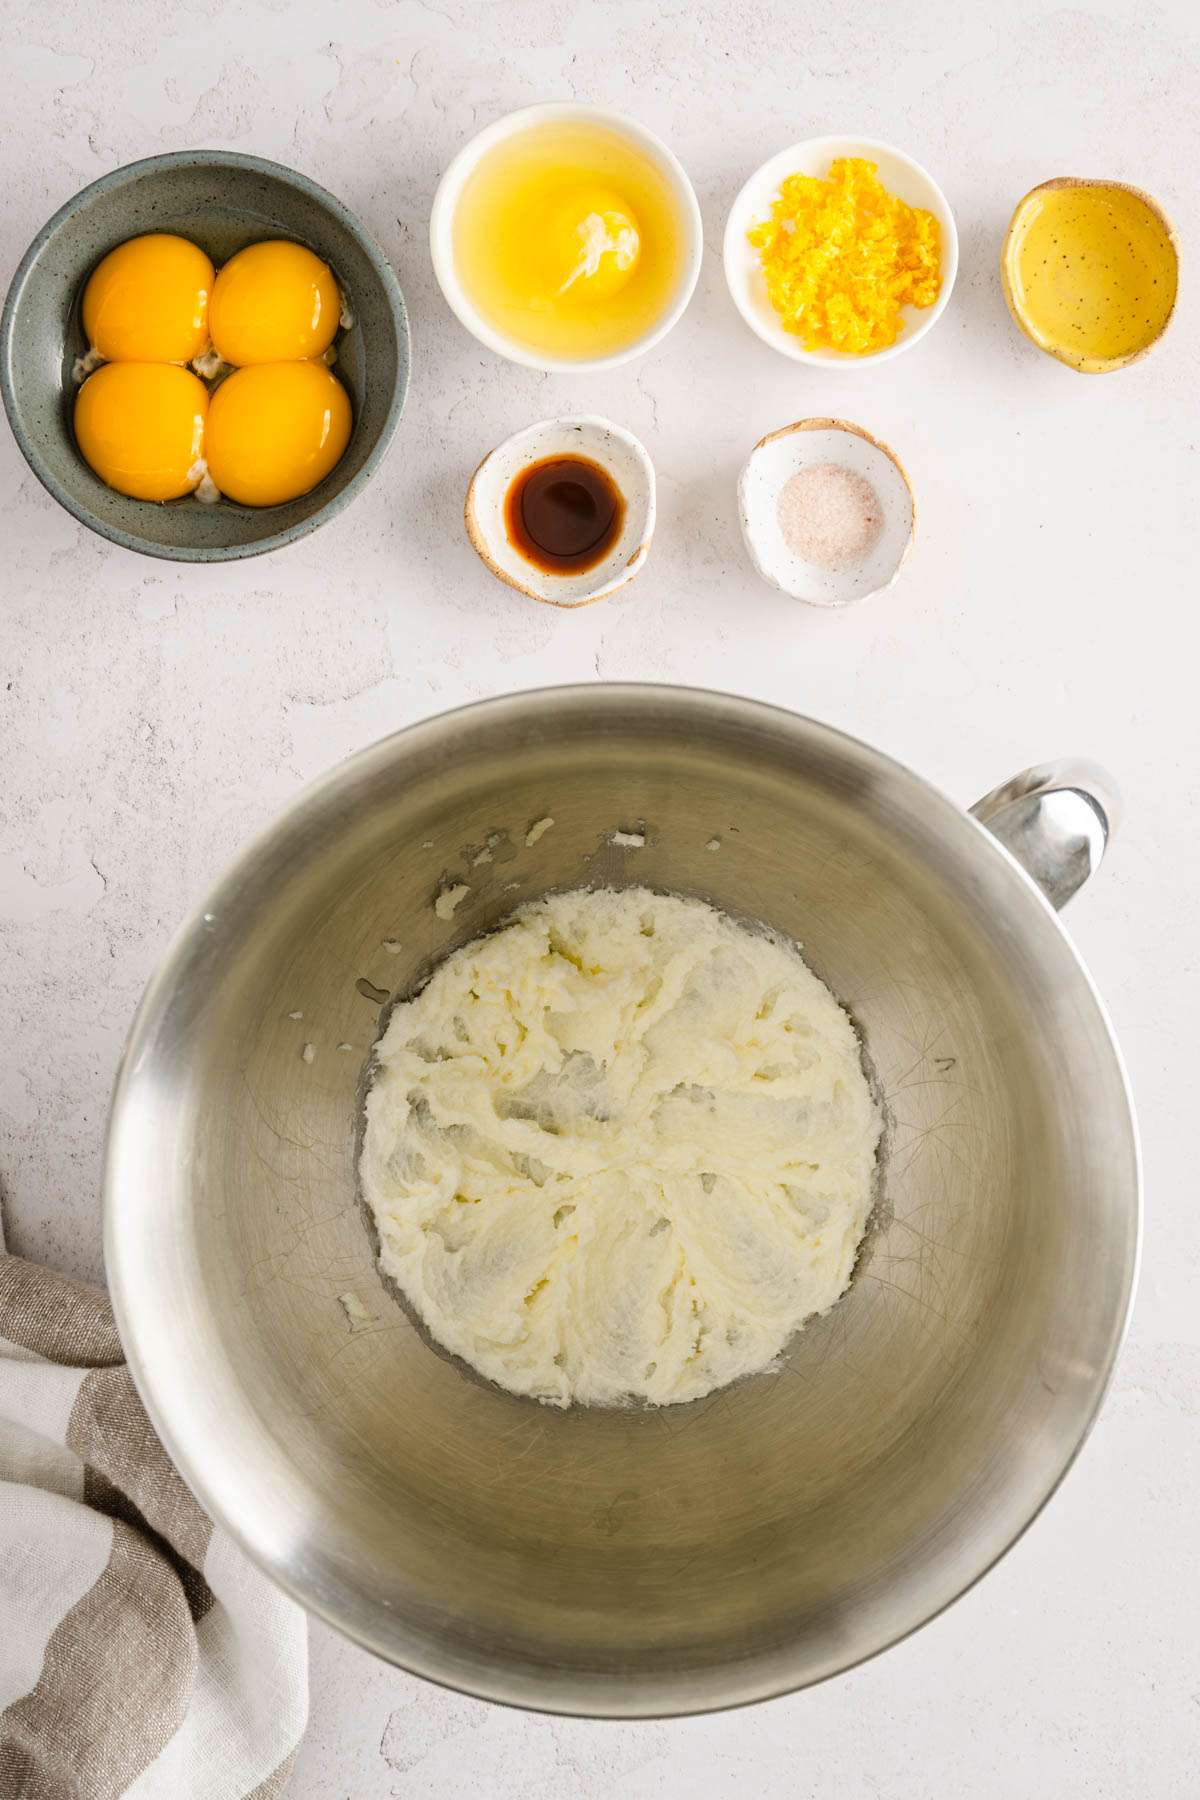
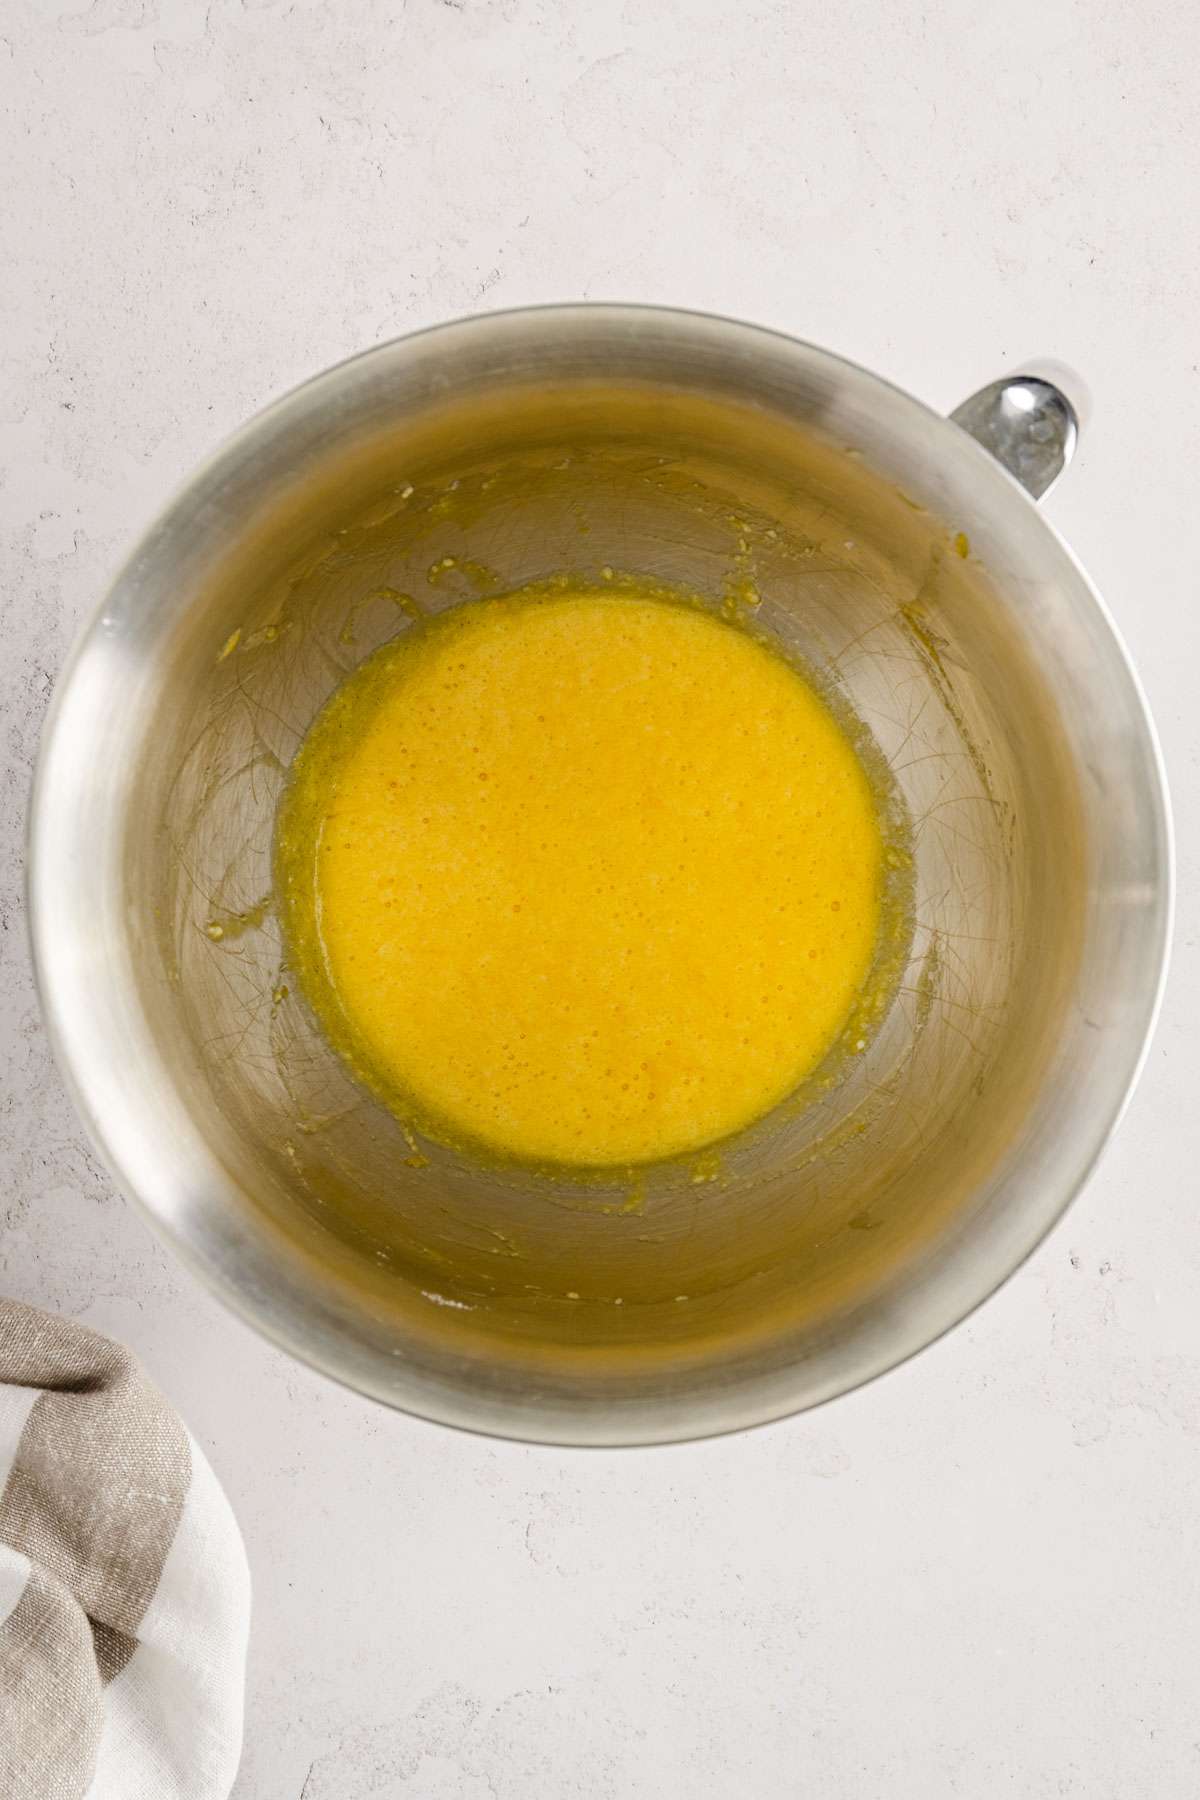
- Add egg, yolks, vodka, vanilla, salt and lemon zest. Mix to combine
- Add the flour, mix a few times. With the mixer on low speed start adding the yeast – milk mixture
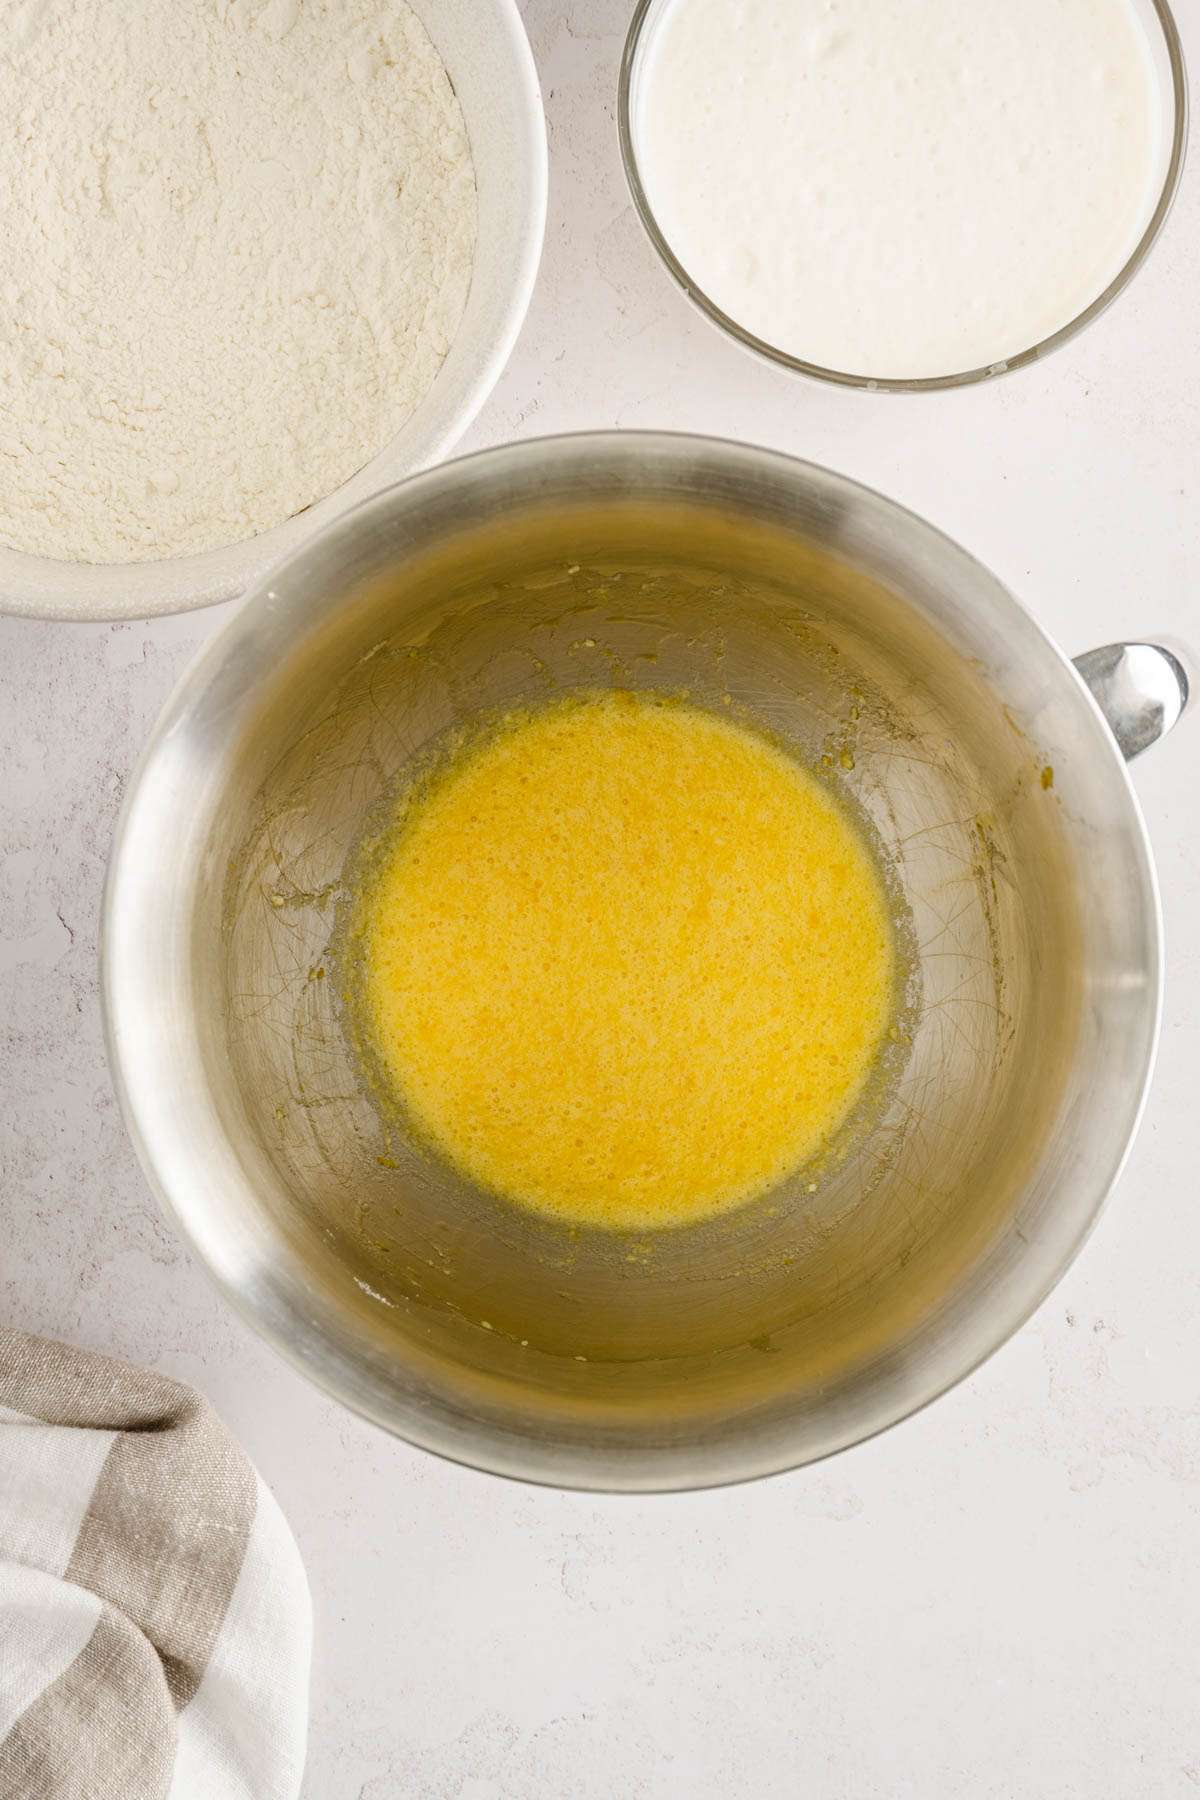
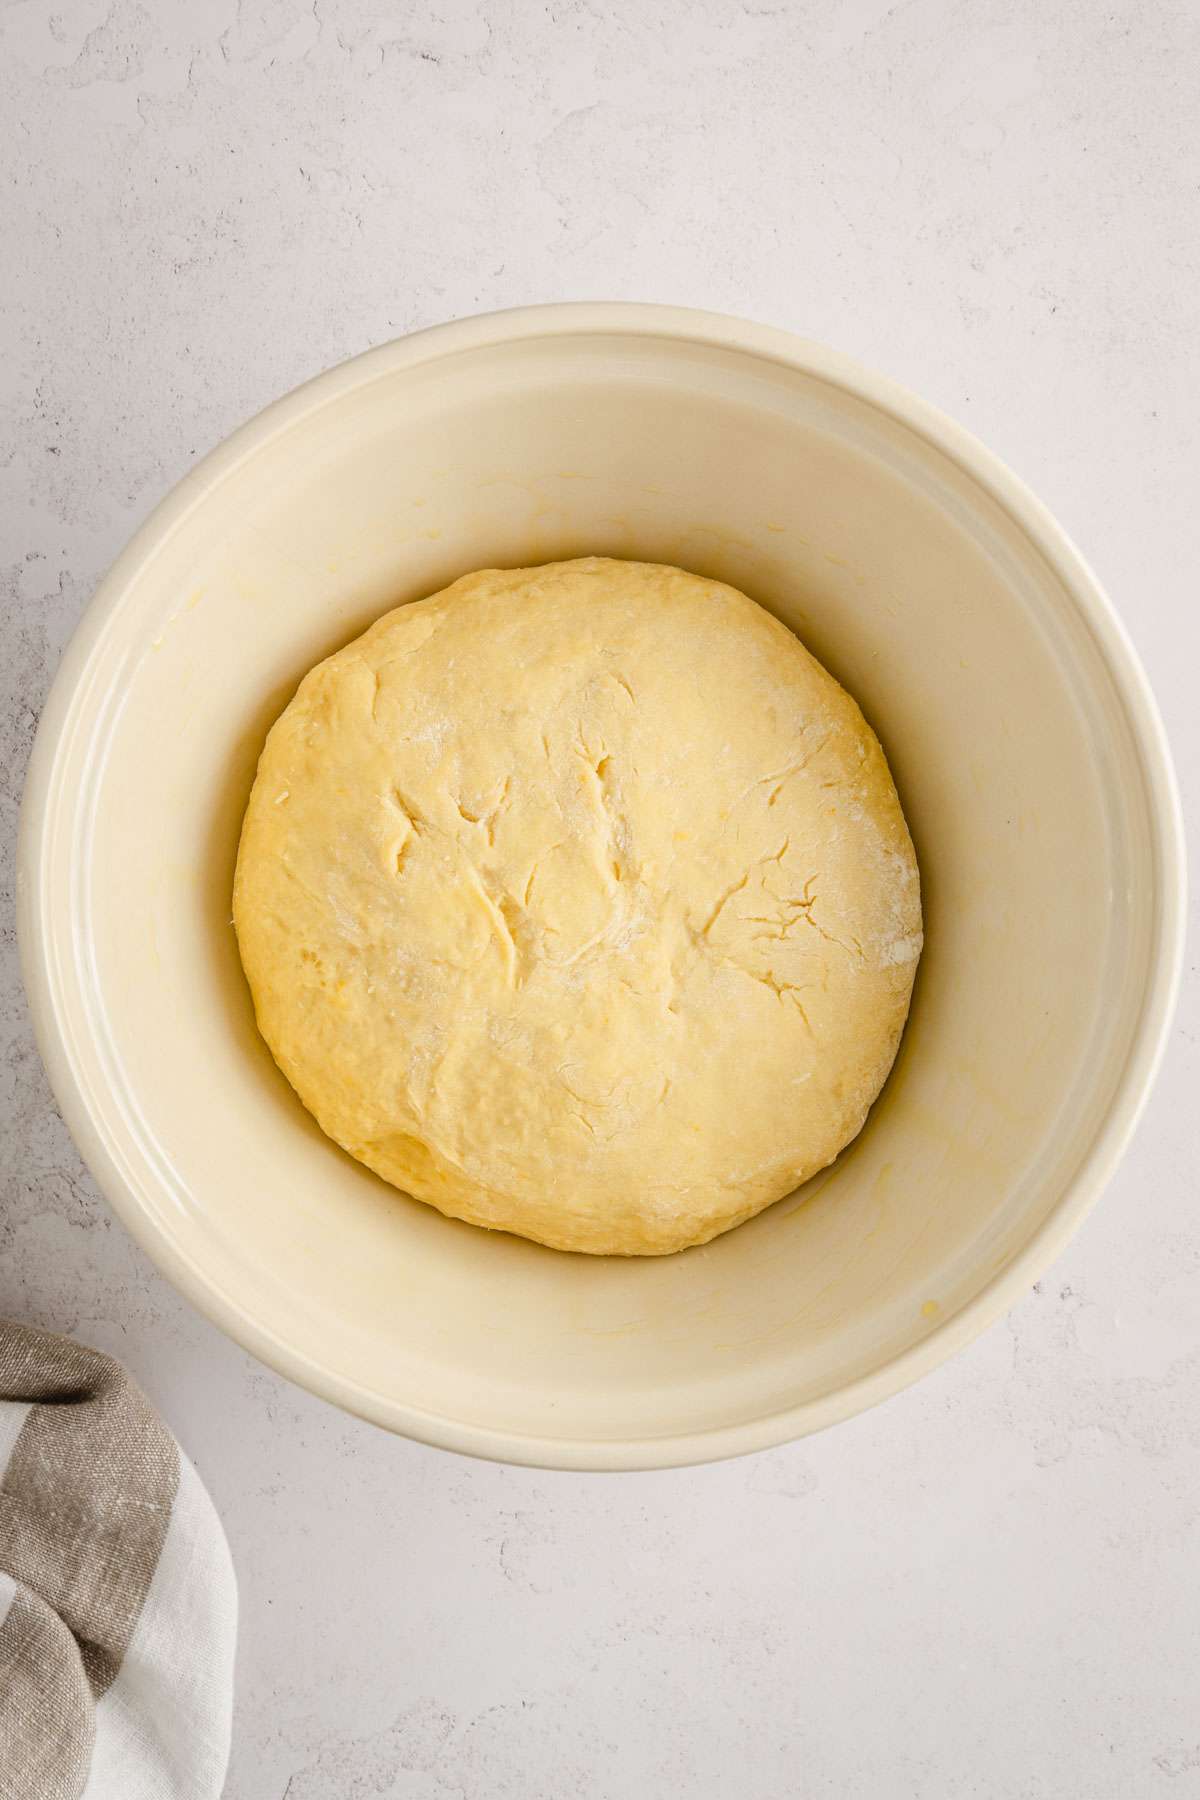
- When the dough comes together and is smooth stop the mixer
- Transfer the soft dough into a bowl lightly greased with oil. Cover with a kitchen towel and set in a warm place. Let is rise for at least 1 hour, or until double in size.
- When the dough doubled in size, punch it and set in a warm place for another 45 minutes

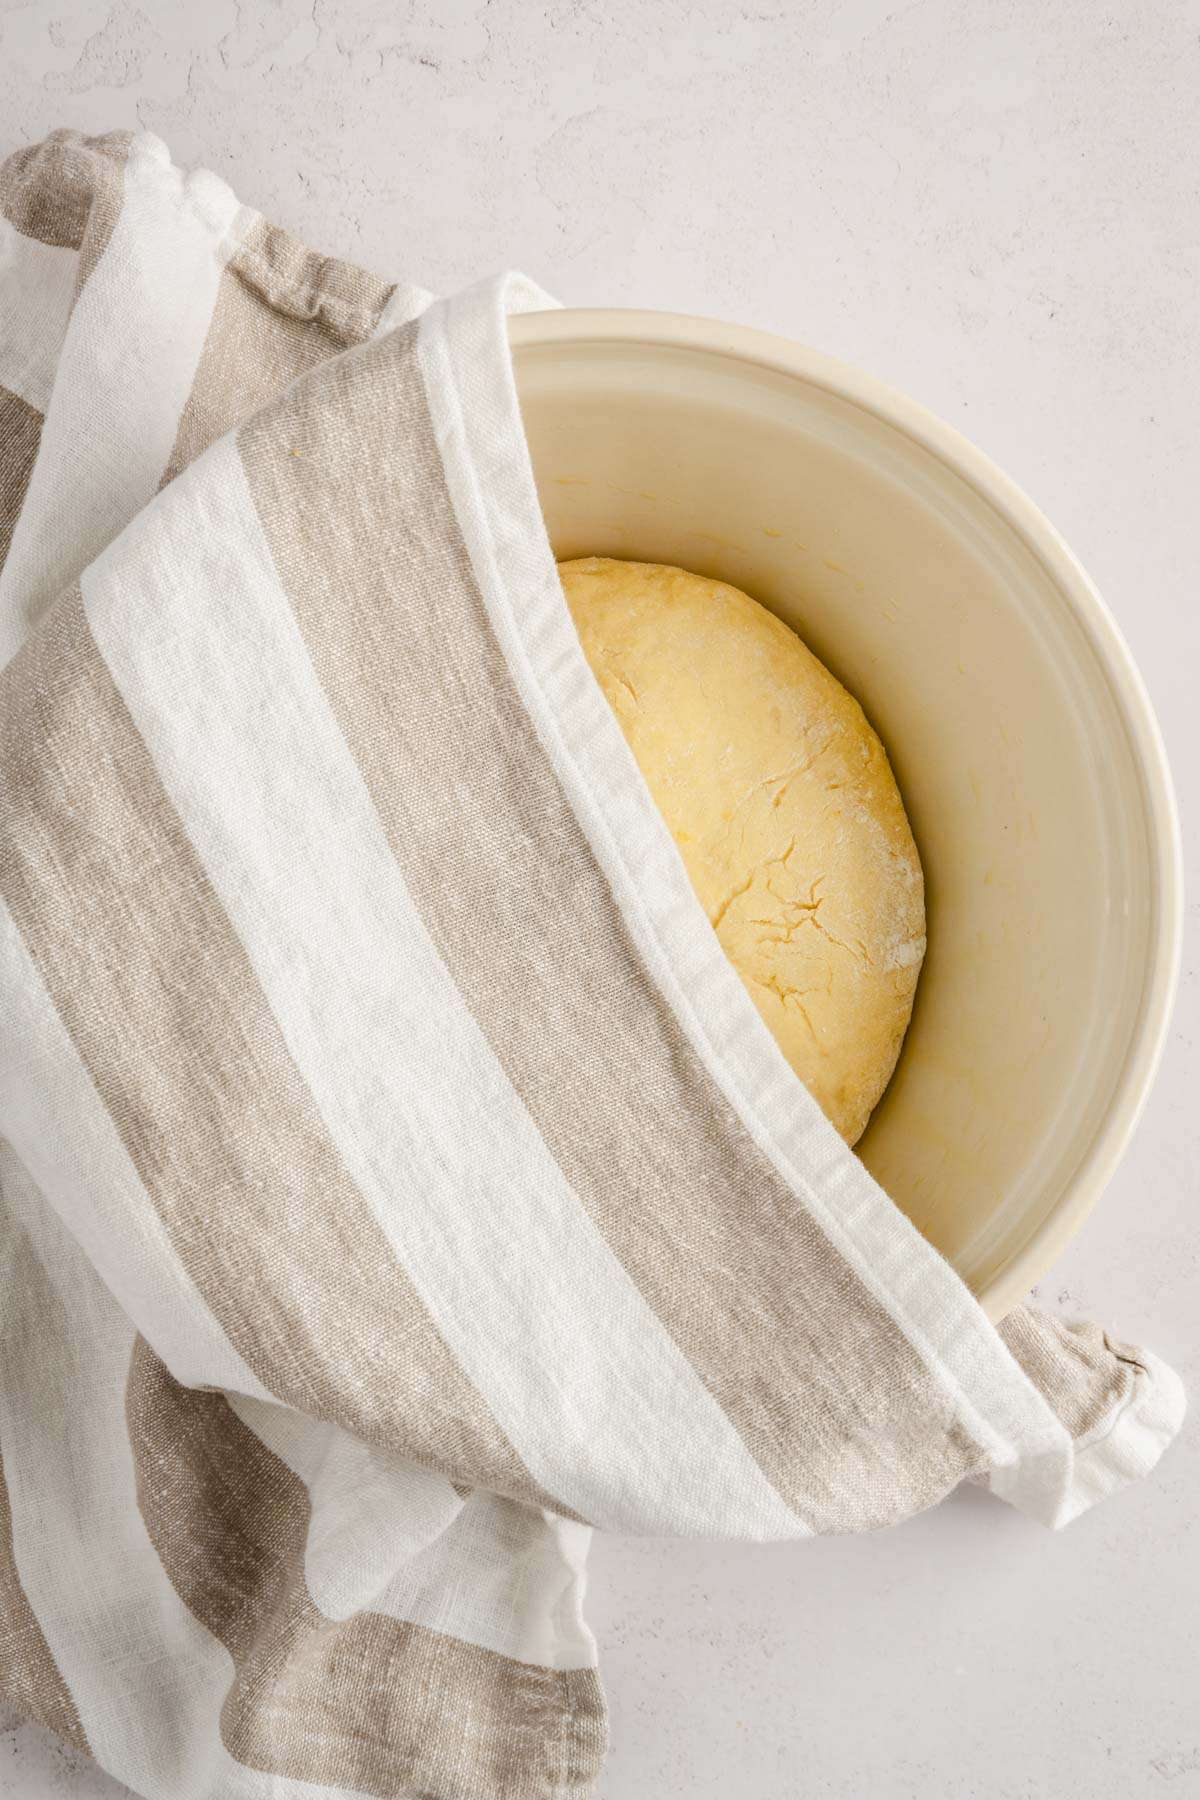
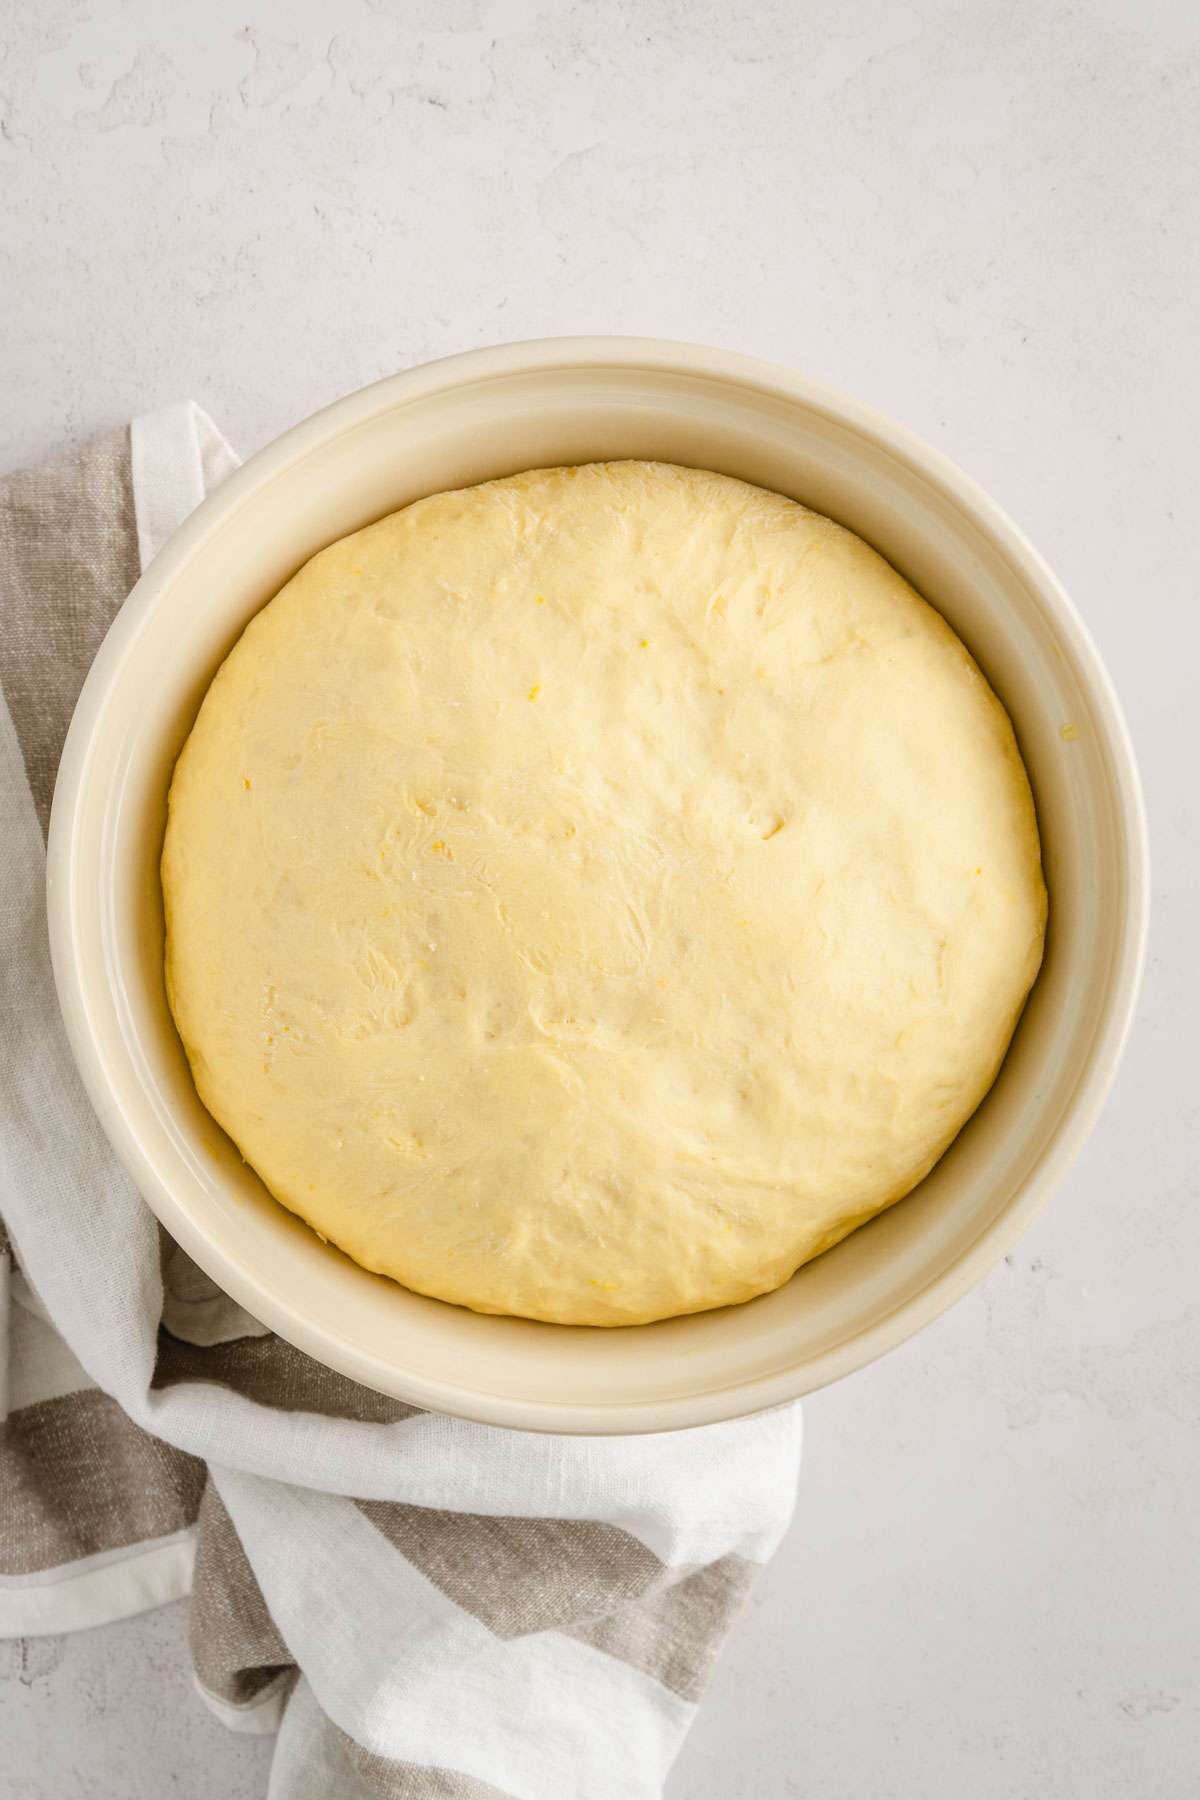
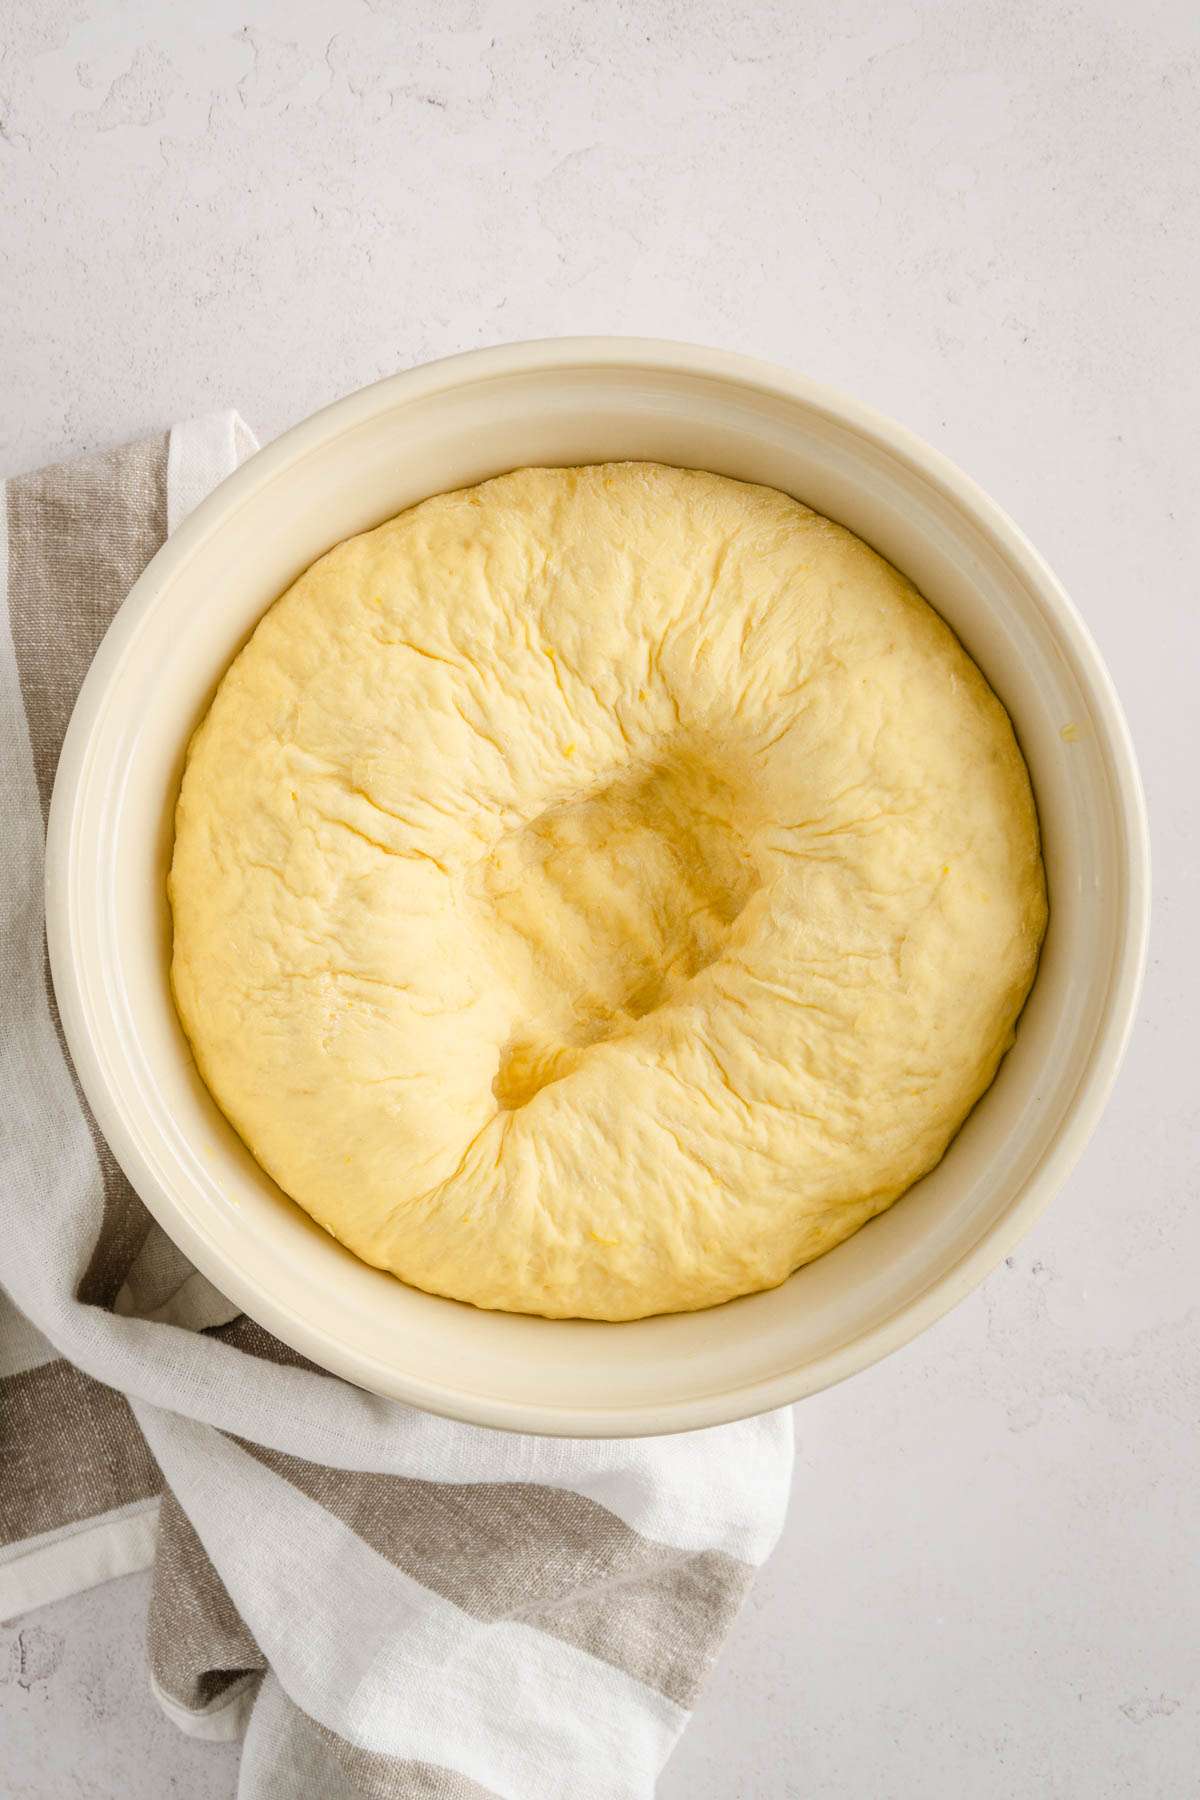
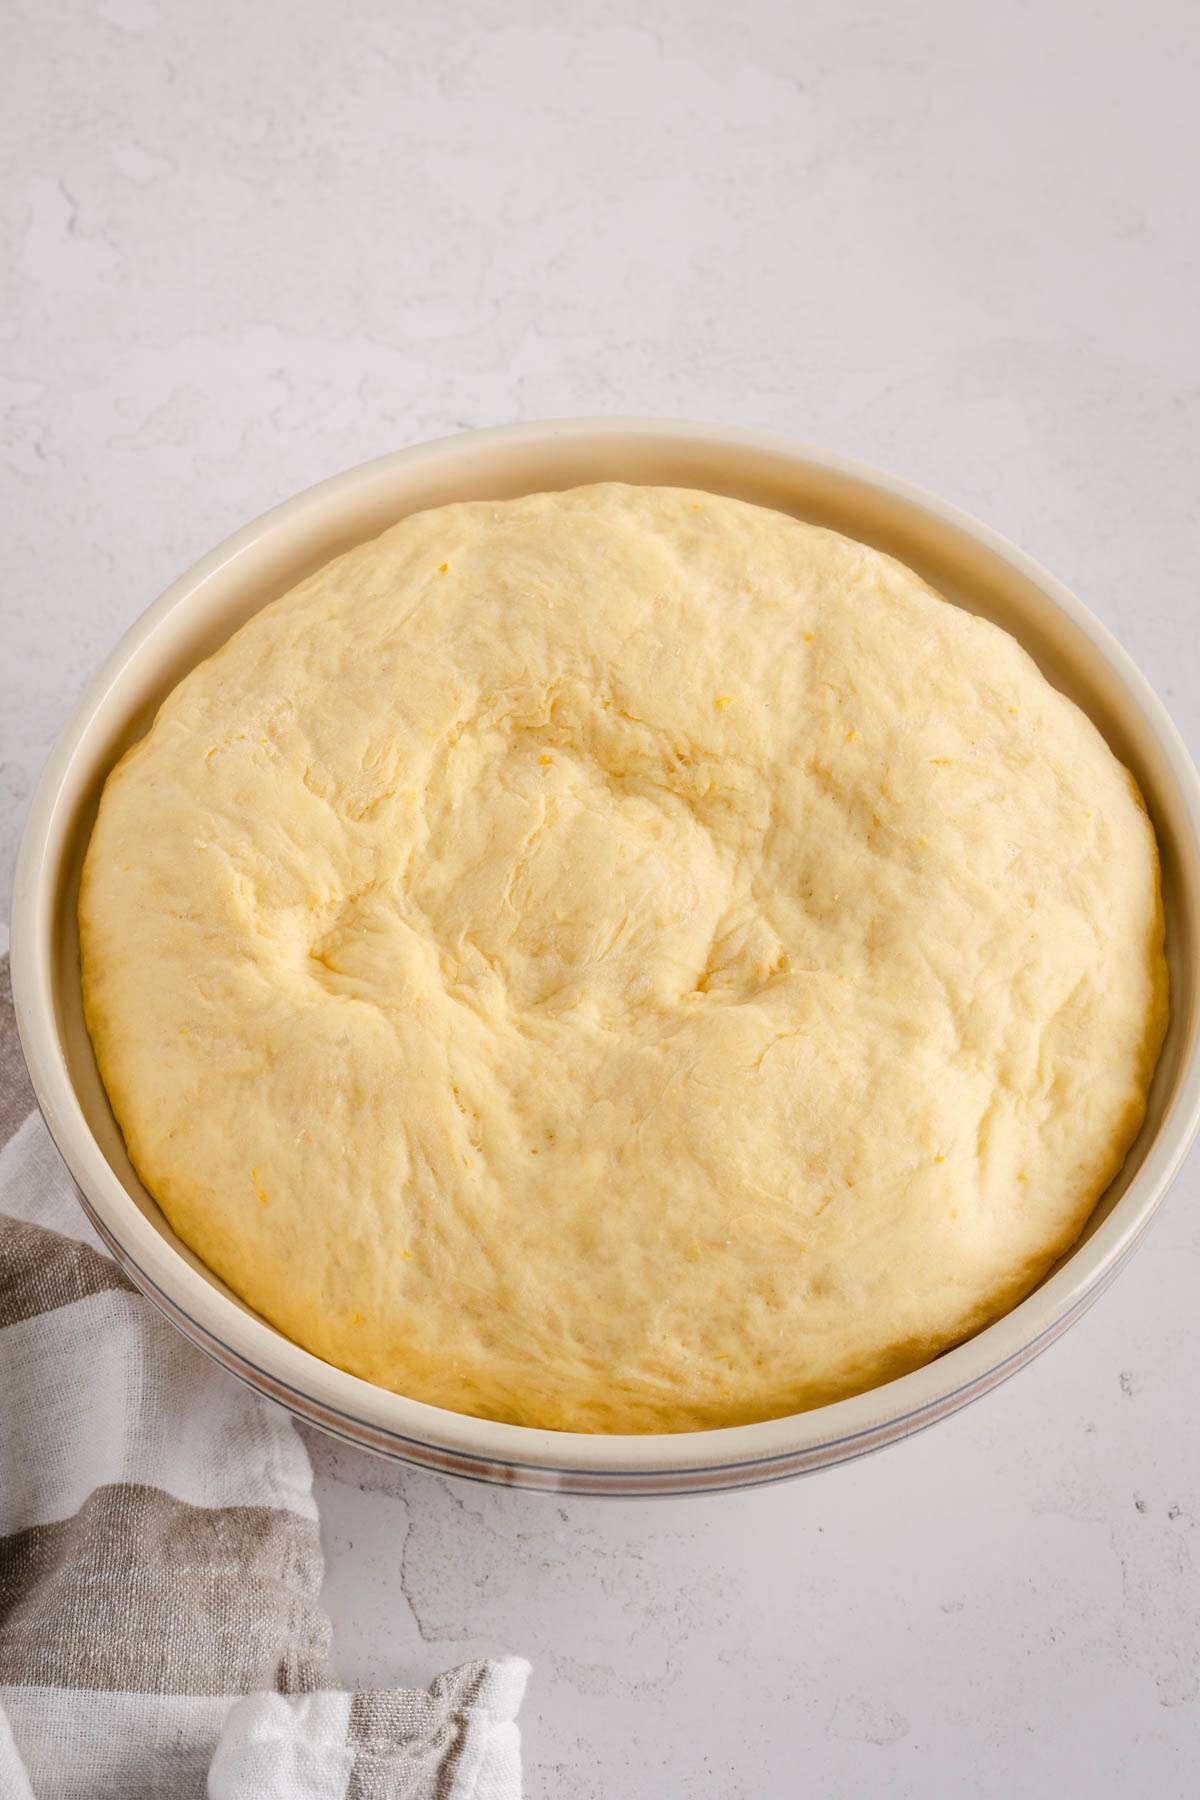
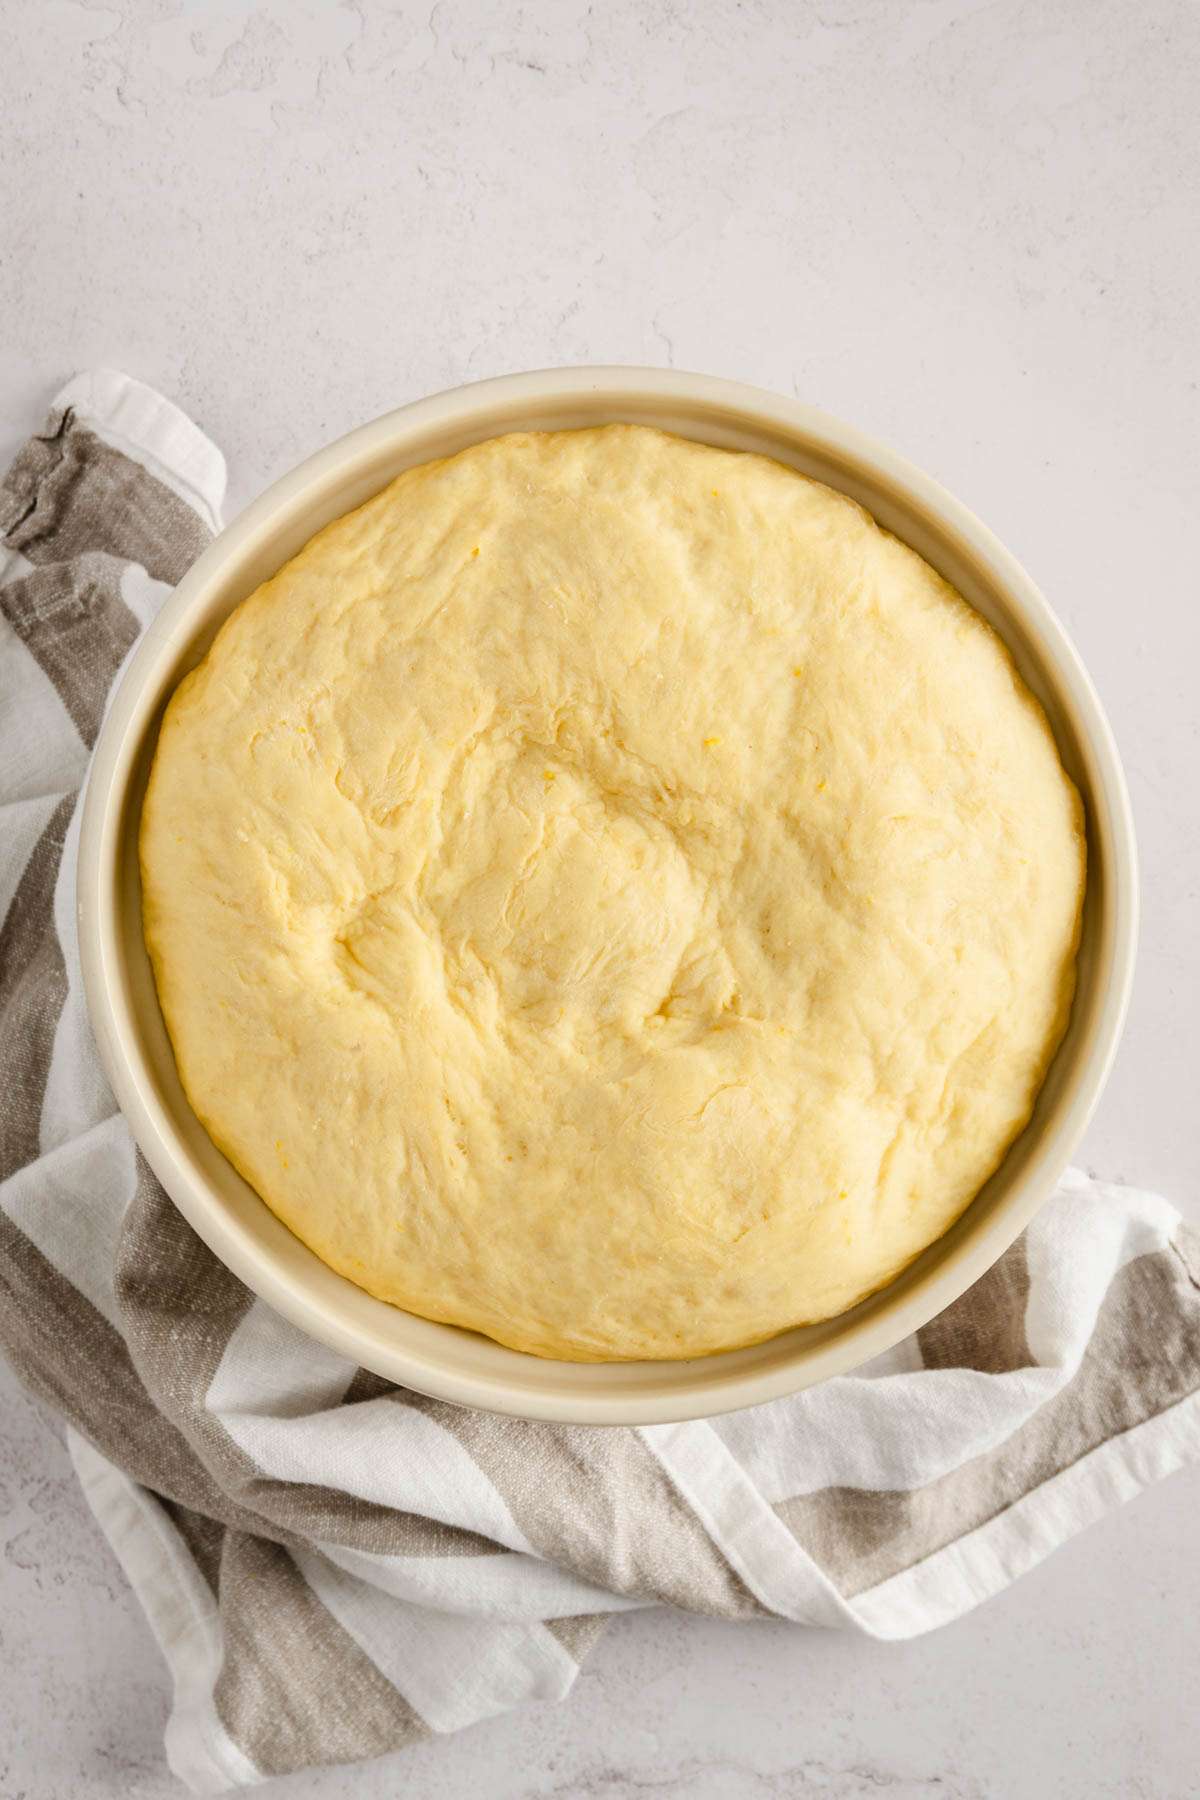
- After the second rise, remove the dough from the bowl. Cut it in half.
- On lightly floured surface roll out the dough to about 1 inch thickness
- Using a cookie cutter (3 inch) or glass, cut out circles in the dough.
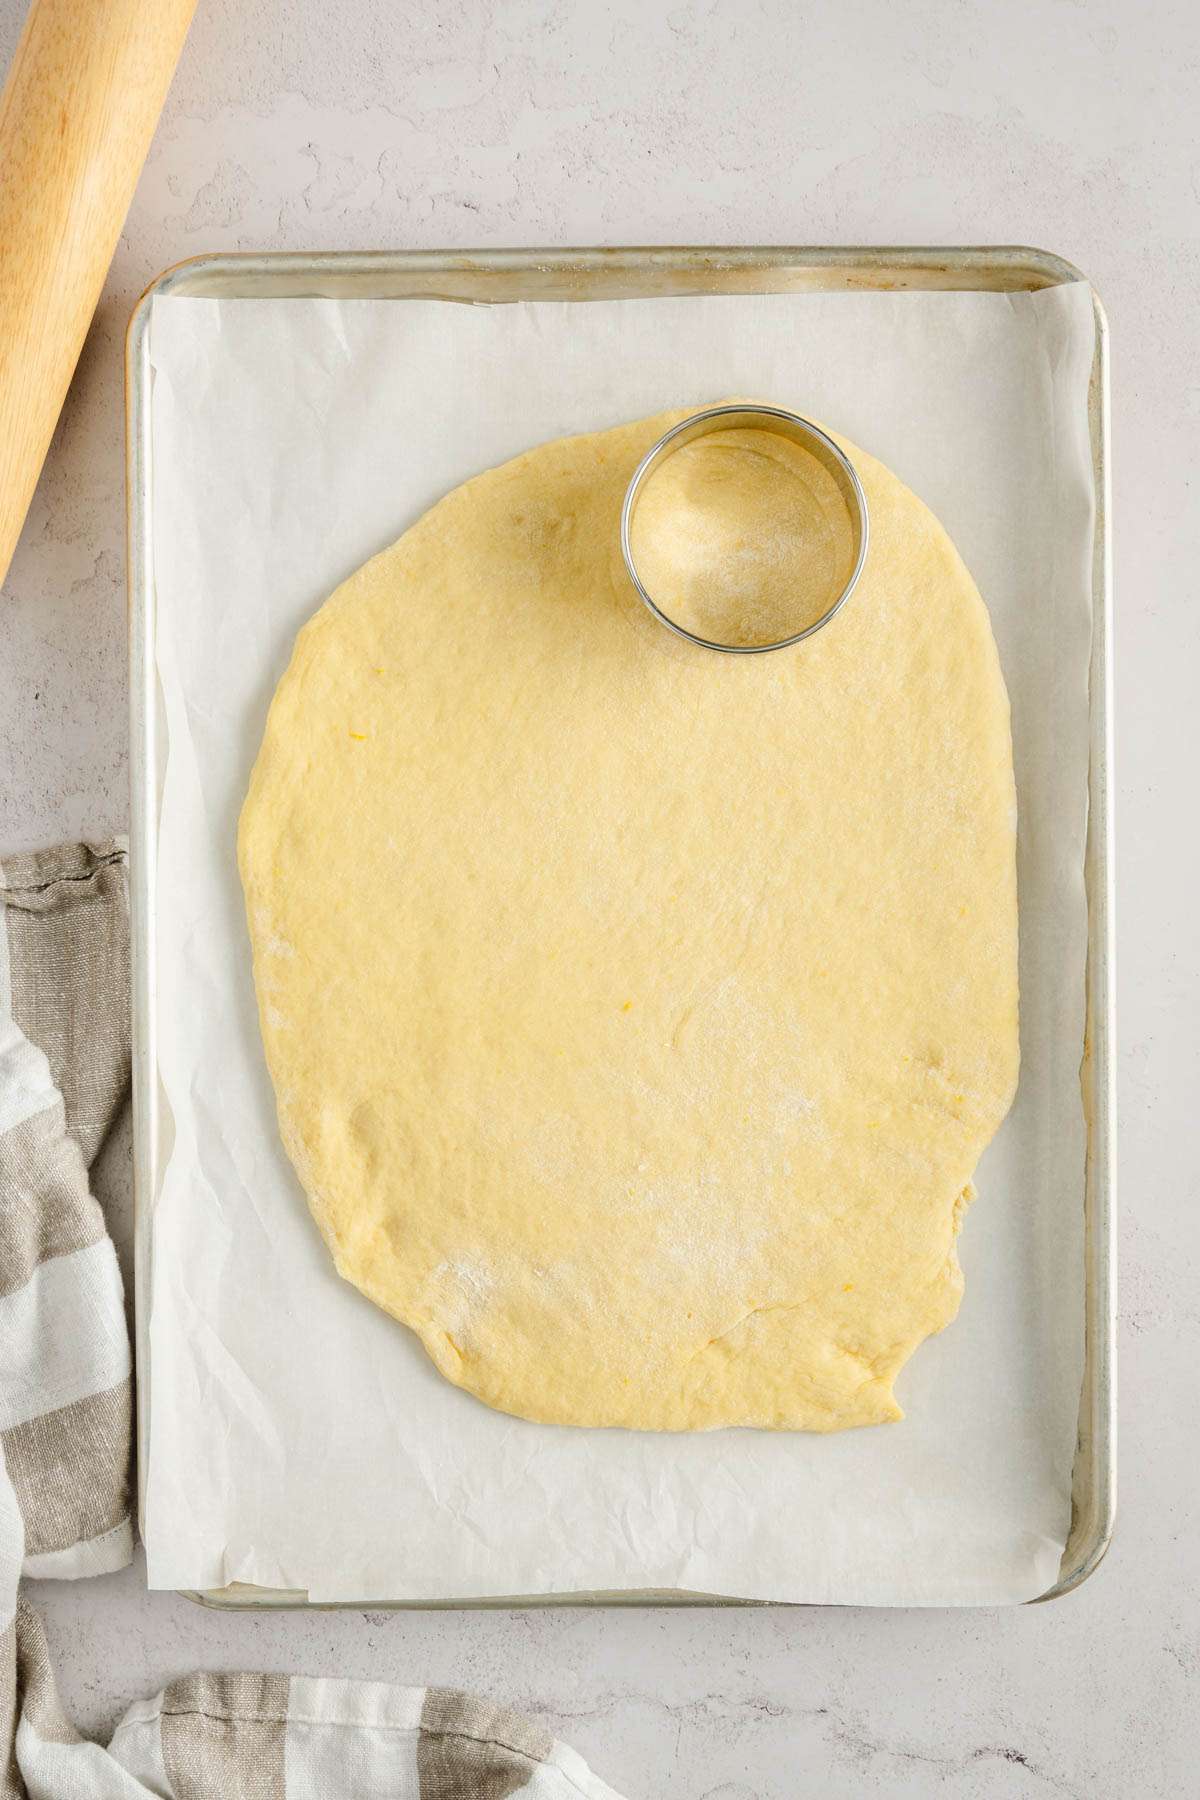
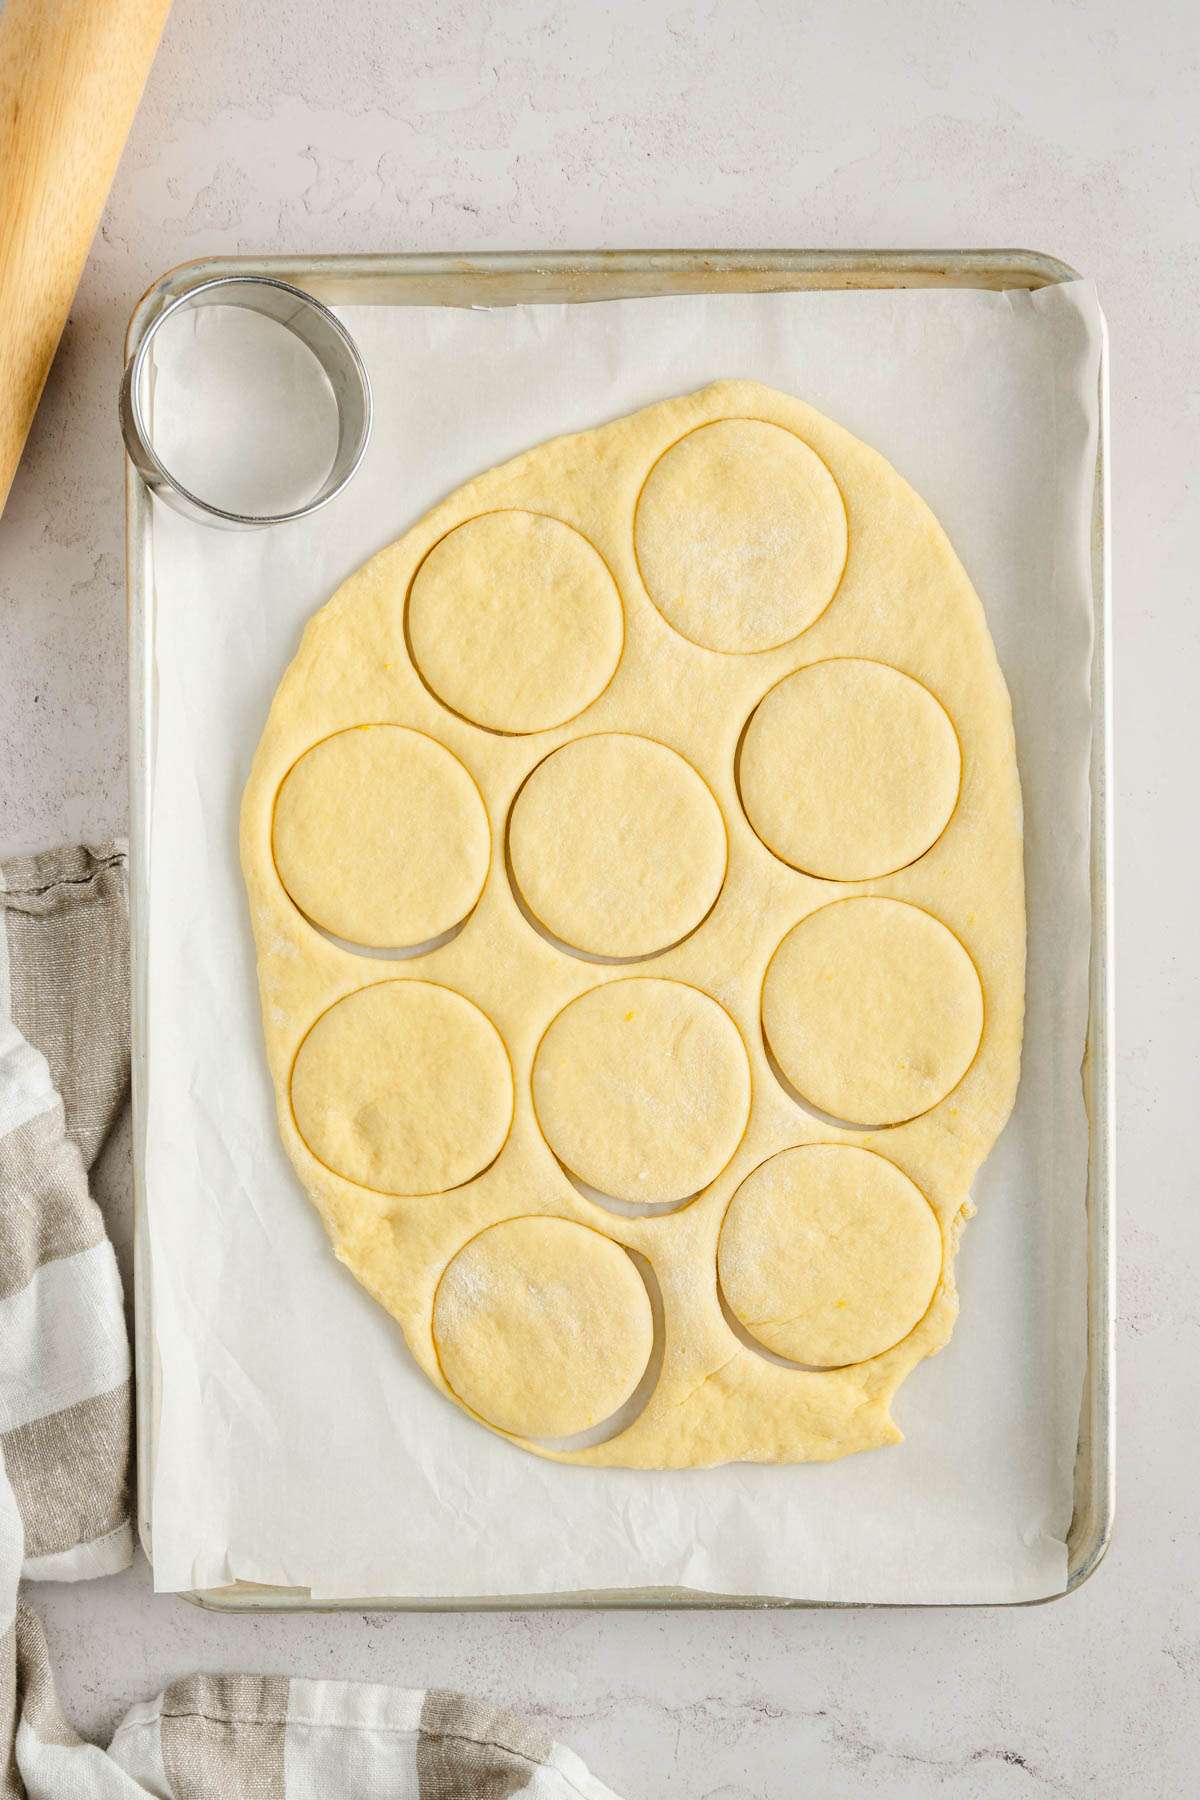
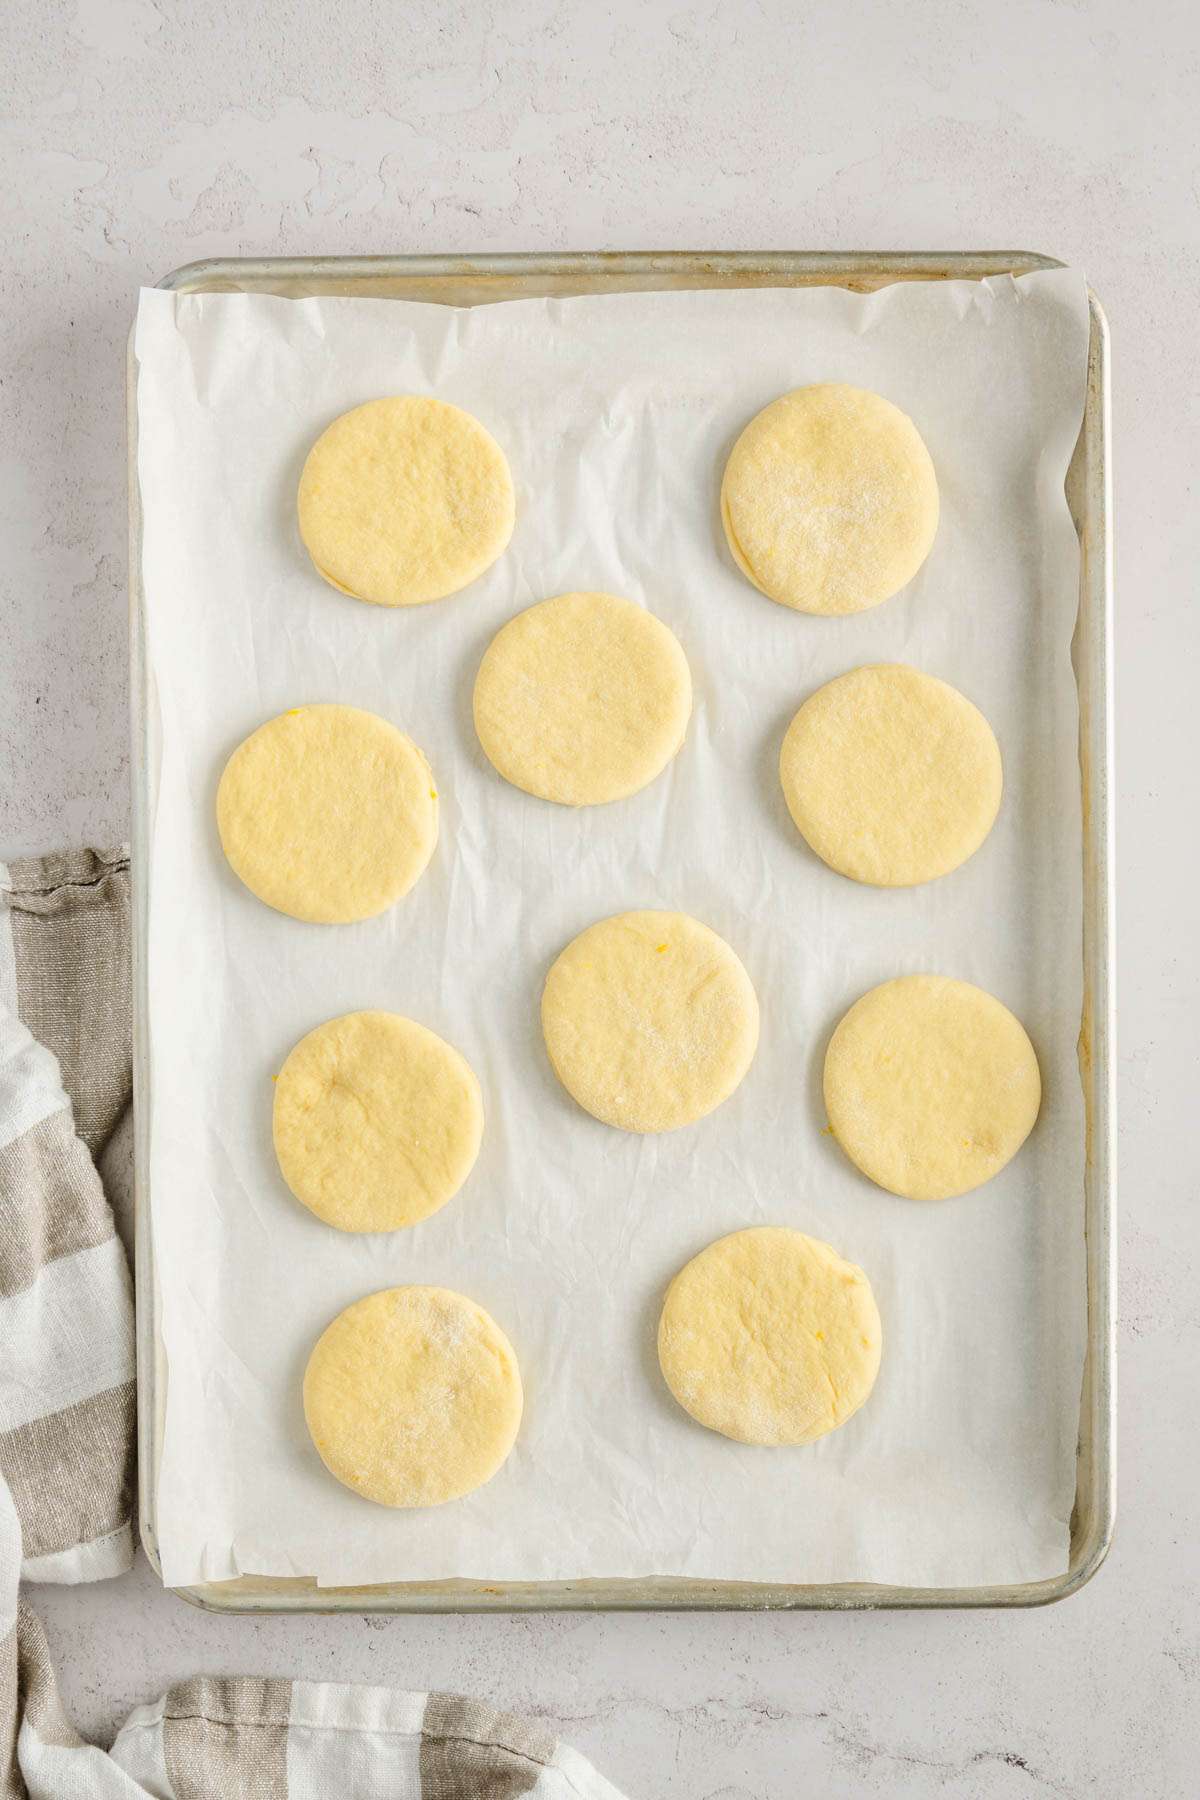
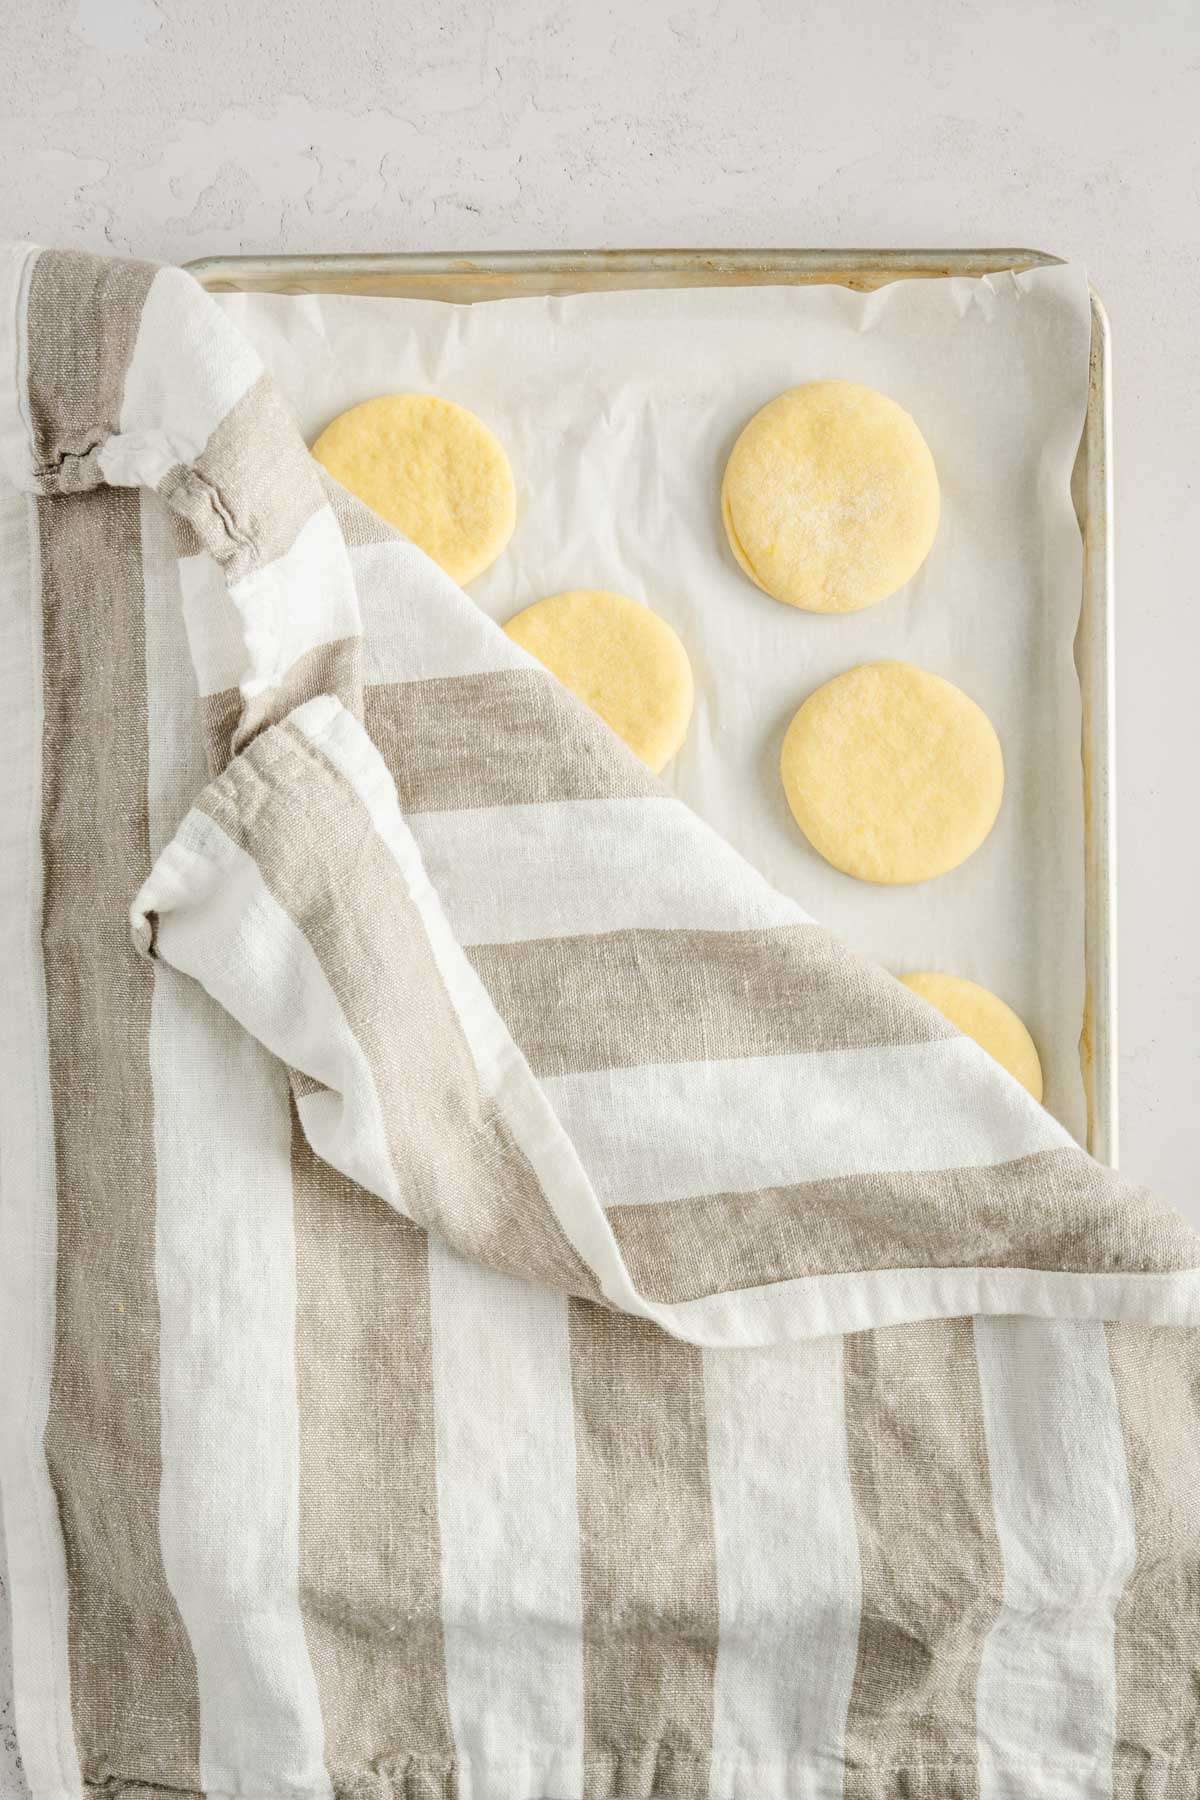
- Arrange the shaped pączki on a baking sheet. Cover with kitchen towel and let them rise (puff up) in a warm place for another 20-30 minutes
- Add cooking oil to the pan and start heating it up. The oil should reach 350F before we can cook the pączki.
- Check the temperature of the oil. If ready, very carefully place pączki into the oil.
- Don’t crowd the pan. Adding too many pączki will drop the temperature of the oil and they will need to cook for longer.
- Watch carefully. When you see the bottom becoming golden brown, flip the pączki. You can use a wire spoon, two forks, whatever works for you to flip the pączki.

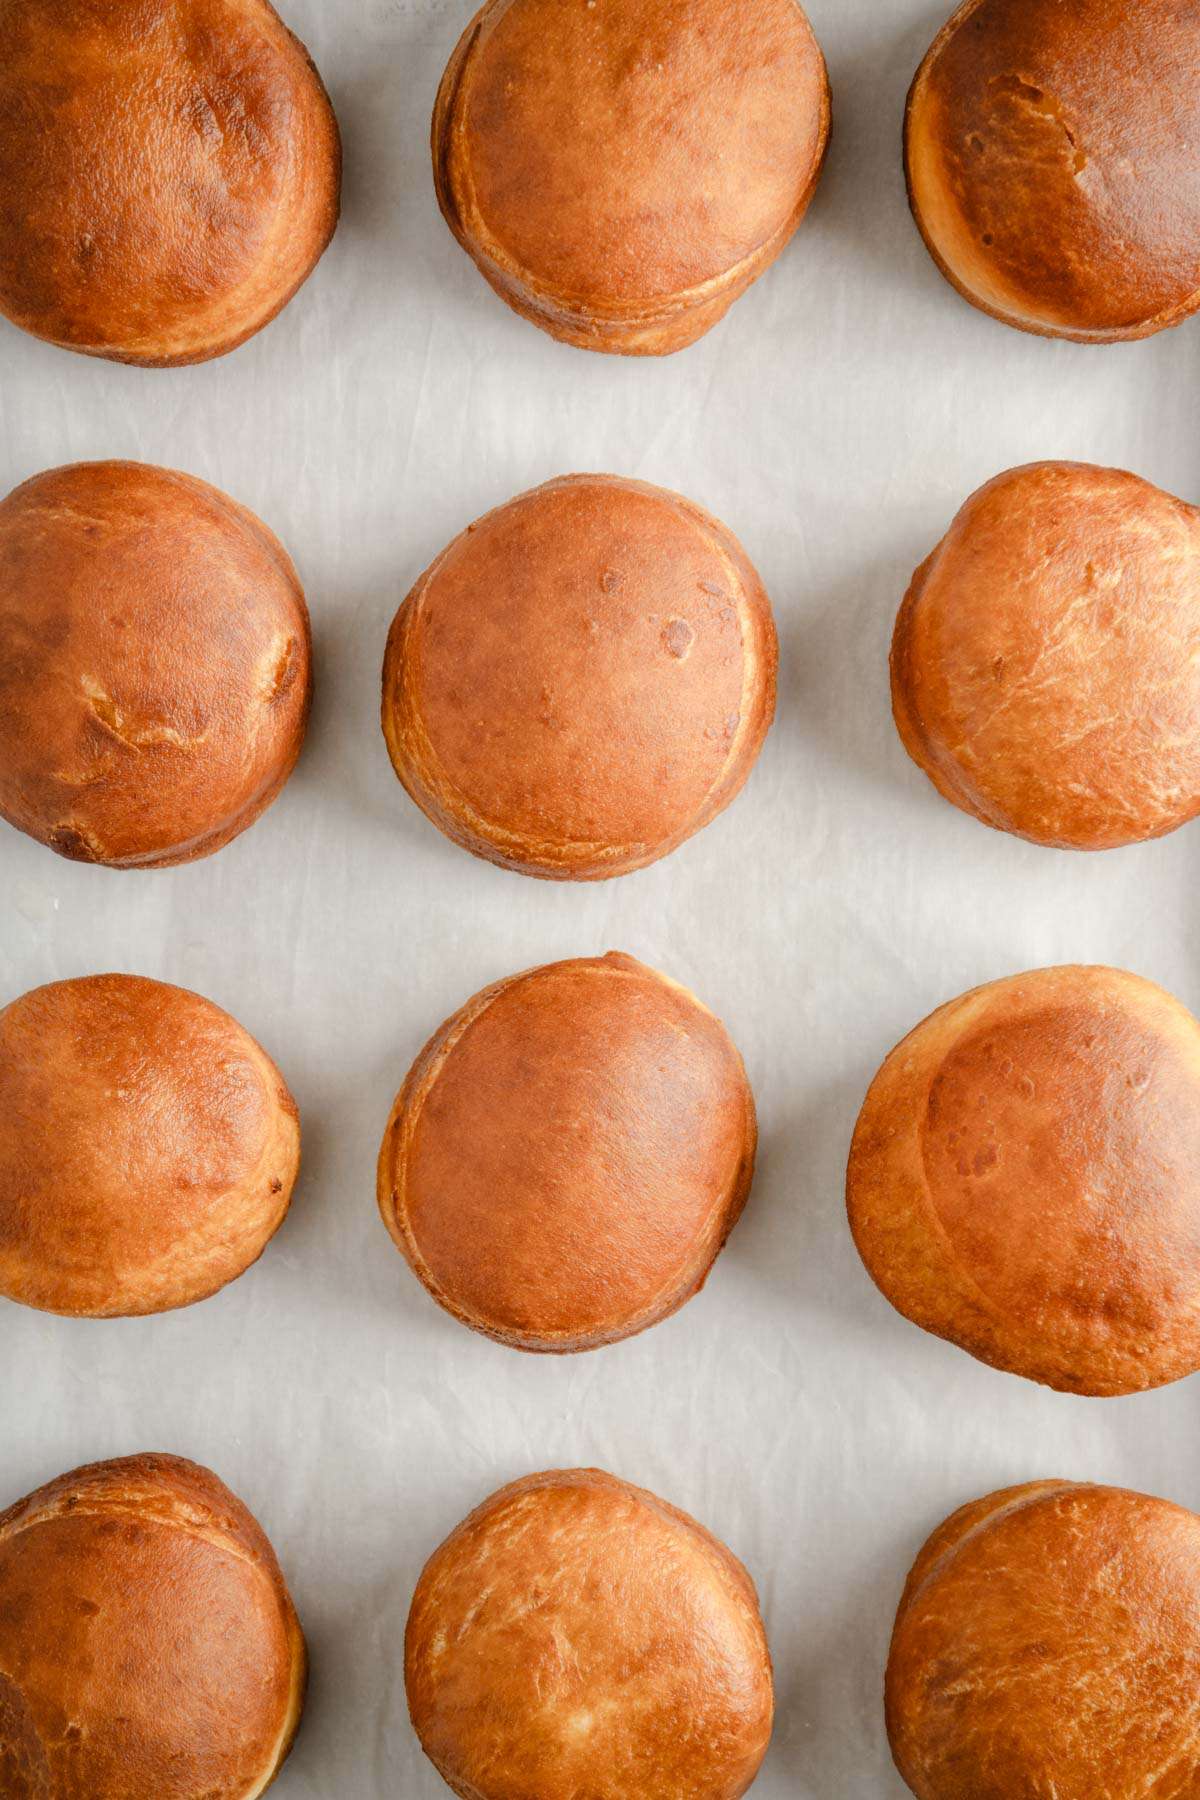
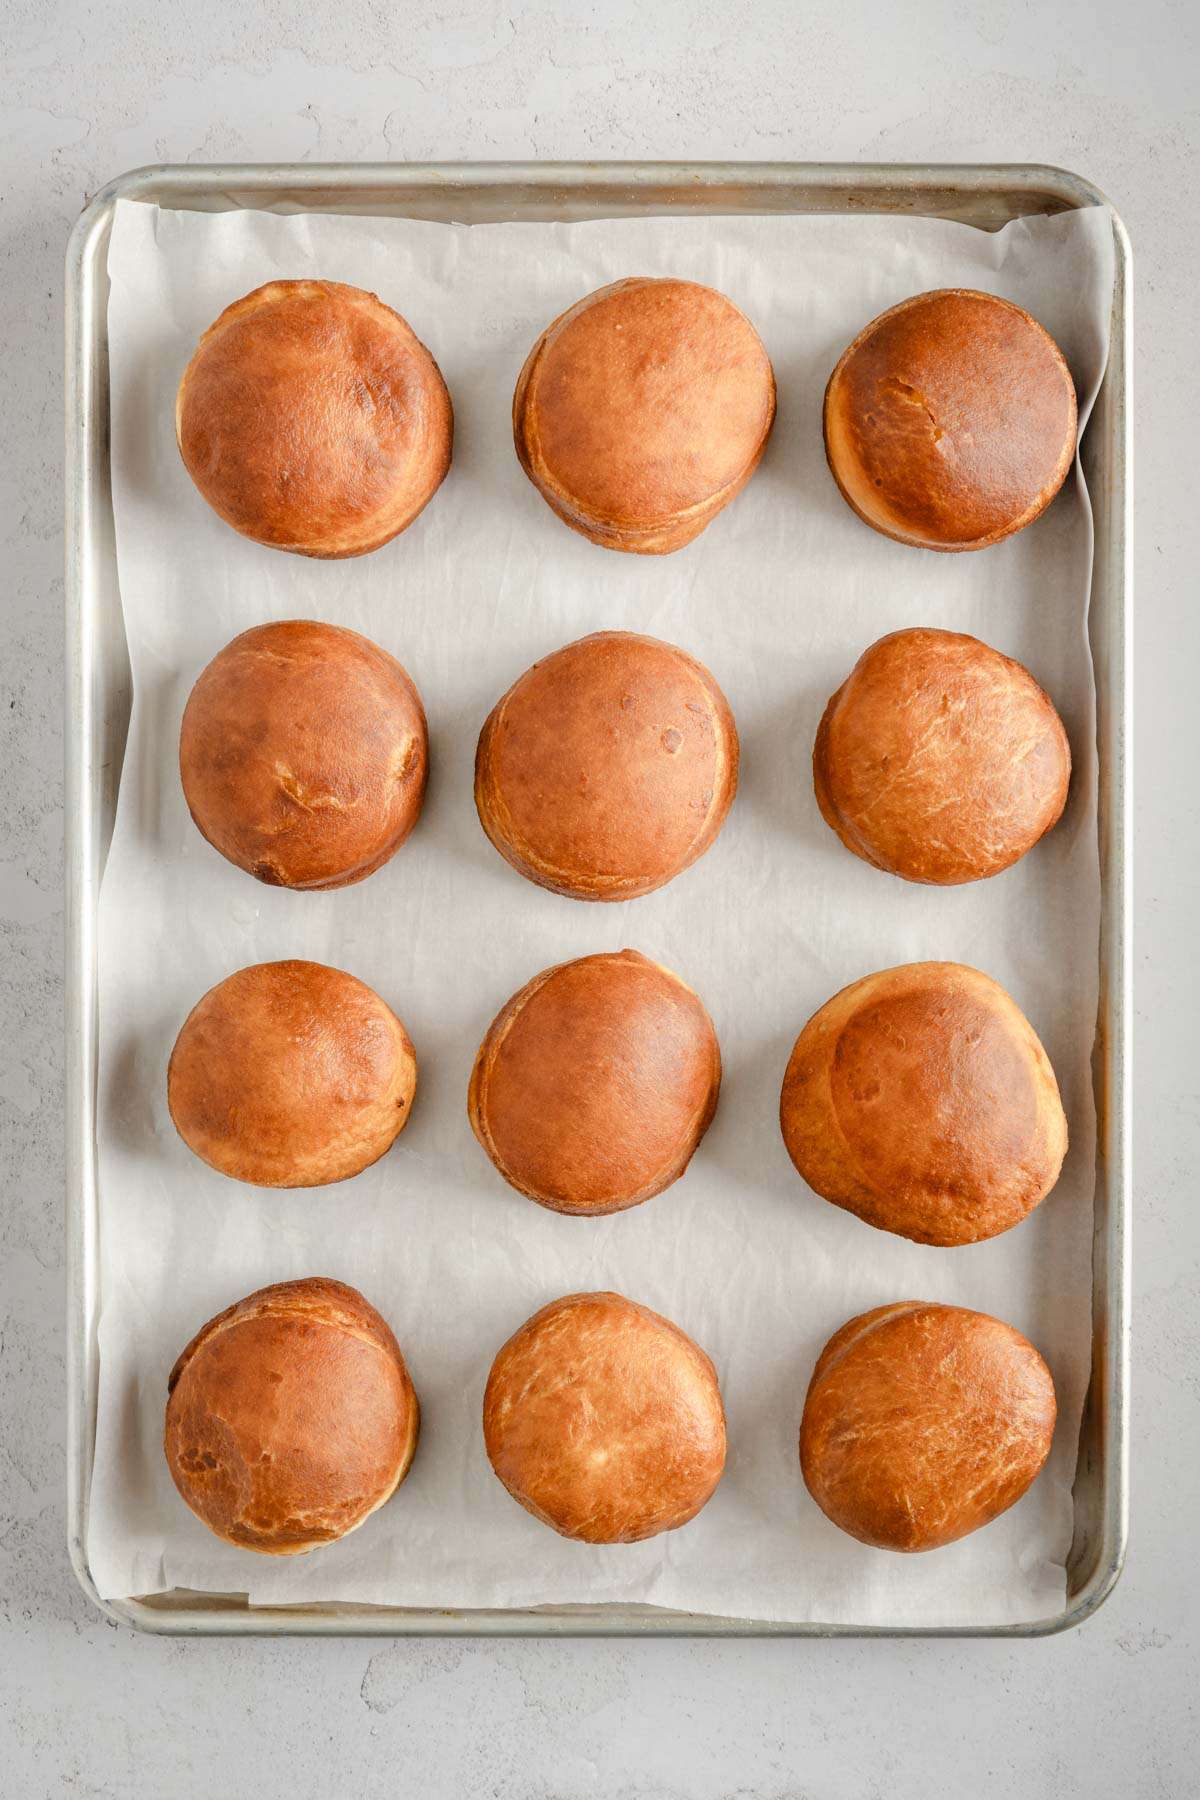
- They will cook quickly! Once both sides are golden brown, remove the pączki and set on a baking sheet lined with paper towel
- You can also use a cooling rack set on a baking sheet. This is to remove any excess oil from the frying
- When the pączki cool down it’s time to fill them in jelly
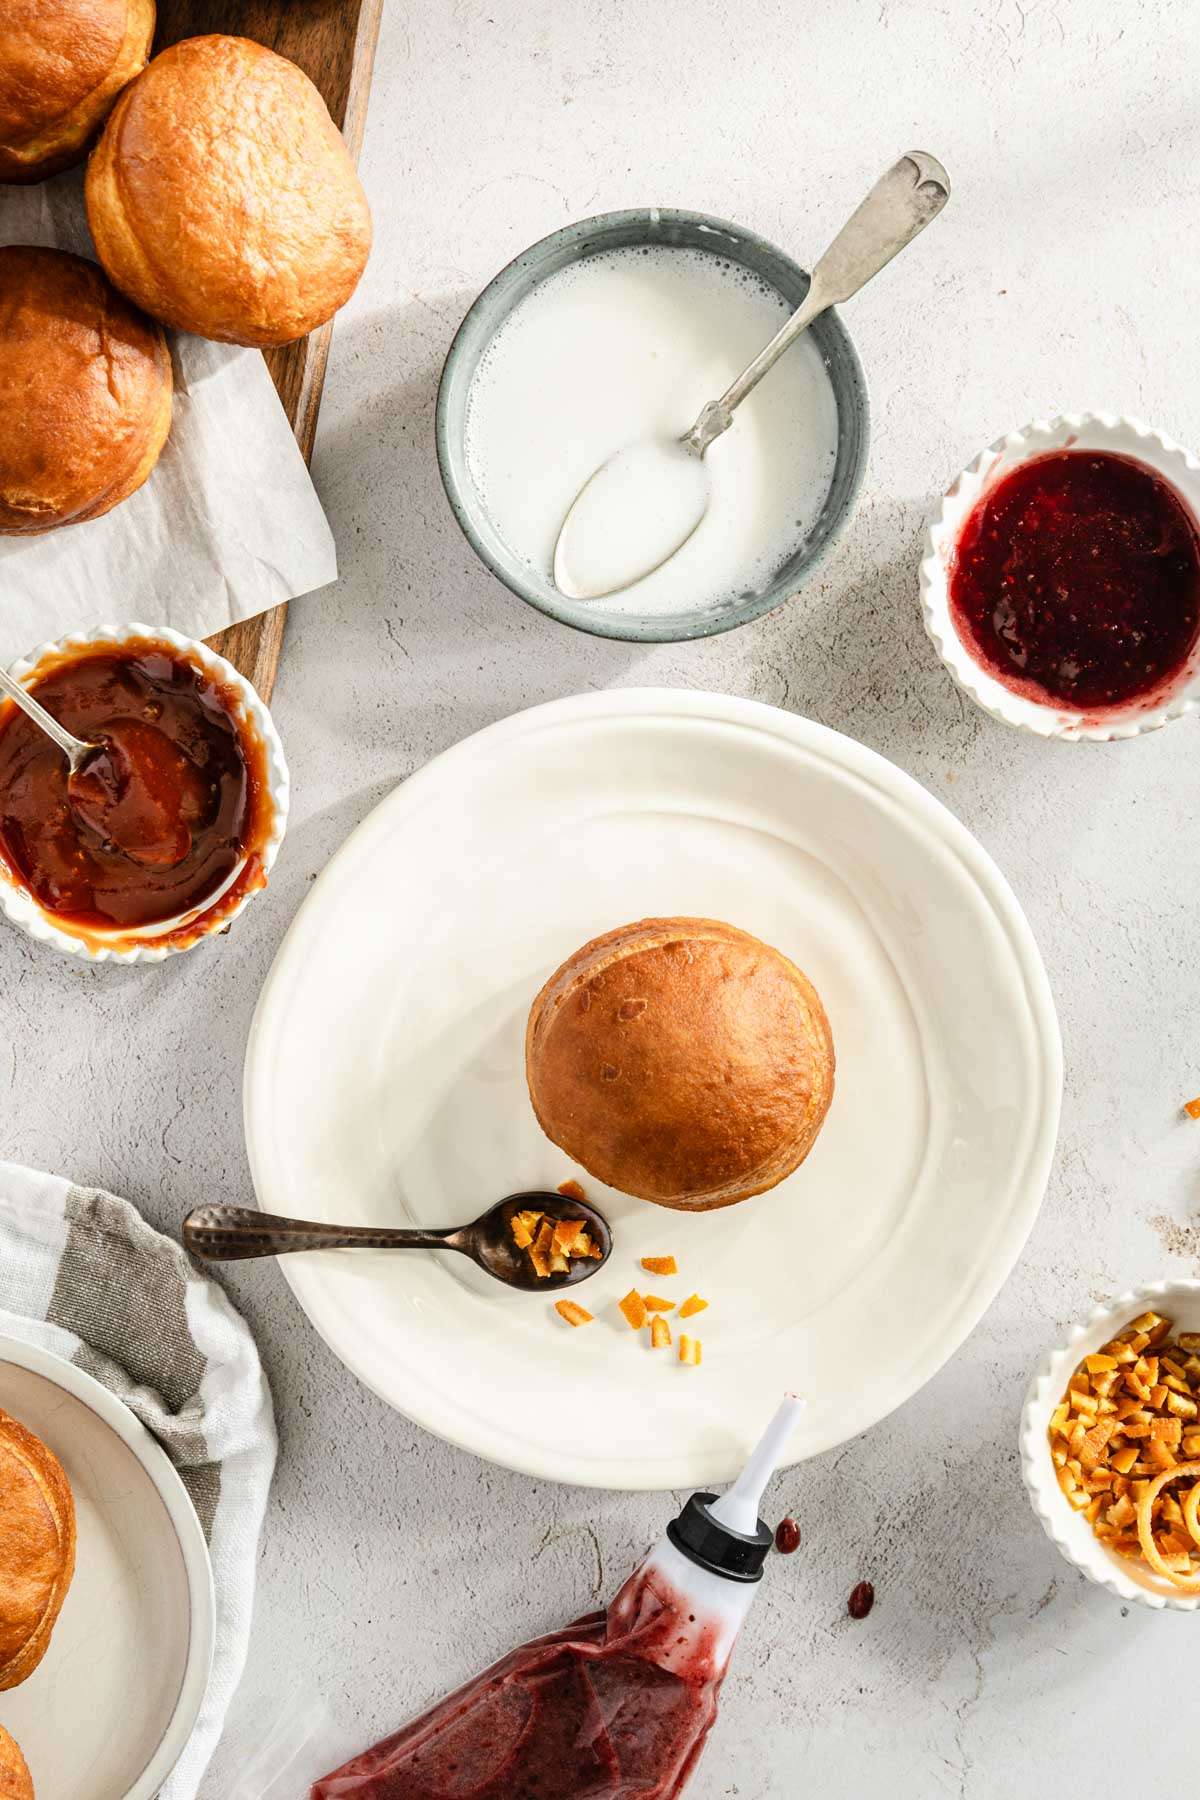
- Using piping bag or device of your choosing fill the pączki with about 1 teaspoon of jelly or cream
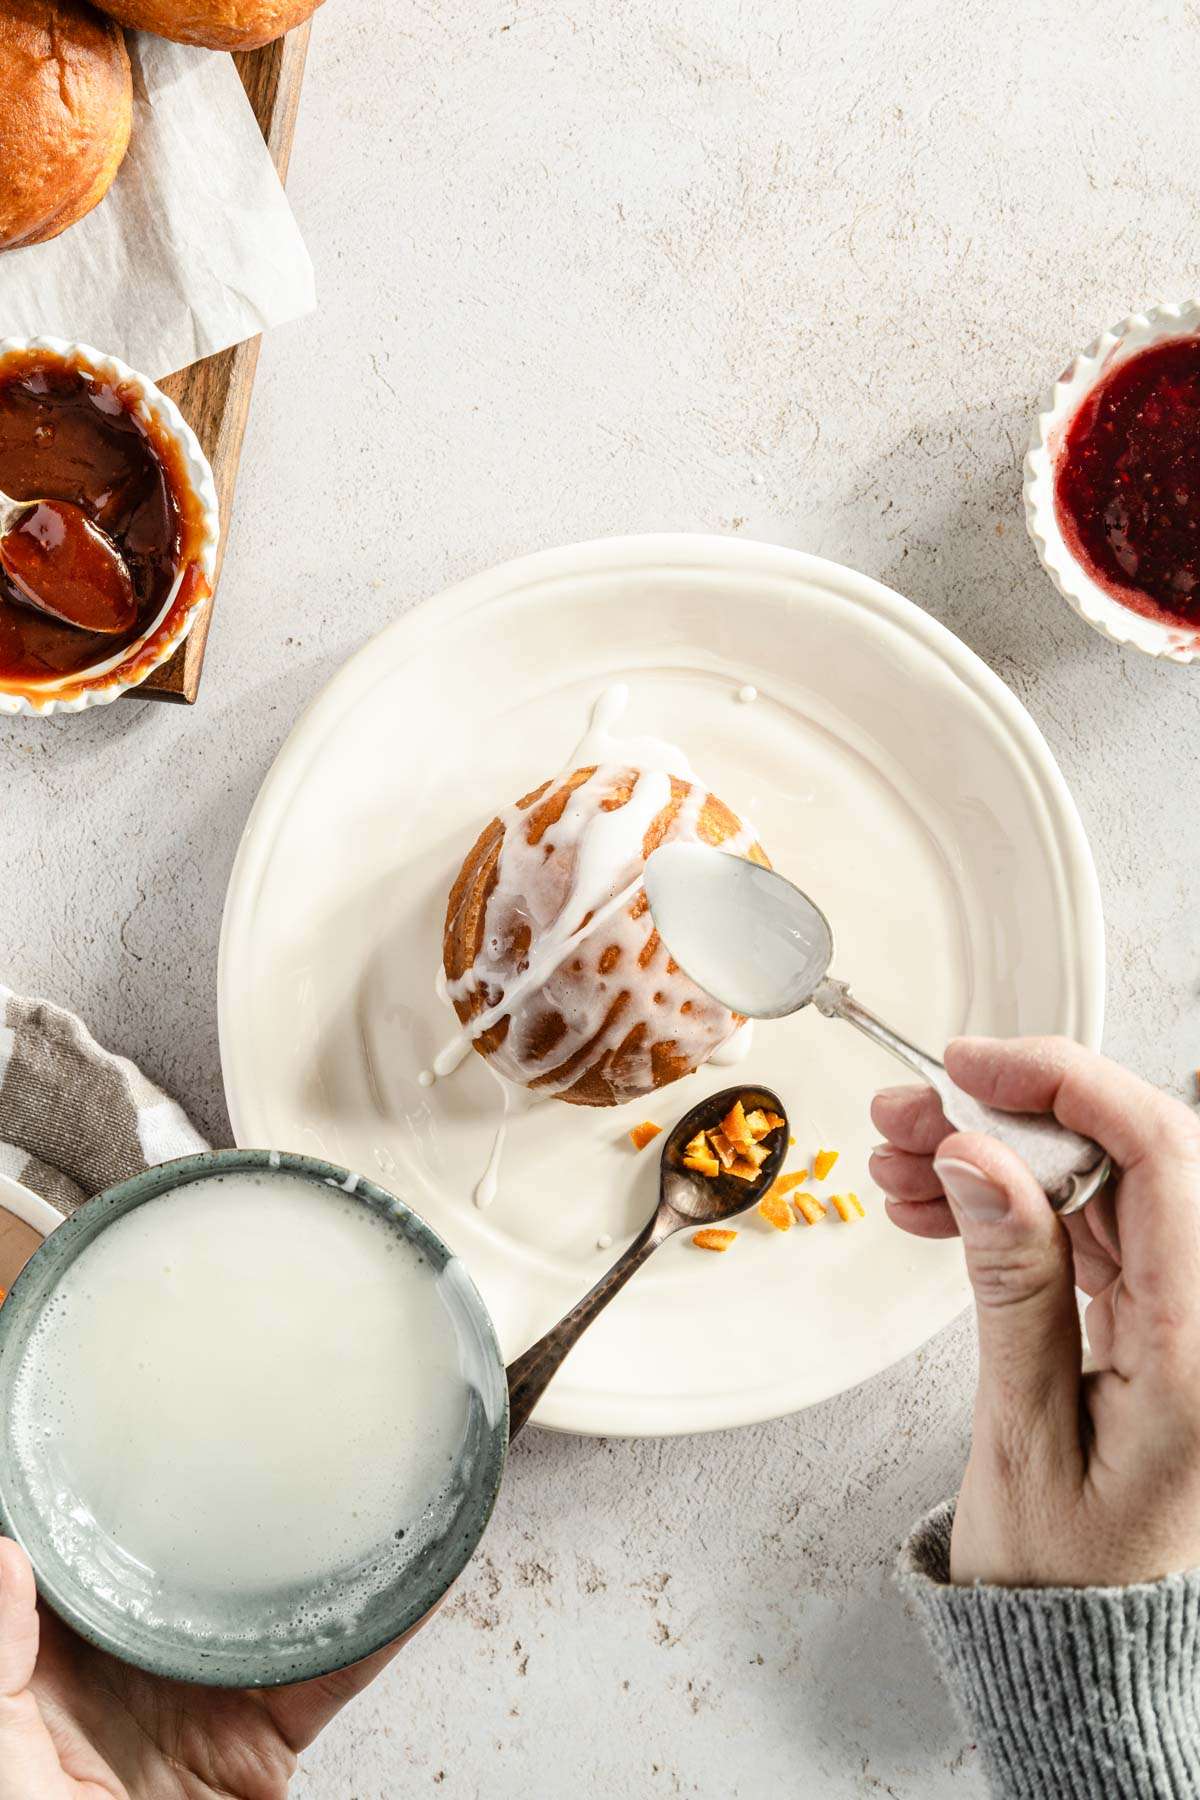
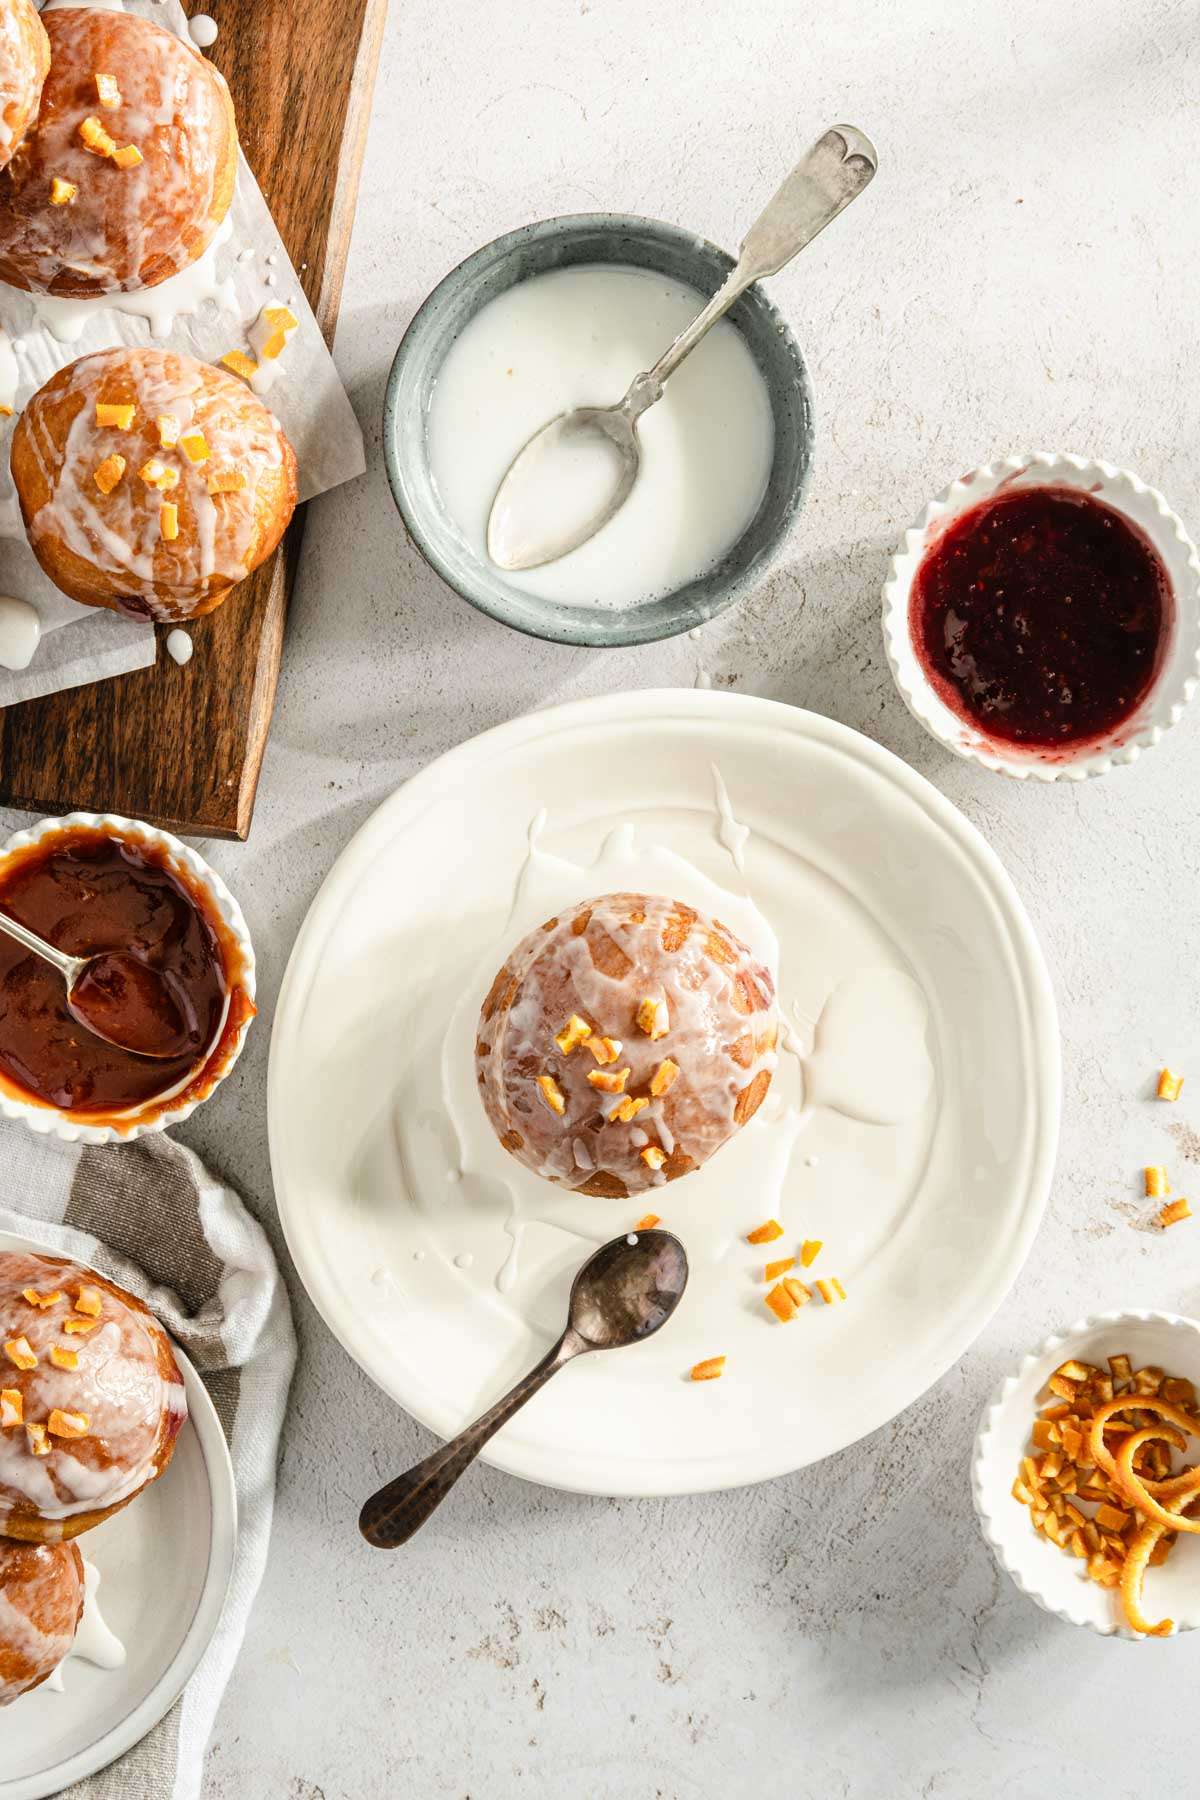
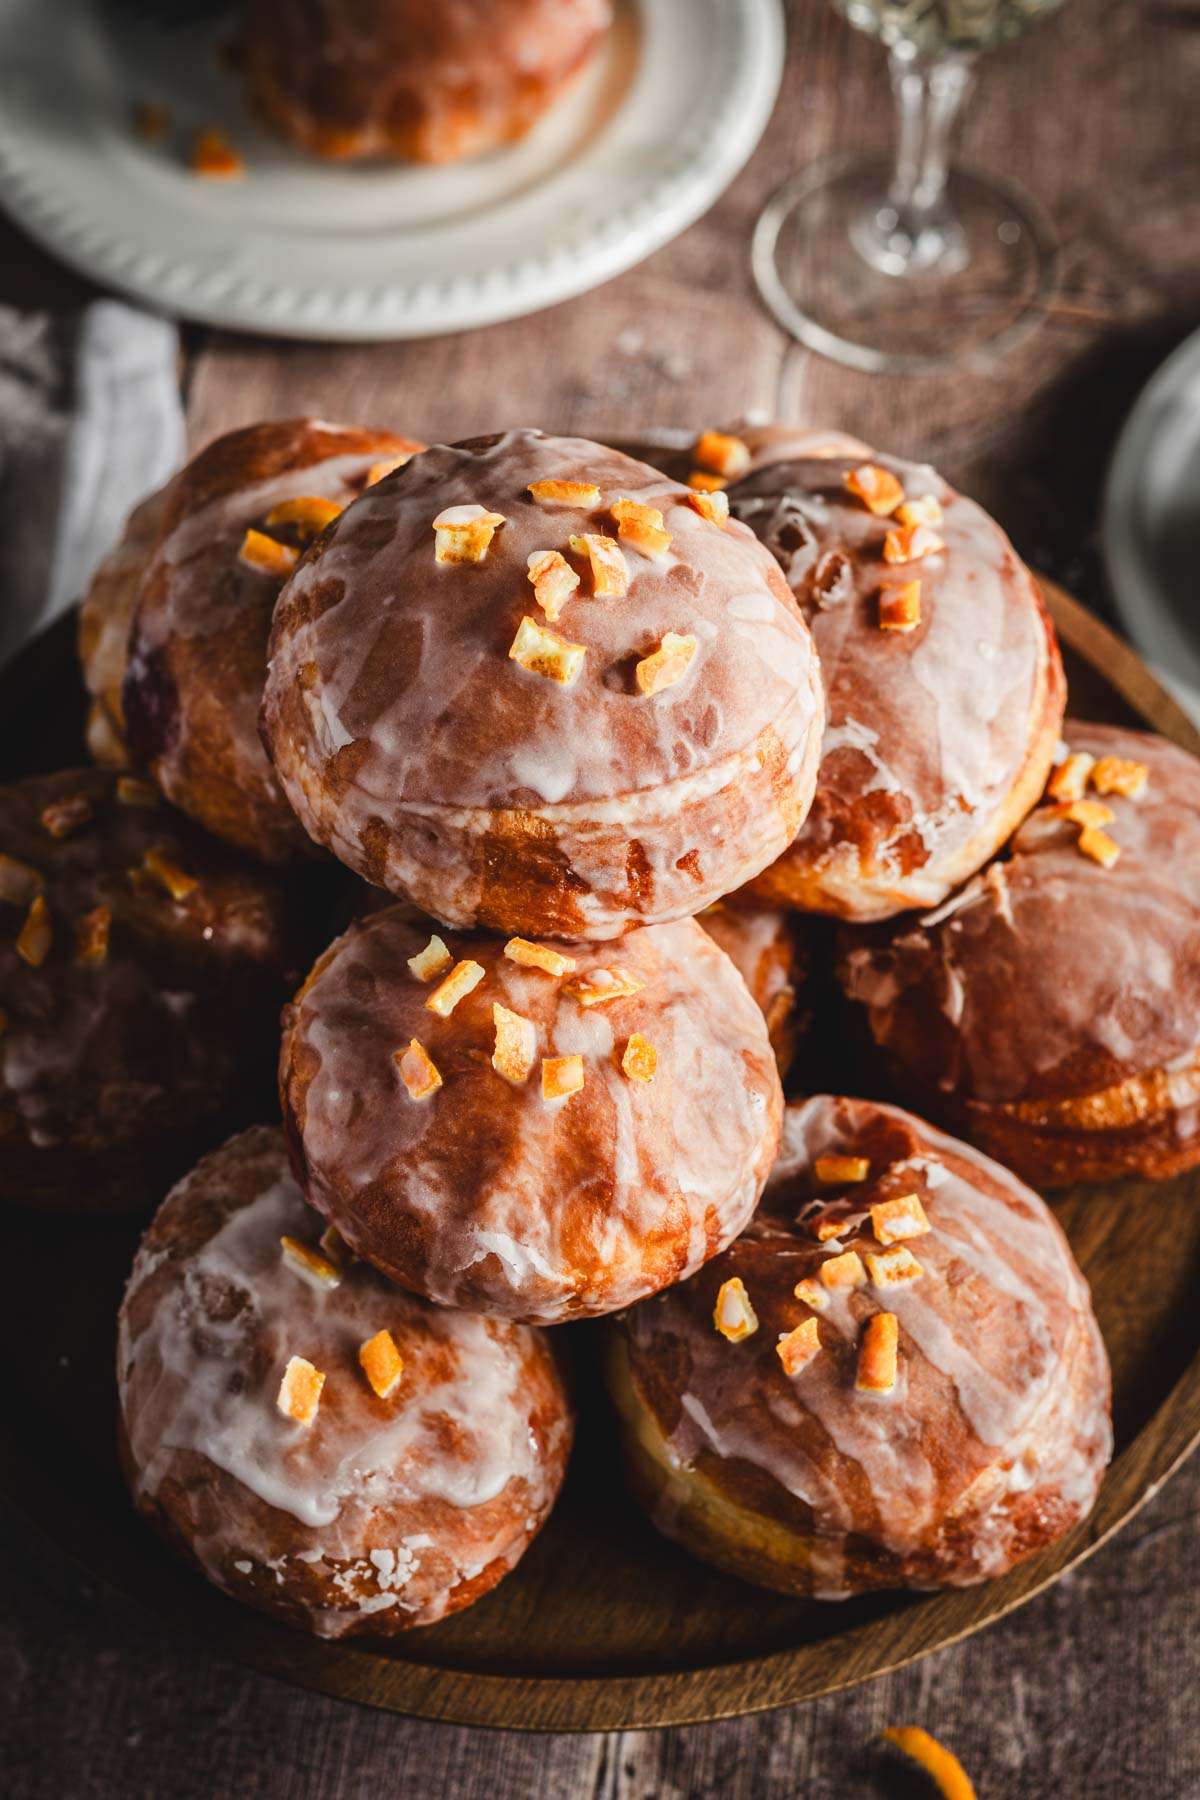
- To finish the pączki either dust them lightly with powdered sugar or make glaze. I like to add lemon juice to the glaze, but you can make it with milk only. Another option is to roll the pączki in granulated sugar.
- Final touch is sprinkle of glazed orange peel or crushed nuts.

Oven instructions for baking pączki
- Follow the steps from deep fry instructions listed above until you have shaped the pączki and are ready for cooking.
- Preheat the Oven to 350°F (175°C).
- Prepare parchment lined baking sheets or lightly grease them to prevent sticking.
- Arrange Pączki on a baking sheet
- Bake Pączki for approximately 10-15 minutes or until they are golden brown.
- Check for Doneness – insert a toothpick into a pączek. If it comes out clean or with a few moist crumbs (not wet batter), they’re ready.
- Cool Pączki – allow the baked pączki to cool on a wire rack before adding any toppings or fillings.
The texture and flavor may be a bit different from traditional fried pączki, but they still will be delicious. Enjoy your baked pączki!
Mistakes to avoid when making pączki:
- Yeast Activation Mishaps
- Before using check the expiration date and freshness
- Ensure the milk is at the right temperature (110F)
- If it is too cold the yeast won’t activate, if it is too hot it may kill them
- Observe the activation process, make sure the mixture becomes bubbly, foamy
- Rushing the Rising Process
- Let the dough rise at its paste; it may take 1 or 2 hours; it needs to double in size to create that light and airy texture; under-risen dough will result in dense pączki.
- Overmixing the Dough
- Mix the dough until just combined. Overmixed dough will result in a tough and chewy texture.
- Inadequate Oil Temperature
- Give the oil time to come up to temperature
- Use thermometer to ensure the oil is at 350F before frying
- If the oil is too hot, pączki can burn on the outside while remaining undercooked inside.
- Crowding the pan
- Use medium size pan to limit how many pączki you can fry at once;
- Adding too many pączki at once will lower the oil temperature, leading to uneven and longer cooking.
- Frying in batches, gives each pączek enough space to ensure an even, golden-brown result.
- Ignoring the Flipping Time
- This is not a set and forget process; you need to keep an eye on the pączki while in the frying oil;
- Flip right when you notice the bottom becoming golden brown
- Not flipping the pączki at the right moment can result in uneven browning.
- Skipping the Paper Towel Step
- To avoid that airy and light texture of pączki become soggy and filled with oil you must set them on a paper towel after frying. Draining excess is imperative to the final result. Nobody wants greasy pączki
- Use a baking sheet lined with a paper towel. Set fried pączki on it to absorb any extra oil. Alternatively you can use a cooling rack placed over a paper towel.
- Using Stale Ingredients
- Use fresh, high-quality ingredients for the best results
- Neglecting Dough Thickness
- We are making pączki, not pancakes; don’t roll out the dough too thin. Aim for 3/4 or 1 inch thickness
You may also like
How to store and reheat Pączki
- Room Temperature (Short-Term):
- Pączki are best enjoyed fresh on the day they are made.
- Store in airtight container at room temperature and enjoy within 1-2 days
- Refrigeration (Extended Storage):
- For longer storage (up to a week), you can place pączki in the refrigerator.
- Ensure they are in an airtight container or wrapped tightly in plastic wrap to prevent them from drying out.
- Freezing:
- To freeze pączki for longer-term storage, individually wrap them in plastic wrap and place in a freezer-safe container or zip-top bag. They can be frozen for up to 2-3 months.
- Reheating:
- Microwave:
- To reheat a single pączek, microwave it for 10-15 seconds. This will revive the softness without making it overly hot.
- Oven:
- For a crispier exterior, preheat your oven to 350°F (175°C). Place pączki on a baking sheet and heat for 5-8 minutes. Keep an eye on them to avoid overcooking.
- Air Fryer:
- If you have an air fryer, this is a fantastic option for reheating. Preheat the air fryer to 350°F (175°C) and air-fry pączki for 2-3 minutes until warm.
- Thawing Frozen Pączki:
- If you’ve frozen pączki, let them thaw in the refrigerator overnight. Then, use one of the above reheating methods.
- Microwave:

Pączki – Polish Doughnuts
Equipment
- 1 medium size cooking pan
- 1 large mixing bowl
- 1 large baking sheet
- 1 measuring cups and spoons
- 1 Stand mixer with paddle attachment and dough hook
- 1 Rolling Pin
- 1 cookie cutter, 3 inch
- 1 chef's knife
- 1 wire spoon
- 1 paper towels
- 1 whisk
Ingredients
- 1.5 cups milk heated to 110F
- 2 packets active dry yeast 4.5 tsp
- ⅓ cup white sugar + 1 tbsp
- 3 tbsp melted butter
- 1 egg
- 4 egg yolks
- 2 tbsp vodka
- ½ tsp vanilla
- Zest of one lemon
- ½ tsp salt
- 4 cups all purpose flour
- oil for frying the paczki
- jam, jelly, cream for filling the paczki
Instructions
- Lightly heat up the milk to 110F. Add the dry active yeast, 1 tbsp sugar and stir to combine.
- Set the mixture in a warm place and let it work its magic. You should see it bubbling, getting foamy on the surface.
- To the bowl of your stand mixer add butter and sugar. Using paddle attachment, cream it until fluffy.
- Add egg, yolks, vodka, vanilla, salt and lemon zest. Mix to combine.
- Add the flour, mix a few times. With the mixer on low speed start adding the yeast – milk mixture.
- When the dough comes together and is smooth stop the mixer.
- Transfer the dough into a bowl lightly greased with oil. Cover with a kitchen towel and set in a warm place. Let is rise for at least 1 hour, or until double in size
- When the dough doubled in size, punch it and set in a warm place for another 45 minutes
- After the second rise, remove the dough from the bowl. Cut it in half.
- On lightly floured surface roll out the dough to about 1 inch thickness
- Using a cookie cutter or glass, cut out circles in the dough.
- Arrange the cut out pączki on a baking sheet. Cover with kitchen towel and set in a warm place to puff up. About 20-30 minutes
- Add cooking oil to the pan and start heating it up. The oil should reach 350F before we can cook the pączki.
- Check the temperature of the oil. If ready, very carefully place pączki into the oil.
- Don't crowd the pan. Adding too many pączki will drop the temperature of the oil and you will need to cook for longer.
- Watch carefully. When you see the bottom becoming golden brown, flip the pączki. You can use a wire spoon, two forks, whatever works for you to flip the pączki.
- They will cook quickly! Once both sides are golden brown, remove the pączki and set on a baking sheet lined with paper towel
- You can also use a cooling rack set on a baking sheet. This is to remove any excess oil from the frying
- When the pączki cool down it's time to fill them in jelly.
- Using piping bag or device of your choosing fill the pączki with about 1 teaspoon of jelly or cream.
- To finish the pączki either dust them lightly with powdered sugar or make glaze. I like to add lemon juice to the glaze, but you make it with milk only. Another option is to roll the pączki in powdered or granulated sugar.
- Final touch is sprinkle of glazed orange peel or crushed nuts.
Notes
- Respect the Yeast – ensure the milk is just warm enough (around 110°F) for optimal activation.
- Be Patient – give the pączki dough time to rise and double in size.
- Don’t Overmix – Once the dough comes together smoothly, resist the urge to keep mixing.
- Temperature Matters – use a thermometer to check the oil temperature before frying. Consistent heat ensures evenly cooked and golden-brown pączki.
- Fry in Batches – Don’t overcrowd the frying pan. Fry pączki in batches to maintain the oil temperature and ensure even cooking.
- Keep an Eye on Flipping – quick and attentive flipping is the secret.
- Drain Excess Oil – after frying, let pączki rest on paper towels or a cooling rack to remove any extra oil.
- Thickness Matters – when rolling out the dough, aim for about 1-inch thickness. Too thin, and pączki might end up flat; too thick, and they might not cook through properly.
Nutrition
Did you make this recipe?
Tag me @sylwiavaclavekphotography or tag me using #myomnikitchen so I can see your creations! You can also leave a comment below!

Pączki Recipe Conclusion
So, you’ve hung with me through the dough-kneading, the deep-frying, and the joyous mess of filling the Pączki with jammy goodness. And here we are, at the brink of Fat Thursday and Fat Tuesday, when these Polish donuts shine and are talked about on the news.
Now, tell me, was I right or was I right? There’s just something about pączki that puts them in a league of their own, far outshining any standard donut.
As we gear up for these festivities, it’s not just about whipping up a batch of these treats. It is about diving headfirst into a tradition that’s as rich and filled as the pączki themselves. It’s about sharing a bit of that Polish heritage, whether it’s with friends, family, or that neighbor you only wave to but haven’t really spoken to yet. Trust me, nothing breaks the ice like a homemade pączek, slightly warm, with that jelly peeking out, saying, “Come on, take a bite.”
So let me know what you think about these pączki polish doughnuts in the comments!
FAQ about Polish Pączki
What is a Pączek (Pączki)?
Pączek (singular) or pączki (plural) is a Polish pastry similar to a filled doughnut, traditionally eaten on Fat Thursday or Fat Tuesday. It’s deep-fried and typically filled with various sweet fillings.
How is Pączki Pronounced?
Pączki” is pronounced as “poonch-key” or “pownch-key.” The “cz” is pronounced like “ch” in English.
When is Pączki Day?
It is everyday 🙂 but the actual Pączki Day is often associated with Fat Tuesday, the day before Ash Wednesday. In Poland, it’s also celebrated on Fat Thursday, the last Thursday before Lent.
What’s the Difference Between Pączki and Doughnuts?
While both are fried pastries, pączki typically have a richer dough, thanks to ingredients like eggs and butter. They are also larger and more decadently filled than traditional doughnuts.
What Are Common Pączki Fillings?
Traditional fillings include rose hip jam, plum jam, custard, or a sweet cheese filling. Modern variations can include chocolate, fruit preserves, and even liqueur-infused fillings.
Can I Make Pączki Without a Stand Mixer?
Absolutely! While a stand mixer makes the process more convenient, you can make pączki by mixing and kneading the dough by hand. It just requires a bit more elbow grease!
How Do I Know When the Pączki Dough Has Risen Enough?
The dough should roughly double in size during the rising process. It’s ready when you can gently press a finger into the dough, and the indentation remains.
Can I Bake Pączki Instead of Frying?
While traditional pączki are fried, you can experiment with baking them. Keep in mind that the texture and flavor may differ from the deep-fried version. Click HERE to read Baking Instructions.
How Long Do Pączki Stay Fresh?
Pączki are best enjoyed fresh on the day they are made. If stored properly, they can be consumed within 1-2 days at room temperature or up to a week in the refrigerator.
Can I Freeze Pączki?
Yes, pączki can be frozen for longer-term storage. Wrap them individually and store in a freezer-safe container. They can be frozen for up to 2-3 months. Click HERE for more info about pączki storage.
How do I know when the oil is the right temperature for frying?
Use a kitchen thermometer to ensure the oil temperature is between 350-375°F (175-190°C). You can also test the temperature by dropping a small piece of dough into the oil – it should sizzle and turn golden brown. Click HERE to read more about oil temperature.


