The Best tasting Polish Beef Pierogi
I’m sure you have heard about Polish Beef Pierogi or pierogi in general. They are very popular and for good reasons. It takes some hand – eye coordination and elbow grease to make them, but it is so worth it. They freeze well, so it is always good to make a big batch. Another great thing is you can prepare the meat ahead of time and store it in the fridge. When ready, make the dough and add one to one. Polish ultimate comfort food, right after paczki.

Pierogi are very customizable when it comes to the pierogi filling. Most popular kraut and mushroom, are followed by meat, fruit and cheese. You should try each filling to find your favorite. I can tell you right now, you will love them all. They filings are kind of seasonal. Fall, winter for the meat and kraut with mushrooms, spring summer for the cheese and seasonal fruit.

Why you will love Polish Pierogis’:
- Ultimate comfort food. This is the first dish I eat after traveling back home. Ask my mom 🙂
- They freeze well. Always make a big batch.
- You can adjust the filling to your liking. Use chicken, pork, beef, or a combination of meats, vegetables, cheese or fruit.
- Great for sharing and to feed a crowd.
- Various ways of cooking pierogies. Boil, bake or fry. Pick the method that suits your mood.
- Soft, slightly chewy dough and tender, moist filling. Do have to say more 🙂
Ingredients, Variations and Substitutions:


For the Dough
Flour – all purpose or plain; it is well balanced flour that will create soft and sturdy dough. It is not recommended to use bread flour due to its characteristics. It may create dough that is much more chewy. Using whole wheat flour will create dense dough. It would be optimal to mix it with all purpose flour for nice dough.
Eggs – use fresh eggs at room temperature. The eggs provide moisture and help bind the flour, creating a cohesive and elastic dough. Beat them gently before adding to ensure a consistent mixture.
Melted butter – adds richness and adds a layer of flavor to the dough;
Milk – the hydrating agent. It binds the ingredients together. Make sure it is lukewarm milk (110F). Pour it gradually, mixing as you go, to achieve the desired dough consistency. You can also use water
Salt – used to balance the flavors of the dough.
For the filling
Beef chuck – cooked and shredded; you can also use leftover meat: chicken, ground meat (pork, beef), turkey, any meat of your preference.
Onion – medium size, yellow or white; you can also use leeks, shallots or use onion powder; adjust to your liking
Thyme – one of my fave aromatics; if fresh not available, used dried thyme; 1 tbsp fresh = 1 tsp dried; you can also substitute with oregano, rosemary or marjoram
Marjoram – ‘Polish’ herb (not) we use in almost every dish we make, pierogies, soups, meats or veggies :); adds a subtle sweet and citrusy note; if not available use oregano.
Worcestershire sauce – it enhances the beef flavor by adding umami and savory notes; not available use soy sauce, balsamic vinegar or oyster sauce;
Beef broth – it is a binder for the filling, it also infuses the meat with additional flavor; I used the one leftover from cooking the chuck roast; you can also use vegetable or chicken broth.
Butter or olive for cooking the filling; you can use ghee or a variation to oil you have available;
Equipment you will need
- Instant pot to cook the meat
- Stand mixer (optional, you can also knead the dough by hand)
- Large and medium size bowls
- Whisk, spatula,
- Frying pan
- Food processor, meat grinder or blender
- Measuring cups and spoons
- Rolling pin
- Cookie cutter
- Large pan to cook the pierogies
- Slotted spoon

Top Tips for Making Pierogis
- Consistency is crucial. The dough should be smooth and pliable. Too sticky? Add a bit more flour. Too dry? A touch of water can help. Add in small amounts and observe how the dough is changing.
- Kneading, this is where the elbow grease comes to play. Don’t rush it. We need to develop gluten, that will give the dough its elasticity. The goal is soft, smooth, and uniform texture.
- Resting, just like after you grill a steak you need to rest it before cutting. The same applies to the dough. After kneading is done you need to let the dough rest. This will allow the gluten to relax, making it easier to roll. Plan on about 30 minutes of rest. You will need it as well 🙂
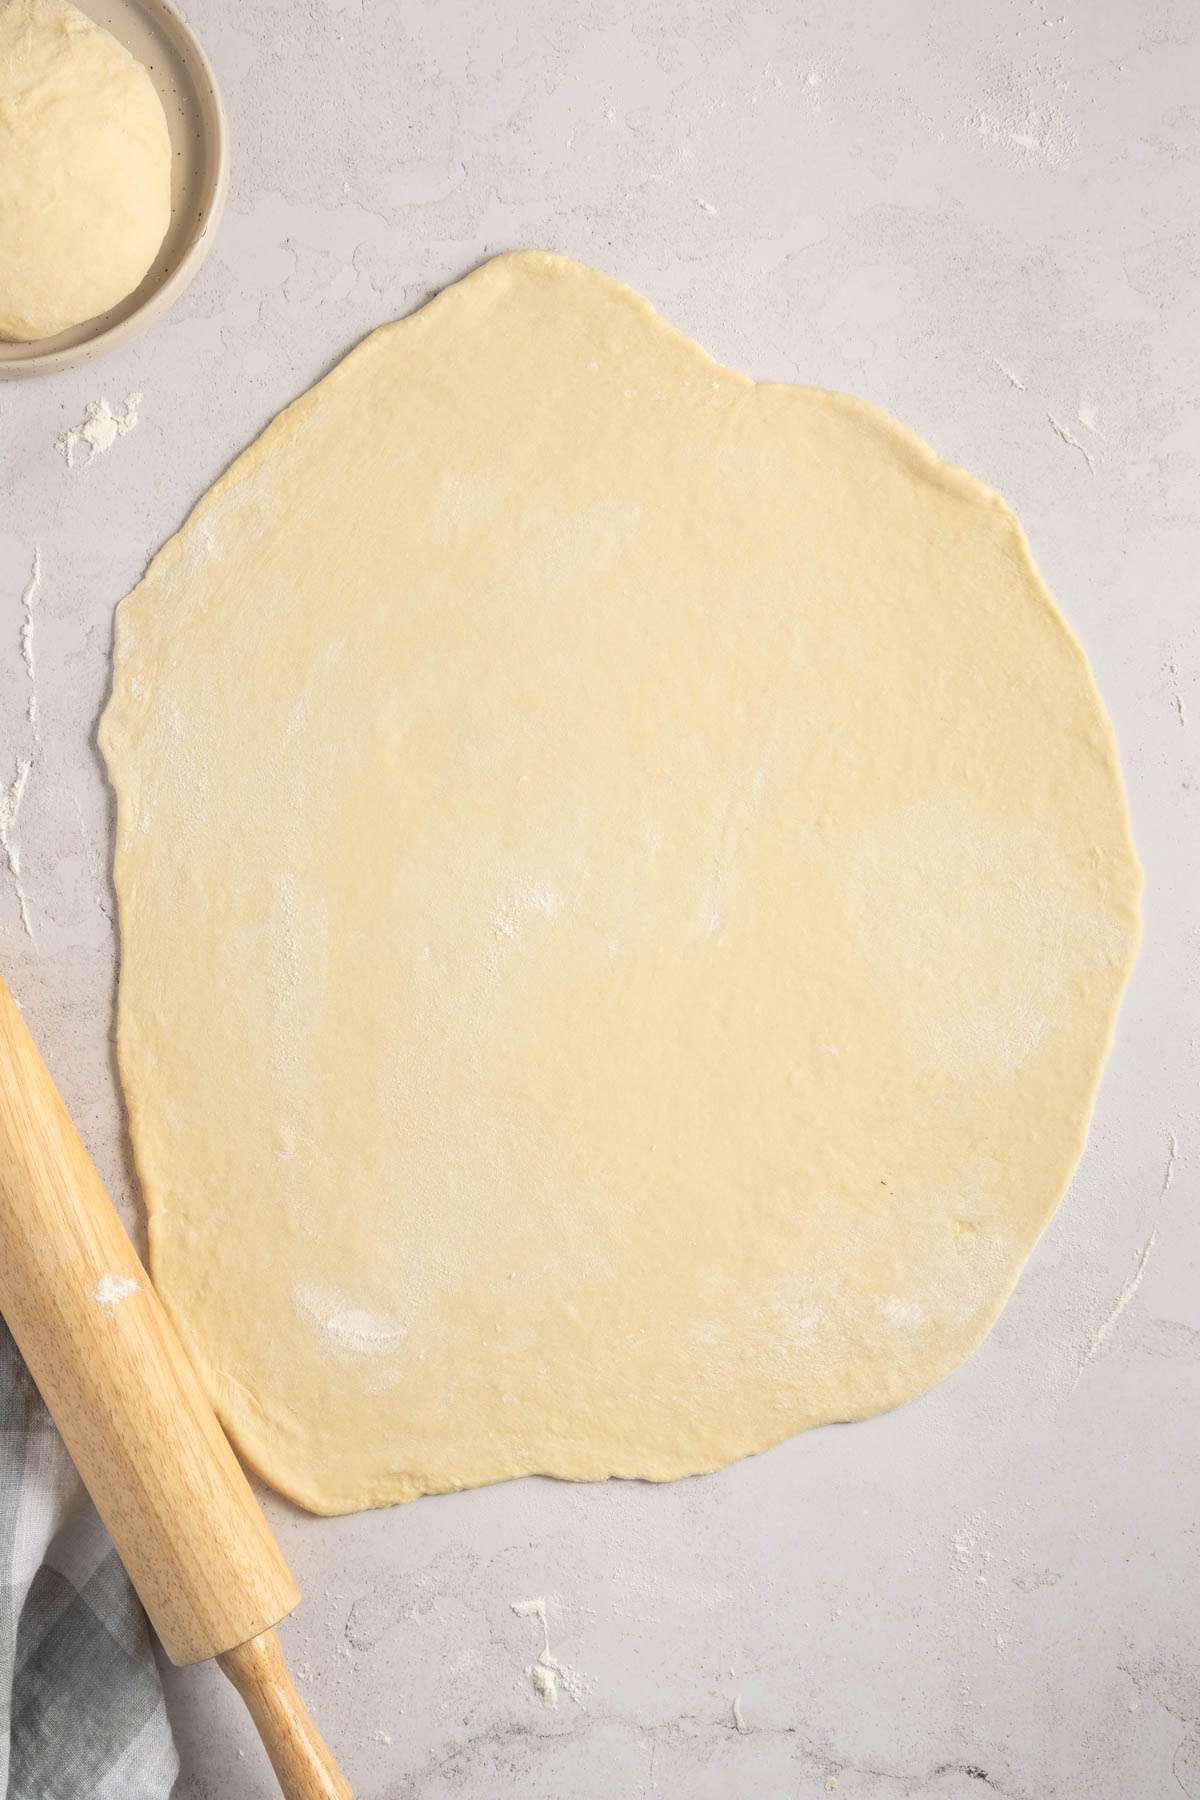
- Let’s roll – we need the dough to be even thickness. Too thin, and your pierogi might tear during cooking. Too thick, and they may be doughy. Aim for about 1/8 to 1/16 inch thickness.
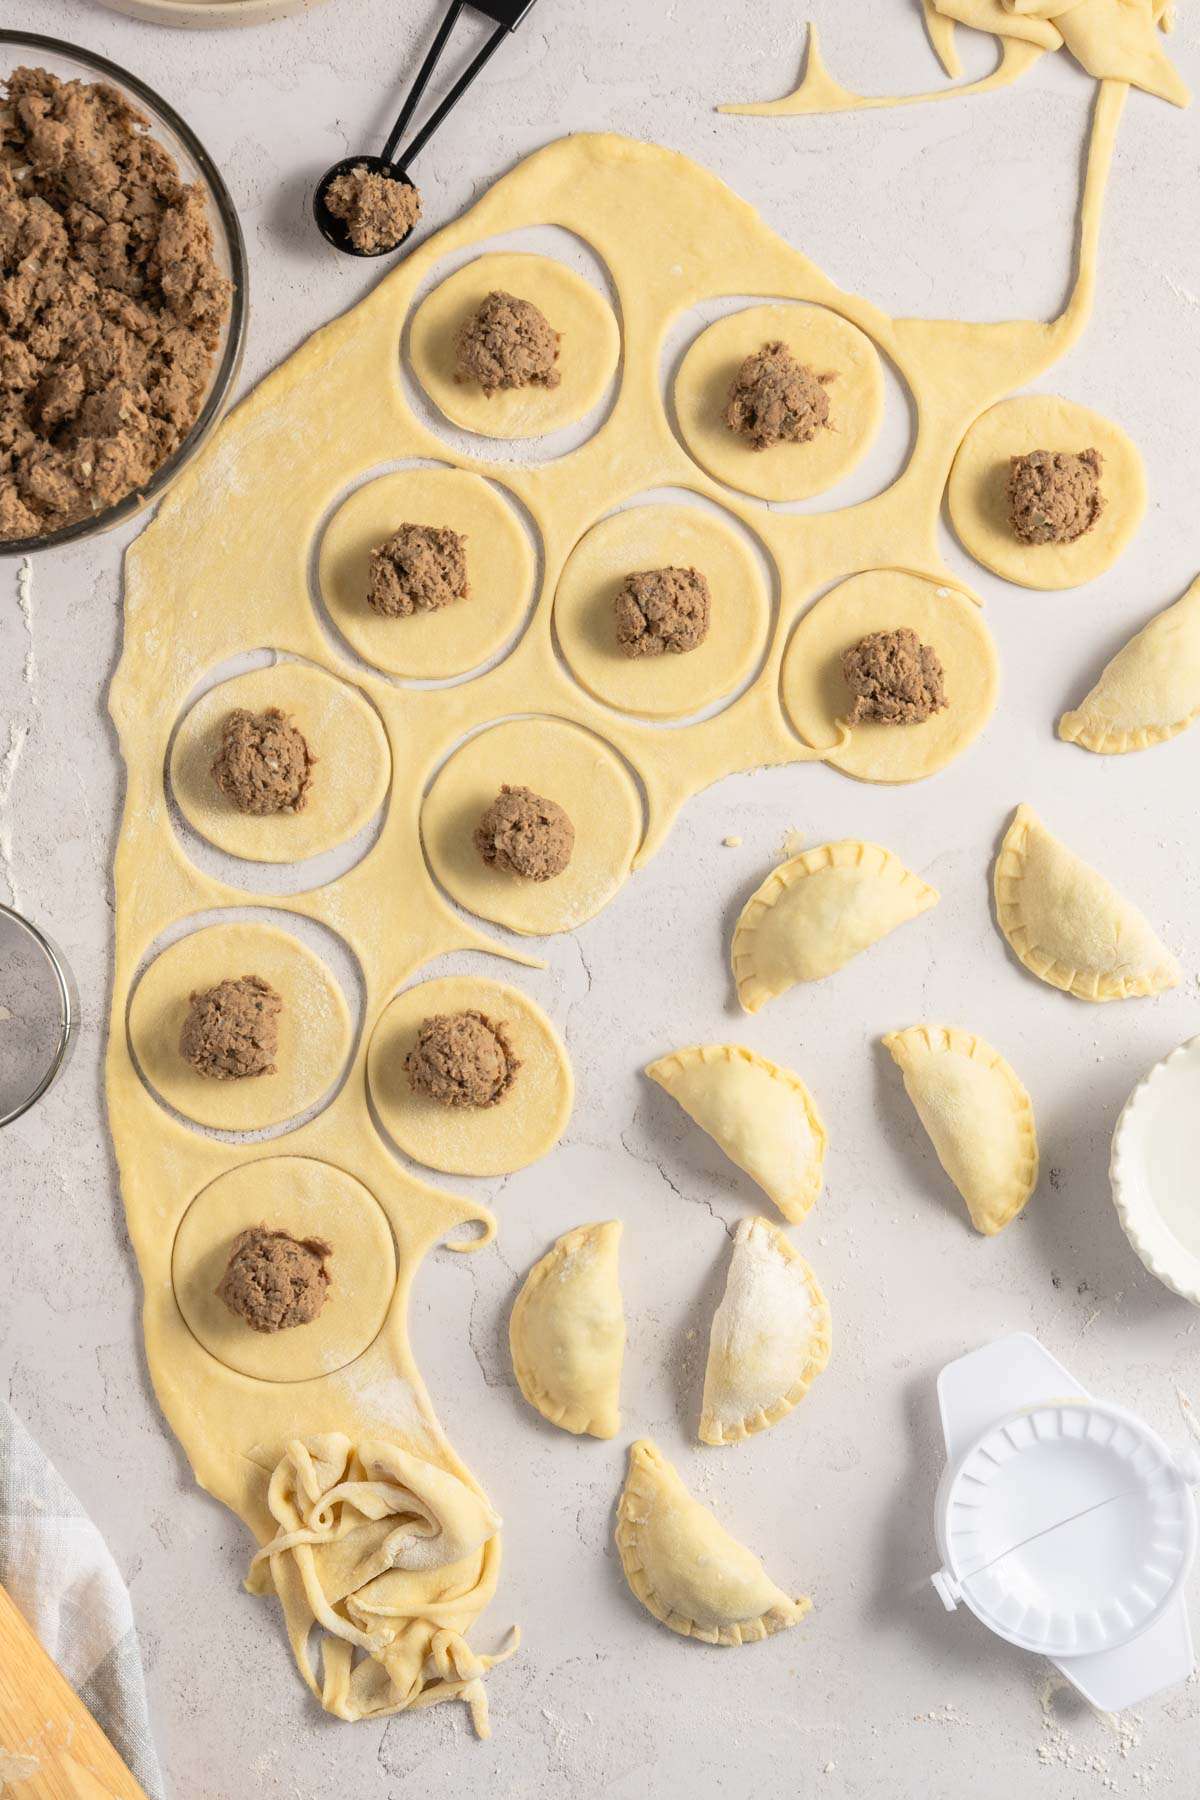
- Let’s seal – there are various techniques of sealing. You can do it all by hand or use pierogi form. Either way you choose, make sure the edges are properly sealed. If the dough seems dry, you can use a little water to help it seal better. We don’t want any of the delicious filling escaping during the cooking process.
- Meat pierogi filling- yes, I know we want the pierogi to be filled to the rims with it, but overstuffing is not the answer. You won’t be able to seal them properly. Also it is likely they will break during cooking. Use less of the meat pierogi filling (1 to 1.5 tsp) but make more pierogis.
- Cooking – boiling is the most popular method for cooking pierogis. Use a large pot with plenty of water. Drop them gently, stir a few times so they don’t stick to each other. Once they float, cook for one more minute. Fish out using a slotted spoon.
- Draining and drying – after cooking transfer them into a strainer; if you are planning on pan frying them, pat them dry with paper towel prior to placing them on the pan.
How to Make Polish Meat Pierogi (Step by Step Instructions)
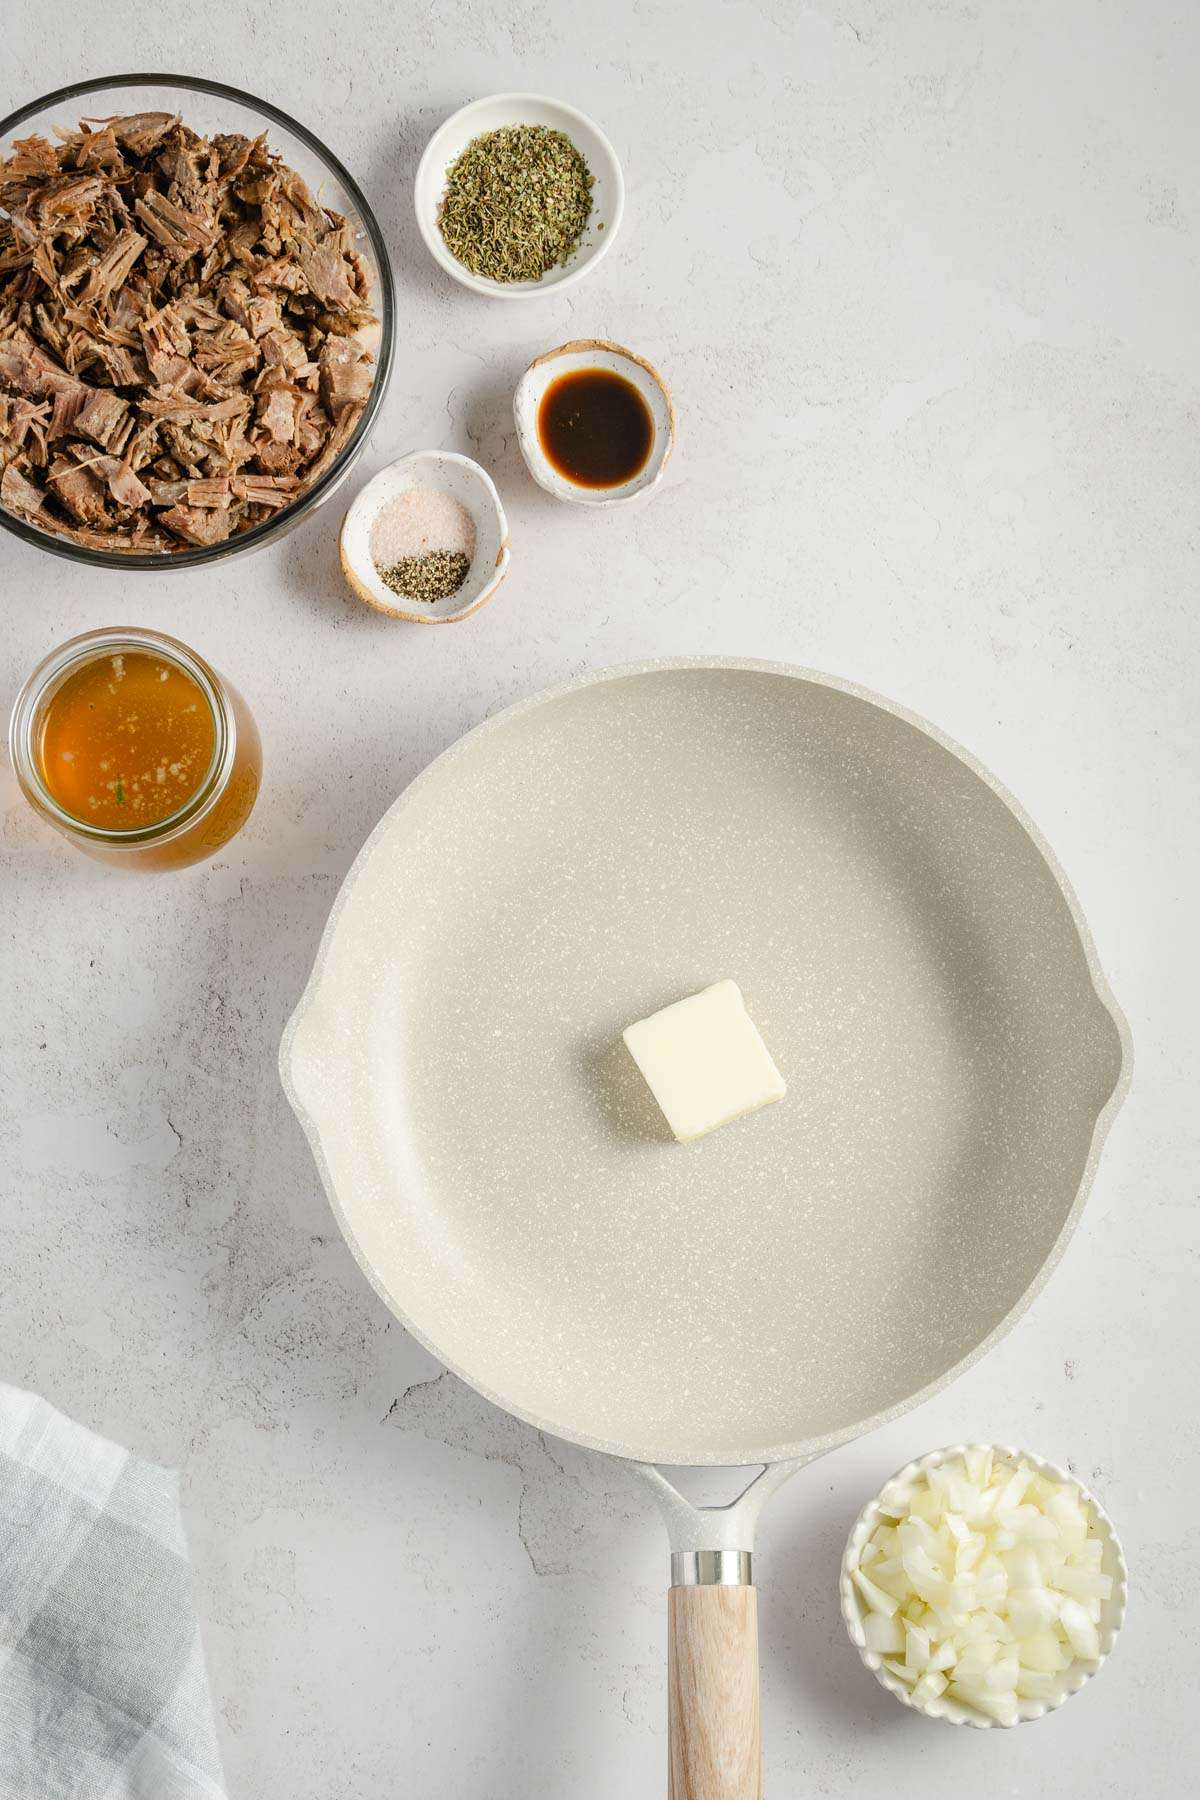
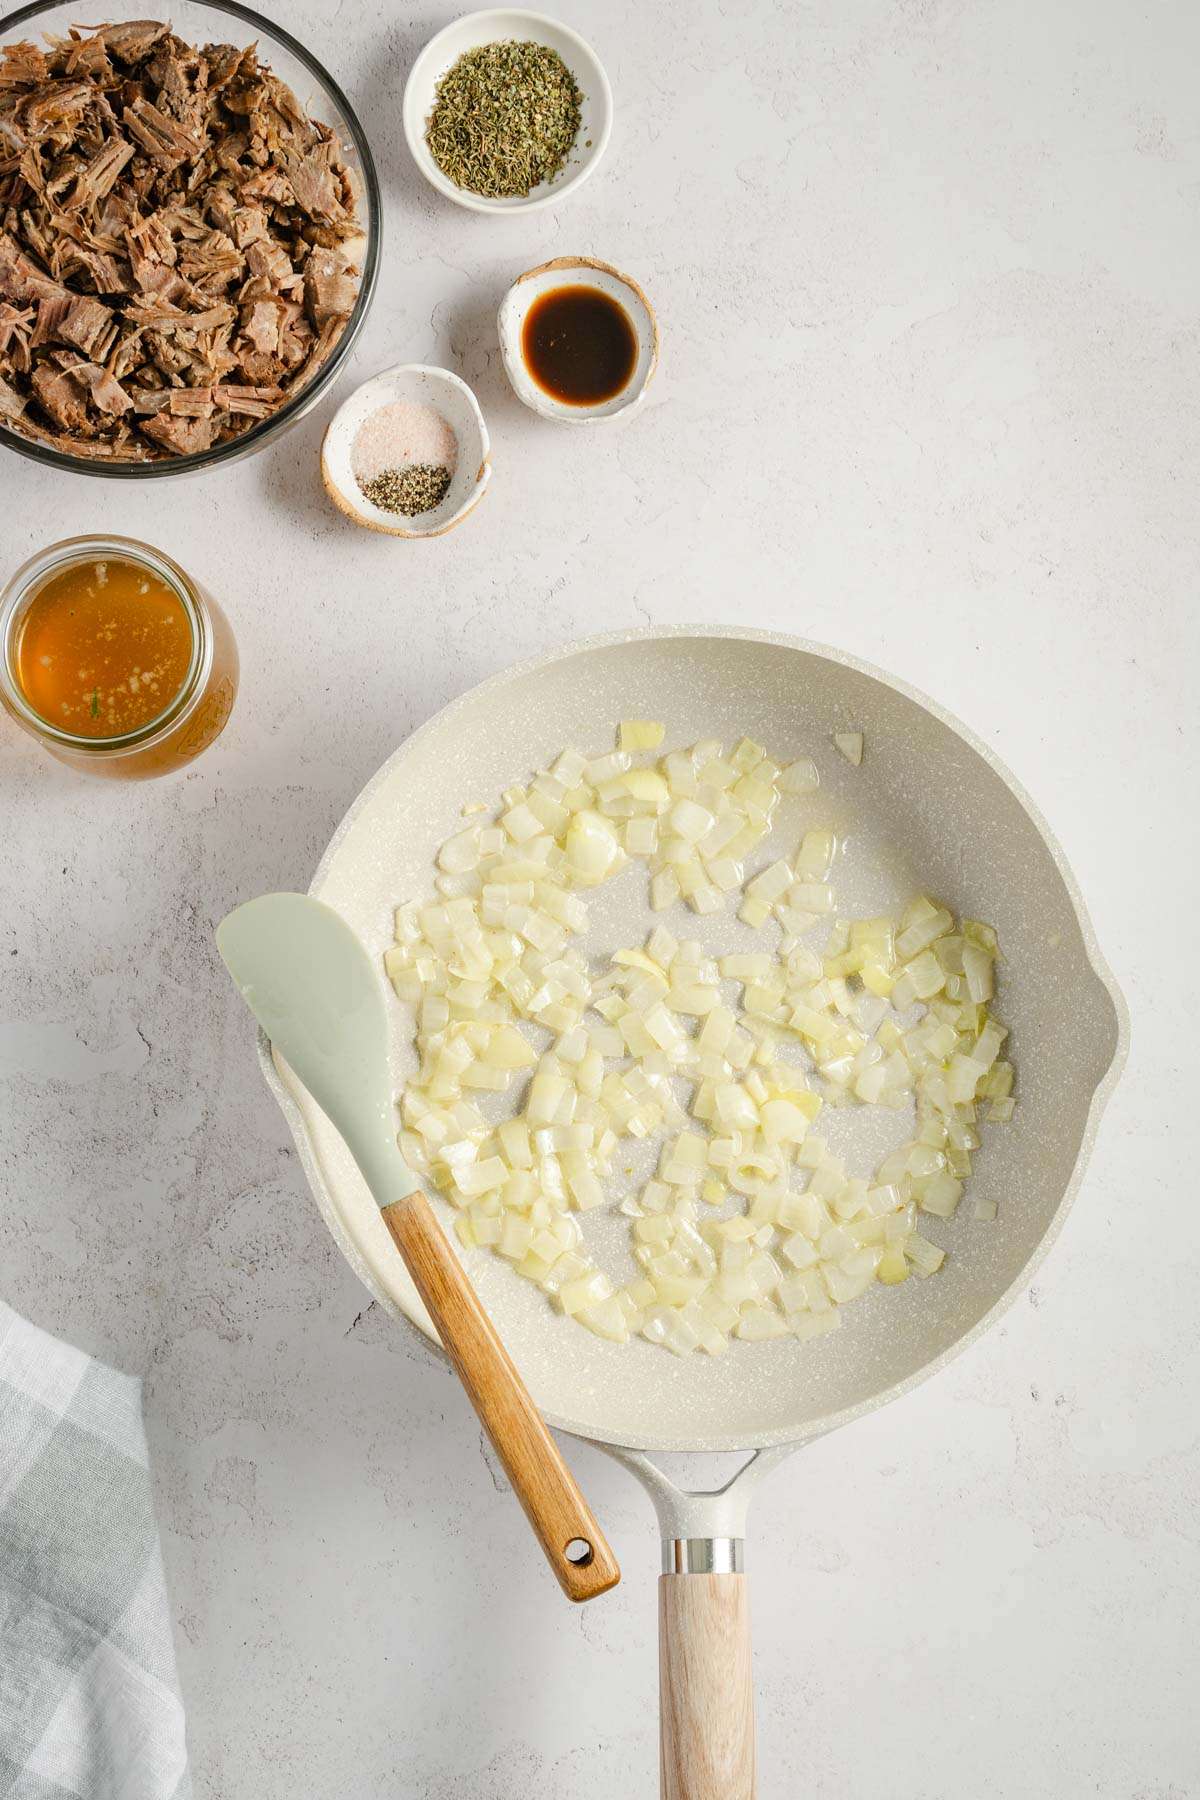
- Prepare the meat pierogi filling; heat up oil or butter in a frying pan, add chopped onion, cook few minutes until translucent
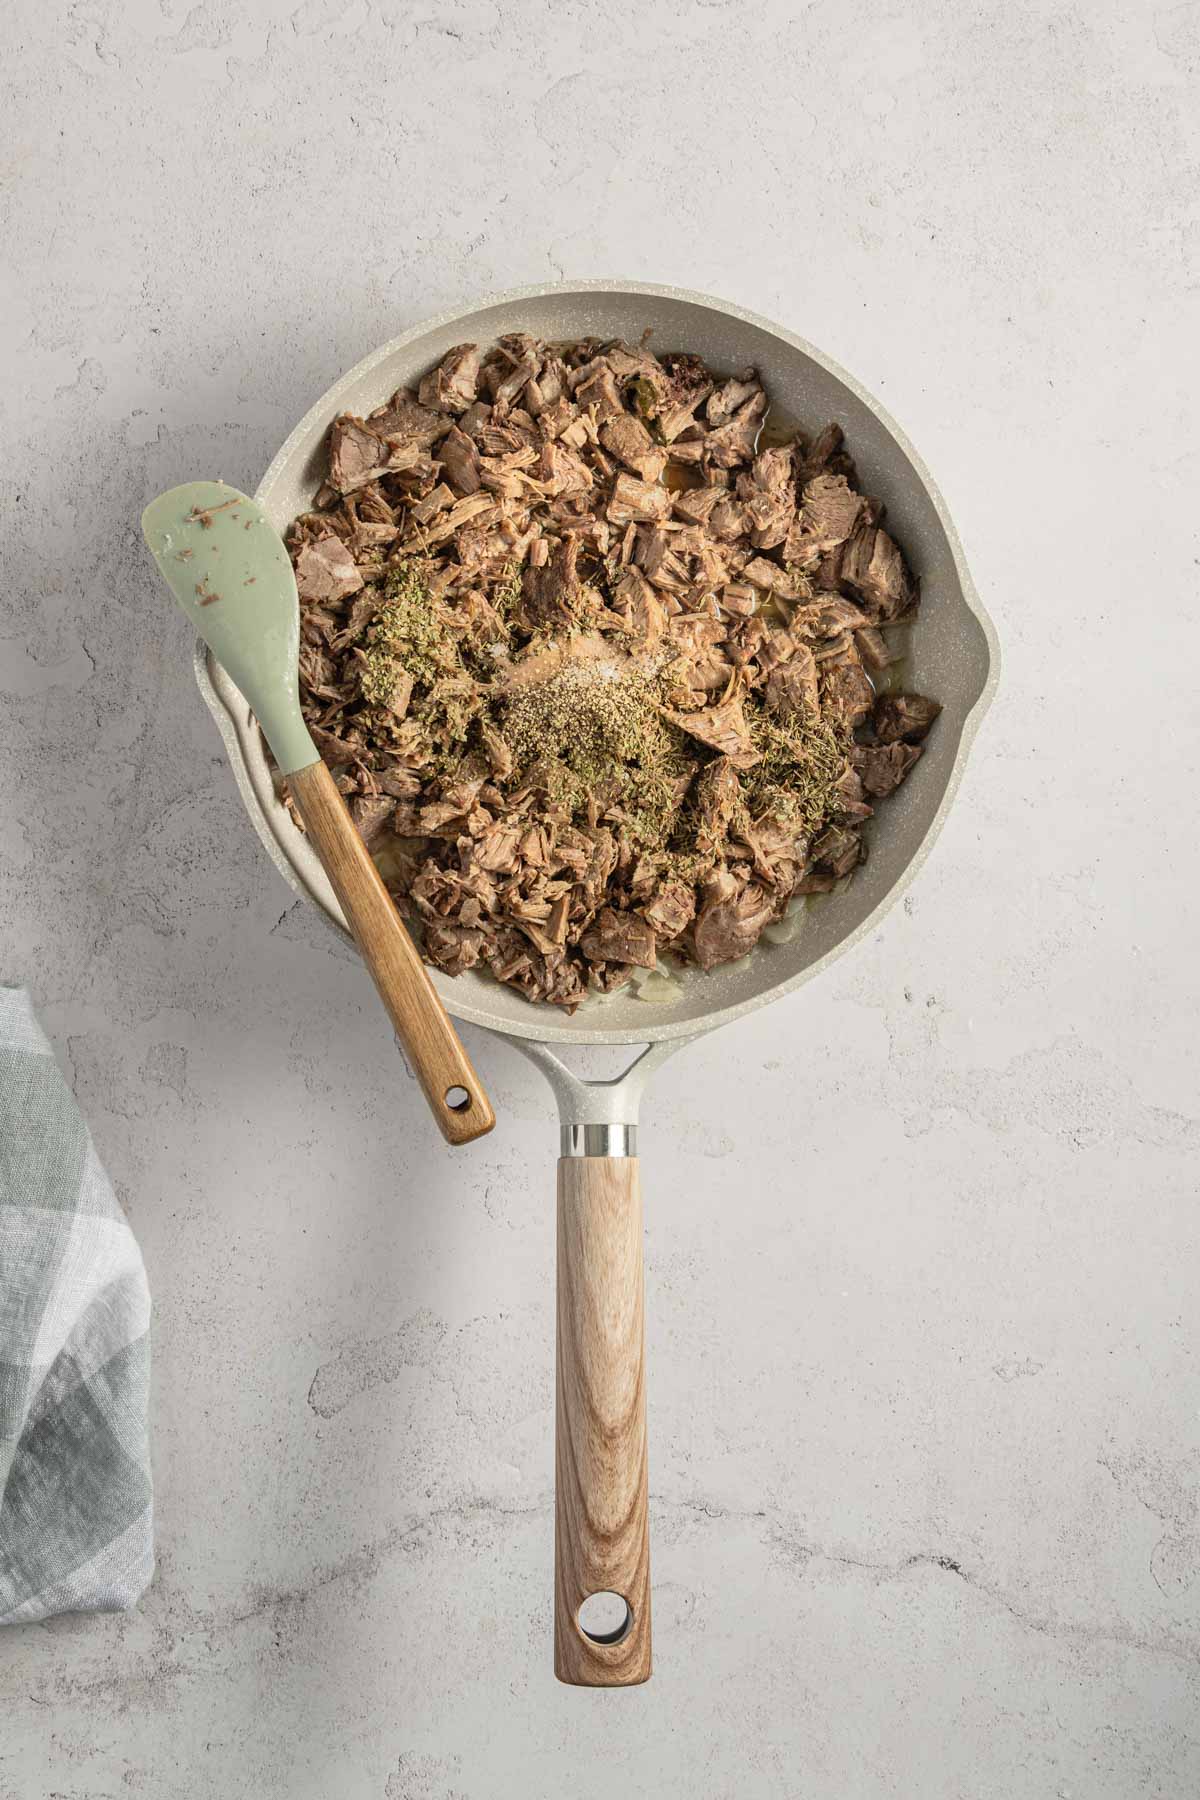
- Add the shredded or ground cooked meat and the rest of the filling ingredients
- Cook on low heat until heated through; taste for seasoning and adjust accordingly
- Set aside to cool slightly
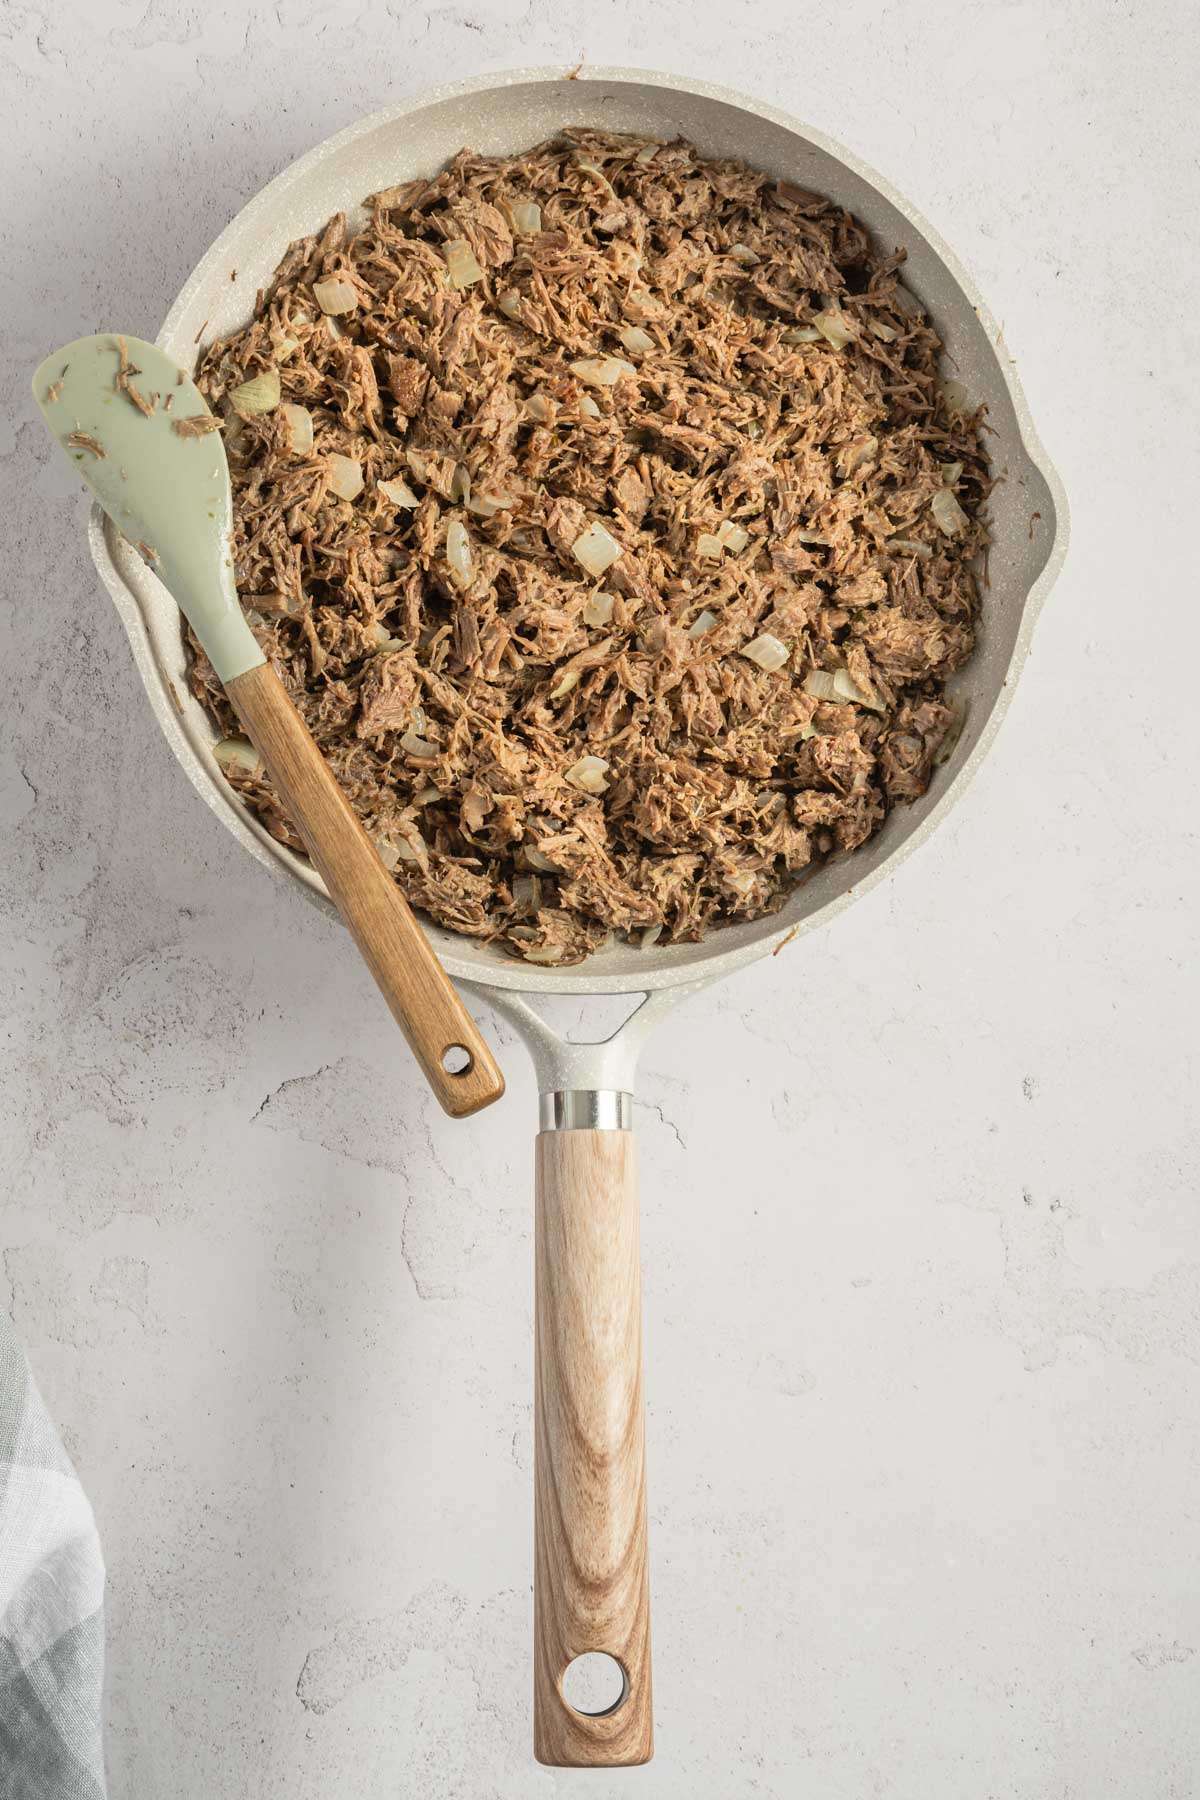
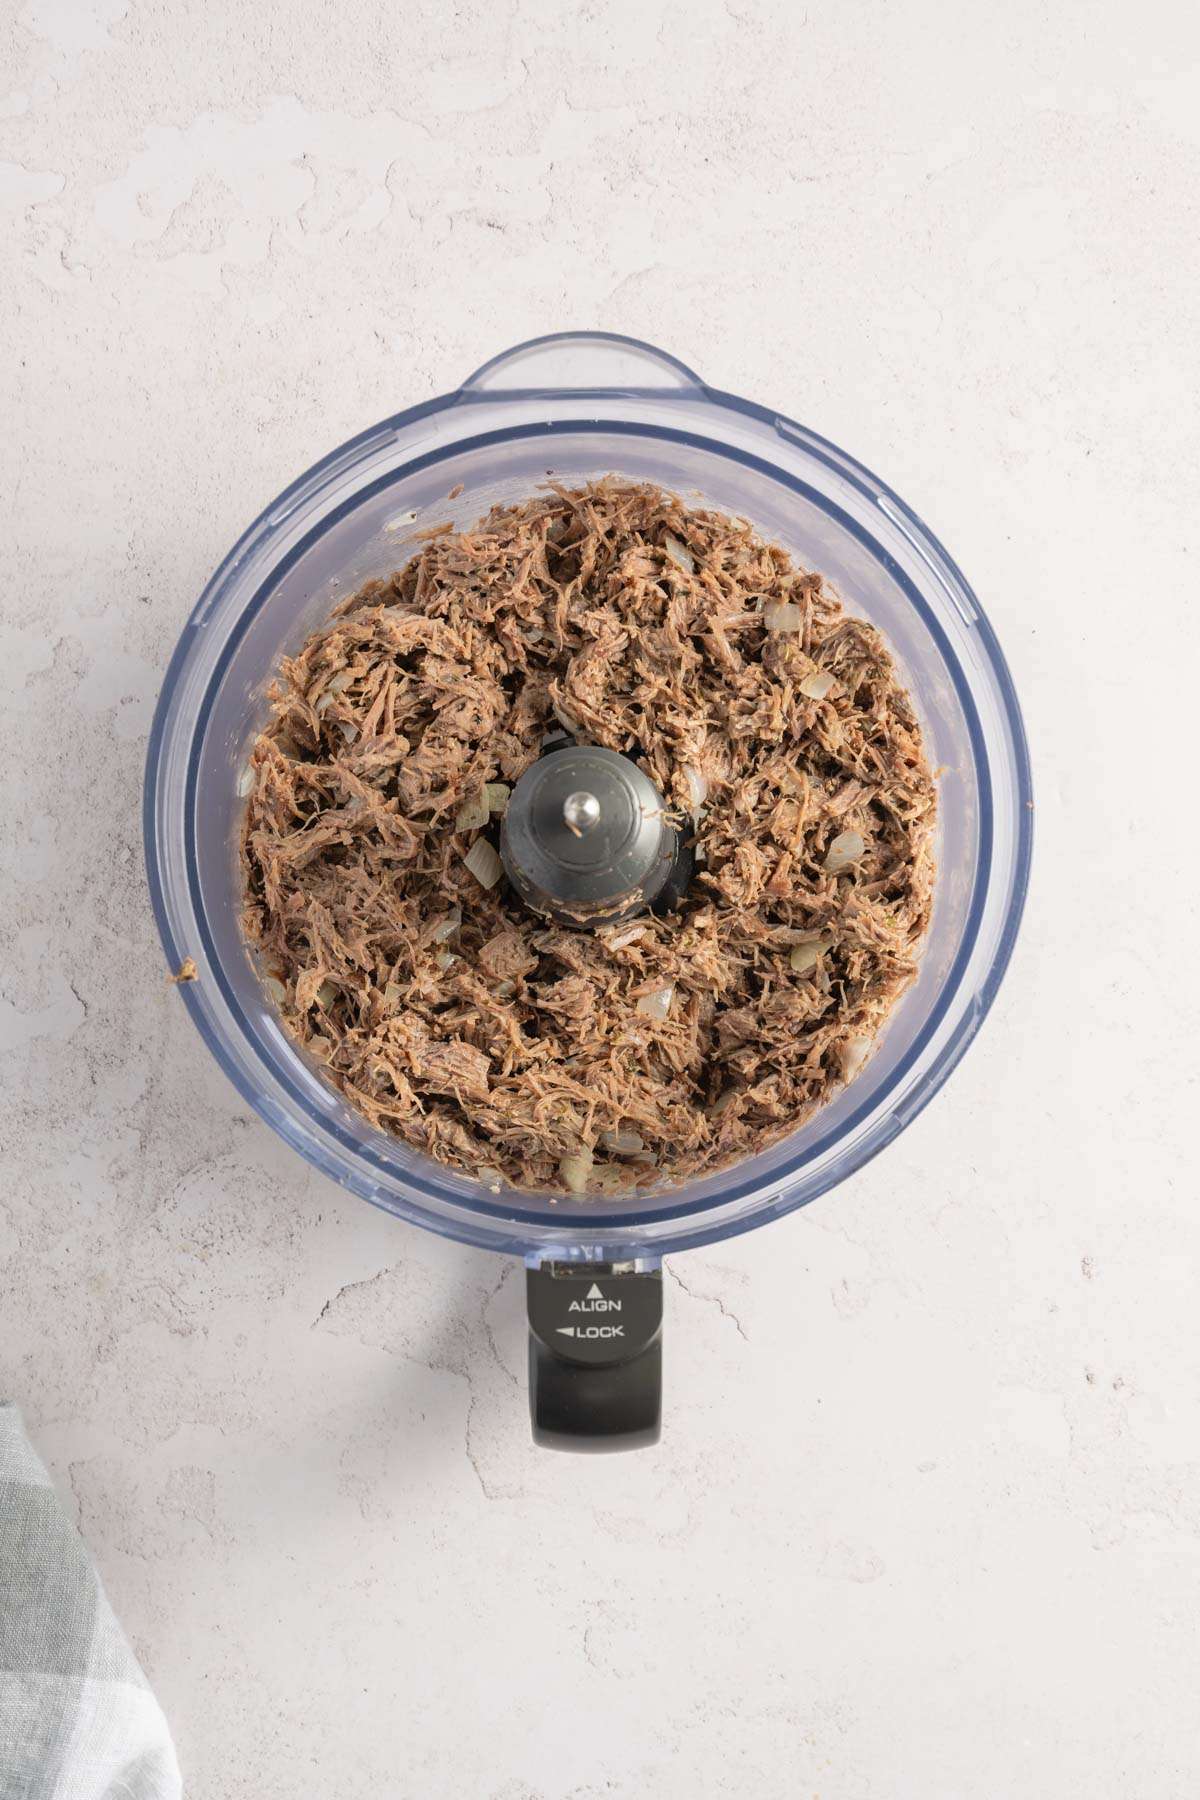
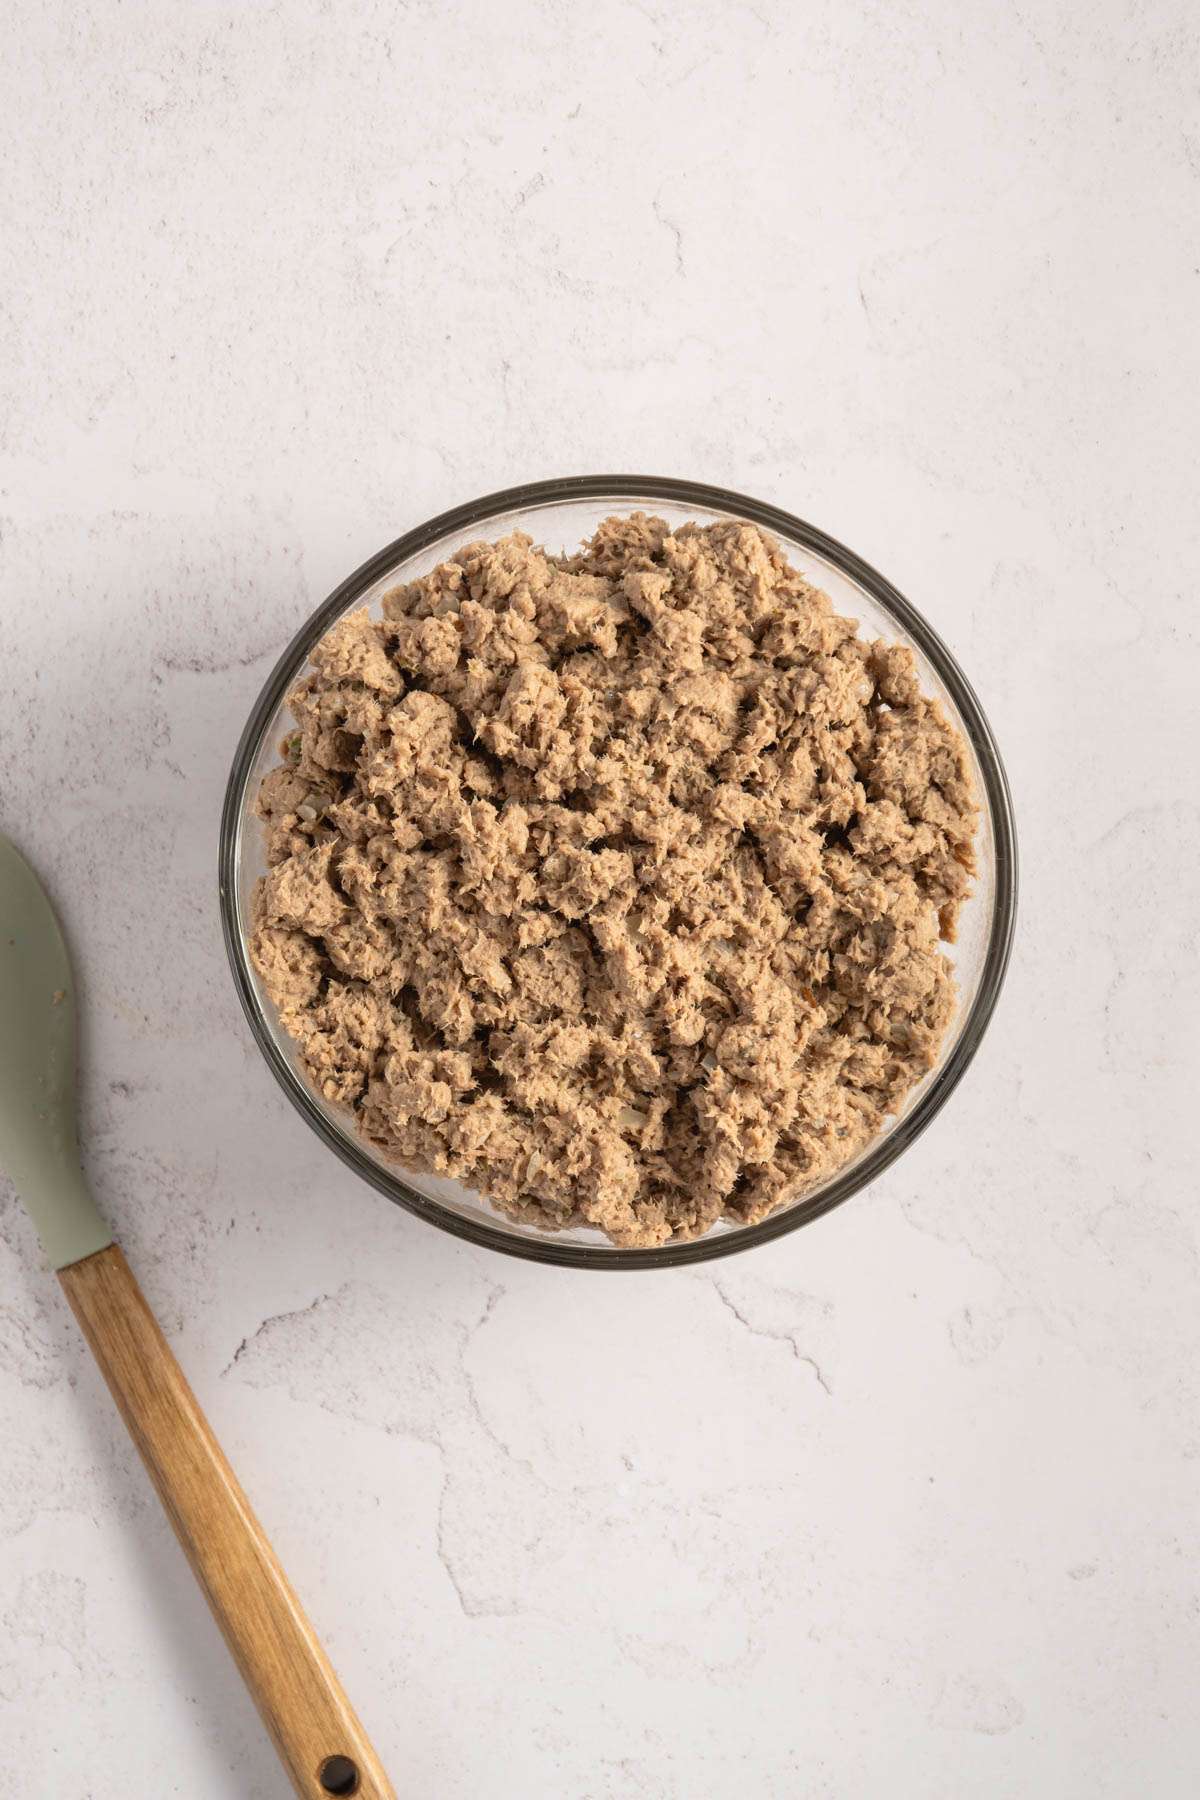
- Transfer the filling into food processor or grinder; pulse few times until you get desired consistency; it should be smooth, but with some texture; you don’t want to have big chunks of meat as this will make it more difficult to seal the pierogi
- If the filling is too dry, add more broth
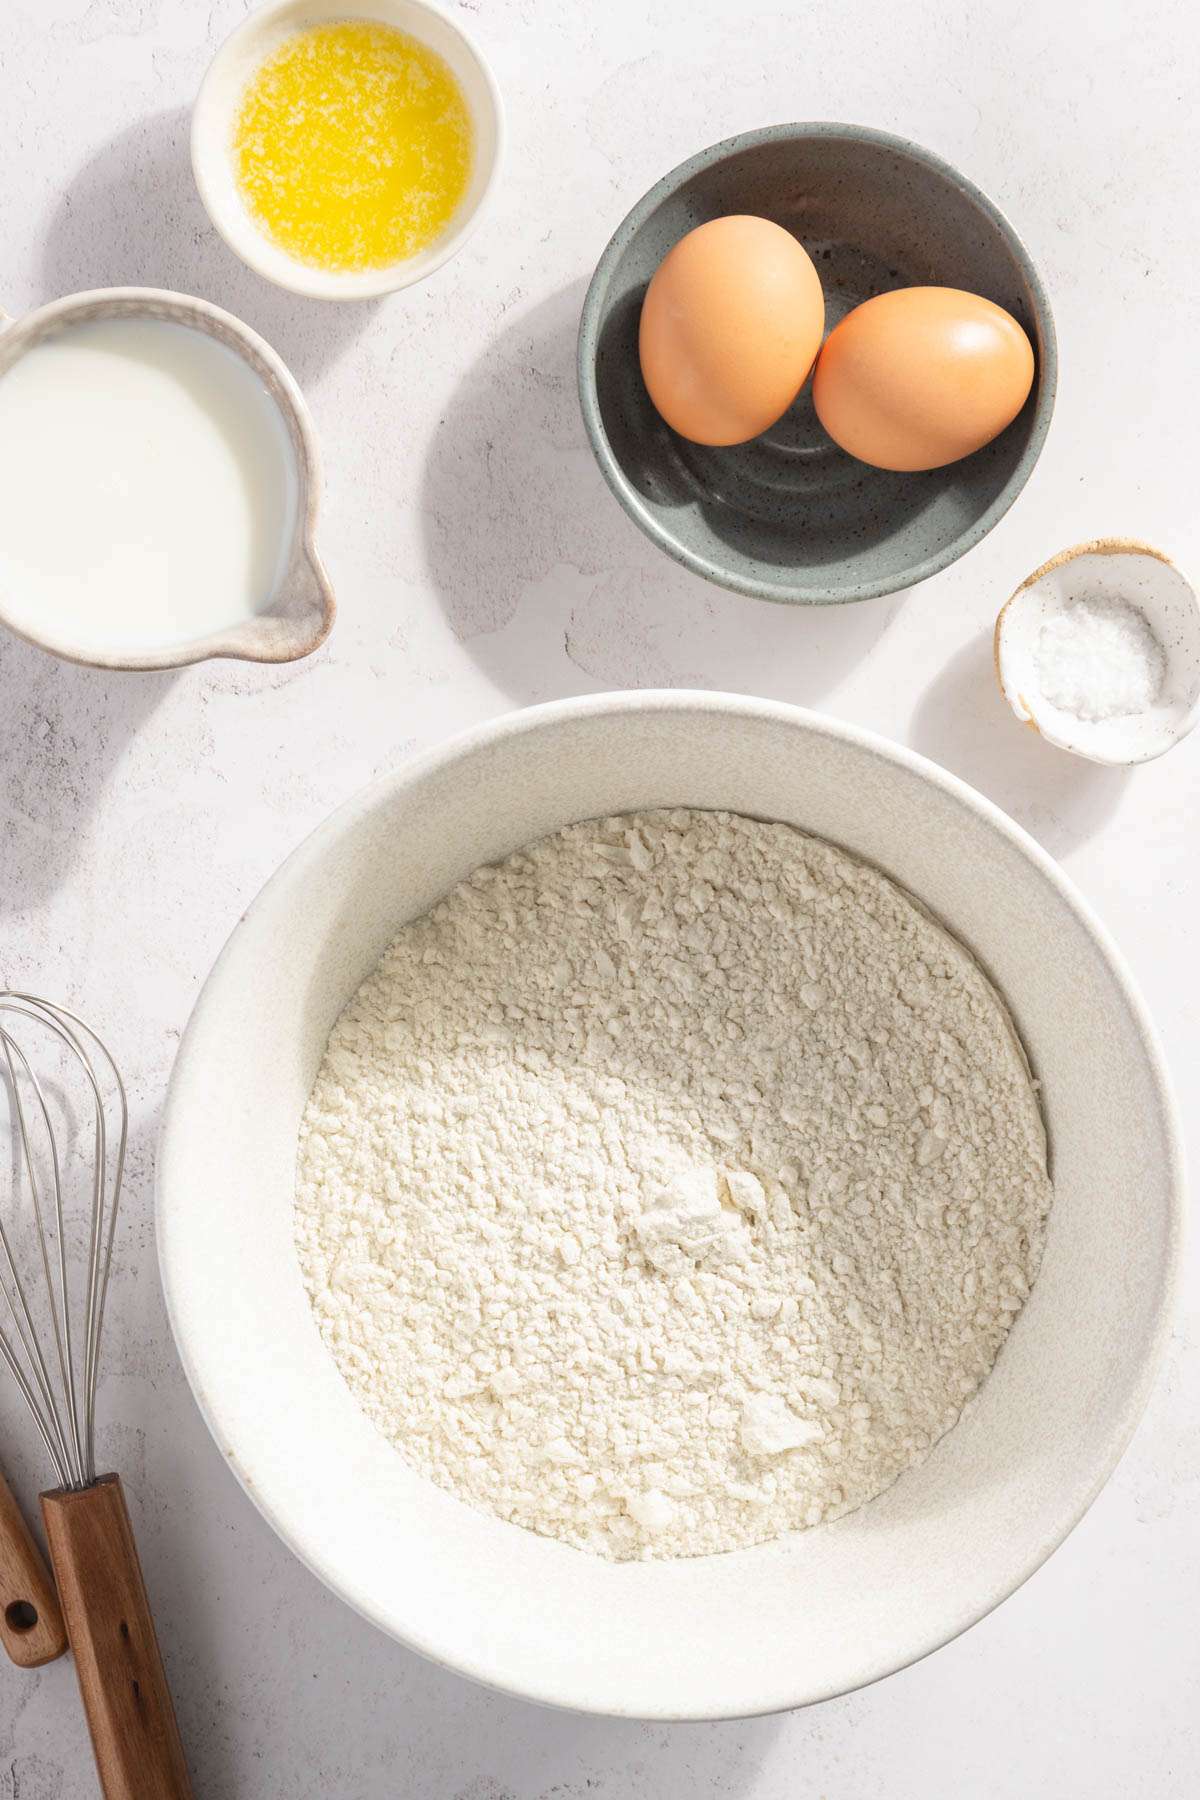
- Prepare the pierogi dough recipe – in a large mixing bowl combine flour, eggs, salt, melted butter and some of the milk
- You can knead by hand or transfer all to a stand mixer bowl
- Start the mixer with the hook attachment installed
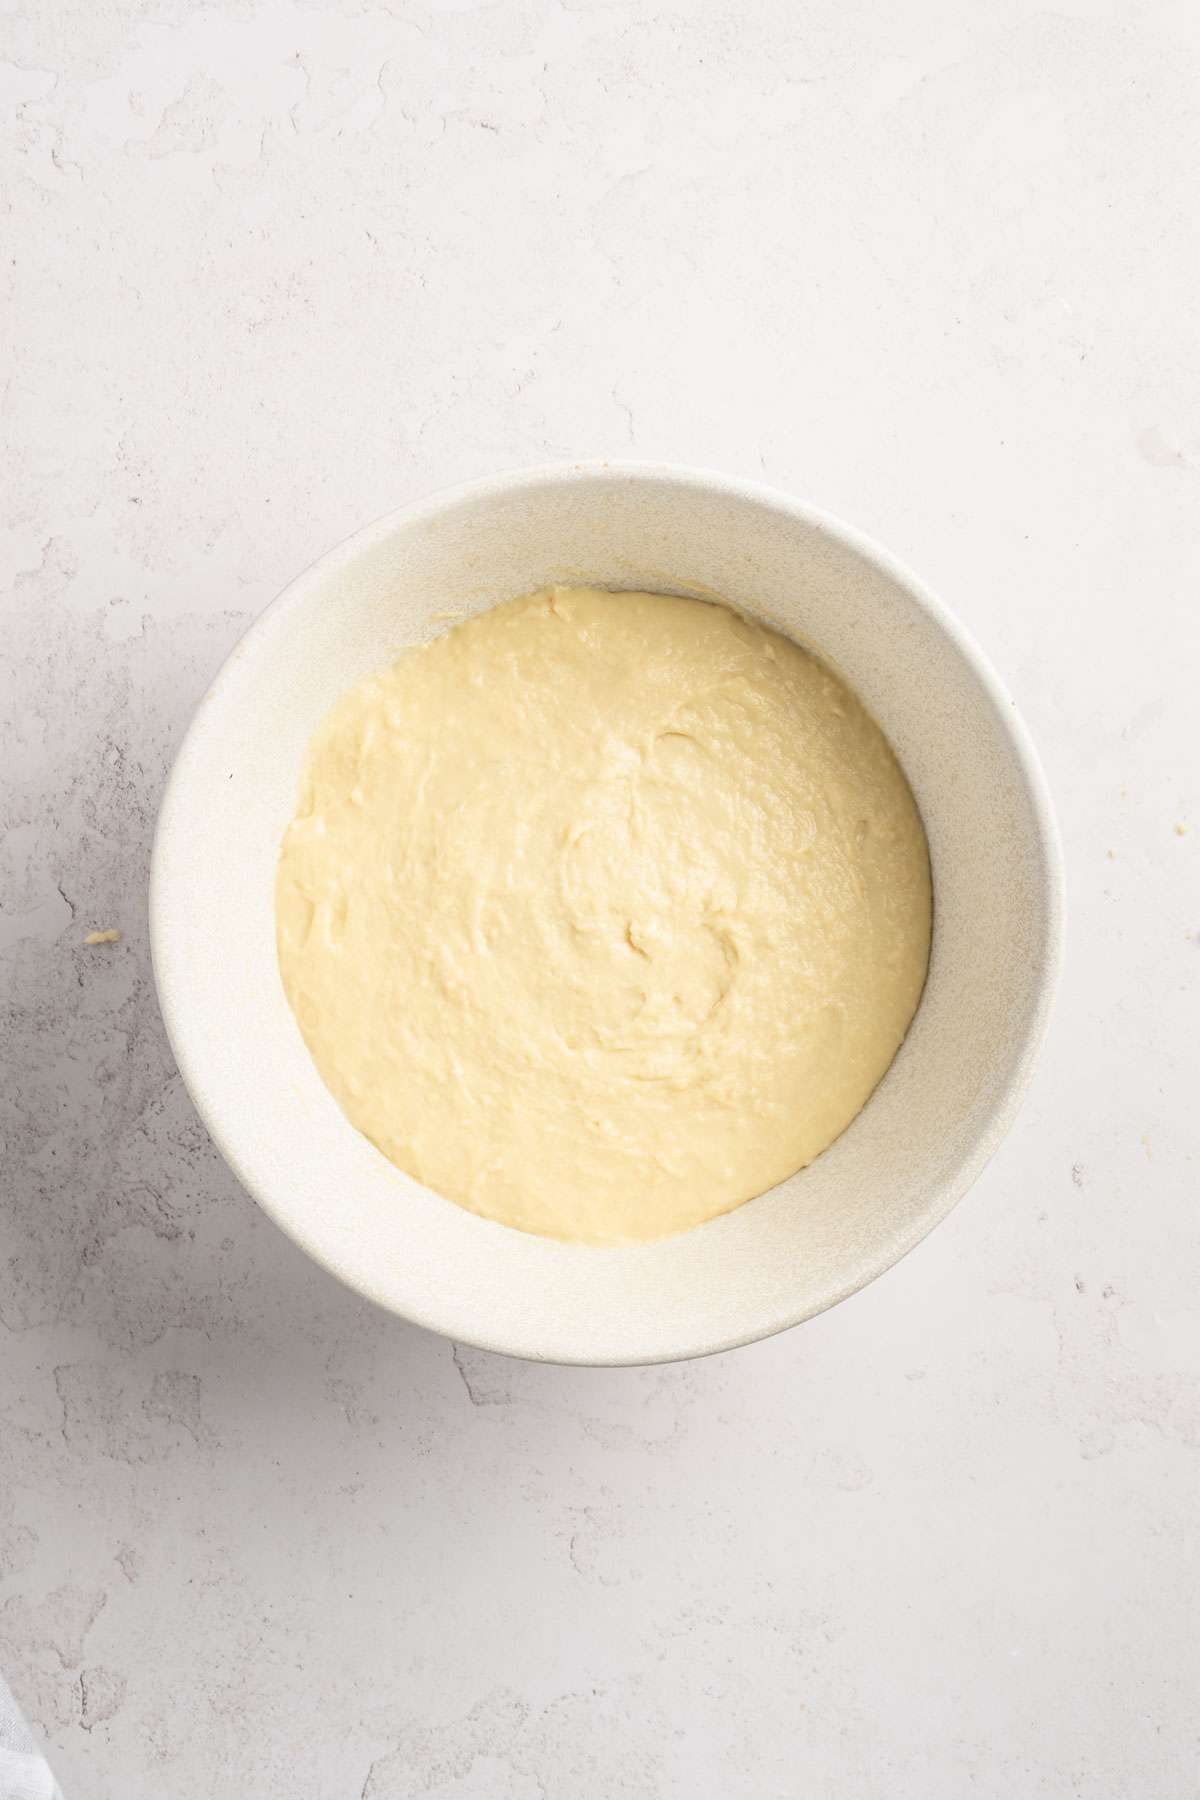
- As the mixer is working, keep adding the warm milk or water until the dough becomes soft, elastic and no longer sticky. It can take up to 10 minutes.
- Set the dough aside to rest for up to 30 minutes

- Divide the dough into four parts; dust flat surface with some flour; roll out the dough into a thin layer;
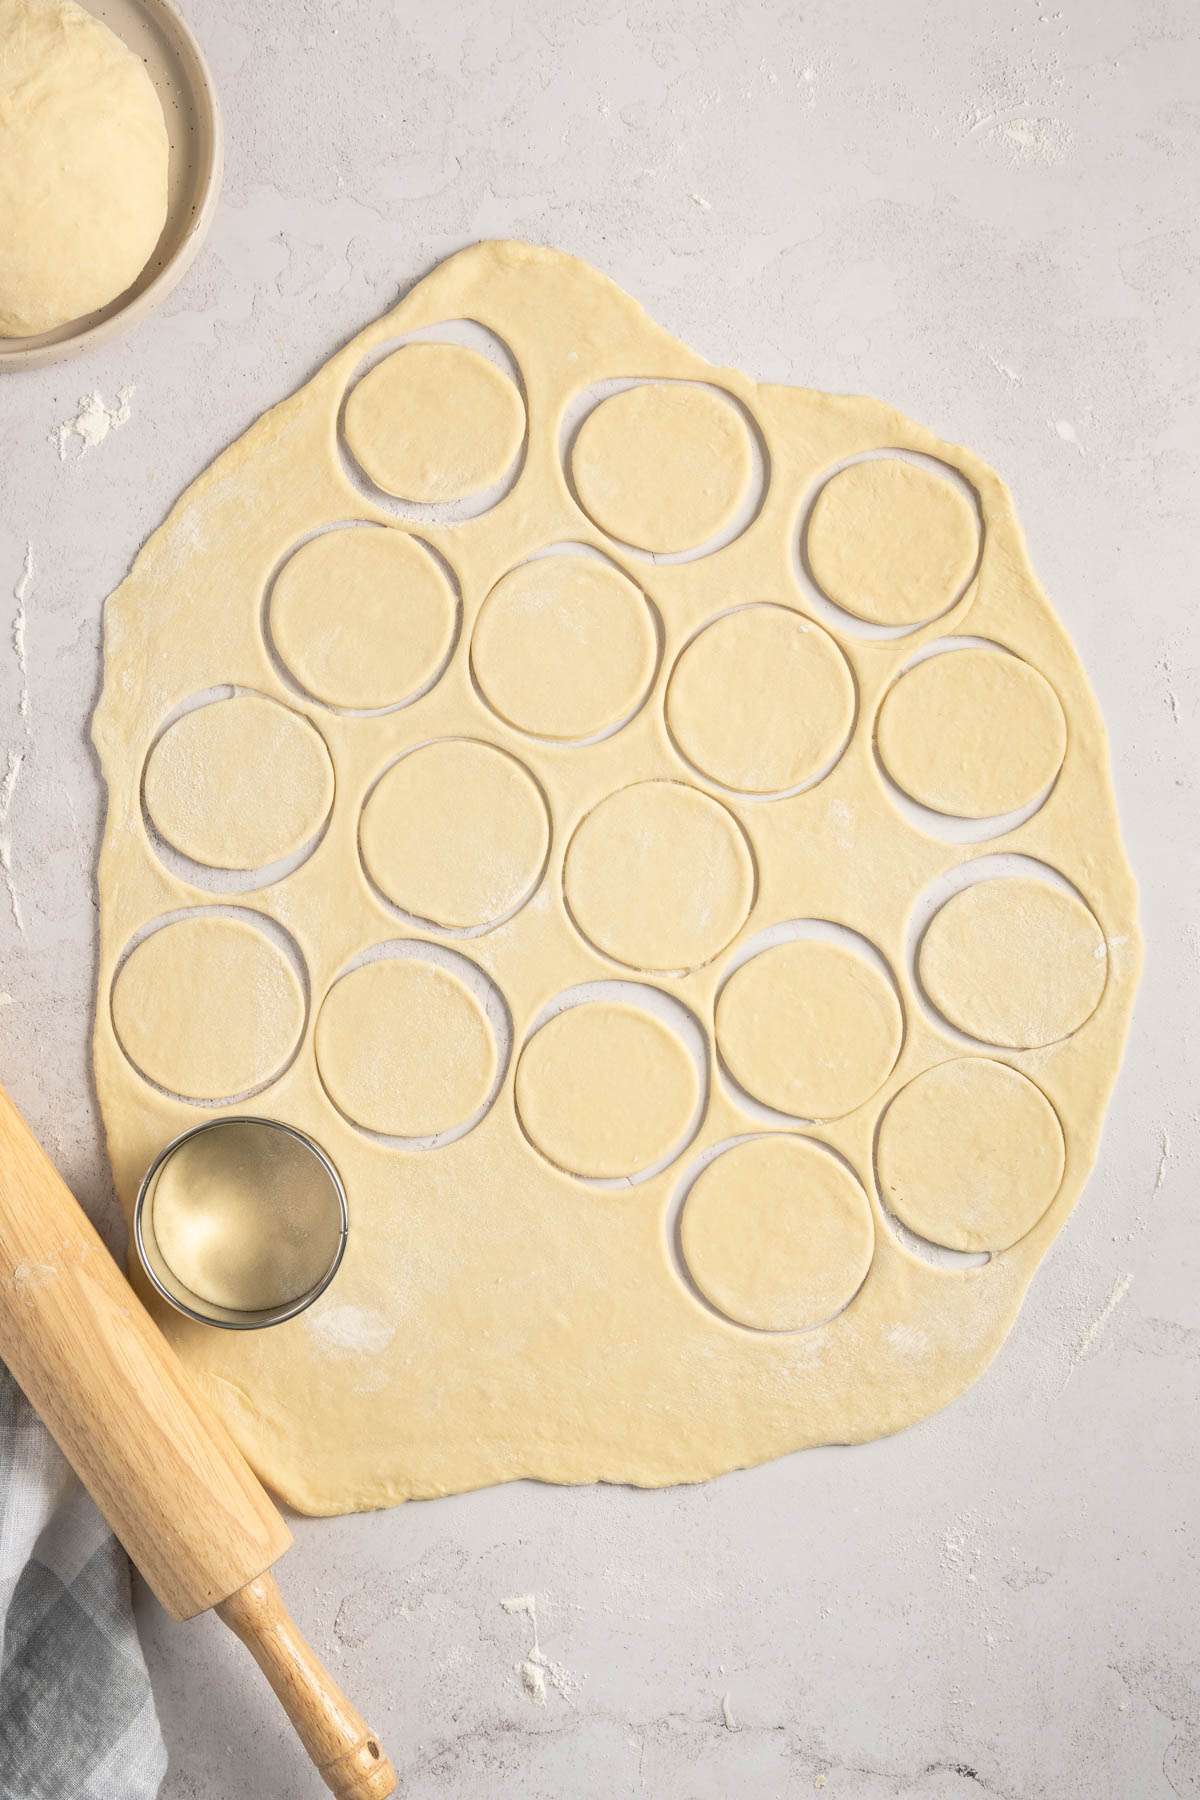
- Using cookie cutter (3 inch diameter) or glass cut out circles in the dough
- Using a spoon, scoop the filling into each cut out circle; transfer it into pierogi (dumpling) mold and seal; you can also seal the dough by hand.
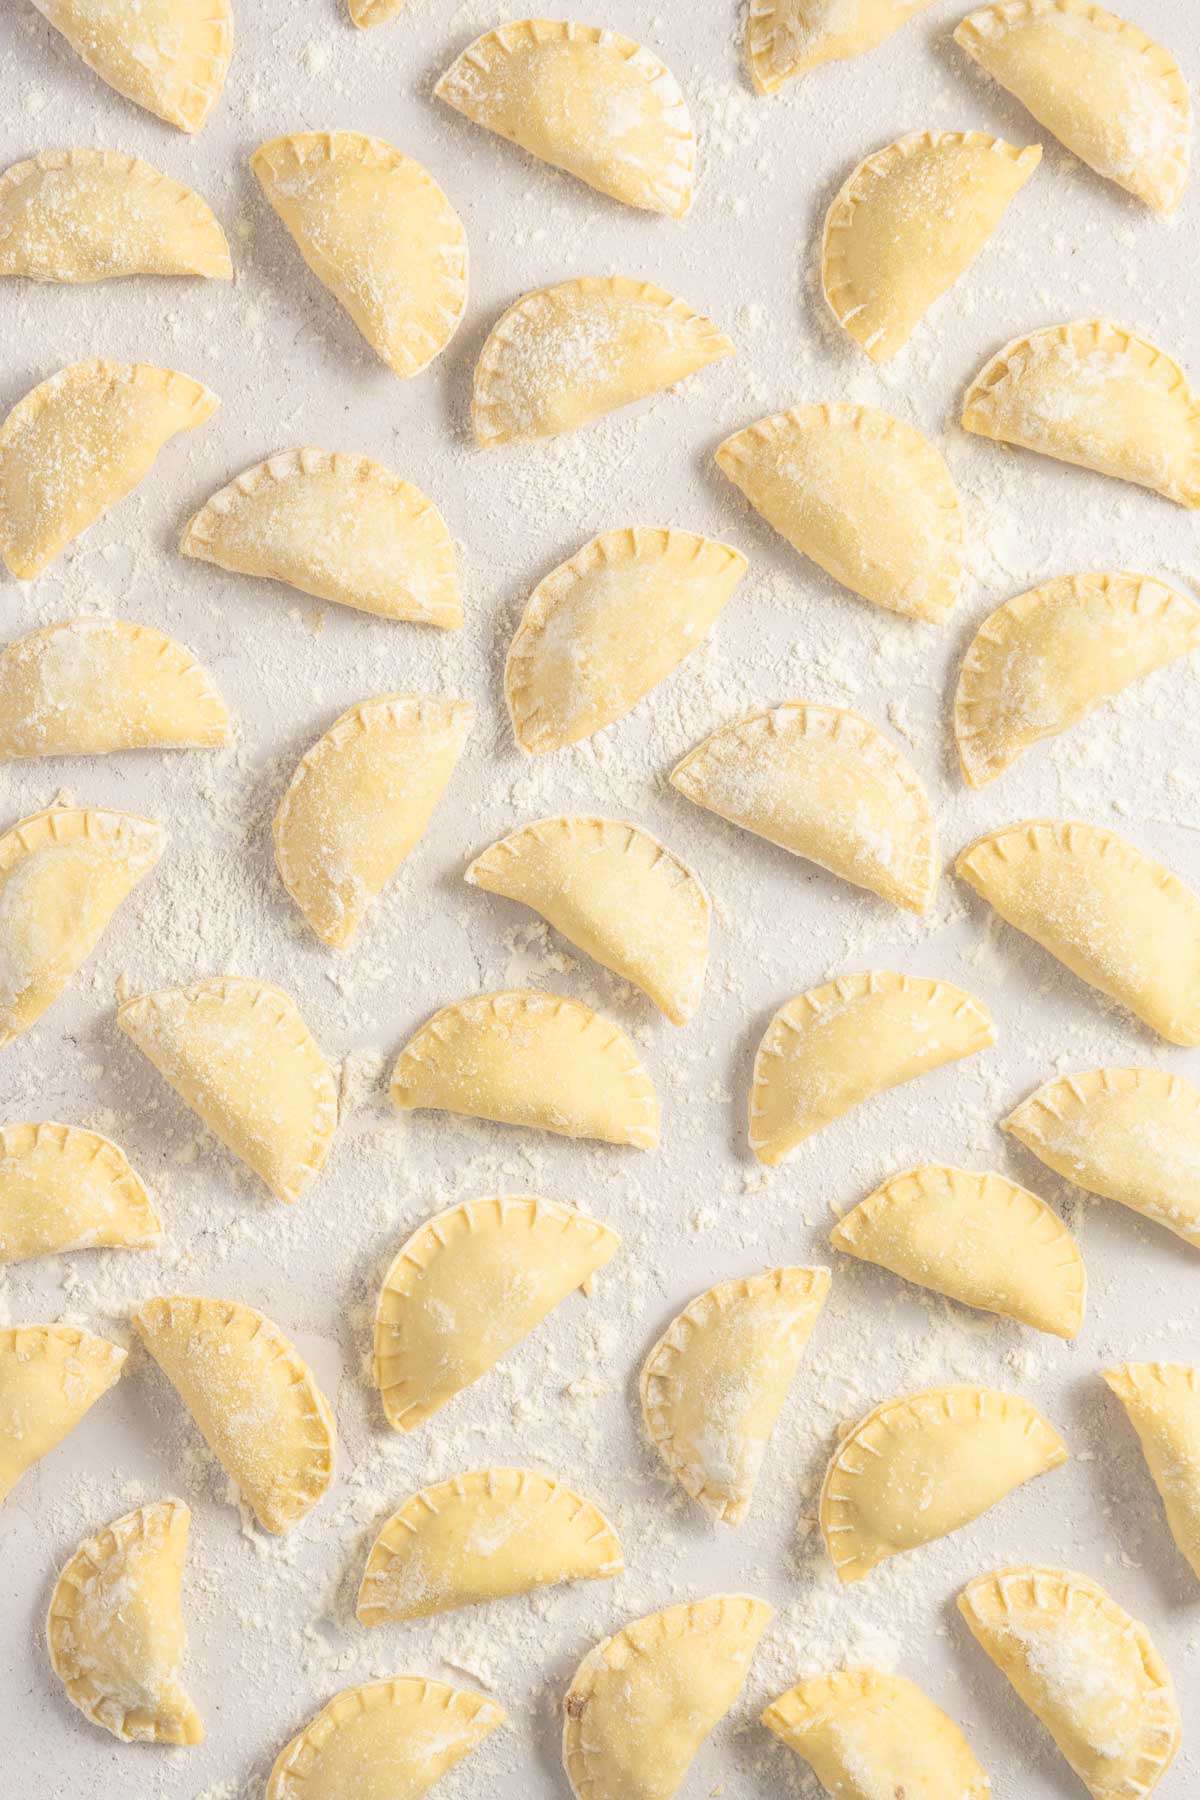
- Bring a large pot of water to boil; start cooking pierogies in batches, dont crown them too much. When they start floating, cook for 1 more minutes
- Using a slotted spoon, remove from the water and set aside.
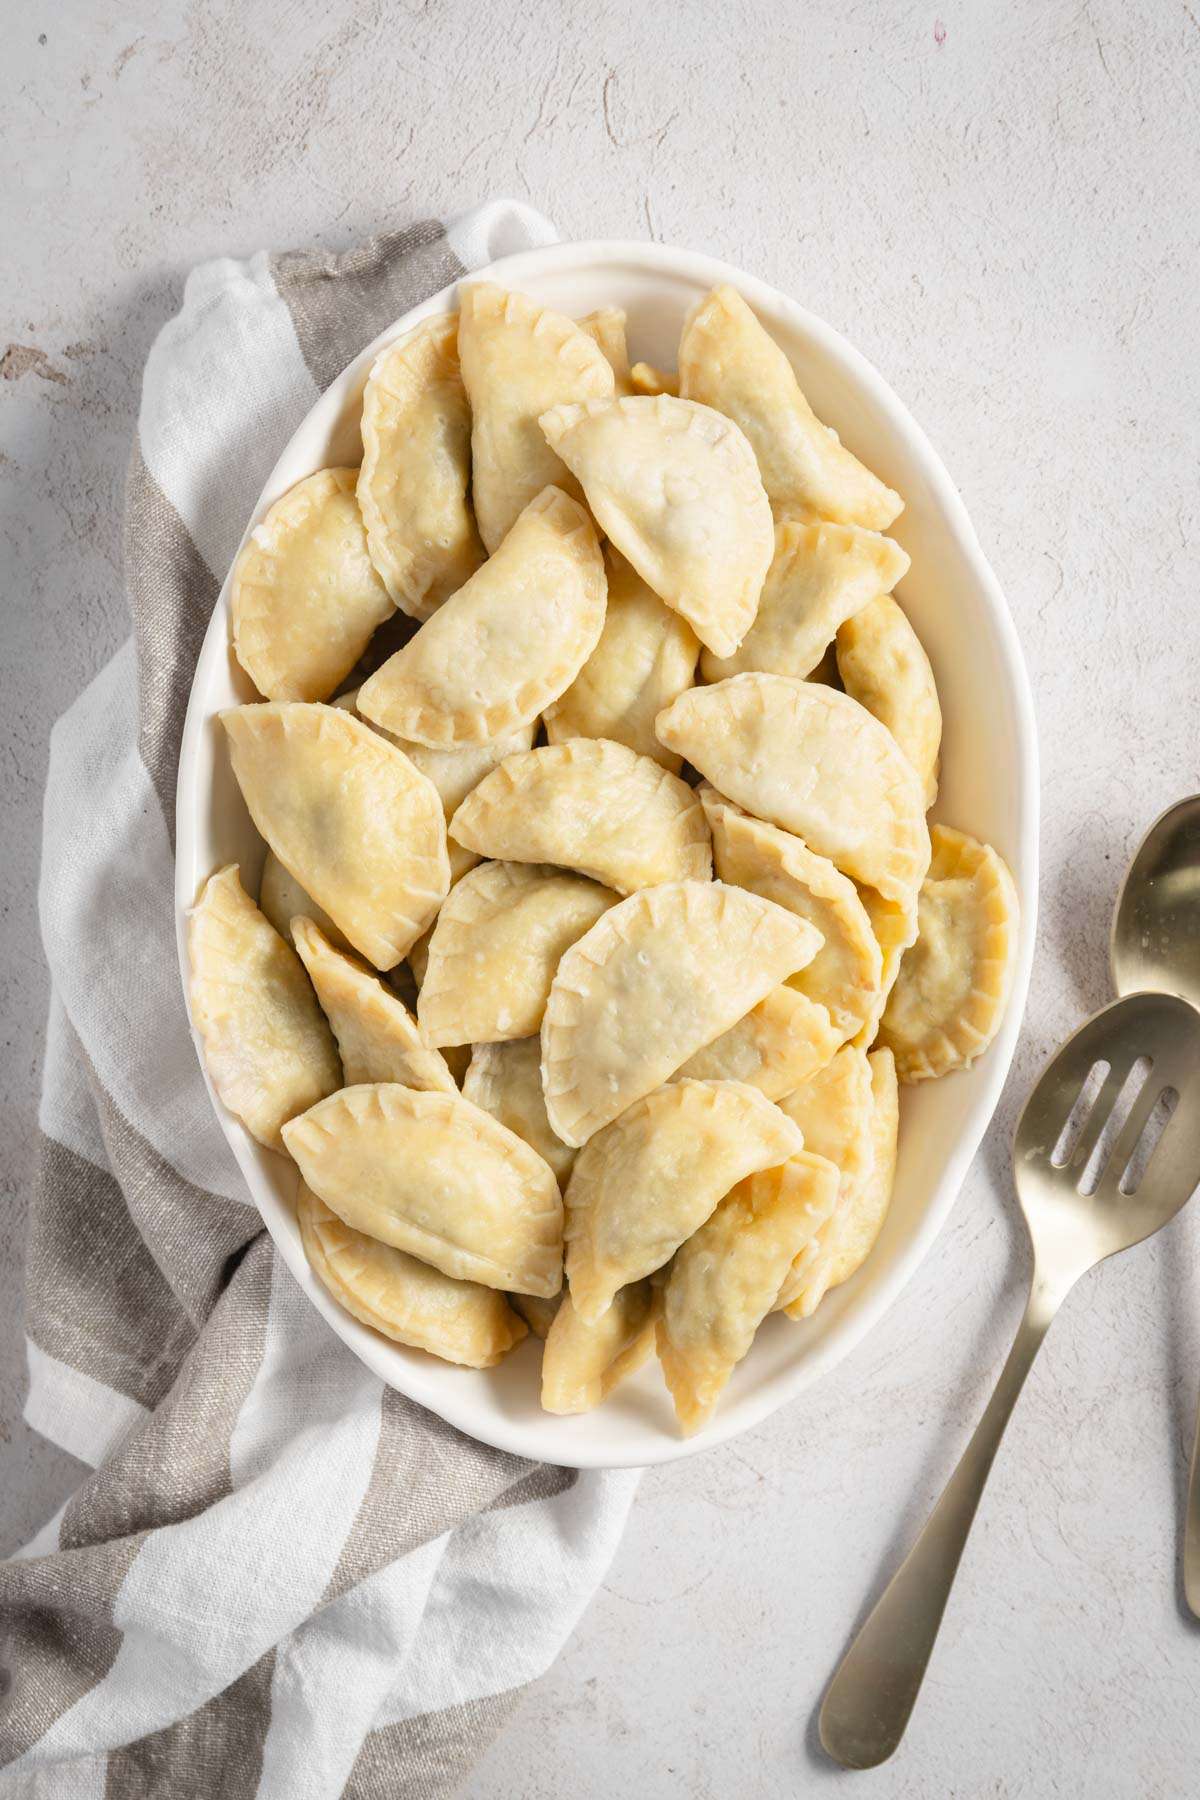
Different ways to cook meat pierogi
Boiling – the most popular way of cooking pierogi. Boil them in a pot of salted water until they float to the surface. Classic and straightforward method resulting in soft and tender pierogi.
Pan-Frying – after boiling you can pan fry the pierogi preferably in butter. This will give them a golden brown crust and crunchy texture. The coat of melted butter will add a delicious smooth finish.
Deep frying – quicker method compared with pan frying. It will result in a very crispy outer layer, but be mindful of the higher oil content.
Baking – hands off method. Arrange pierogi on a baking sheet, brush with melted butter. Bake until golden brown. You may turn them around half way through the baking.
Grilling – brush pierogi with melted butter and arrange on a grilling tray; cook until they have grill marks
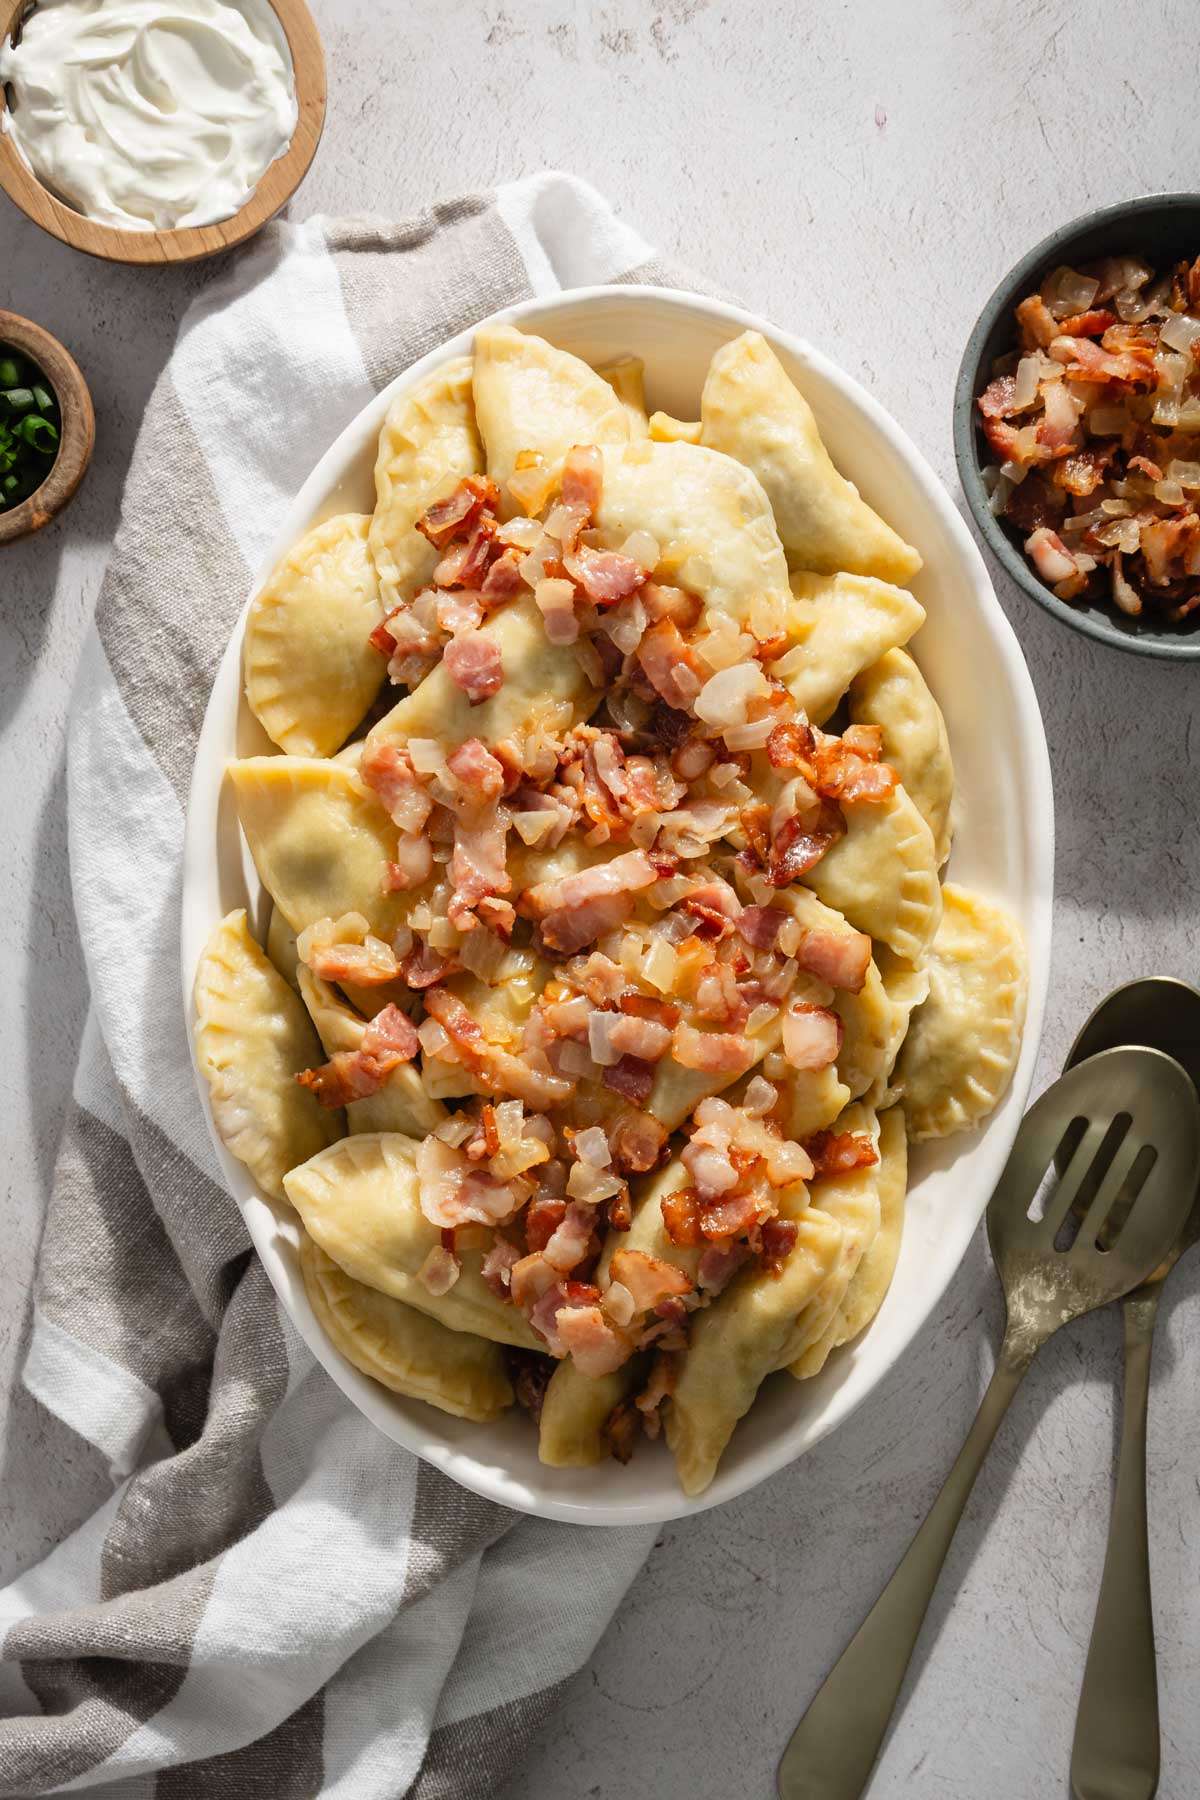
Best toppings for meat pierogi
- melted butter
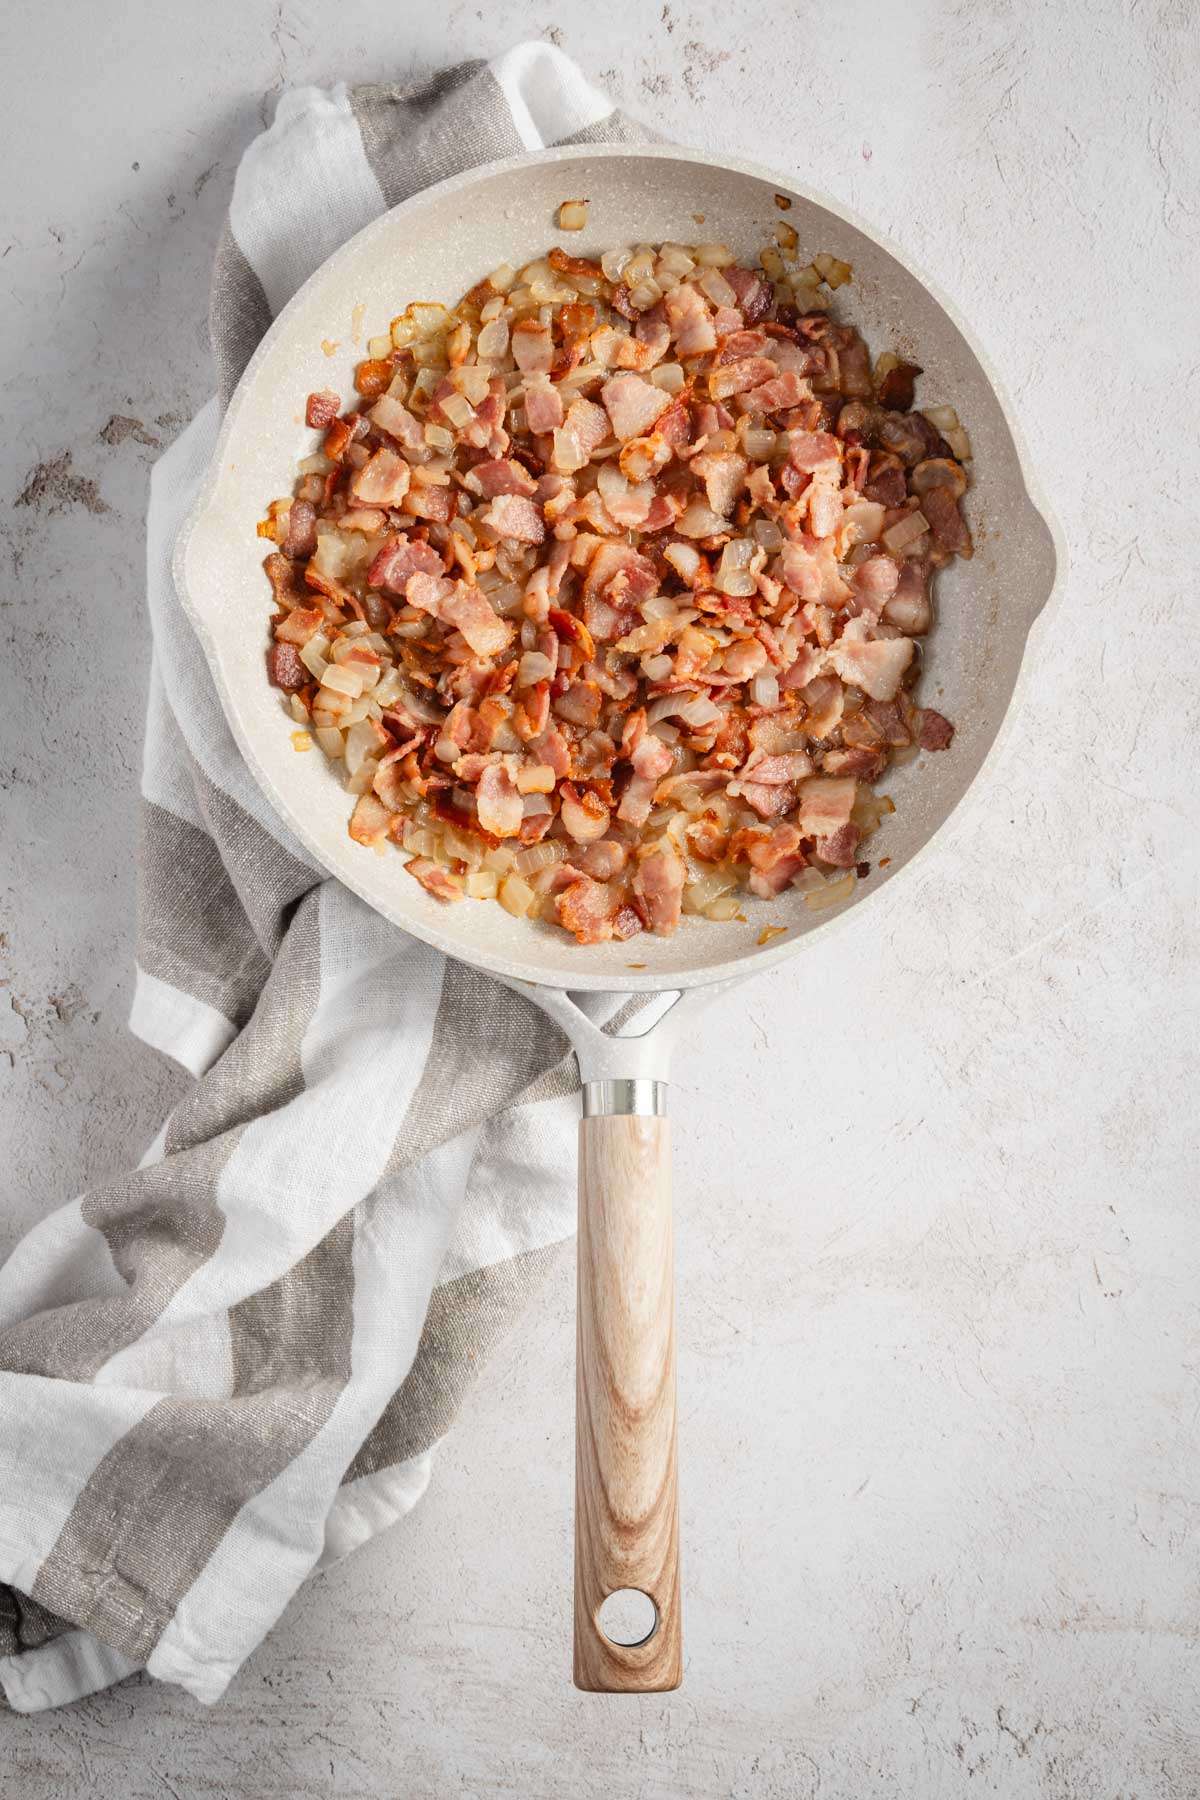
- okrasa made out of fried bacon and onion
- dollop of sour cream, greek yogurt, ranch dressing or horseradish sauce
- chives or fresh herbs of your liking
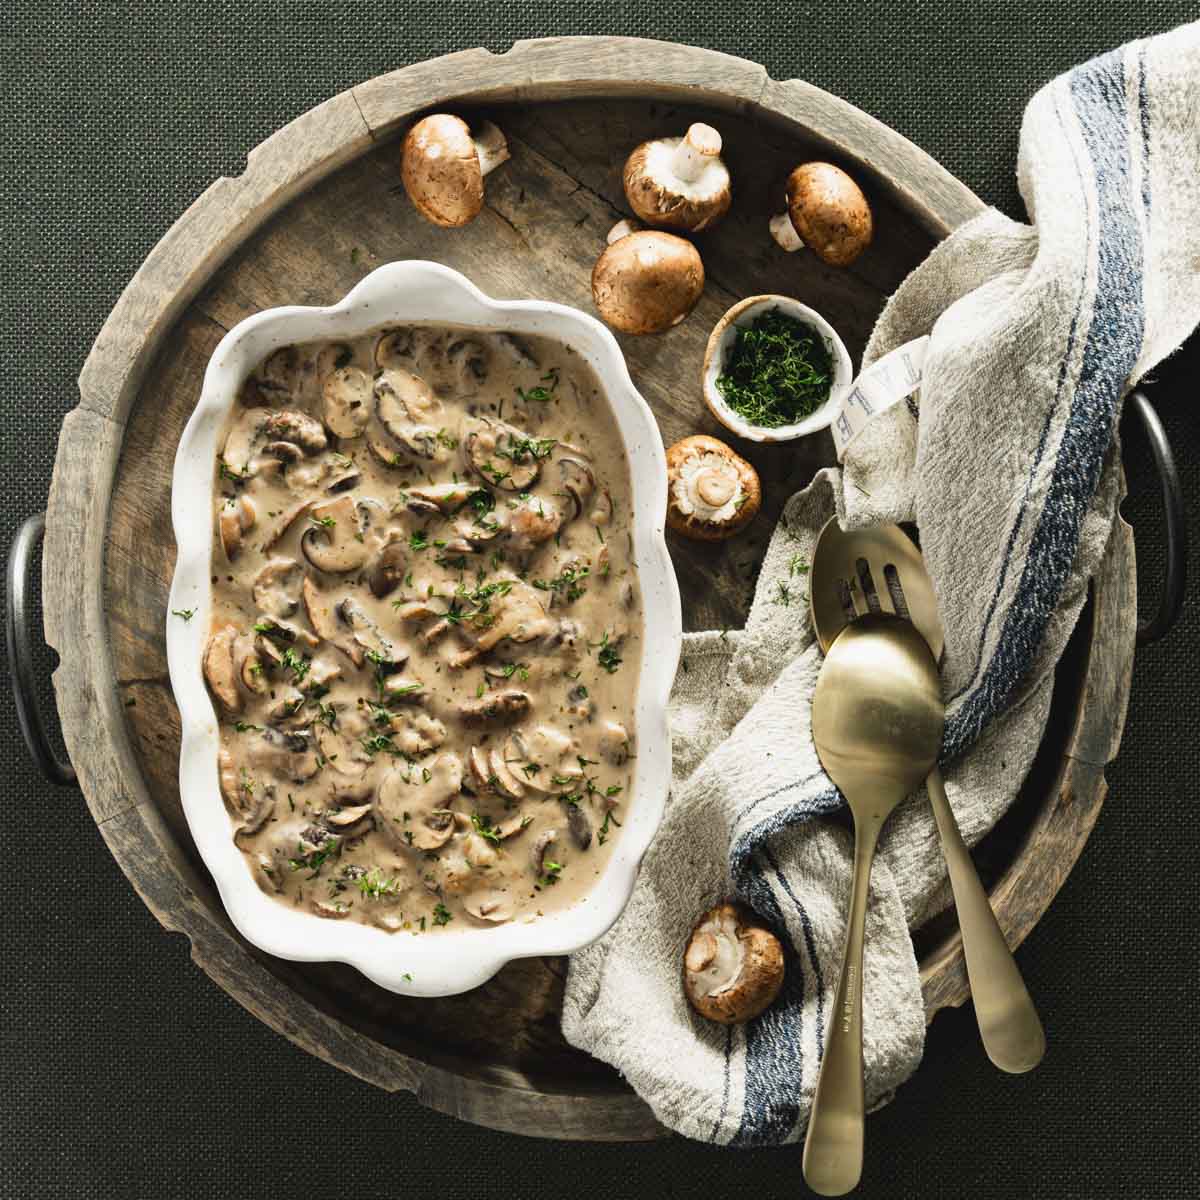
- mushroom sauce
- fried polska kielbasa
- Fried breadcrumbs in butter, make them savory or sweet (add spices or sugar)
- Sweet cream, whipped cream or flavored yogurt (for the sweet version)
- Honey, fruit syrup, fruit jams or jellies
- Fresh fruit
- Sugar and cinnamon

You may also like:
If you want to explore different variation of Pierogis, try Easy French Onion Pierogi with Red Wine Sauce and Crispy Sage! Yum!
How to store and reheat raw or cooked pierogi:
Refrigeration:
- Transfer to an airtight container once they cooled to room temperature.
- Consume within 3-4 days for best quality.
Freezing:
- Arrange the pierogis in a single layer on a baking sheet and freeze until solid.
- Once frozen transfer them into freezer-safe containers or bags.
- Use the frozen pierogi within 2-3 months for the best quality and taste.
Reheating:
- Stovetop – in a saucepan bring water to boil and cook pierogis 3-5 minutes or 5-7 if they were previously frozen.
- Pan-frying – heat skillet with a little of butter or oil; place pierogis in the skillet and cook until they are golden brown on both sides
- Baking – preheat oven to 350F; place pierogis on a baking sheet, brush lightly with melted butter and bake 10-15 minutes.
- Microwave – always use microwave – safe container; cover with damp paper towel and reheat in short intervals.
Top Tip
- avoid overcooking – it may make the pierogi mushy
- flip during pan frying for even browning and crispy texture
- for frozen pierogis is b


The Best Tasting Polish Beef Pierogis
Equipment
- 1 stand mixer
- 1 large and medium size mixing bowls
- 1 whisk, spatula
- 1 frying pan
- 1 food processor grinder, blender
- 1 measuring cups and spoons
- 1 Rolling Pin
- 1 cookie cutter
- 1 large pan for boiling pierogis
- 1 slotted spoon and strainer
Ingredients
For the Dough
- 5 cups of flour
- 2 eggs
- 1 tsp salt
- 1.5 cup of warm water or milk
- 1 tbsp melted butter
For the Meat Filling
- 2 cups shredded beef I used beef chuck
- 1 medium onion grated or finely diced
- 1 tsp thyme
- ½ tsp marjoram
- 1 tsp Worcestershire sauce
- ½ – 1 cup beef broth
- Butter or olive oil for cooking
Instructions
- Prepare the filling; heat up oil or butter in a frying pan, add chopped onion, cook few minutes until translucent
- Add the shredded or ground cooked meat and the rest of the filling ingredients
- Cook on low heat until heated through; taste for seasoning and adjust accordingly
- Set aside to cool slightly
- Transfer the filling into food processor or grinder; pulse few times until you get desired consistency; it should be smooth, but with some texture; you don’t want to have big chunks of meat as this will make it more difficult to seal the pierogis
- If the filling is too dry, add more broth
- Prepare the dough – in a large mixing bowl combine flour, eggs, salt, melted butter and some of the milk
- You can knead by hand or transfer all to a stand mixer bowl
- Start the mixer with the hook attachment installed
- As the mixer is working, keep adding the warm milk or water until the dough becomes soft, elastic and no longer sticky. It can take up to 10 minutes.
- Set the dough aside to rest for up to 30 minutes
- Divide the dough into four parts; dust flat surface with some flour; roll out the dough into a thin layer;
- Using cookie cutter (3 inch diameter) or glass cut out circles in the dough
- Using a spoon, scoop the filling into each cut out circle; transfer it into pierogi mold and seal; you can also seal the dough by hand.
- Bring a large pot of water to boil; start cooking pierogis in batches, don’t crowd them too much. When they start floating, cook for 1 more minutes
- Using a slotted spoon, remove from the water and set aside.
Notes
Nutrition
Did you make this recipe?
Tag me @sylwiavaclavekphotography or tag me using #myomnikitchen so I can see your creations! You can also leave a comment below!

Polish Meat Pierogi Recipe Conclusion
I bet you are rolling up your sleeves to make the pierogi dough. I’m excited for you just thinking about it. You sure are in for a treat. I would almost want to tell you keep it a secret, but this Polish meat pierogi recipe is way too good not to share. I actually have an idea. Call family and turn this into a pierogi making party.
FAQ about pierogis
What Are Pierogis?
Pierogis are traditional Polish dumplings made with unleavened dough and filled with various ingredients, such as potatoes, cheese, meat, or fruit.
How Do You Pronounce “Pierogi”?
The plural term “pierogi” is pronounced “pye-roh-gee.” The singular form is “pieróg,” pronounced “pye-rohg.”
Can Perogis Be Frozen?
Yes, pierogis freeze well. Arrange them in a single layer on a baking sheet, freeze, and then transfer them to a freezer-safe bag. They can be stored for up to 2-3 months.
What Are Common Pierogi Fillings?
Common fillings include mashed potatoes, cheese, sauerkraut, meat (such as ground pork or beef), and sweet fillings like fruit or sweet cheese.
How Are Pierogis Cooked?
Pierogis can be boiled, pan-fried, baked, or even grilled. The cooking method depends on personal preference and the desired texture. Click HERE for more info
What Are Traditional Toppings for Pierogis?
Traditional toppings include sour cream, fried onions, and melted butter. Other options include bacon bits, sautéed mushrooms, and various sauces. Click HERE for more topping options.
Are Pierogis Gluten-Free?
Traditional pierogi dough is made with wheat flour and is not gluten-free. However, there are gluten-free alternatives available, often made with rice or potato flour.
Can I Make Pierogis in Advance?
Yes, pierogis can be made in advance and stored in the refrigerator or freezer. Proper storage and reheating methods help maintain their quality. Click HERE for more info about storage and reheating.
What Sauces Pair Well with Pierogis?
Pierogis pair well with a variety of sauces, including tomato sauce, horseradish sauce, sour cream, and even simple butter. The choice depends on personal taste preferences. Click HERE for more ideas on toppings.
Are Pierogis Only Polish?
While pierogis have strong ties to Polish cuisine, variations of filled dumplings are found in many cultures worldwide. Each culture may have its own unique spin on these delightful dumplings.
How to Store Leftover Dough and Leftover Meat?
Good question! You don’t need to make this entire recipe all at once.
To store leftover dough:
- Wrap it tightly in plastic wrap to prevent it from drying out;
- Place it in an airtight container.
- Store in refrigerator for up to 3 days
- For longer storage, freeze the dough in a freezer safe bag; use within 2 months
- Thaw in the refrigerator overnight before using
To store leftover meat:
- Ensure the leftover meat it’s cooled down before storage.
- Place the meat in an airtight container or wrap it securely in aluminum foil or plastic wrap.
- Store it in the refrigerator if you plan to use it within 3-4 days.
- For longer storage, freeze the meat in a freezer-safe bag or container for up to 3 months. Label the container with the date to keep track of storage time.
- Thaw in the refrigerator when ready to use.


