How to make Dill flavored salt
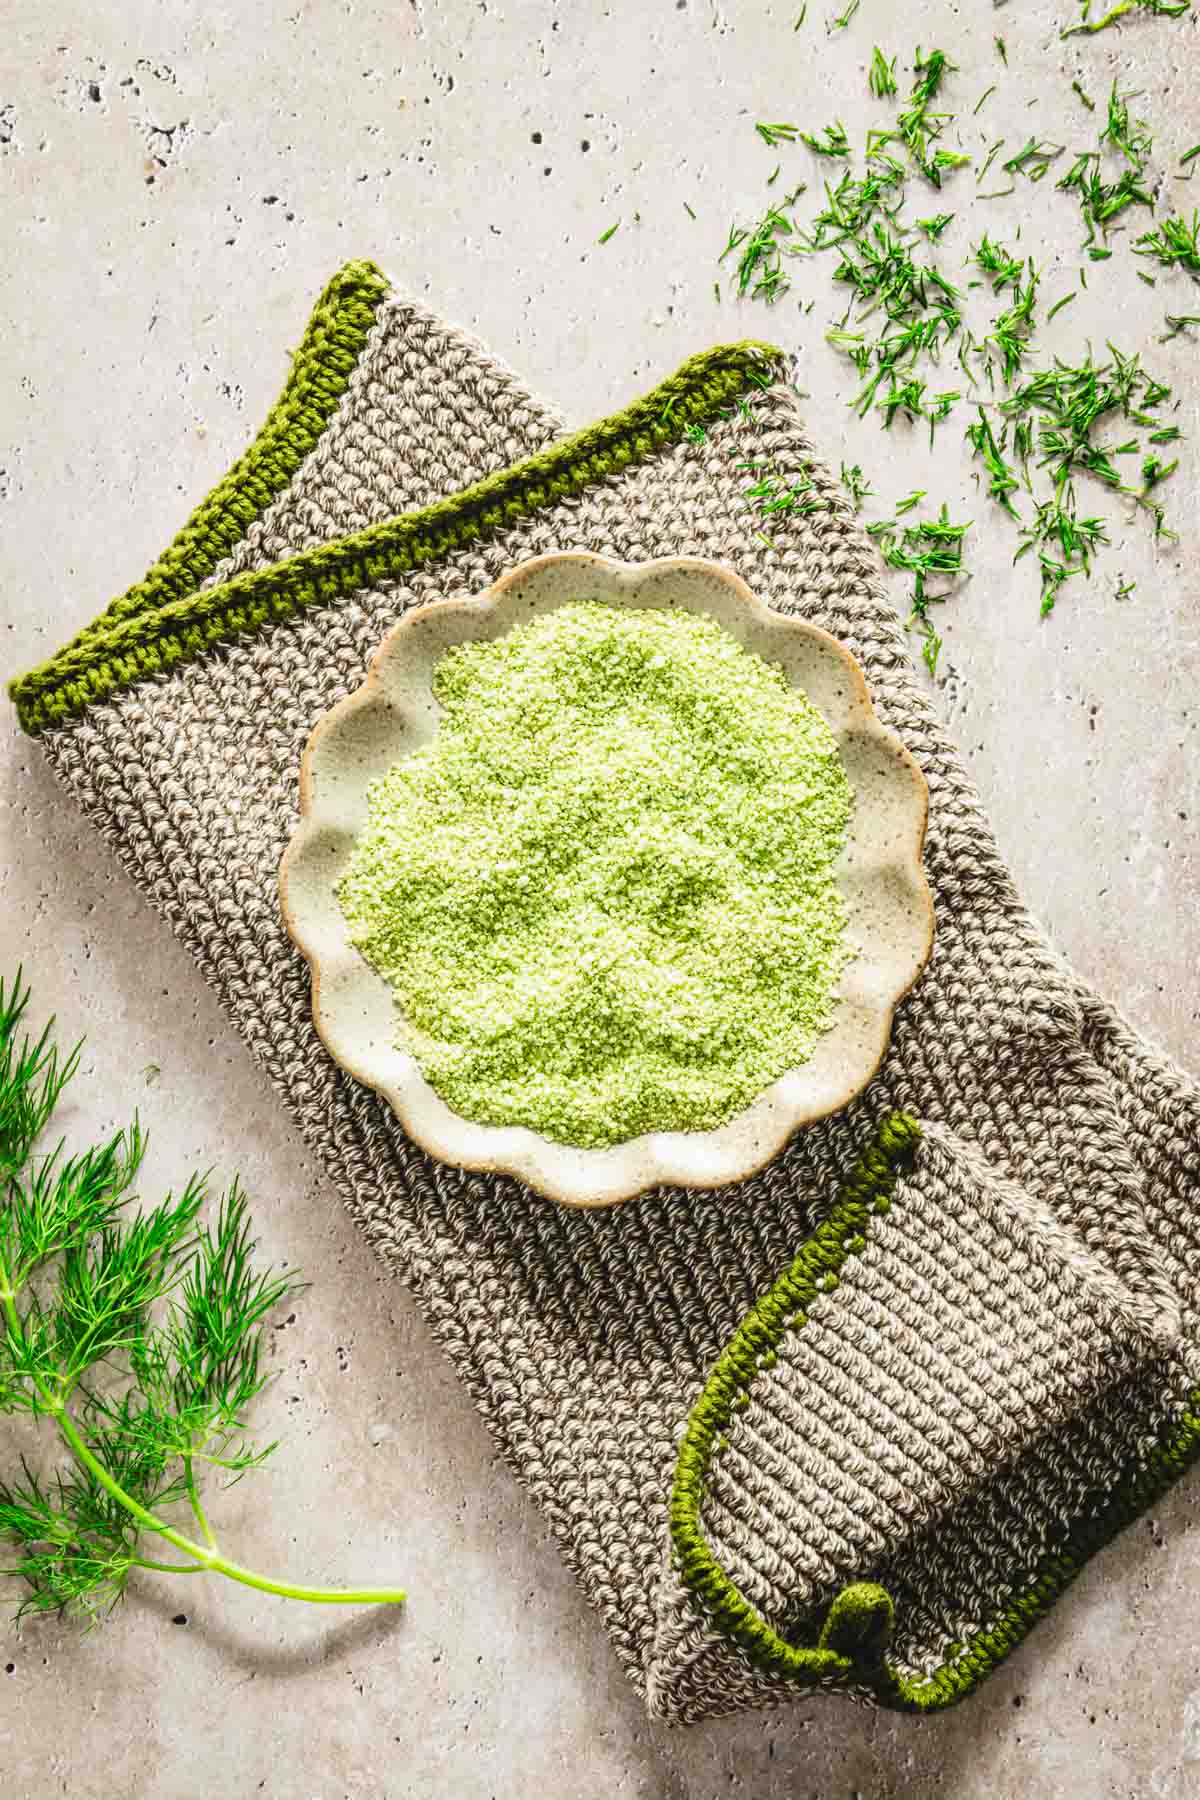
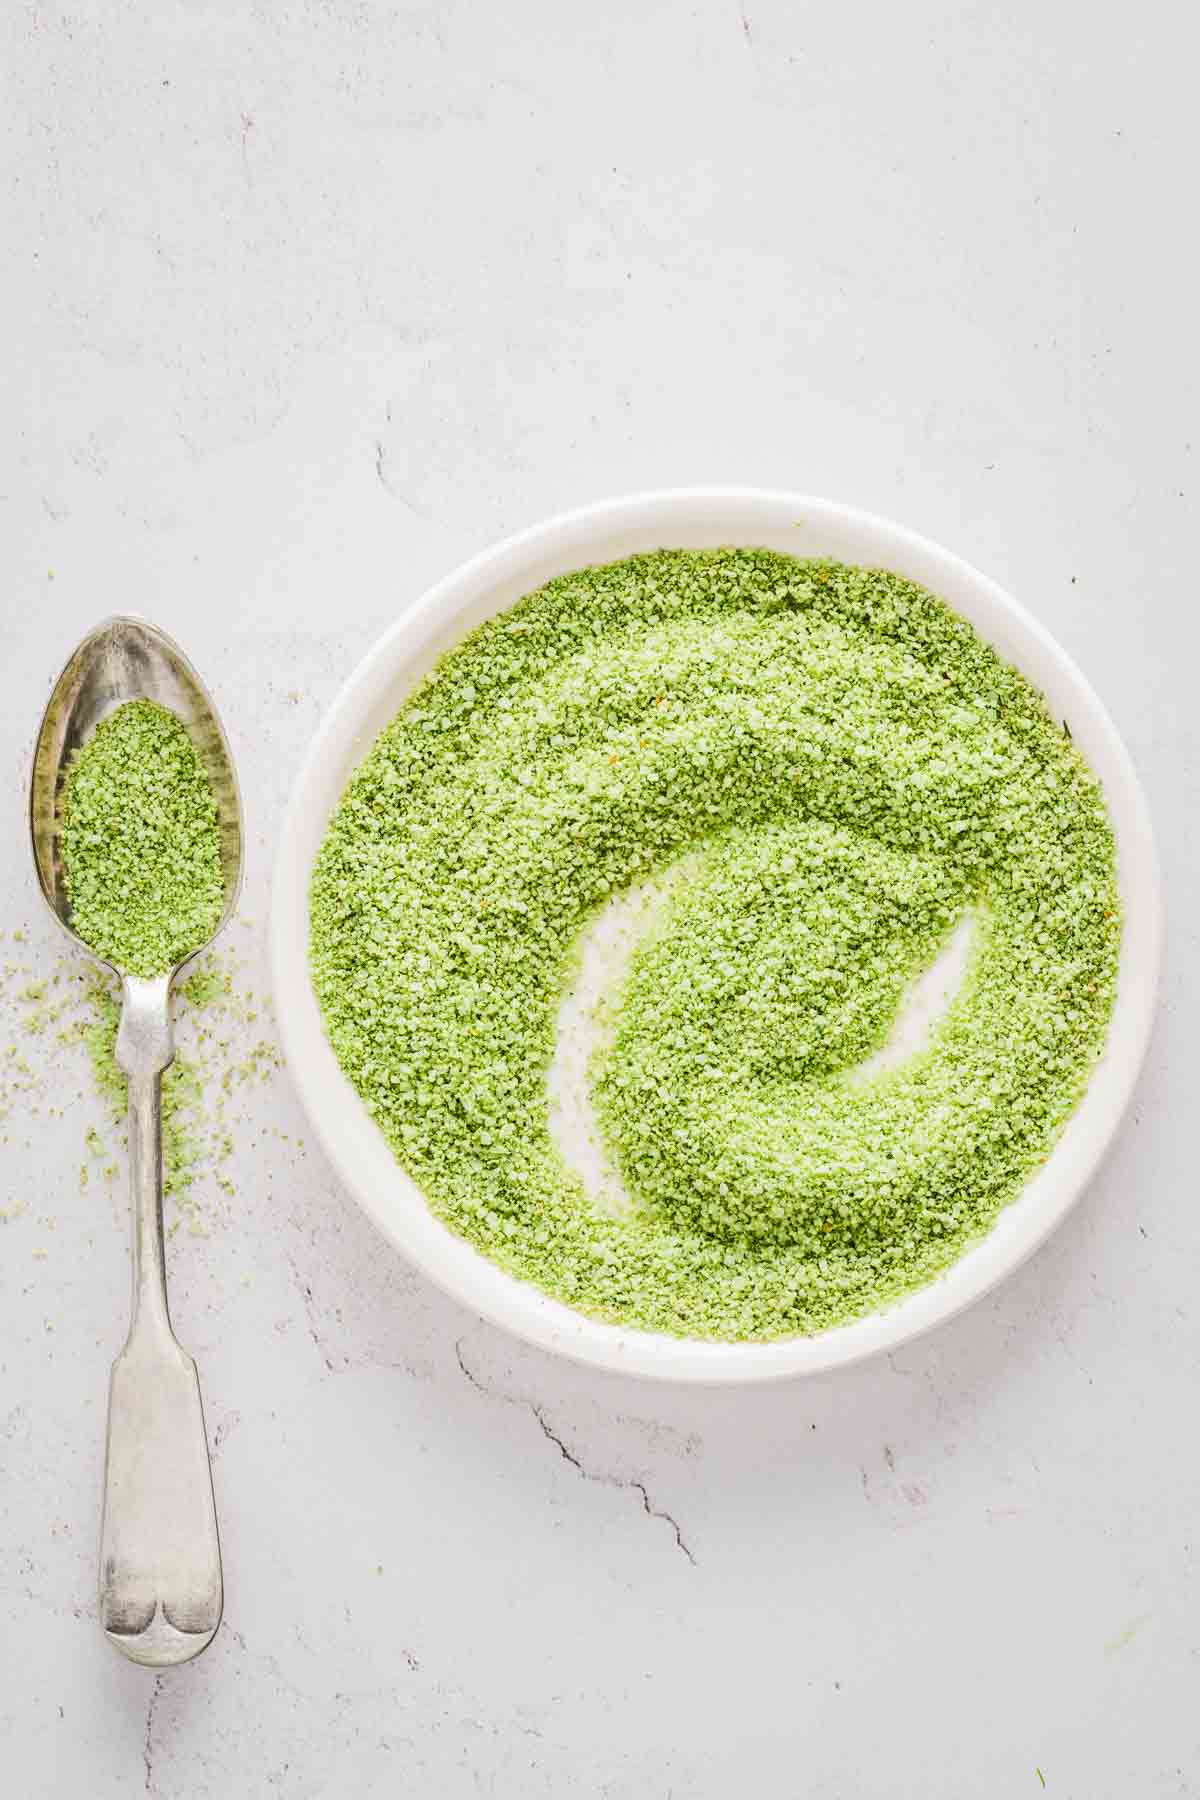
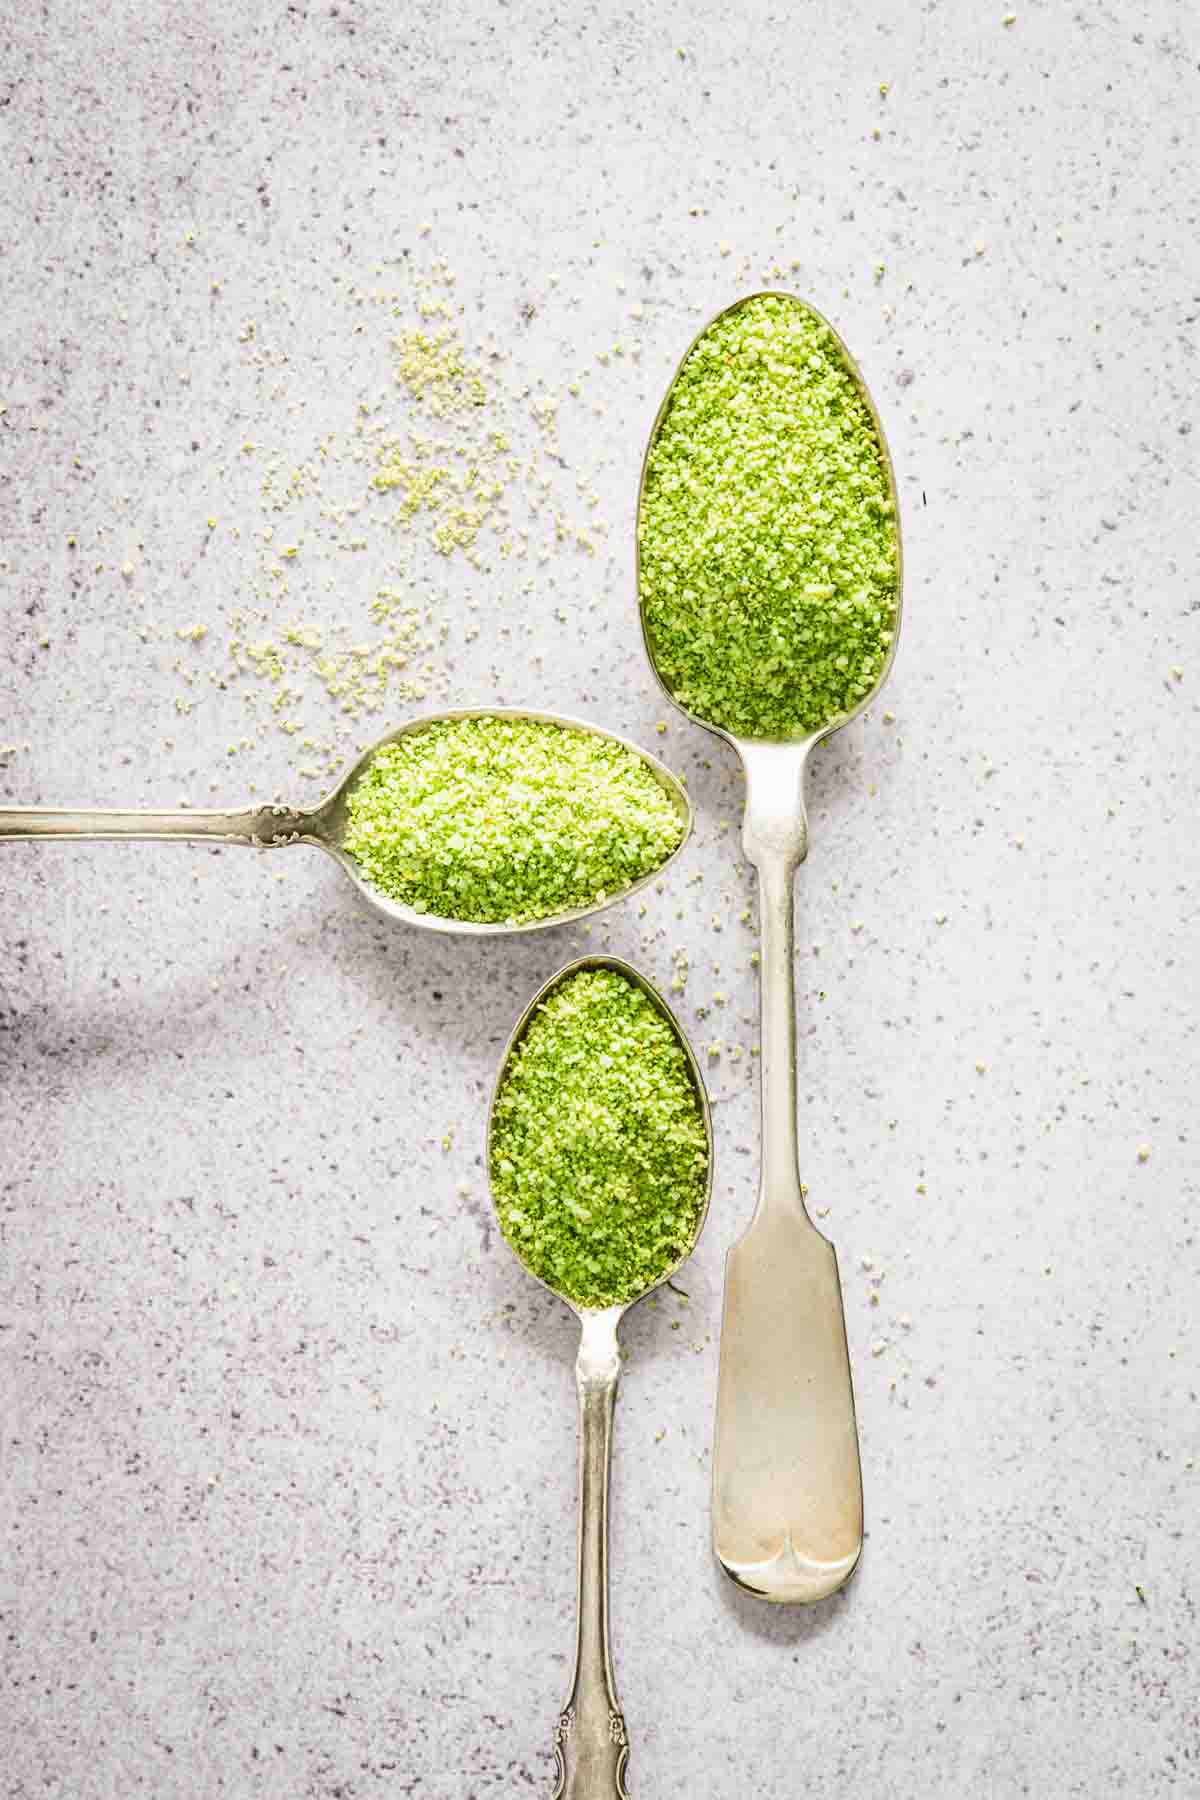
Dill lovers gather up. If you’re looking to add a burst of fresh, herbal flavor to your cooking or expand your spice blend collection, look no further than homemade Dill Salt.
This easy-to-make seasoning combines the vibrant taste of dill with the classic punch of salt and tang from the lemon zest, creating a versatile blend that can transform even the simplest dishes.
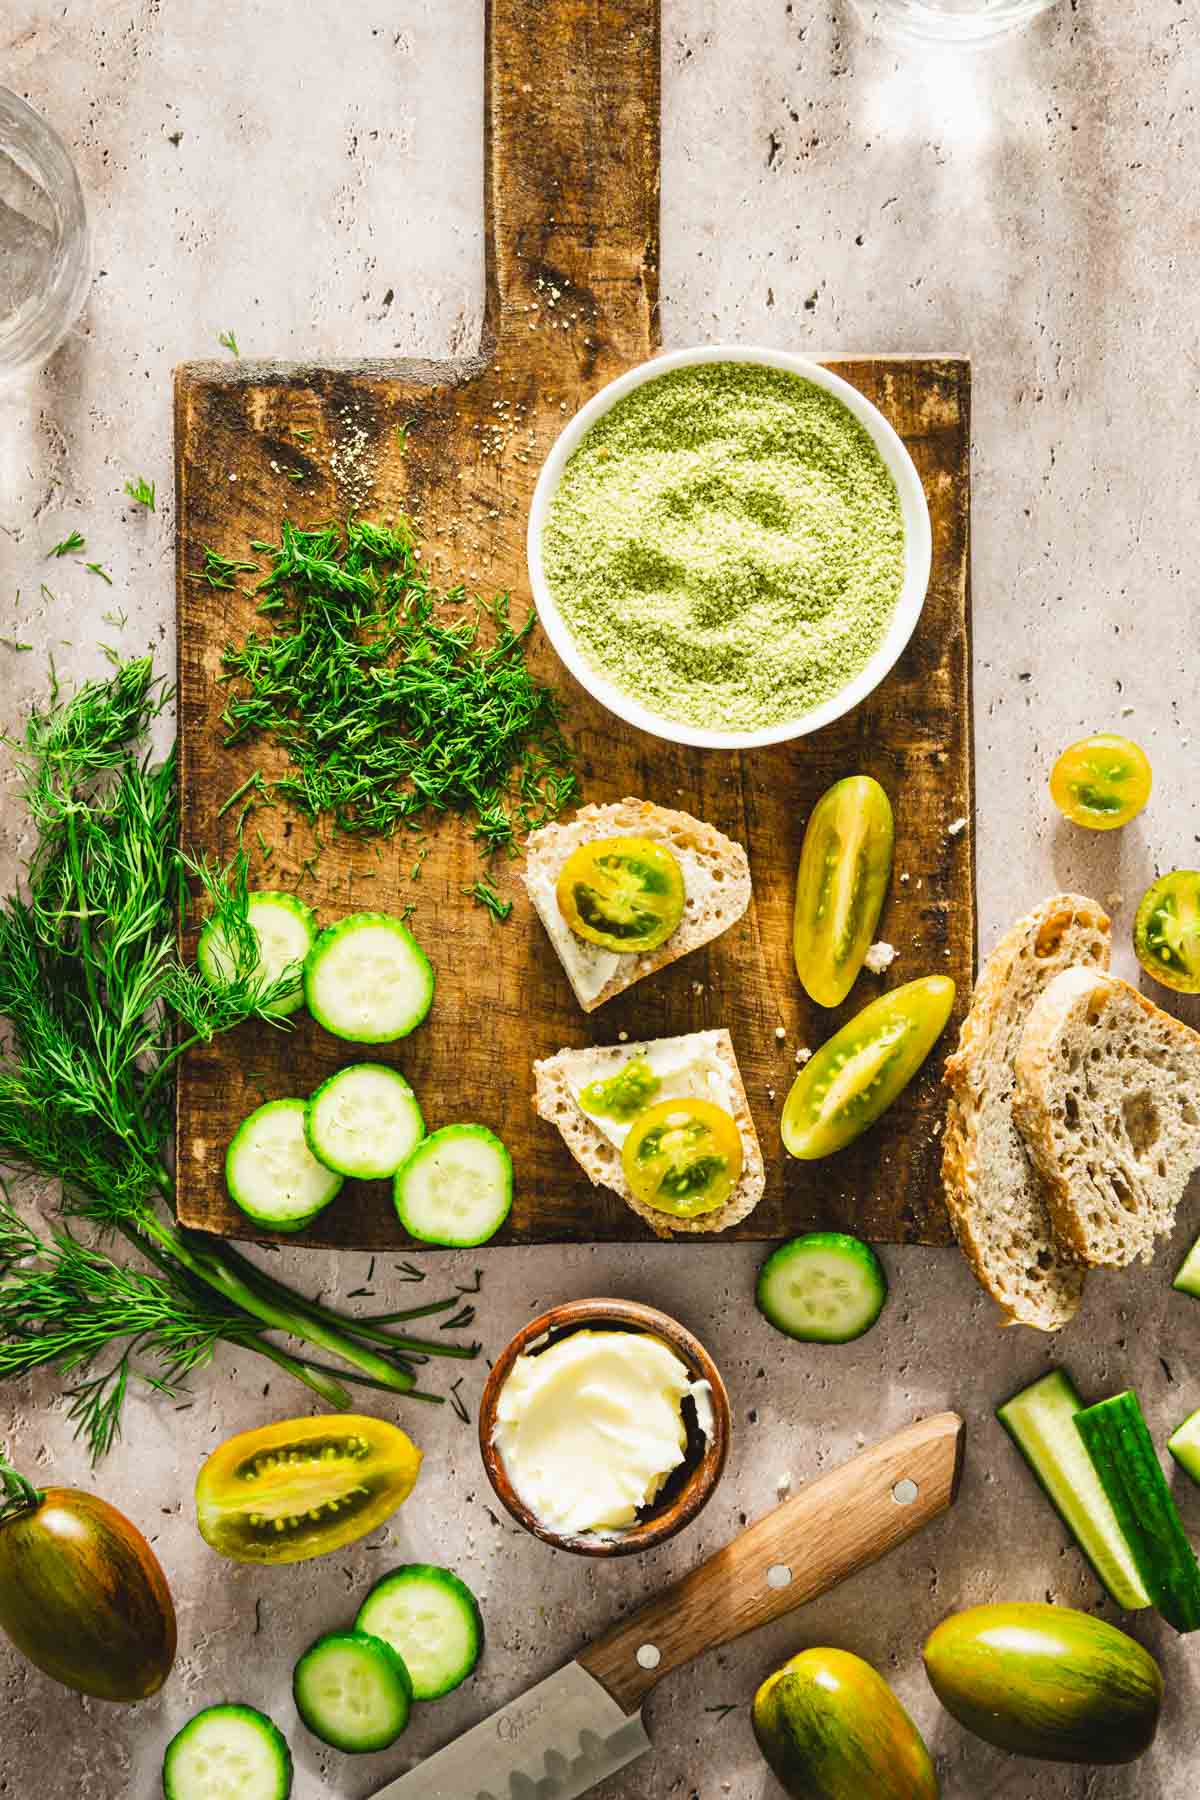
Whether you’re sprinkling it over roasted vegetables, seasoning grilled meats, or adding a gourmet touch to your snacks, Dill Salt is a kitchen staple that’s as easy to make as it is to enjoy.
Ready to elevate your meals? Let’s dive into the recipe!

Why you will love
Burst of flavor – dill has a fresh, slightly tangy flavor that pairs beautifully with the clean, crisp taste of salt. It can elevate the simplest of dishes with a unique, herbaceous kick.
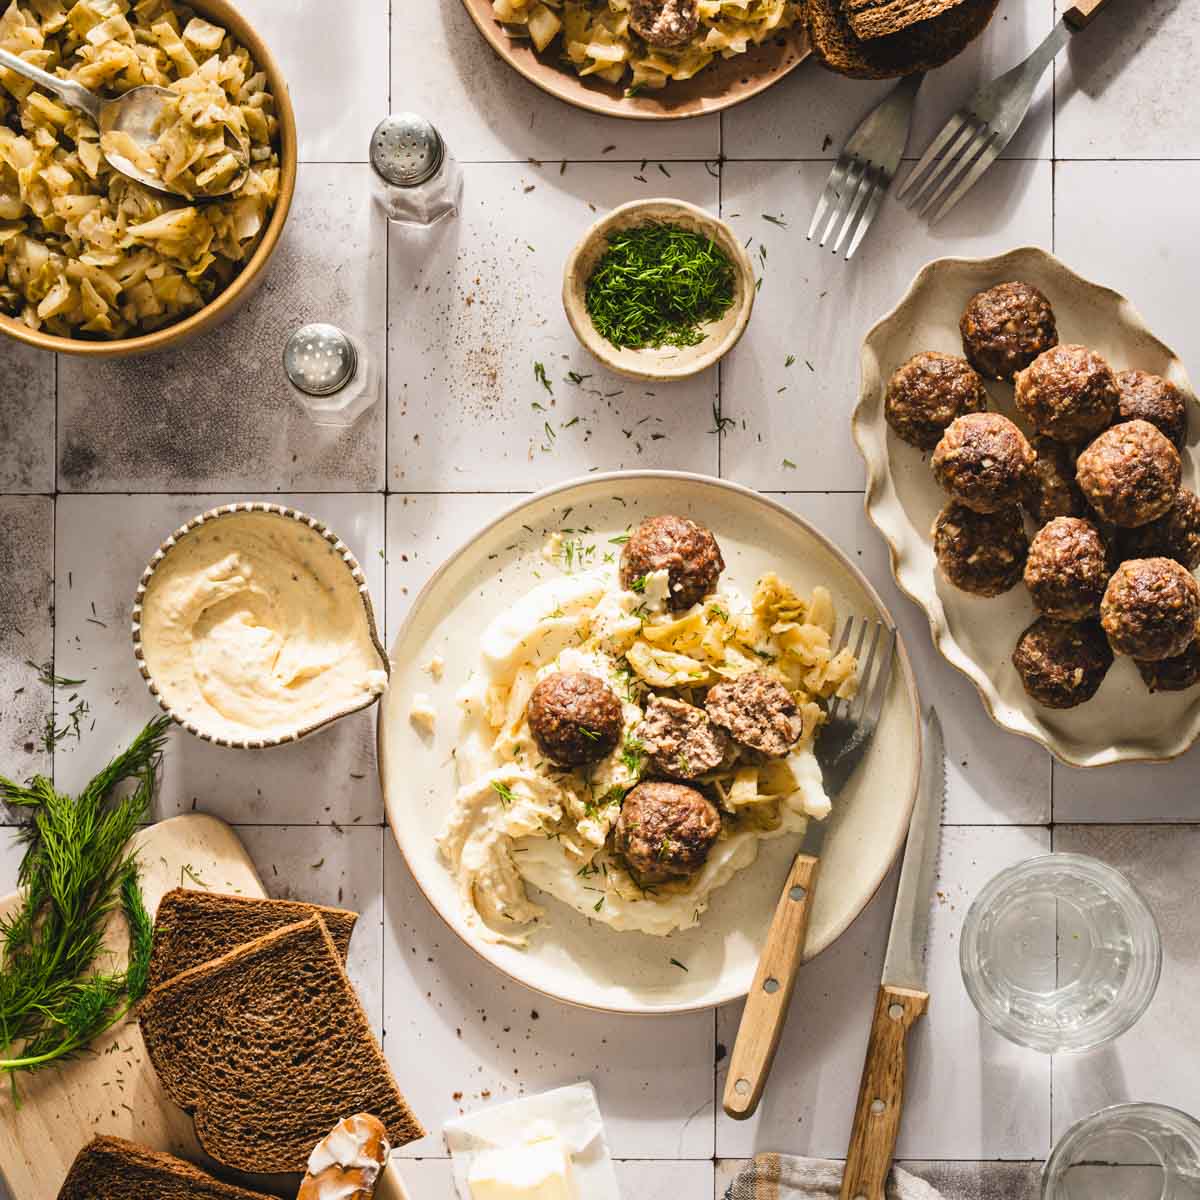
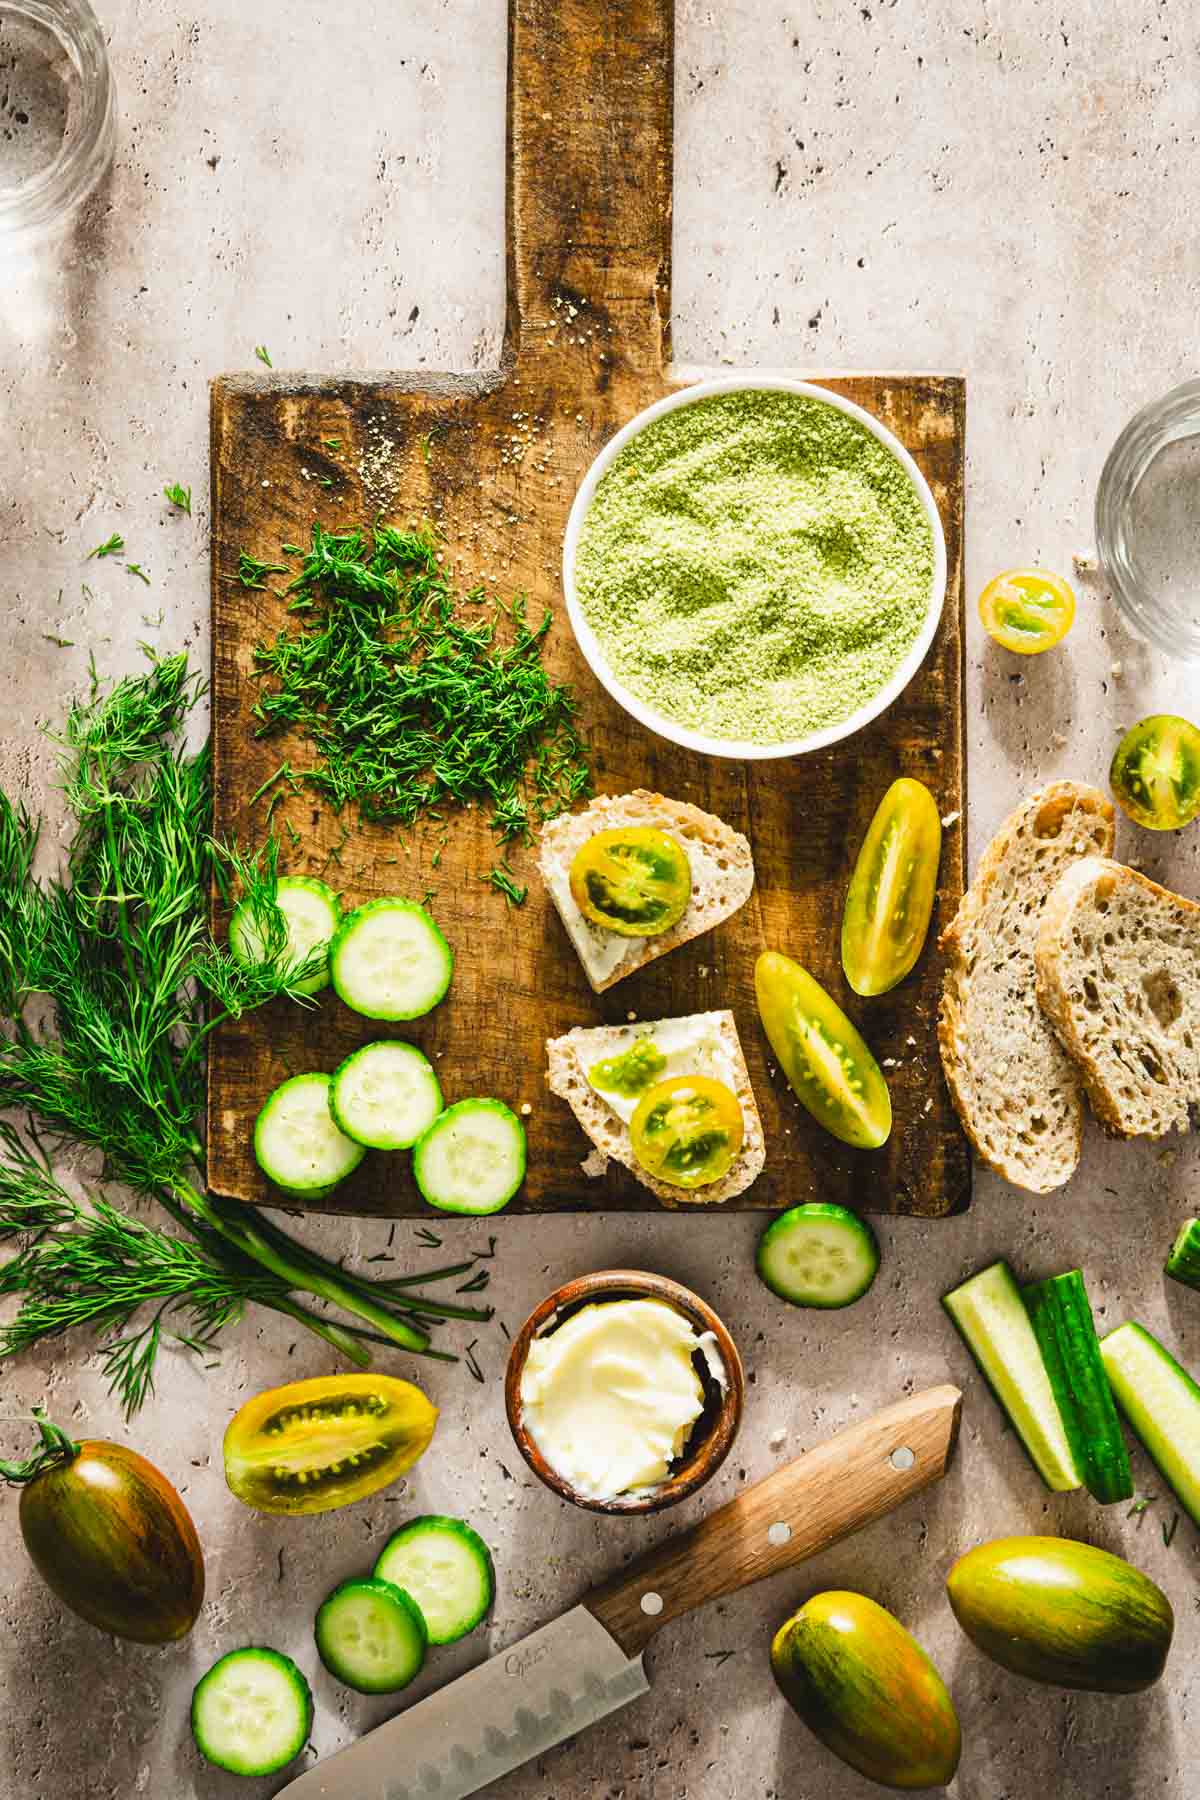
Versatility – This dill salt can be used in so many ways! Stir it into yogurt, sour cream, or cream cheese to create a quick, easy dip or spread. It’s also delicious mixed into butter and spread on warm bread.
Preserve fresh herbs – It’s a fantastic way to preserve fresh dill, extending its life and flavor well beyond the growing season.
Ingredients, Variations and Substitutions
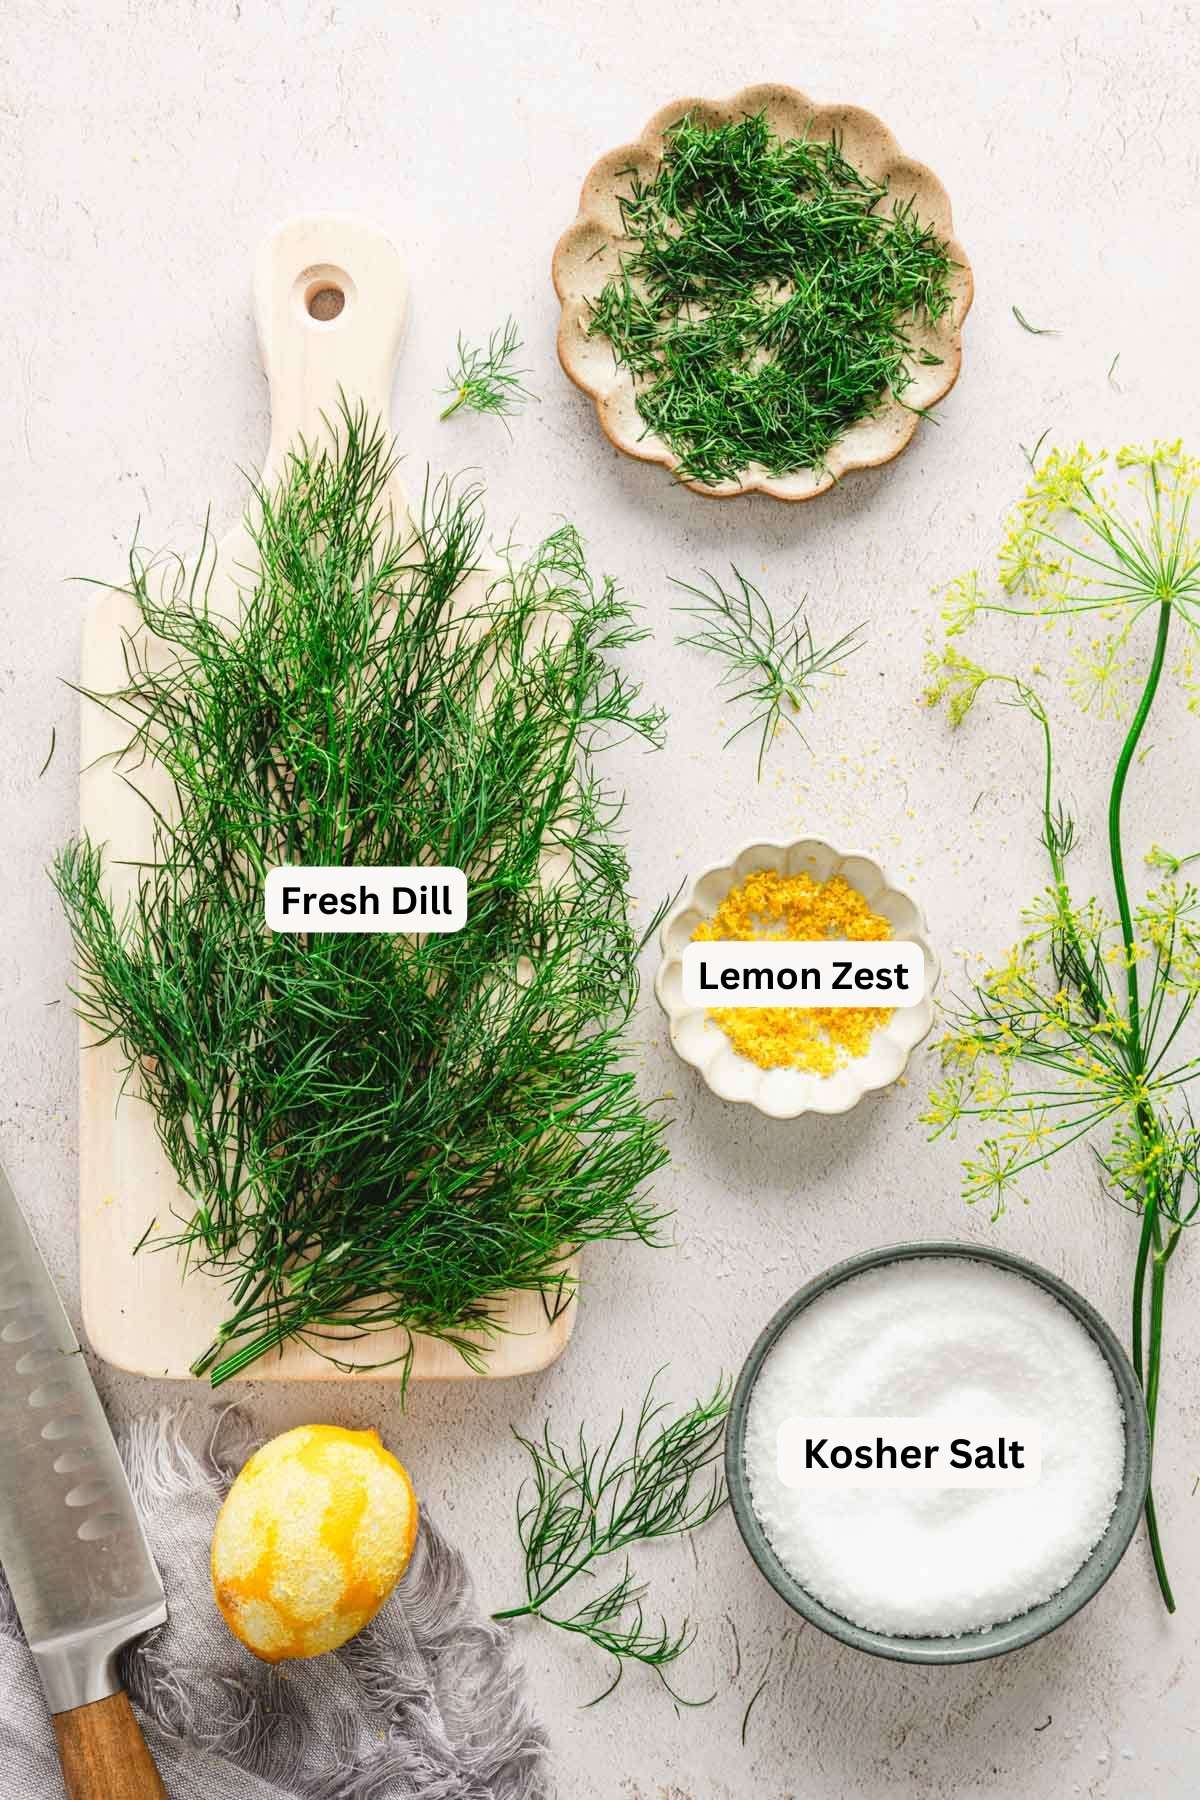
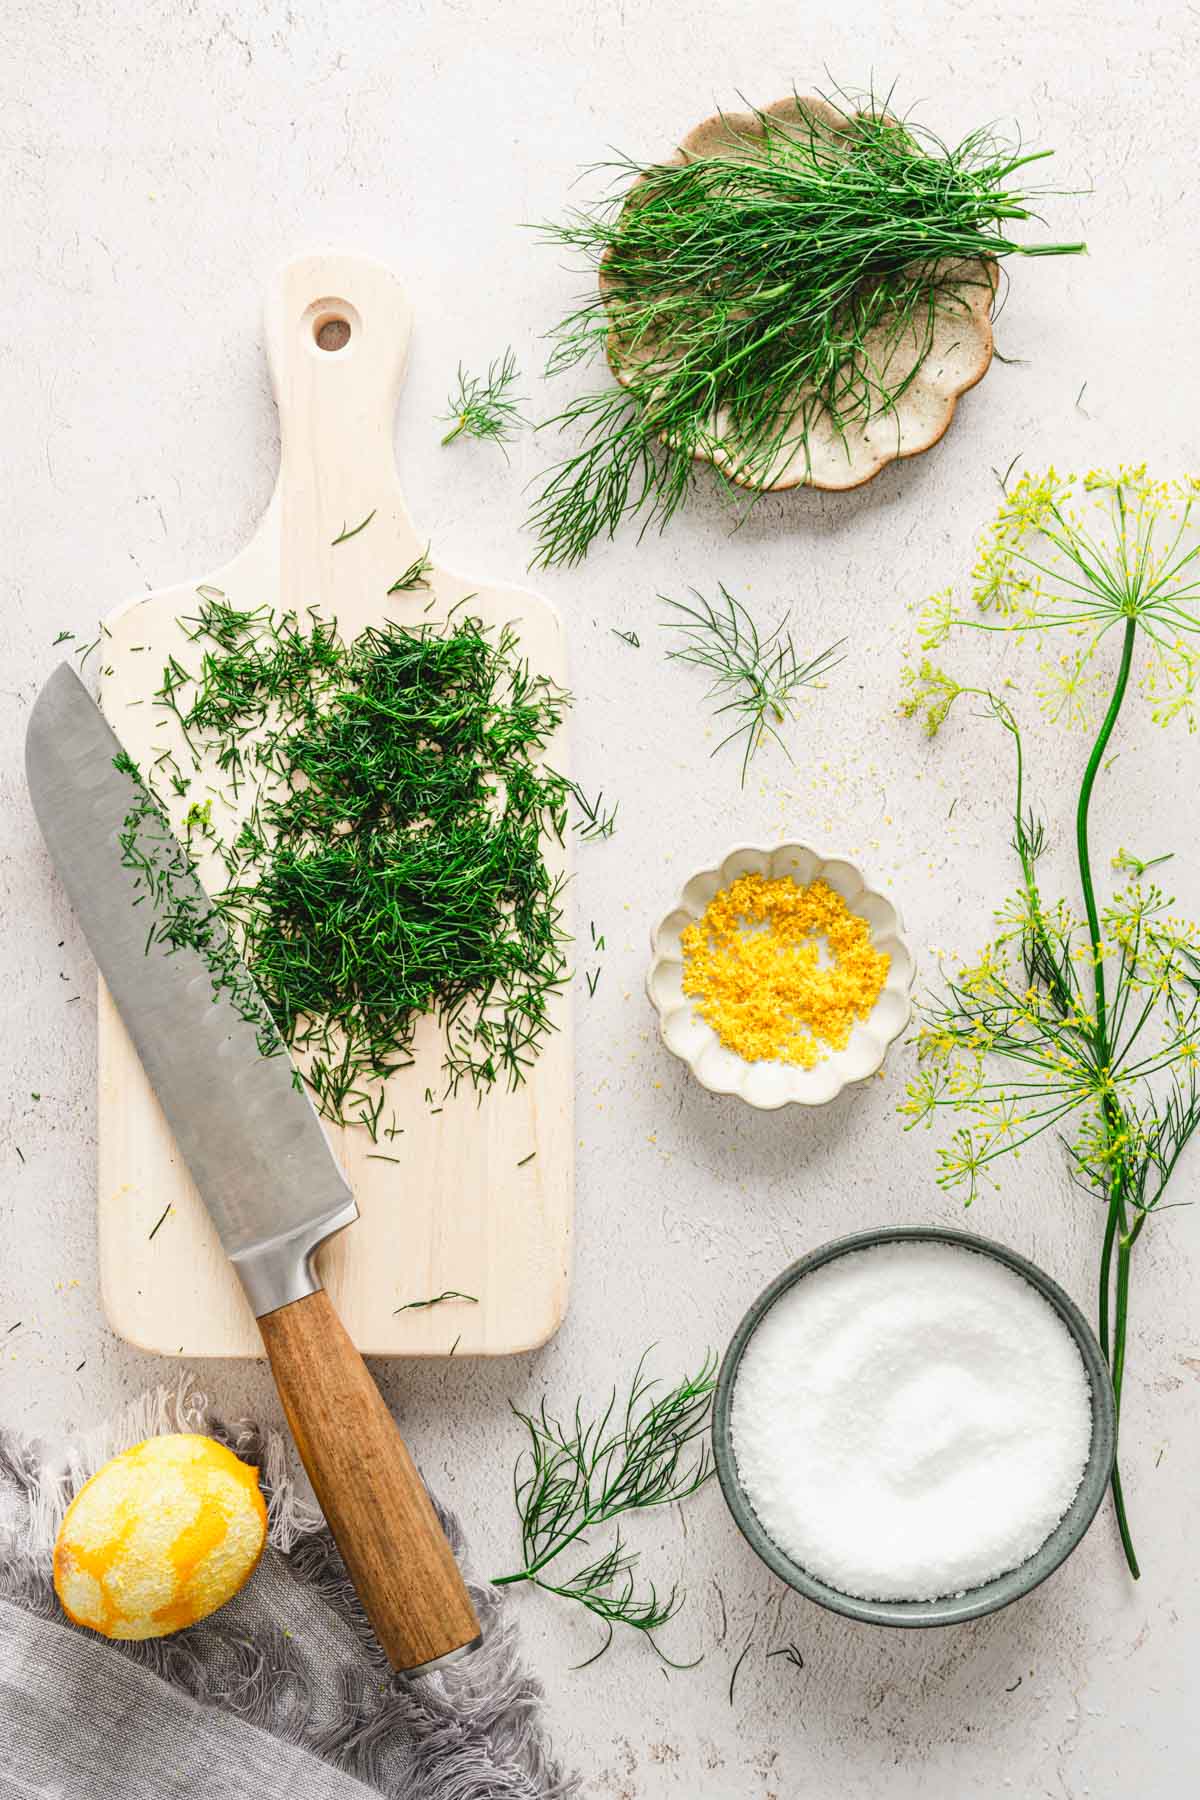
Kosher Salt – is a coarse, flake-textured salt commonly used in cooking and seasoning due to its pure, clean taste. It dissolves quickly and evenly, making it ideal for blending with herbs. Kosher salt is less salty by volume than table salt, so adjustments might be needed if substituting. Natural sea salt or coarse Himalayan pink salt can be used instead for a more mineral-rich option. If using fine table salt, reduce the quantity by about half, as it’s more concentrated.
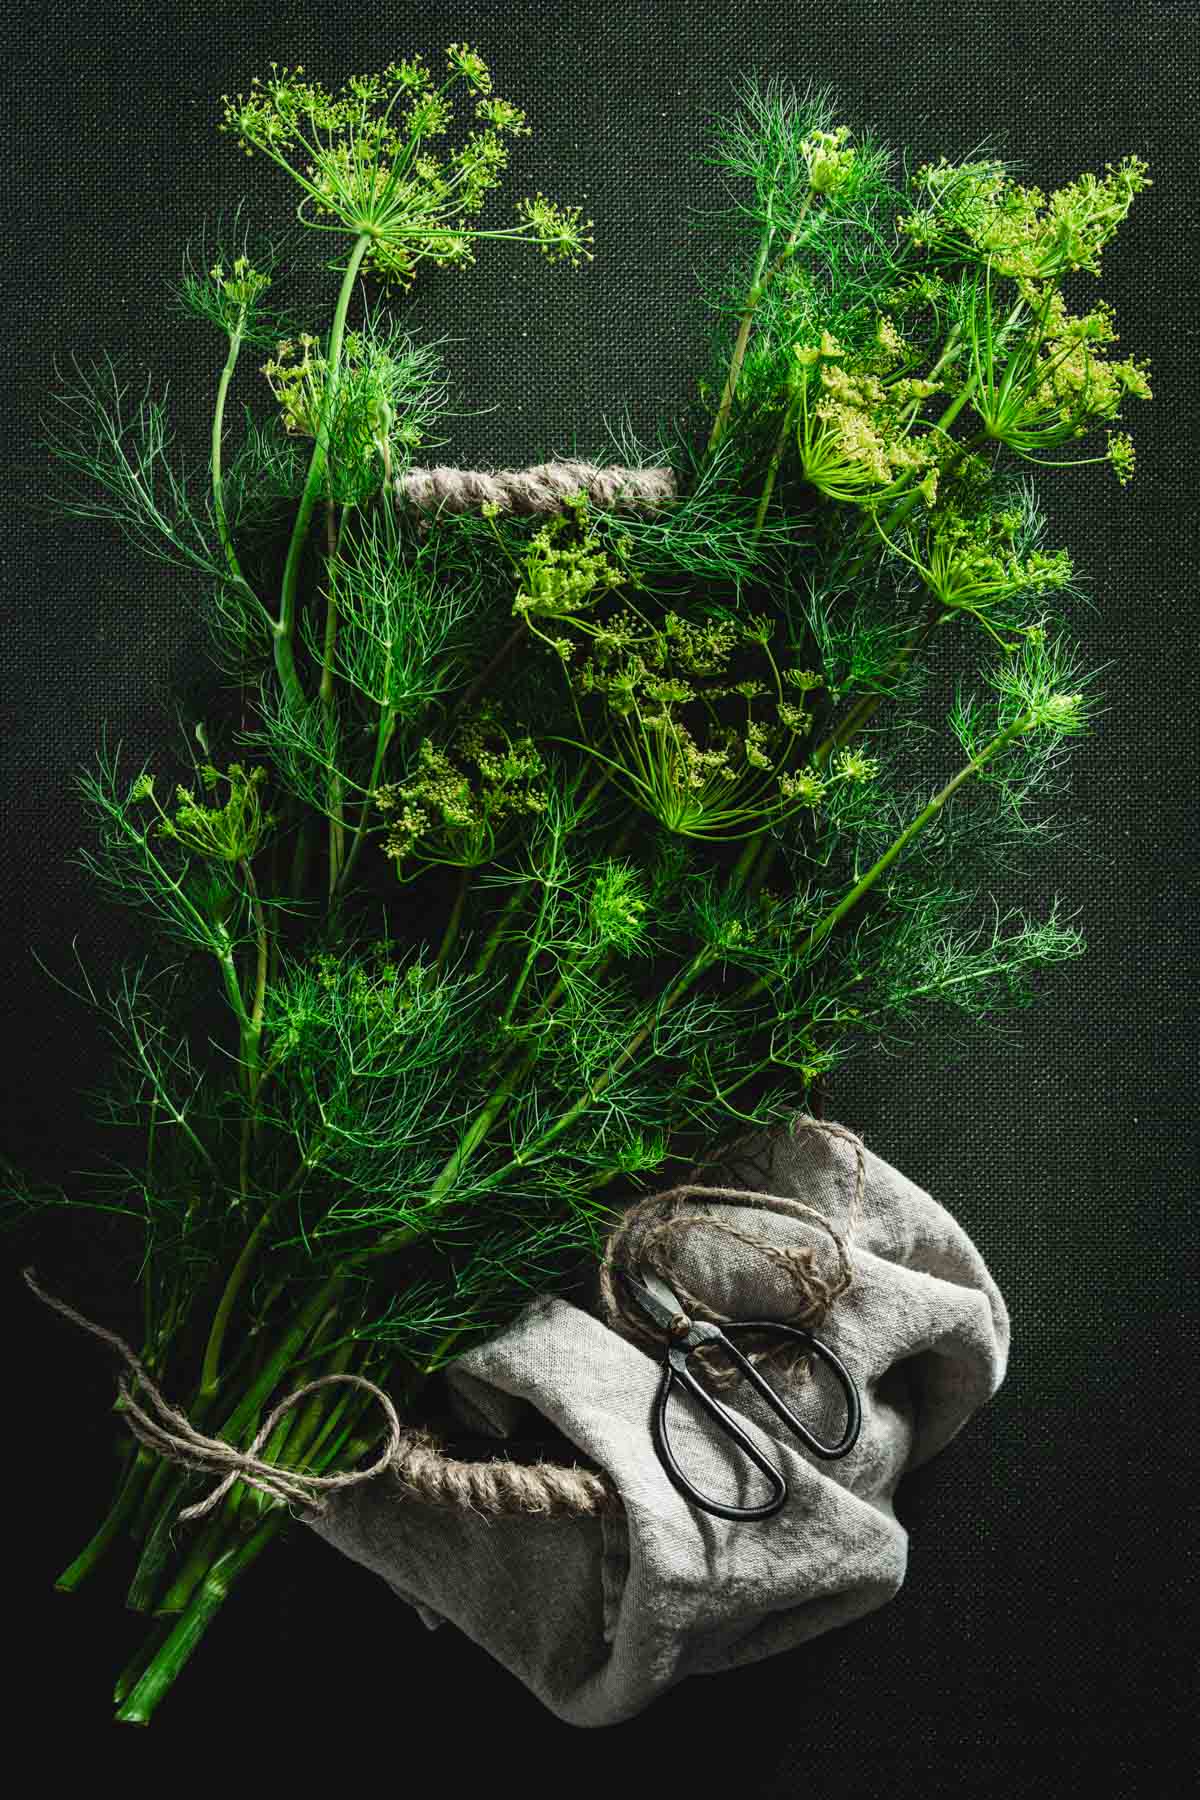
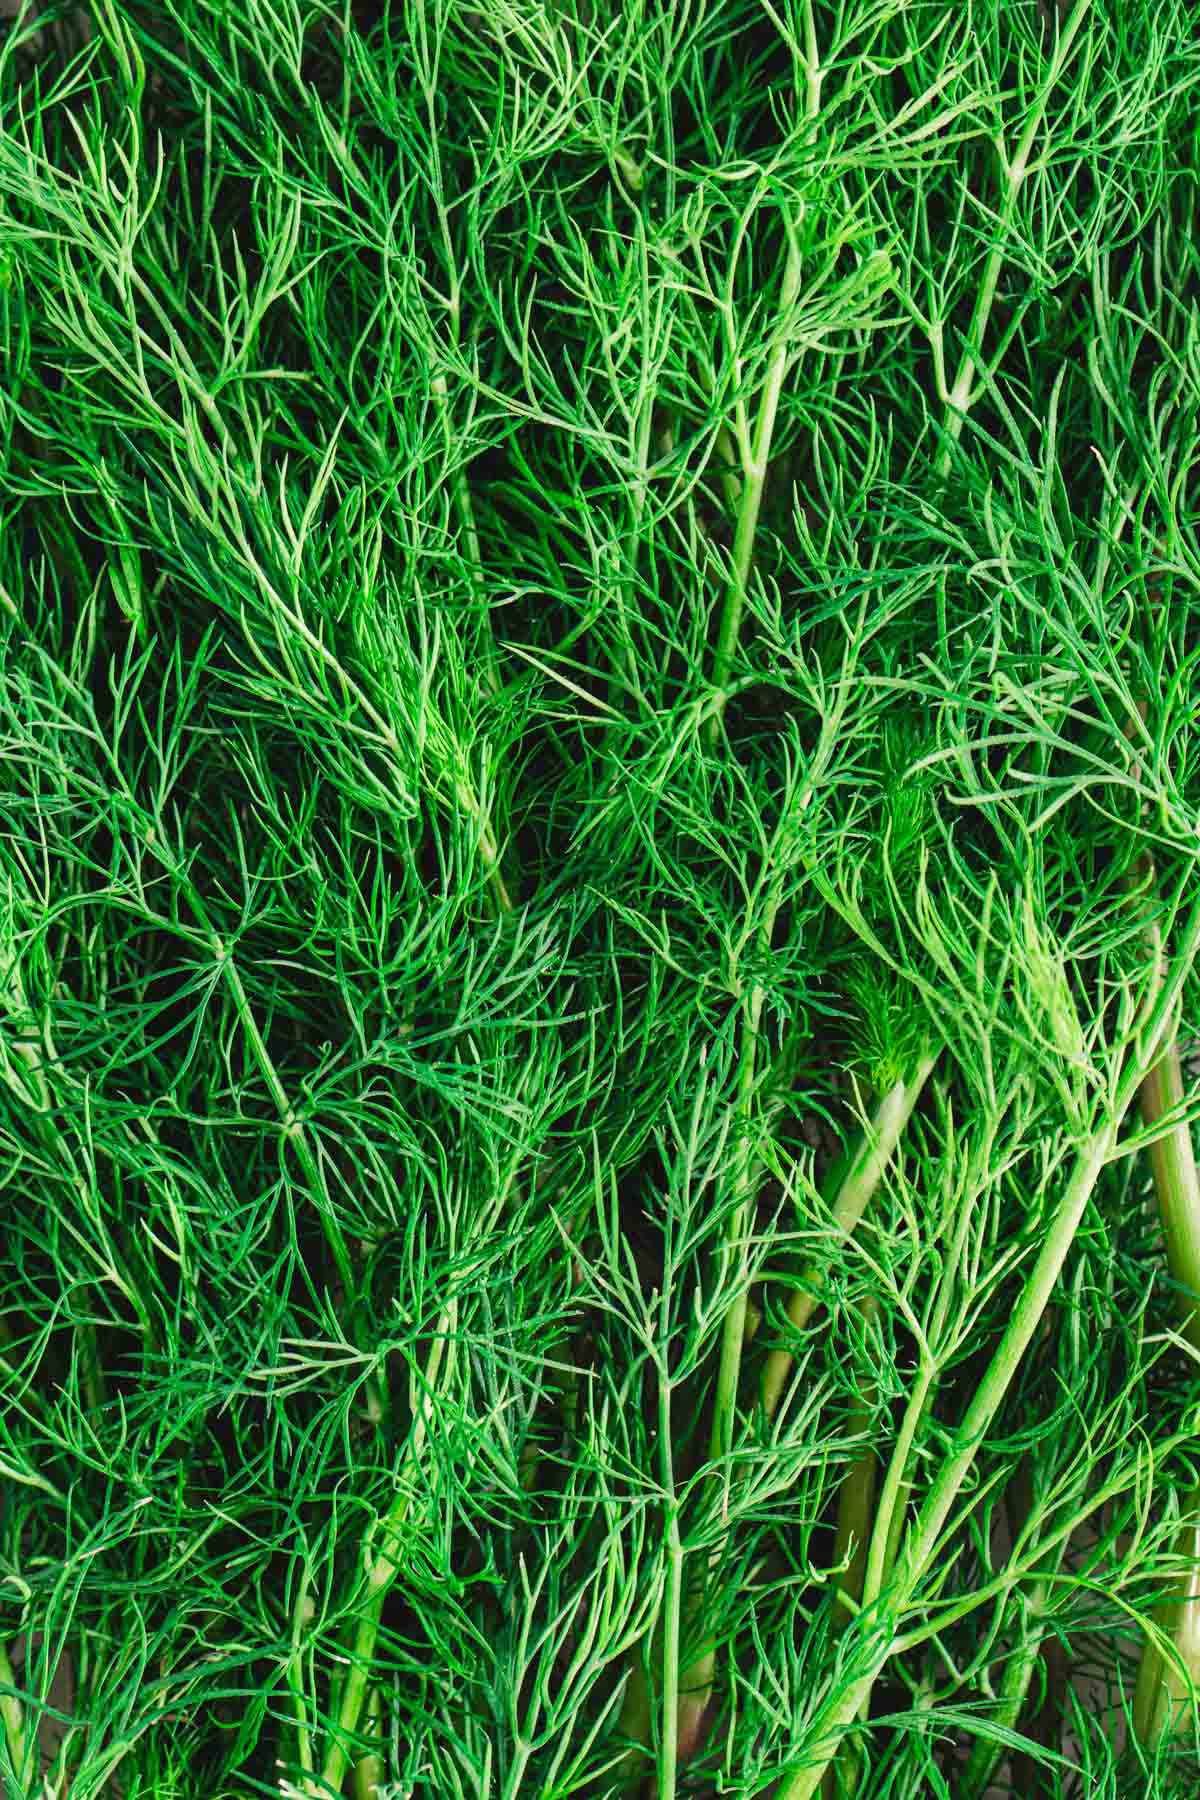
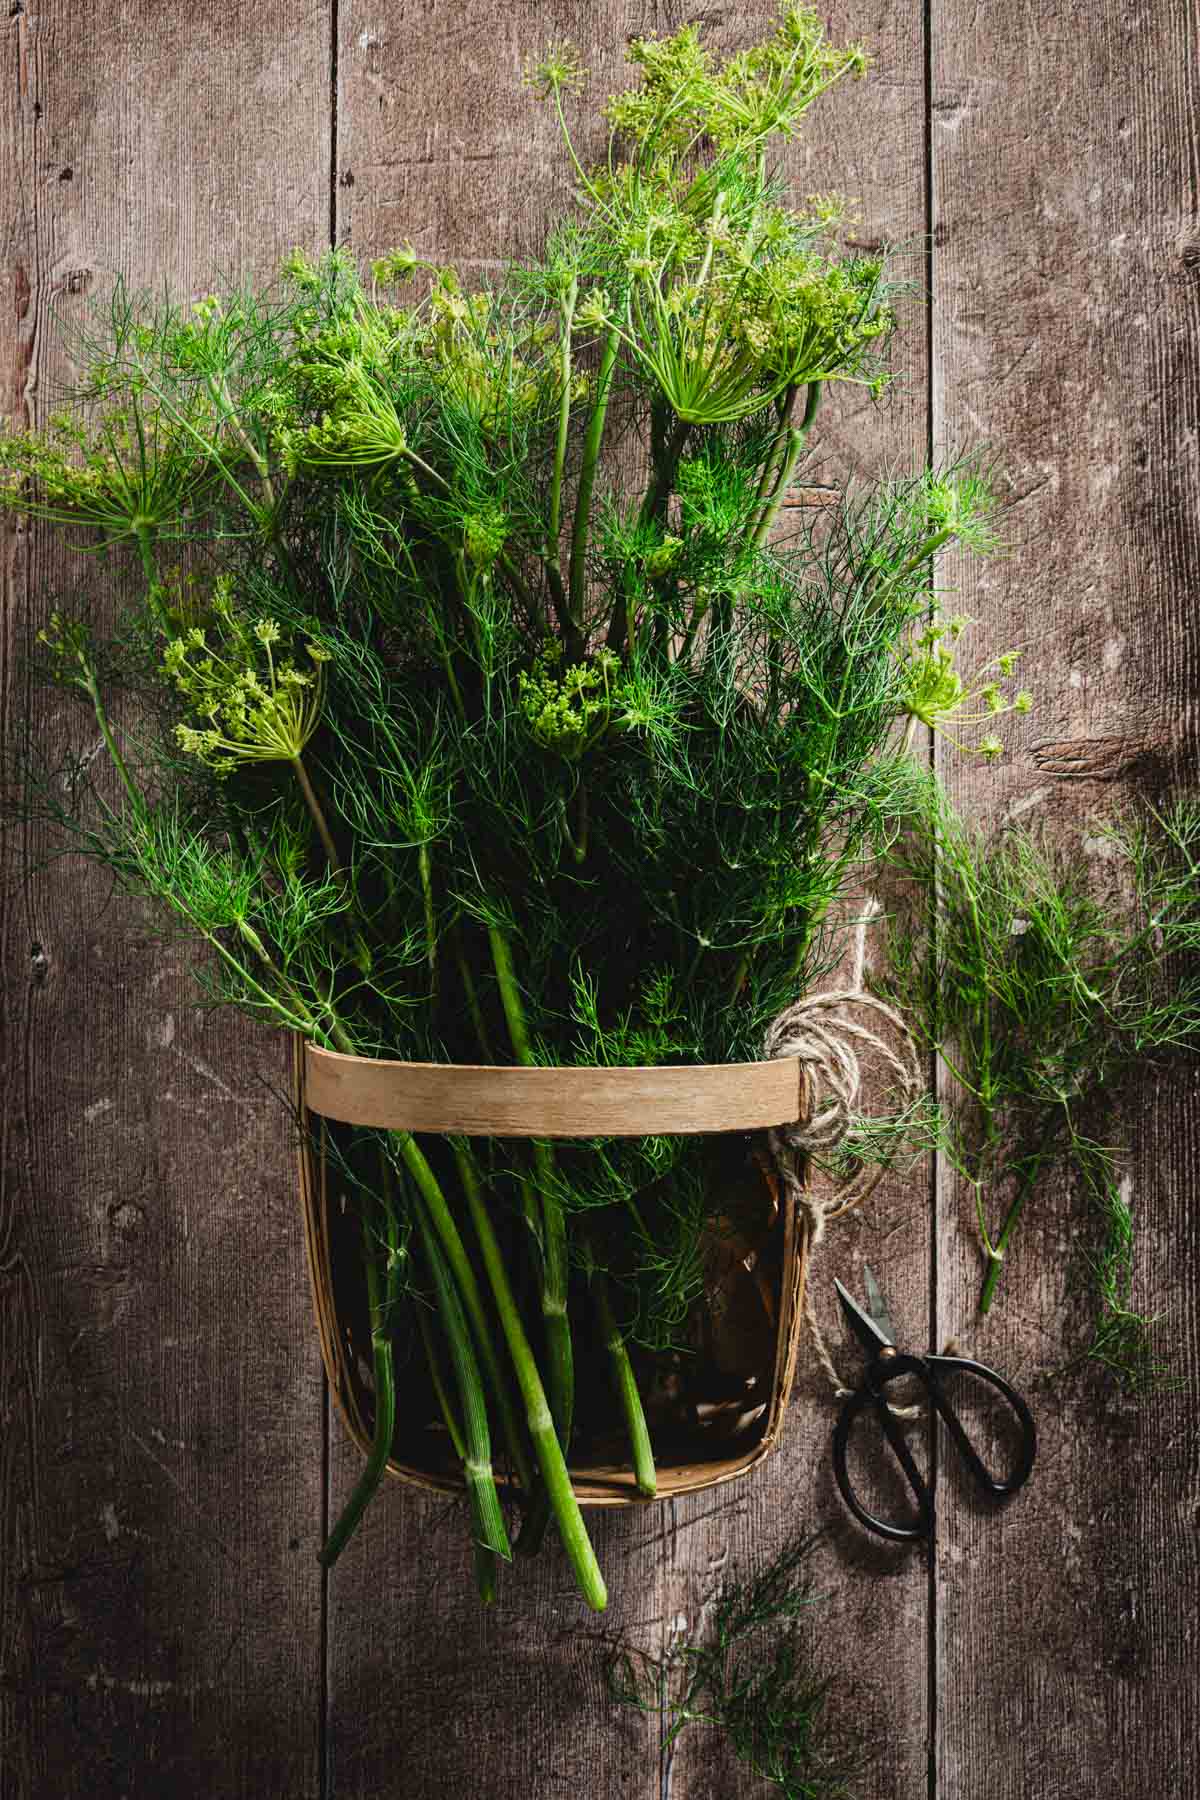
Fresh Dill – an aromatic herb with feathery green leaves, often referred to as dill weed, offering a slightly sweet, grassy flavor with a hint of anise. Fresh dill provides the best flavor and texture. Ensure it’s thoroughly dried before mixing with salt to prevent clumping. Dried or dehydrated dill can be used if fresh isn’t available, though it’s less vibrant. Use about two tablespoons of dried dill for every 1/4 cup of fresh dill. Alternatively, other herbs like fennel fronds or parsley can add a different yet complementary flavor.
Lemon Zest – the outer yellow layer of the lemon peel, packed with bright citrus oils that add a zesty flavors. Lemon zest adds a fresh, tangy note that complements the dill. Avoid the white pith underneath, as it can be bitter. Lime zest can be used for a slightly different citrus flavor. Orange zest could add a sweeter note or omit it entirely for a pure dill flavor.
Equipment you will need
- Food Processor
- Mixing Bowl
- Parchment Paper
- Oven
- Airtight Container or Jar
- Zester
- Salt grinder (optional)
Top Tips
Dry the dill thoroughly – if using fresh dill, make sure it’s completely dry before chopping or blending. Excess moisture can cause the salt to clump and affect shelf life.
Even layer for drying – when drying the dill salt mixture, spread it out in a thin, even layer on the baking sheet. This ensures consistent drying and prevents clumps from forming.
Low oven temperature – if using the oven to dry the mixture, keep it at its lowest setting (around 170°F or 75°C). Higher temperatures can burn the dill and alter the flavor.
Stir during drying – stir the mixture occasionally while drying to ensure even moisture removal and to break up any clumps that might form.
Avoid over-blending – if using a food processor, pulse the mixture just enough to combine the ingredients into a paste. Over-blending can make the salt too fine, which might not provide the desired texture.
Check for complete dryness – before storing, ensure the mixture is completely dry. Any remaining moisture can lead to spoilage or mold growth.
Store properly – store the finished dill salt in an airtight container in a cool, dry place. This preserves the flavor and prevents clumping.
Use quality ingredients – since this recipe has only a few ingredients, using high-quality salt, fresh organic dill, and organic lemons (if zesting) will make a noticeable difference in flavor.
Taste and adjust – taste your dill salt before drying it. If it’s too strong or mild, adjust the amount of dill or add more salt to balance it out.
Step-by-step instructions
- Place the salt, chopped dill, and lemon zest (if using) into a food processor.
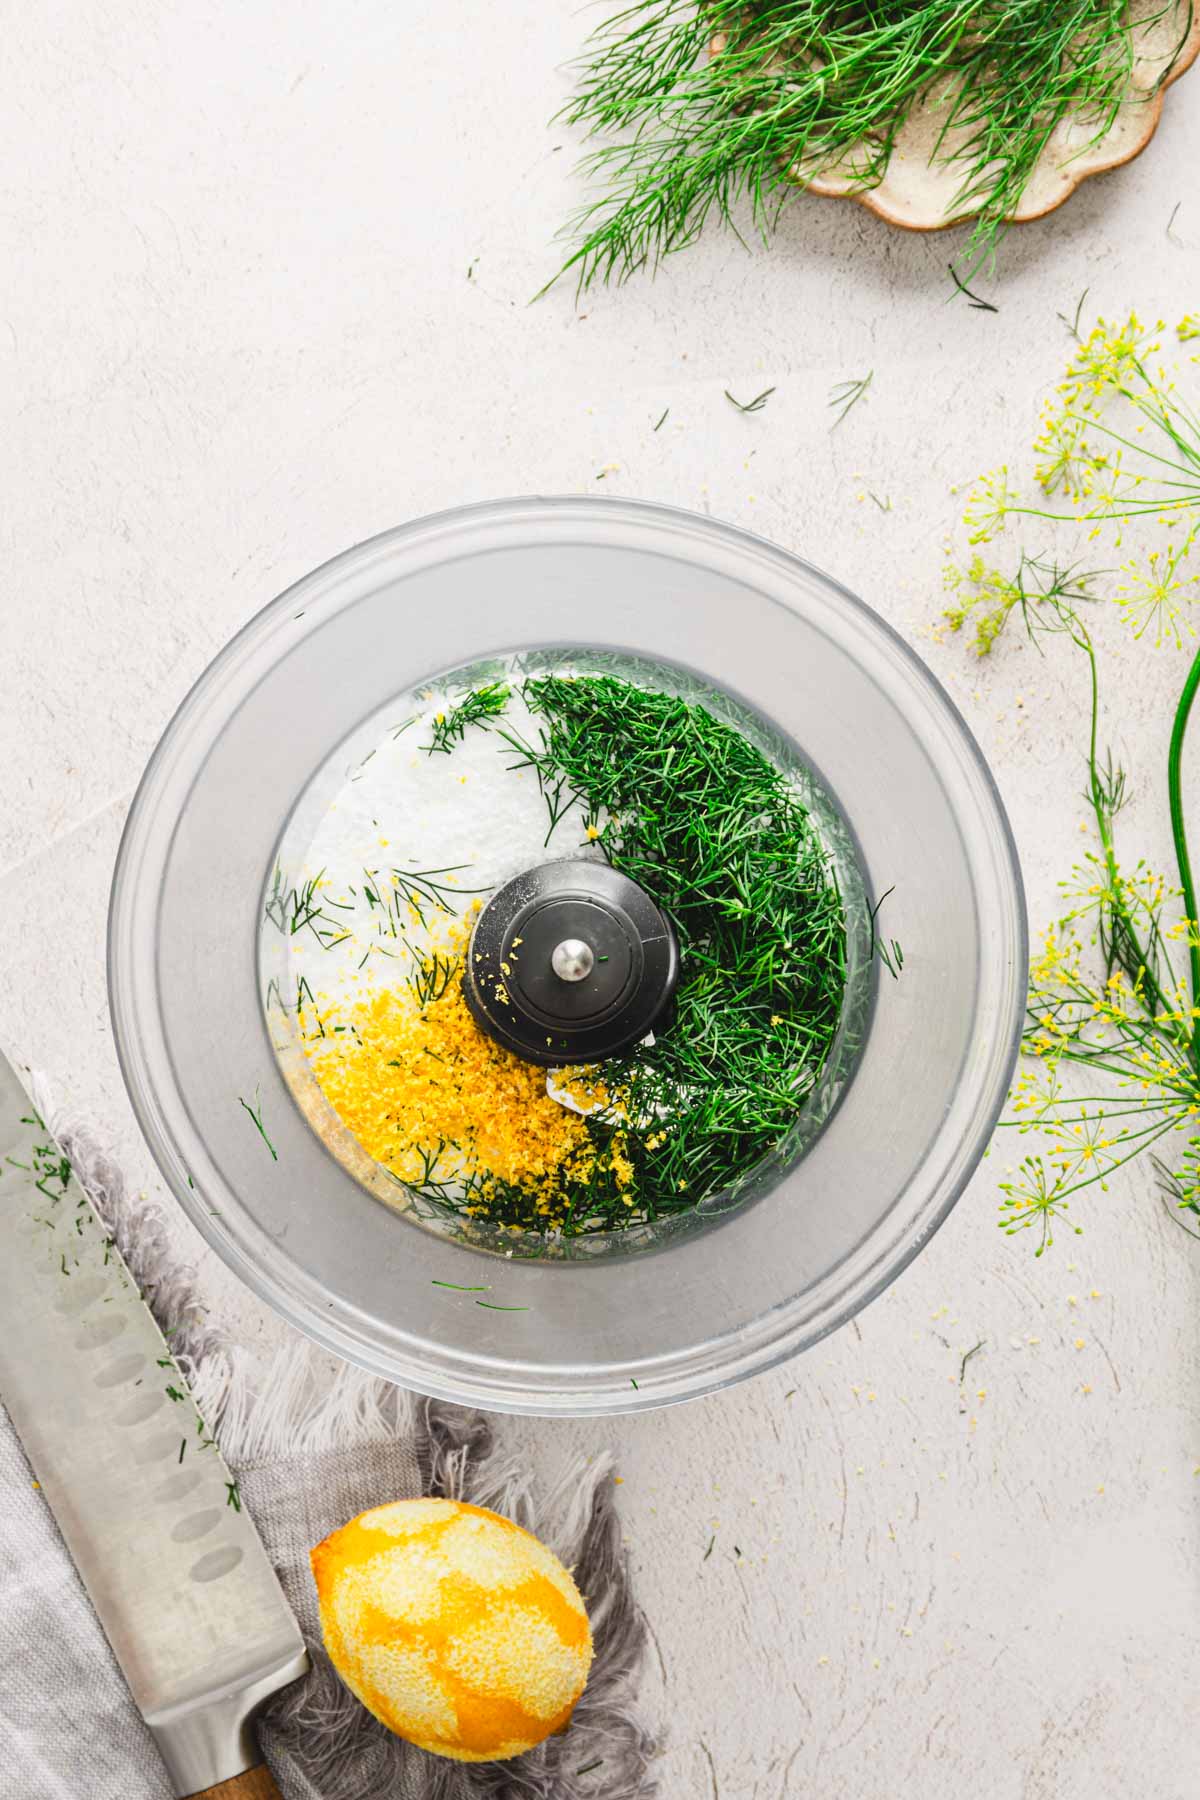
- Pulse until the mixture forms a paste and the dill is finely incorporated into the salt.
- Spread the paste in a thin, even layer on a baking sheet lined with parchment paper.
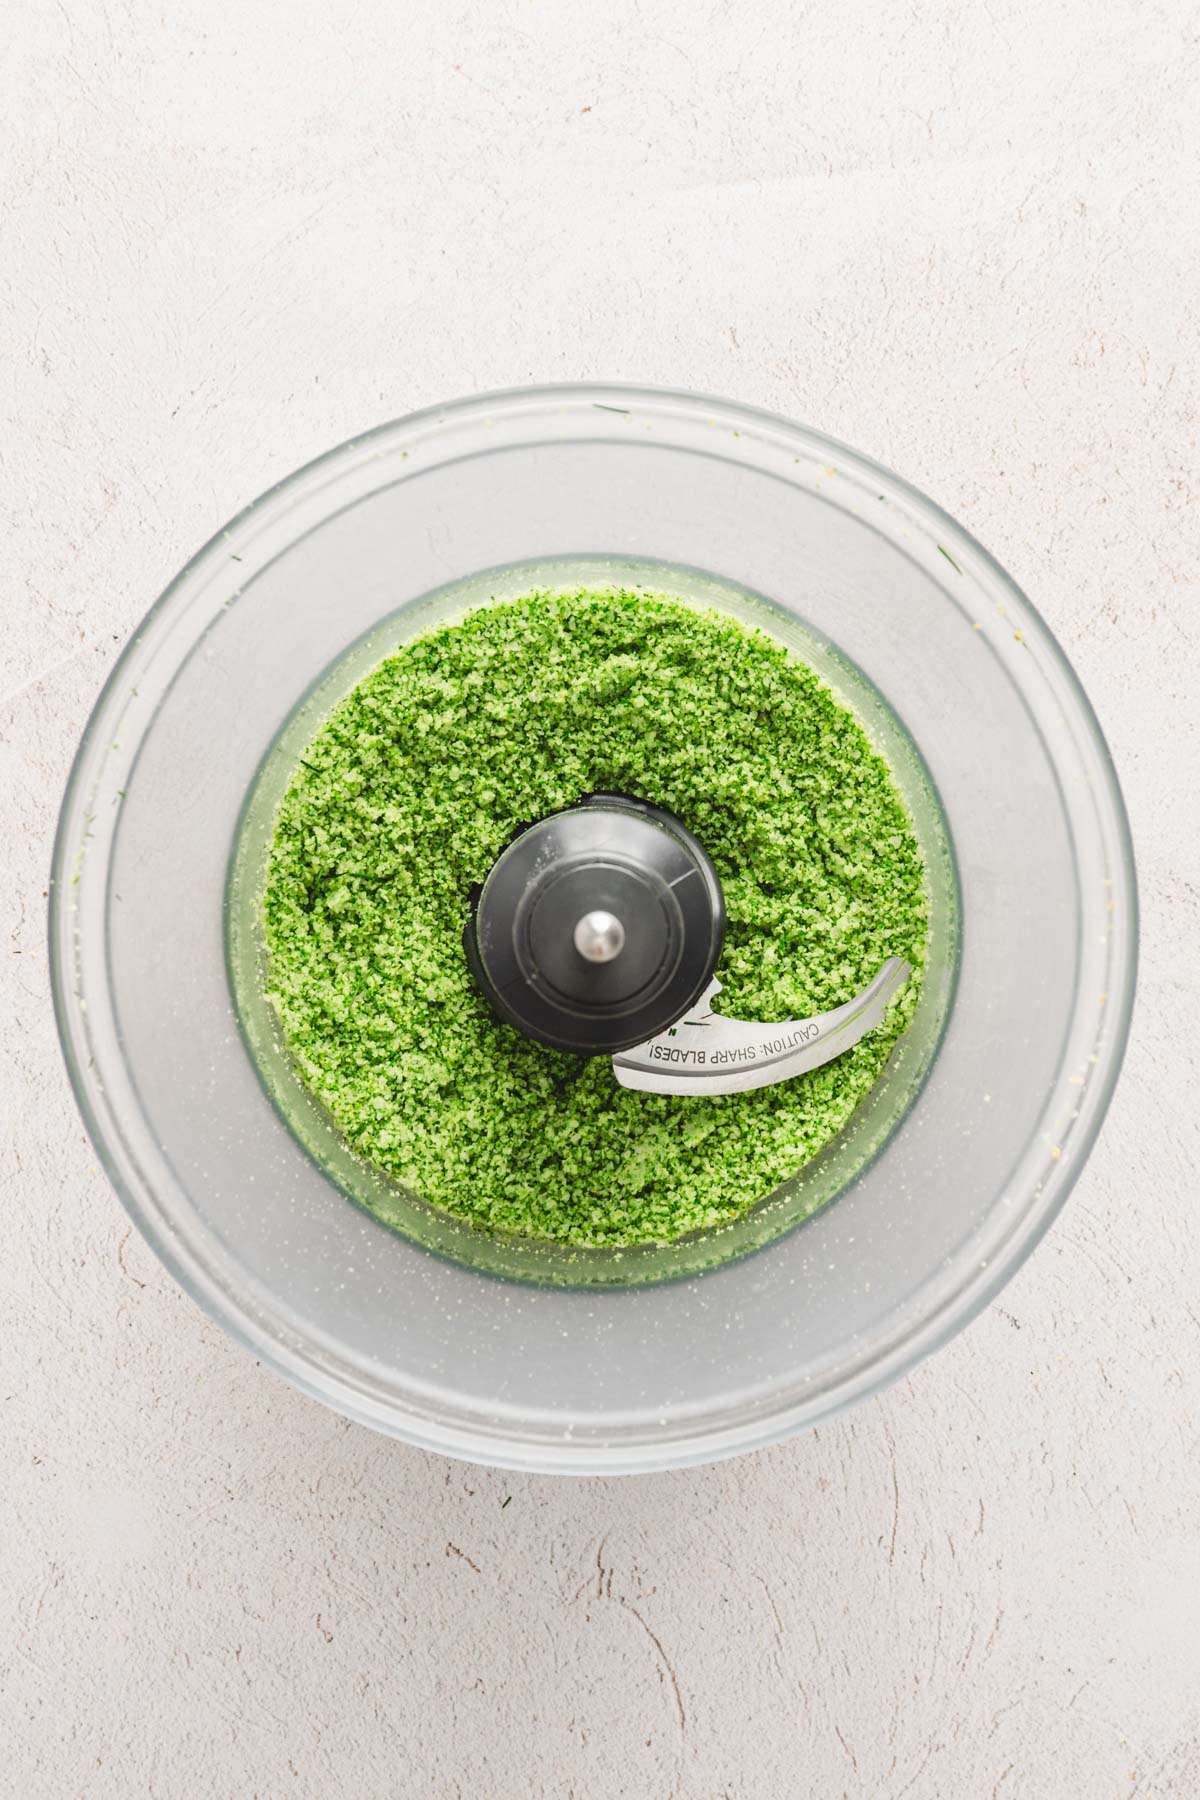
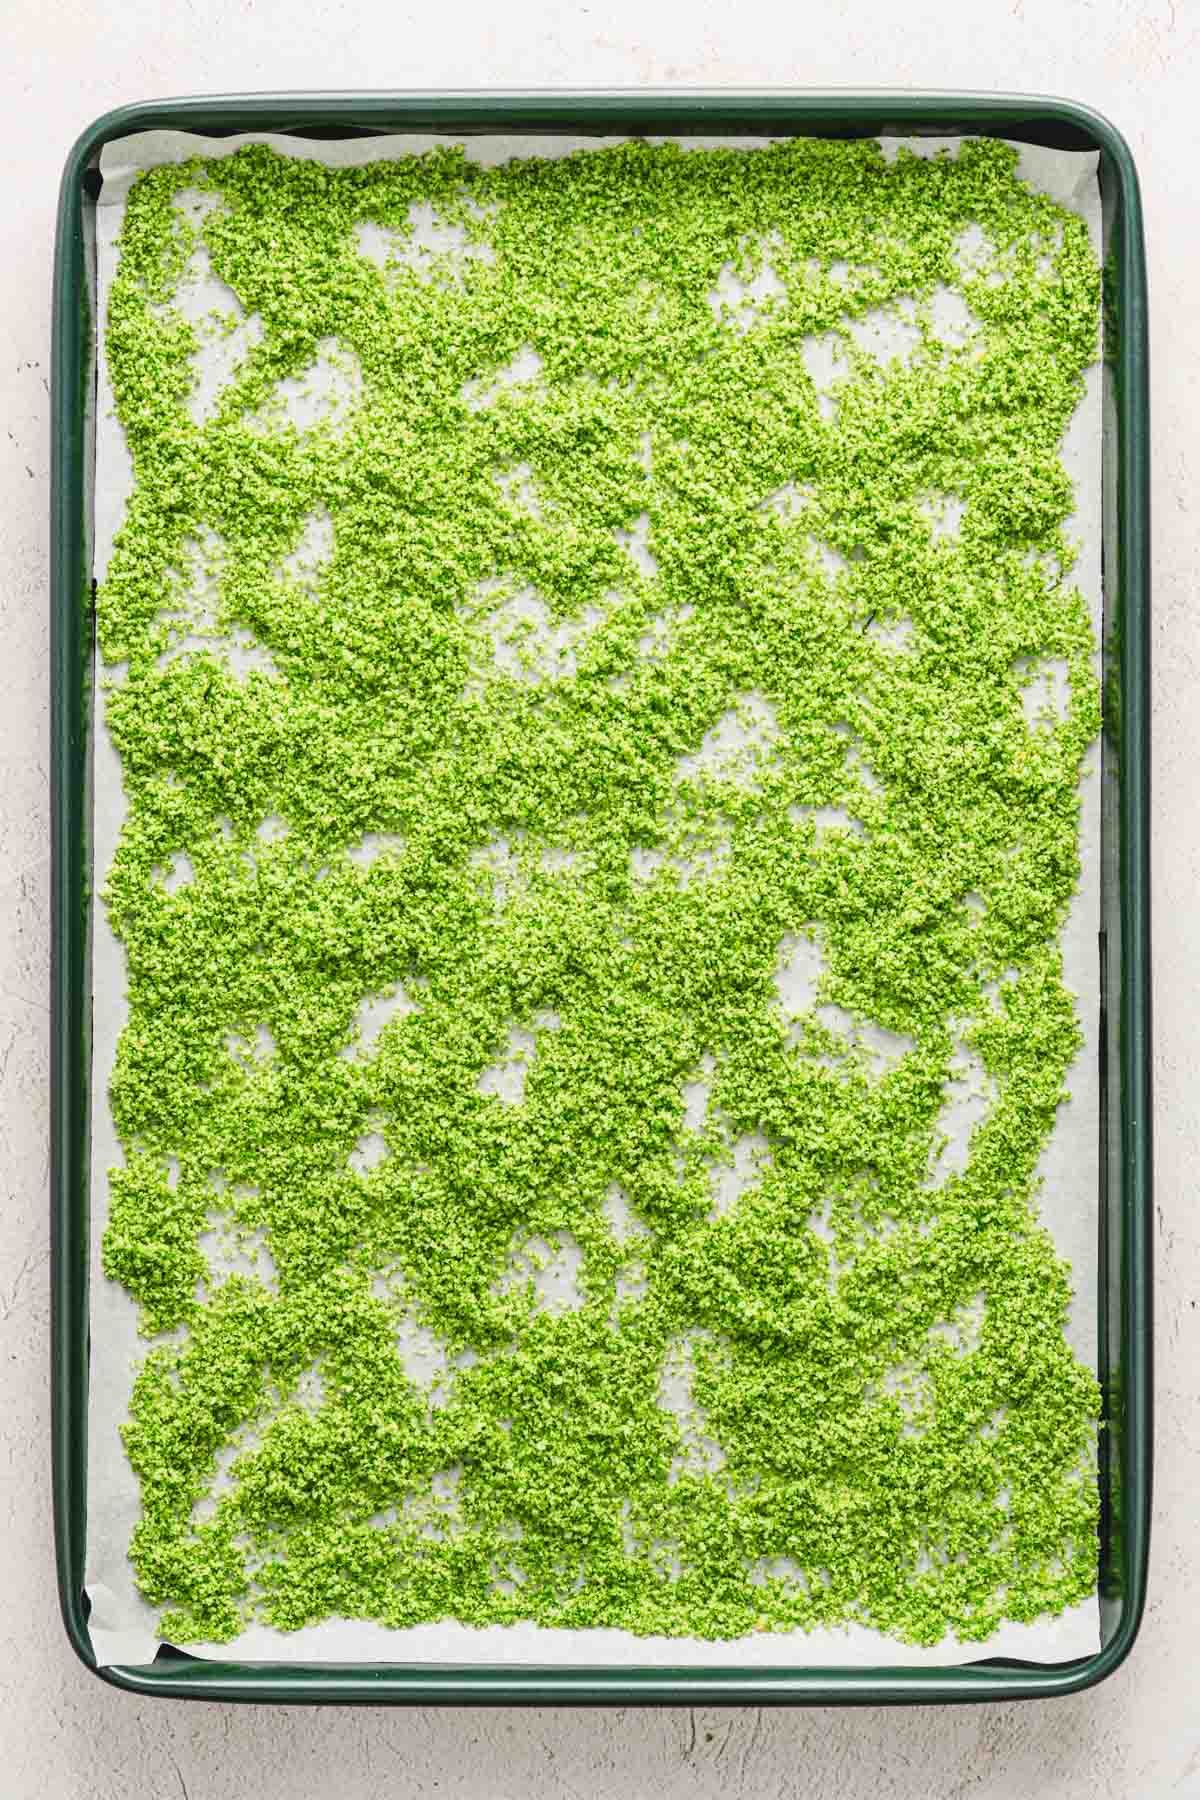

- Let it air dry for a few hours, or use the oven method for faster results.
- Oven Method: Preheat your oven to the lowest temperature (around 170°F or 75°C). Place the baking sheet in the oven and let it dry for about 30 minutes to 1 hour. Keep the oven door slightly ajar to allow moisture to escape.
- Stir the mixture occasionally to ensure even drying.
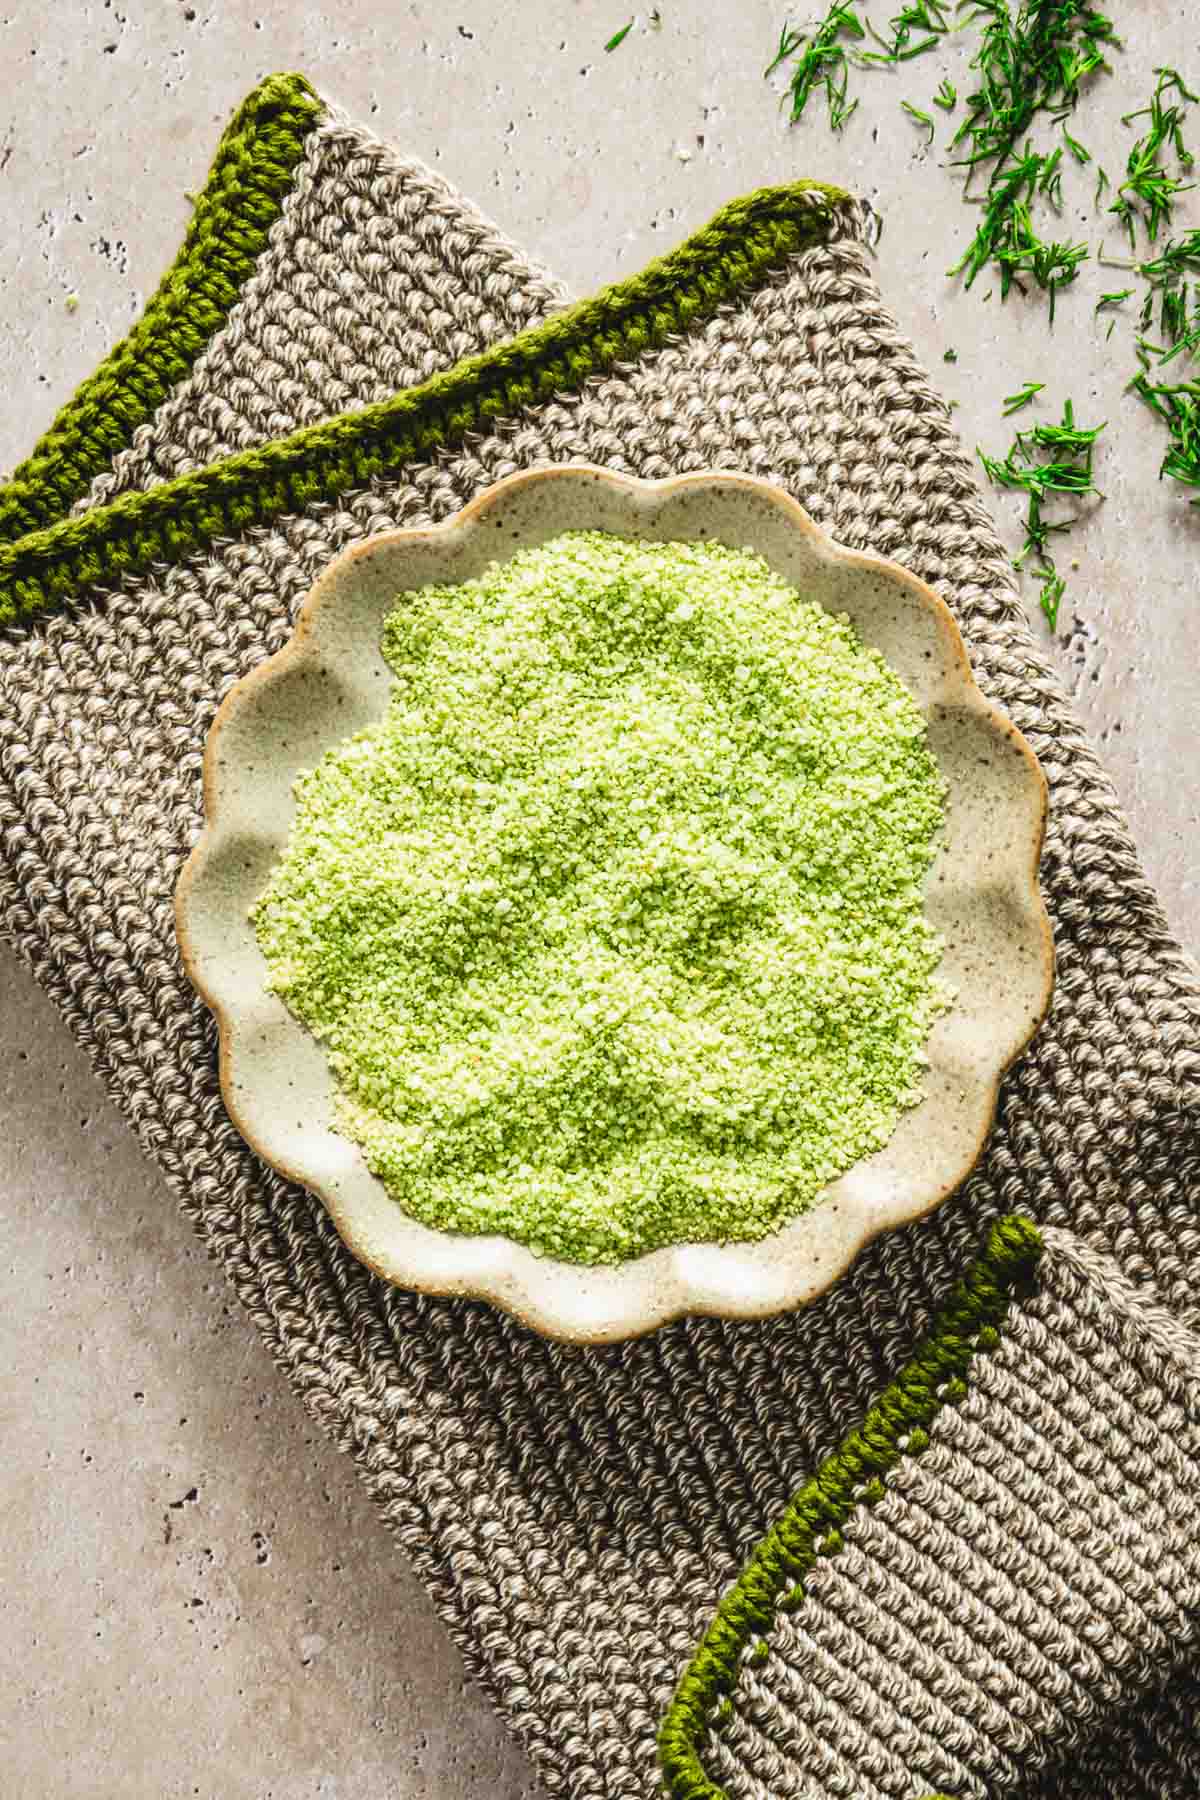
- Once completely dry, the mixture might form clumps. Break them up using your fingers or by pulsing briefly in the food processor again to achieve a uniform texture.
- Transfer the dried dill salt to an airtight container. Store it in a cool, dry place.
How to use Dill Salt
- Sprinkle on roasted vegetables or green salad
- Season grilled meats and fish or sprinkle on potato salads
- Flavor popcorn or nuts
- Use in homemade salad dressings, sauces, season veggie dips or spreads
- Top soft-boiled eggs or avocado toast
- Season homemade potato chips or French fries or garnish soup
- Rim Cocktails, yes, for a unique twist, use dill salt to rim the glasses of savory cocktails like a Bloody Mary or a vodka lemonade.
- Packaged in little jars, dill salt makes an excellent gift for food lovers who appreciate homemade gifts
You may also like:

Storage instructions
- Airtight Container:
- Store your dill salt in an airtight container or jar. This keeps moisture out and helps maintain the salt’s flavor and texture.
- Cool, Dry Place:
- Keep the container in a cool, dry place, such as a pantry or cupboard, away from direct sunlight or heat sources.
- Shelf Life:
- Dill salt can last for several months, up to a year. However, the intensity of the dill flavor may diminish over time, so for optimal flavor, it’s best to use it within 3–6 months.
If you notice any clumping due to moisture, you can refresh the Dill Salt. Here is how to do it:
- Spread and Dry Again:
- If your dill salt becomes clumpy, spread it out on a baking sheet lined with parchment paper and place it in the oven at the lowest setting (around 170°F or 75°C) for 15–20 minutes. This will help remove any excess moisture.
- Allow it to cool completely before breaking up the clumps and transferring it back to an airtight container.
- Break Up Clumps:
- Use a fork or the back of a spoon to break up any clumps before using. If needed, you can pulse it briefly in a food processor to restore the original texture.

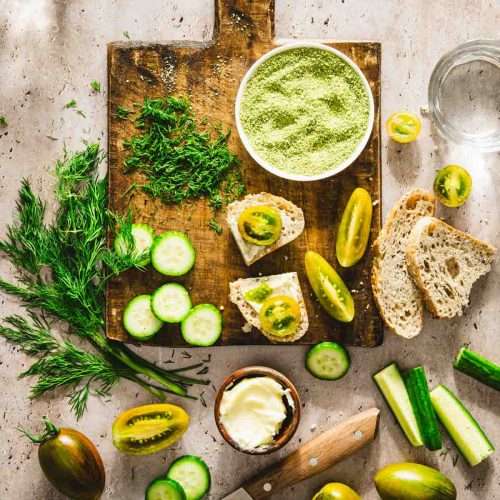
How to make Dill Flavored Salt
Equipment
- food processor
- mixing bowl
- parchment paper
- oven
- airtight container, glass jar
- zester
Ingredients
- 1 cup kosher salt or any coarse salt you prefer
- 1/4 cup fresh dill finely chopped (you can also use dried dill, about 2 tablespoons)
- Zest of 1 lemon optional, for extra zing
Instructions
- Place the salt, chopped dill, and lemon zest (if using) into a food processor.
- Pulse until the mixture forms a paste and the dill is finely incorporated into the salt.
- Spread the paste in a thin, even layer on a baking sheet lined with parchment paper.
- Let it air dry for a few hours, or use the oven method for faster results.
- Preheat your oven to the lowest temperature setting (around 170°F or 75°C). Place the baking sheet in the oven and let it dry for about 30 minutes to 1 hour. Keep the oven door slightly ajar to allow moisture to escape.
- Stir the mixture occasionally to ensure even drying.
- Once completely dry, the mixture might form clumps. Break them up using your fingers or by pulsing briefly in the food processor again to achieve a uniform texture.
- Transfer the dried dill salt to an airtight container. Store it in a cool, dry place.
Notes
Nutrition
Did you make this recipe?
Tag me @sylwiavaclavekphotography or tag me using #myomnikitchen so I can see your creations! You can also leave a comment below!
Conclusion
Dill salt is easy to make and easy to incorporate into your favorite recipes. Whether you use it on avocado toast or to decorate a glass for a fancy drink, this versatile seasoning will surely become a staple in your kitchen.
With just a few ingredients and easy preparation, you can create a homemade, gourmet touch that enhances your cooking in countless ways. Store it properly, and enjoy the vibrant flavor of dill all year round!
FAQ
Can I use dried dill instead of fresh dill?
Yes, you can use dried dill if fresh dill isn’t available. However, fresh dill gives a more vibrant flavor. If using dried dill, reduce the amount to about 2 tablespoons for every 1/4 cup of fresh dill.
How long does dill salt last?
When stored in an airtight container in a cool, dry place, dill salt can last for several months, up to a year. For the best flavor, use it within 3–6 months.
Can I make dill salt without a food processor?
Yes, you can finely chop the dill by hand and mix it with the salt. The key is to thoroughly dry the dill before mixing to avoid clumping.
Do I need to dry the dill salt mixture in the oven?
Drying in the oven is optional but speeds up the process. You can also air dry the mixture by spreading it out on a baking sheet in a well-ventilated area, though this will take longer.
Can I add other herbs or flavors to the dill salt?
Absolutely! Dill salt is a great base for experimenting. For additional flavor, you can add other herbs like parsley or fennel, spices like garlic powder, or citrus zest.
Why is my dill salt clumping?
Clumping usually occurs due to moisture. Ensure the dill is completely dry before mixing with salt, and store the finished product in an airtight container to prevent moisture from getting in.
Is dill salt gluten-free?
Yes, dill salt is naturally gluten-free, containing only herbs and salt. Ensure any additional ingredients, like spices or zest, are also gluten-free.
