Strawberry Pierogi Recipe
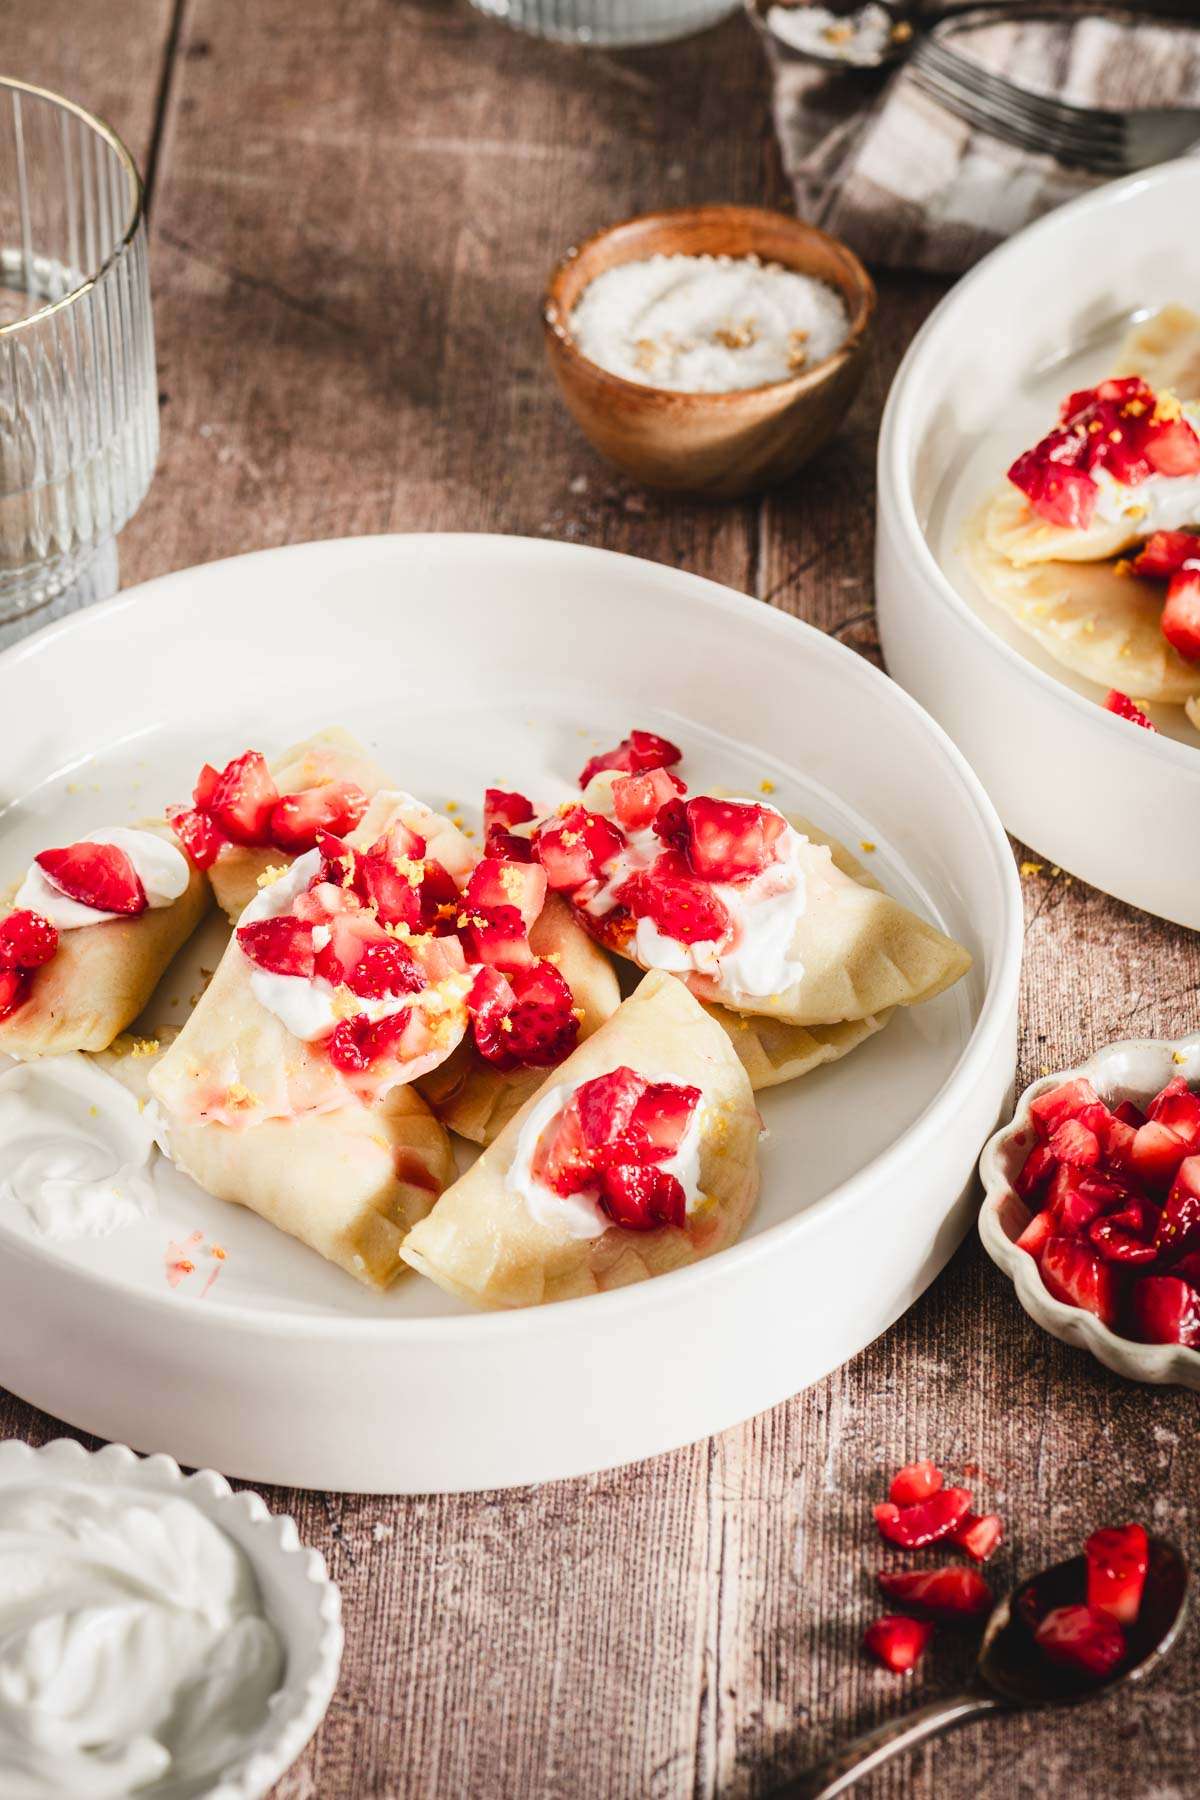
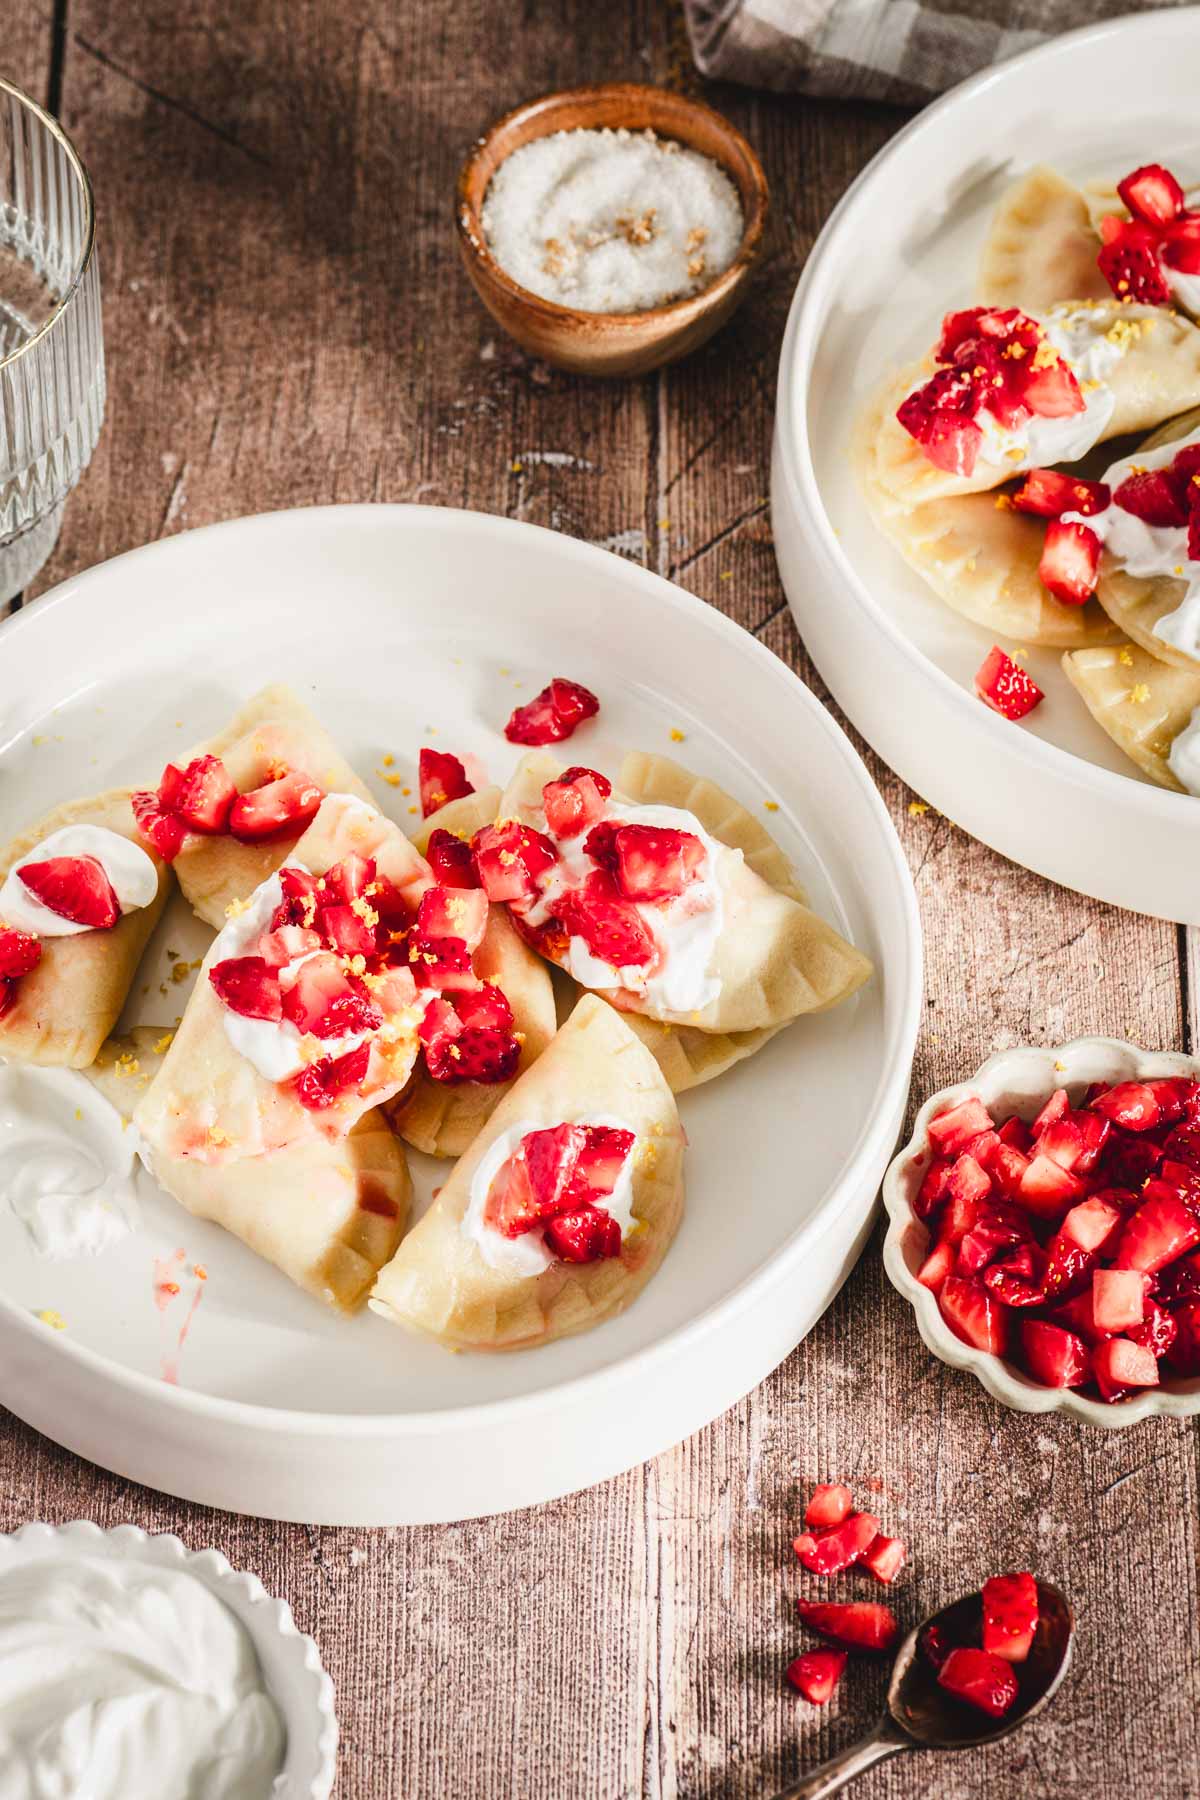
This delicious Strawberry Pierogi recipe is going to be your new summertime favorite!
I’m Polish, and of course, we make Strawberry Pierogis during summer. We eat pierogies more often than you think 🙂 they are easy to make, versatile and ohh so delicious.
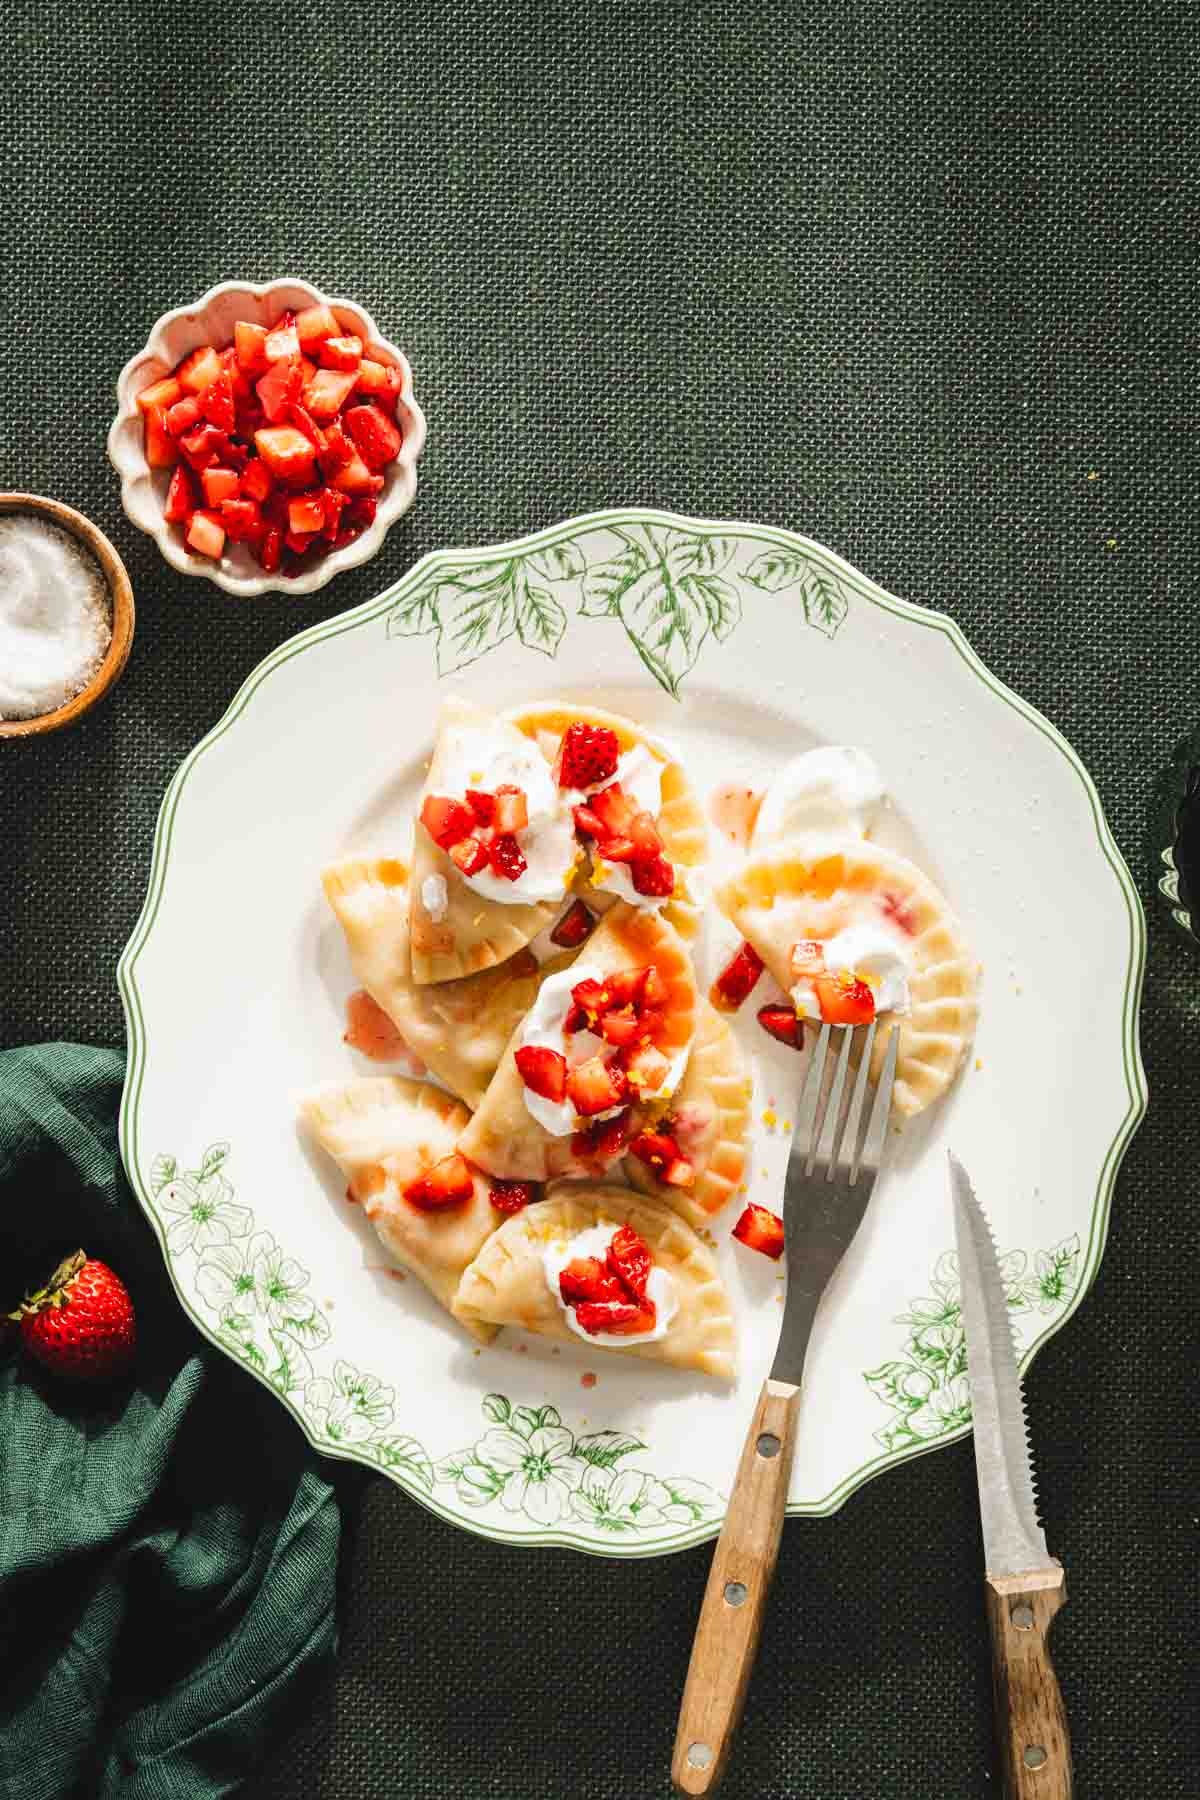
This strawberry pierogi recipe is perfect anytime but especially during summer when strawberries are at their peak, juicy, sweet they will create a very delicious filling.
Why You Will Love Strawberry Pierogis
Comfort food – warm, doughy exterior combined with sweet filling makes for a satisfying meal.
Versatility – they can be filled with a wide range of ingredients, from classic meat, potato, and cheese to more creative fillings like strawberries or sauerkraut-mushroom. This versatility means there’s a pierogi for every taste and dietary preference.
Easy to customize – from the filling through the dough. You can make pierogi to fit your diet or current mood. They also can be boiled, fried, or baked, and paired with various toppings (such as sour cream) and sauces.
Fun to make – making pierogies can be a fun and rewarding cooking project, especially when done with family or friends.
Great for any meal – enjoy them for breakfast, lunch, dinner, or even dessert, especially with a dollop of sweetened sour cream on the side
Hearty and filling – pierogies are hearty and filling, making them an excellent option for a substantial meal.
Budget-Friendly – Pierogies are generally inexpensive to make, using simple, readily available ingredients.
Ingredients, Variations and Substitutions
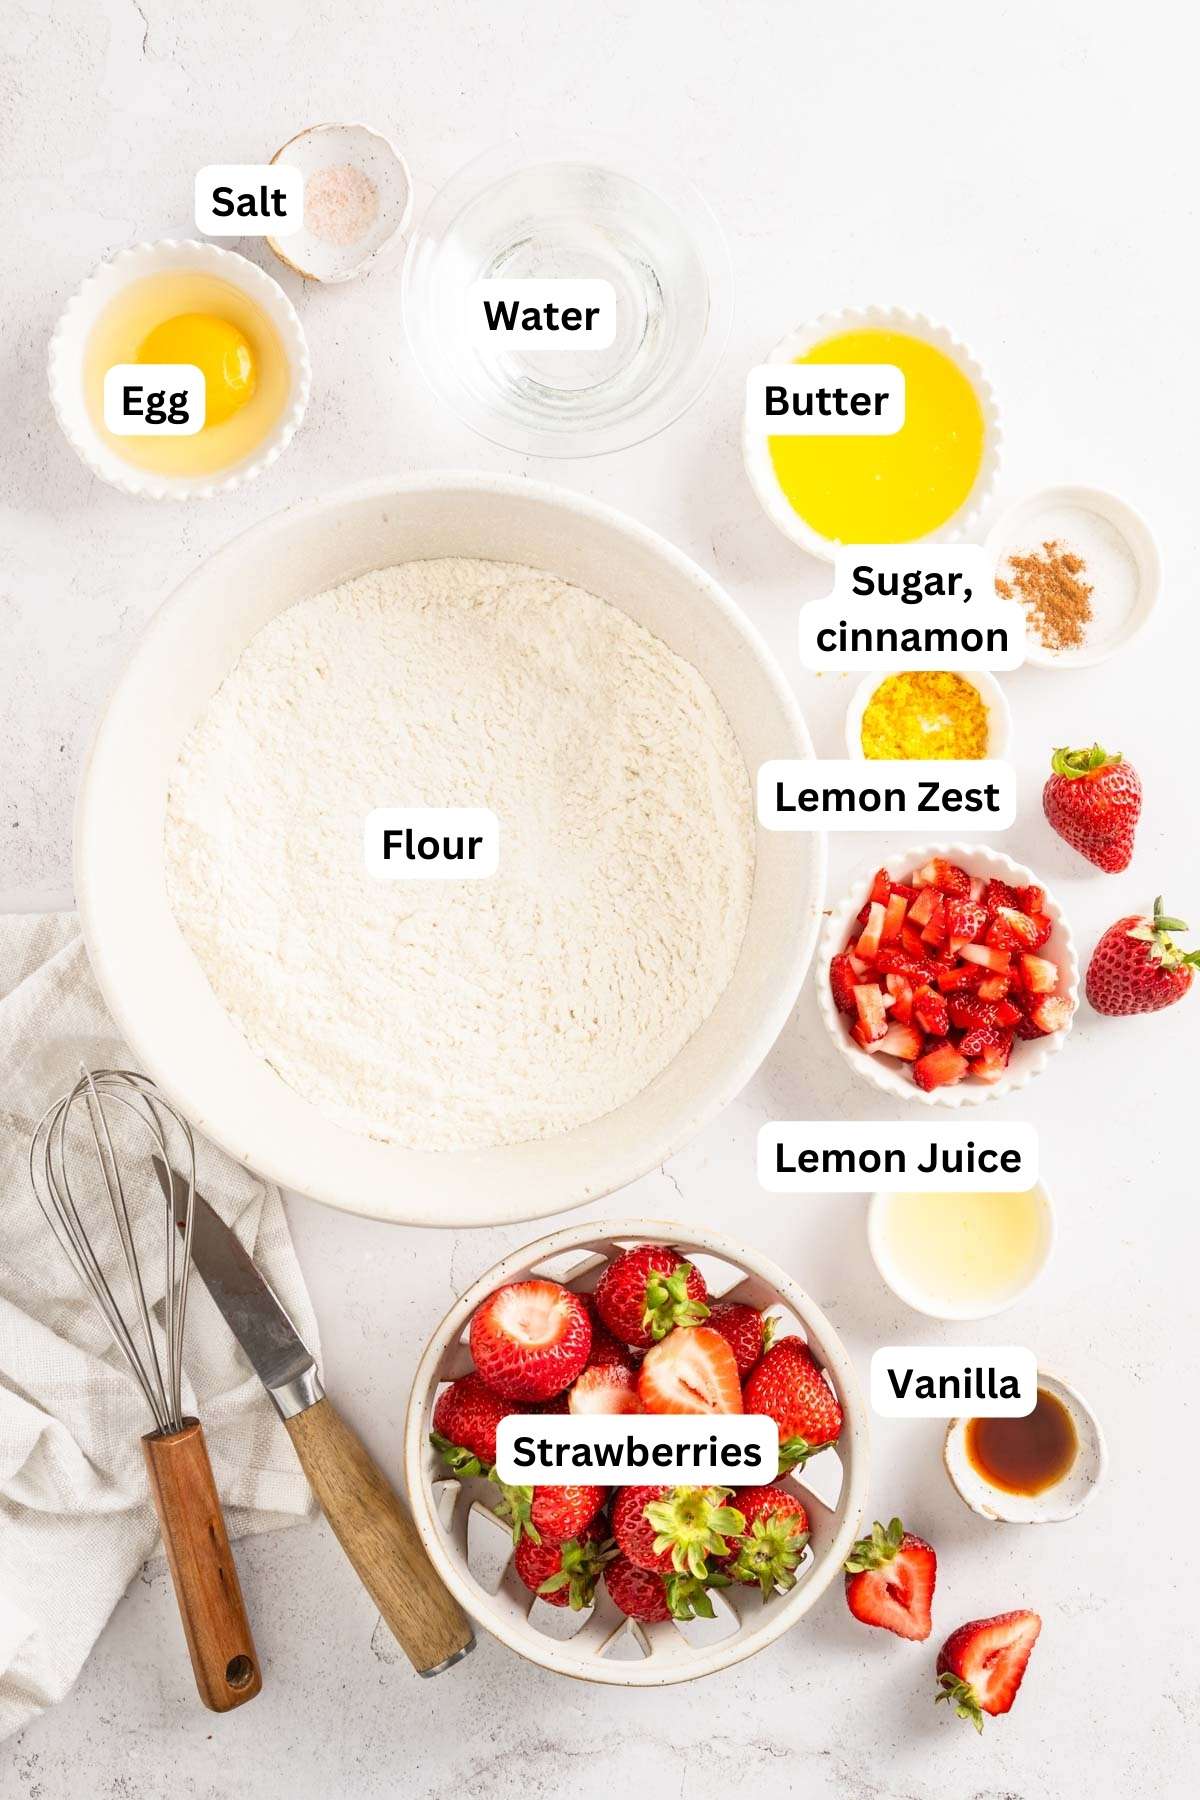
Flour – the base of your dough, providing structure. All-purpose or wheat flour works well for a tender yet sturdy dough. You can also use unbleached flour. If you like experimenting a combination of all-purpose with whole wheat (50/50) is a great option as well. You may need to adjust the amount of liquid added to the dough as well as increase the resting time. Gluten-free flour blends can be used as a gluten-free option, though the texture may vary.
Egg – adds richness and helps bind the dough. Ensure the egg is at room temperature for easier incorporation. For a vegan option, use a flax egg (1 tbsp ground flaxseed + 3 tbsp water, let sit for a few minutes).
Salt – enhances the flavor of the dough. Regular table salt works fine, but you can use kosher or sea salt for a different texture. Use low-sodium salt if needed.
Butter – adds richness and tenderness to the dough. Use unsalted butter to control the salt level. For a dairy-free option, use melted coconut oil or a vegan butter substitute.
Warm water – helps bring the dough together and activates the gluten. The water should be warm, not hot, to help with the dough’s elasticity. Dairy milk or plant-based milk can be used for a richer dough.
Filling
Fresh Strawberries – use ripe, juicy strawberries for the best flavor. Other berries like blueberries, raspberries, or a mix of berries.
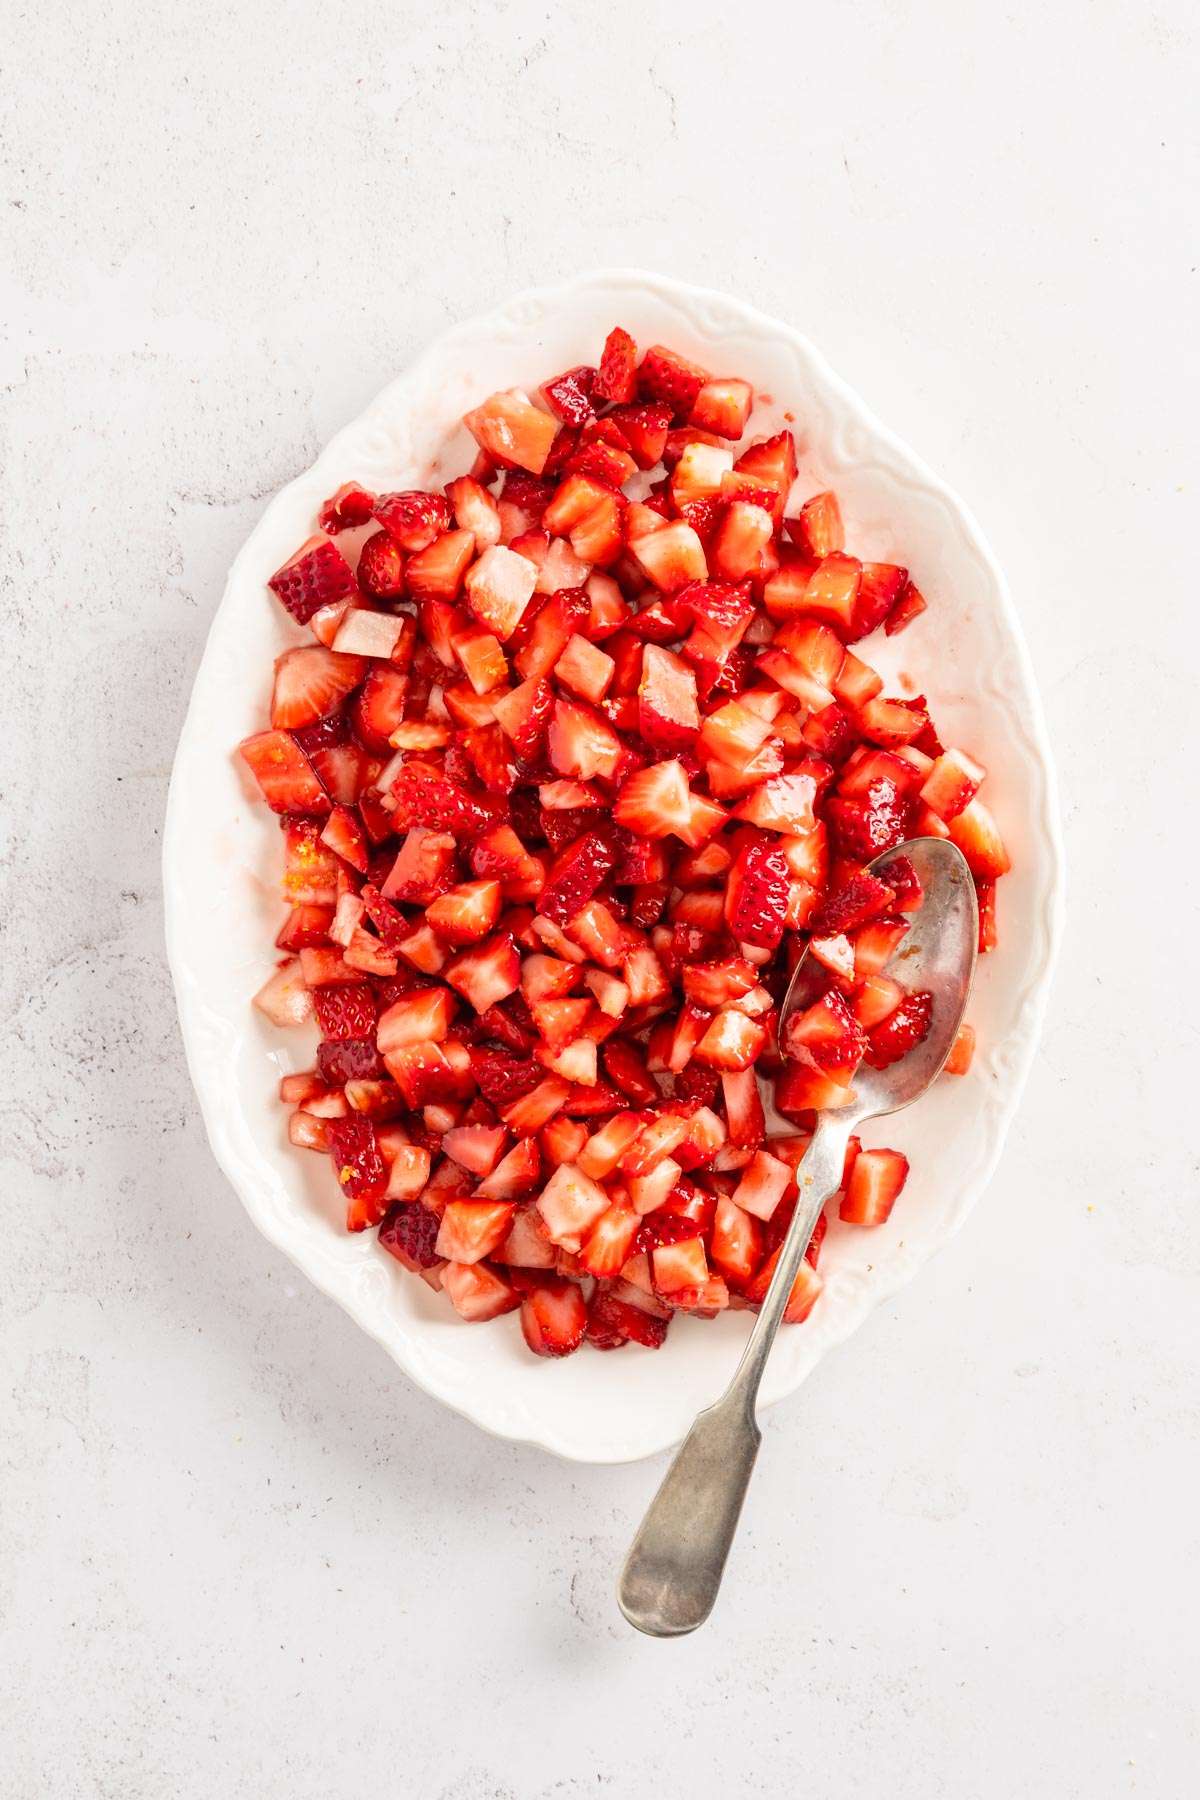
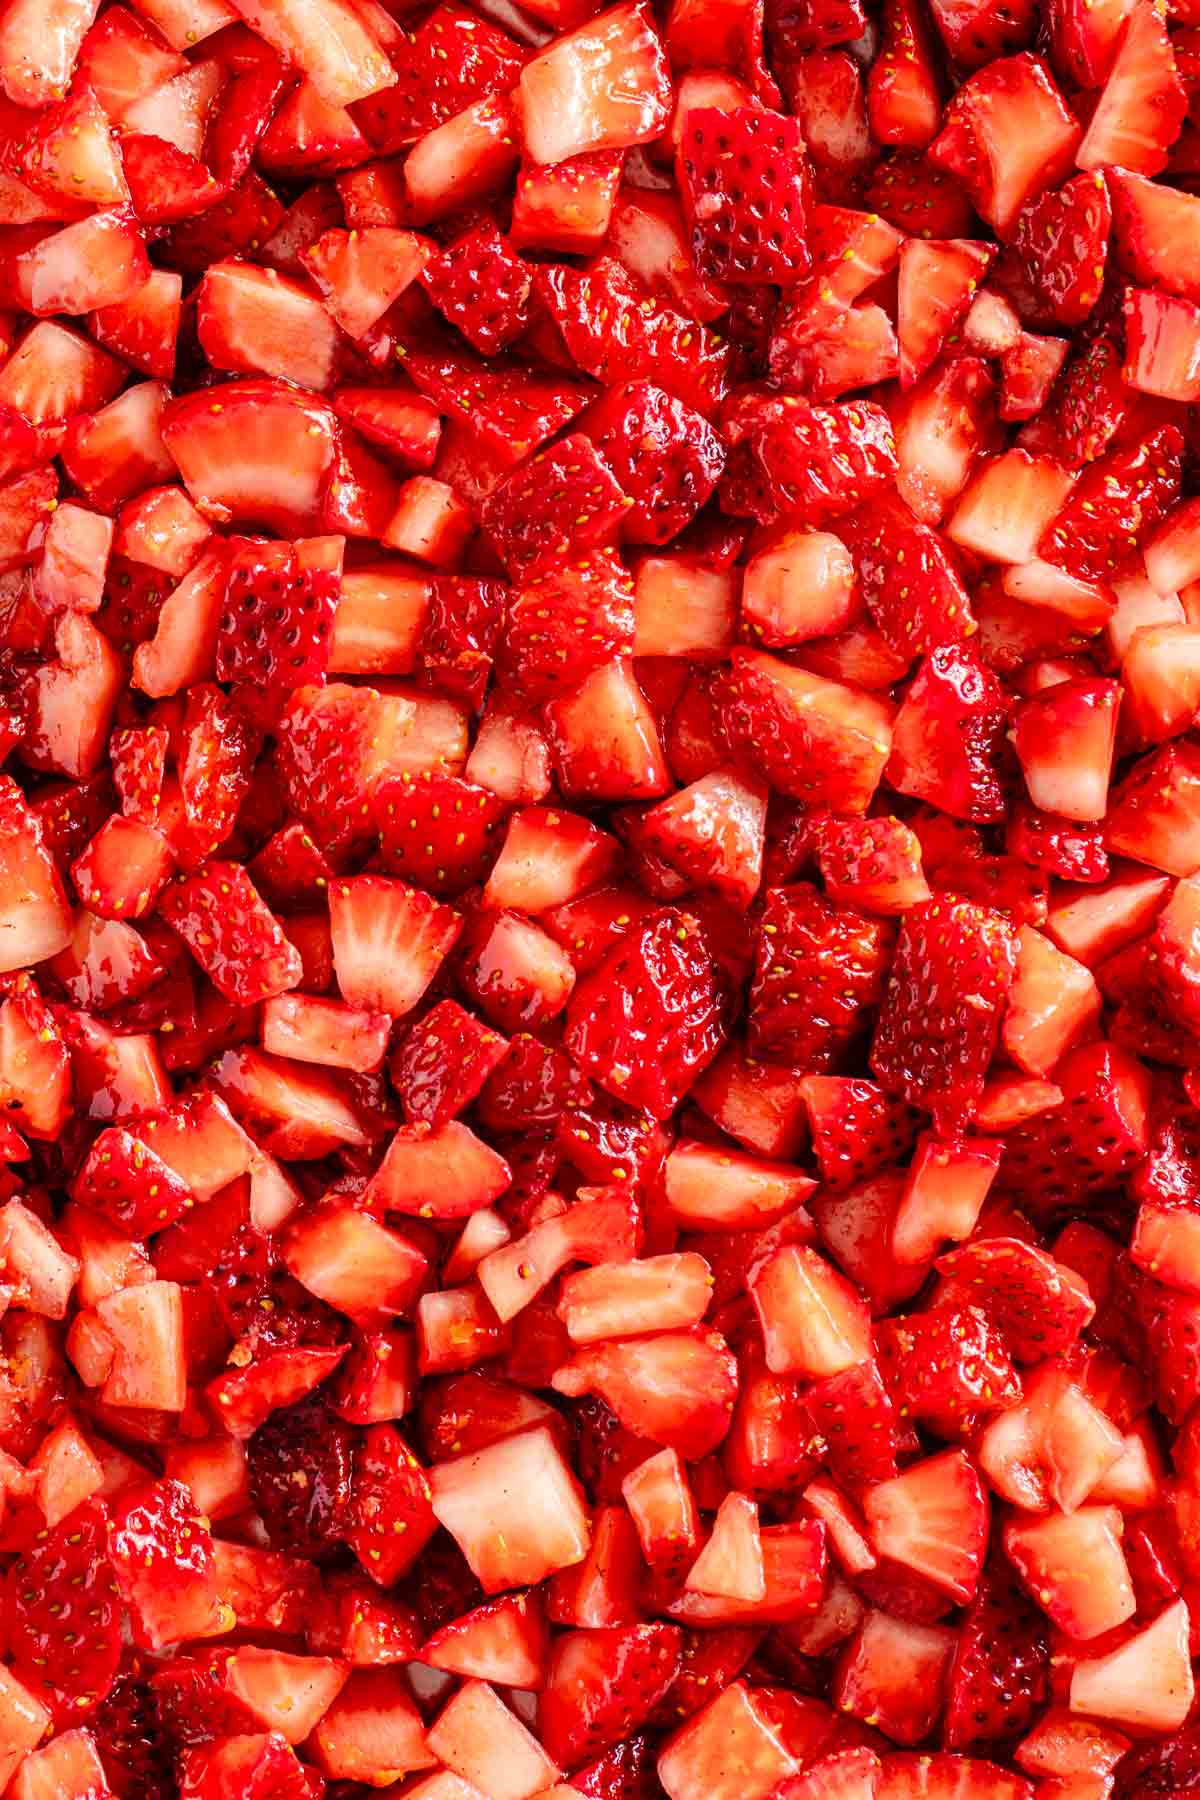
Sugar – a little is needed to sweeten the filling. You can also use honey, maple syrup, or a sugar substitute like stevia.
Lemon zest – adds a bright, citrusy flavor that compliments the strawberries. You can also try orange zest or a small amount of lemon extract.
Vanilla – enhances the sweetness and depth of flavor. Pure vanilla extract offers the best flavor. Vanilla bean paste or the seeds from a vanilla bean pod.
Flour – helps thicken the filling to prevent it from being too runny. Use only if your strawberries are very juicy. Cornstarch, potato starch, or arrowroot powder for a gluten-free option.
Equipment you will need
Mixing bowls
Measuring cups and spoons
Rolling pin
Knife or dough cutter
Round cookie cutter or glass
Fork or pierogi form
Large pot
Slotted spoon or colander
Cutting board
Zester
Plastic wrap
Stand mixer
Top Tips for Best Strawberry Pierogi
Don’t overwork the dough – mix the dough just until it comes together. Over-kneading can make it tough.
Rest the dough – allow the dough to rest for at least 30 minutes before rolling it out. This relaxes the gluten, making the dough easier to work with.
Keep the dough covered – while working with portions of the dough, keep the rest covered with a damp cloth or plastic wrap to prevent it from drying out.
Uniform thickness – roll the dough to an even thickness (about 1/8 inch) to ensure even cooking.
Don’t overfill – avoid overfilling the pierogies; it can cause them to burst during cooking. A teaspoon of filling is usually enough for each pierogi.
Seal well – make sure the edges are sealed tightly to prevent the filling from leaking out. Use a fork or pinch the edges firmly.
Prep Strawberries – ensure the strawberries are chopped into small, even pieces to distribute the filling evenly.
Optional thickener – if your strawberries are very juicy, mix in the optional tablespoon of flour to thicken the filling and prevent it from being too runny.
Boil in batches – cook pierogies in batches to avoid overcrowding the pot, which can cause them to stick together.
Gentle boil – boil the pierogies gently. A rapid boil can cause them to break apart.
Wait for them to float – pierogies are done when they float to the surface and stay there for a minute or two.
Serve warm – pierogies are best enjoyed warm, right after cooking.
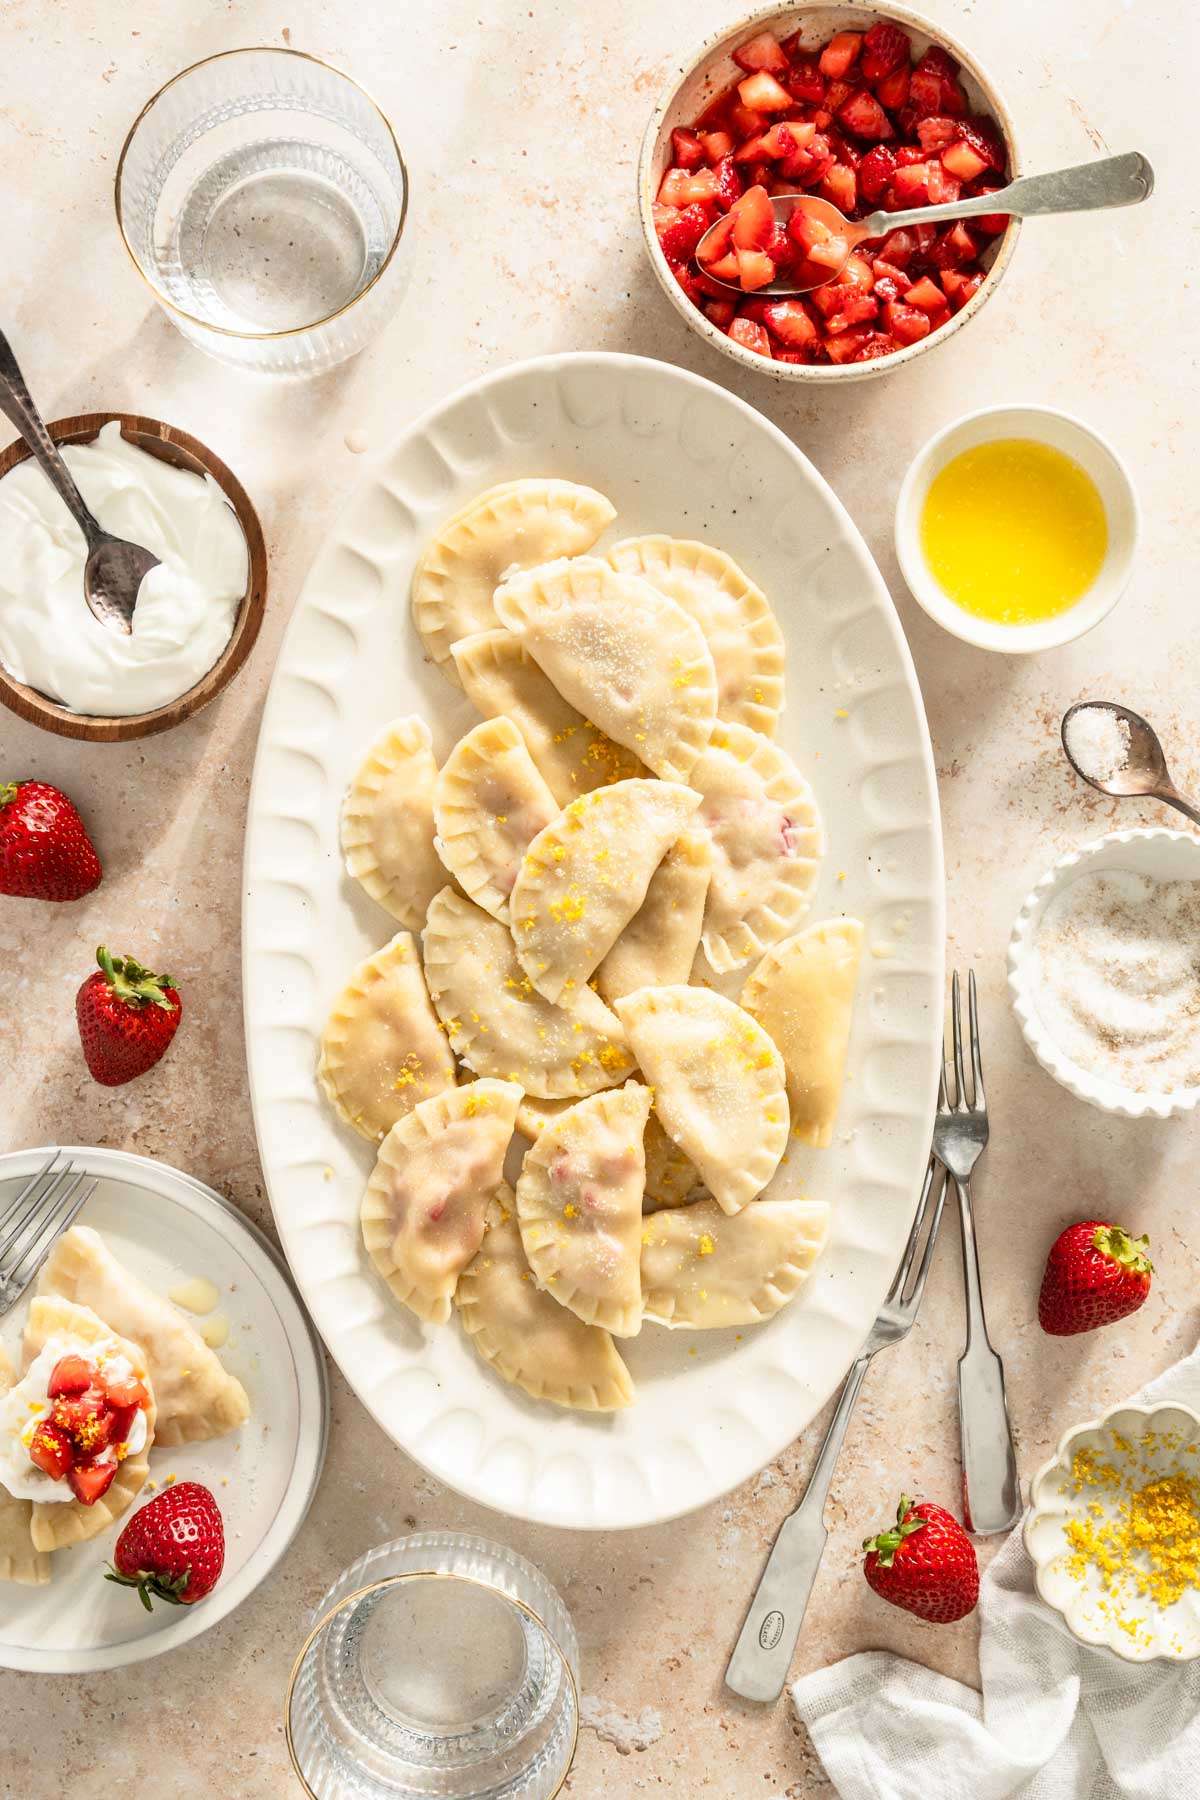
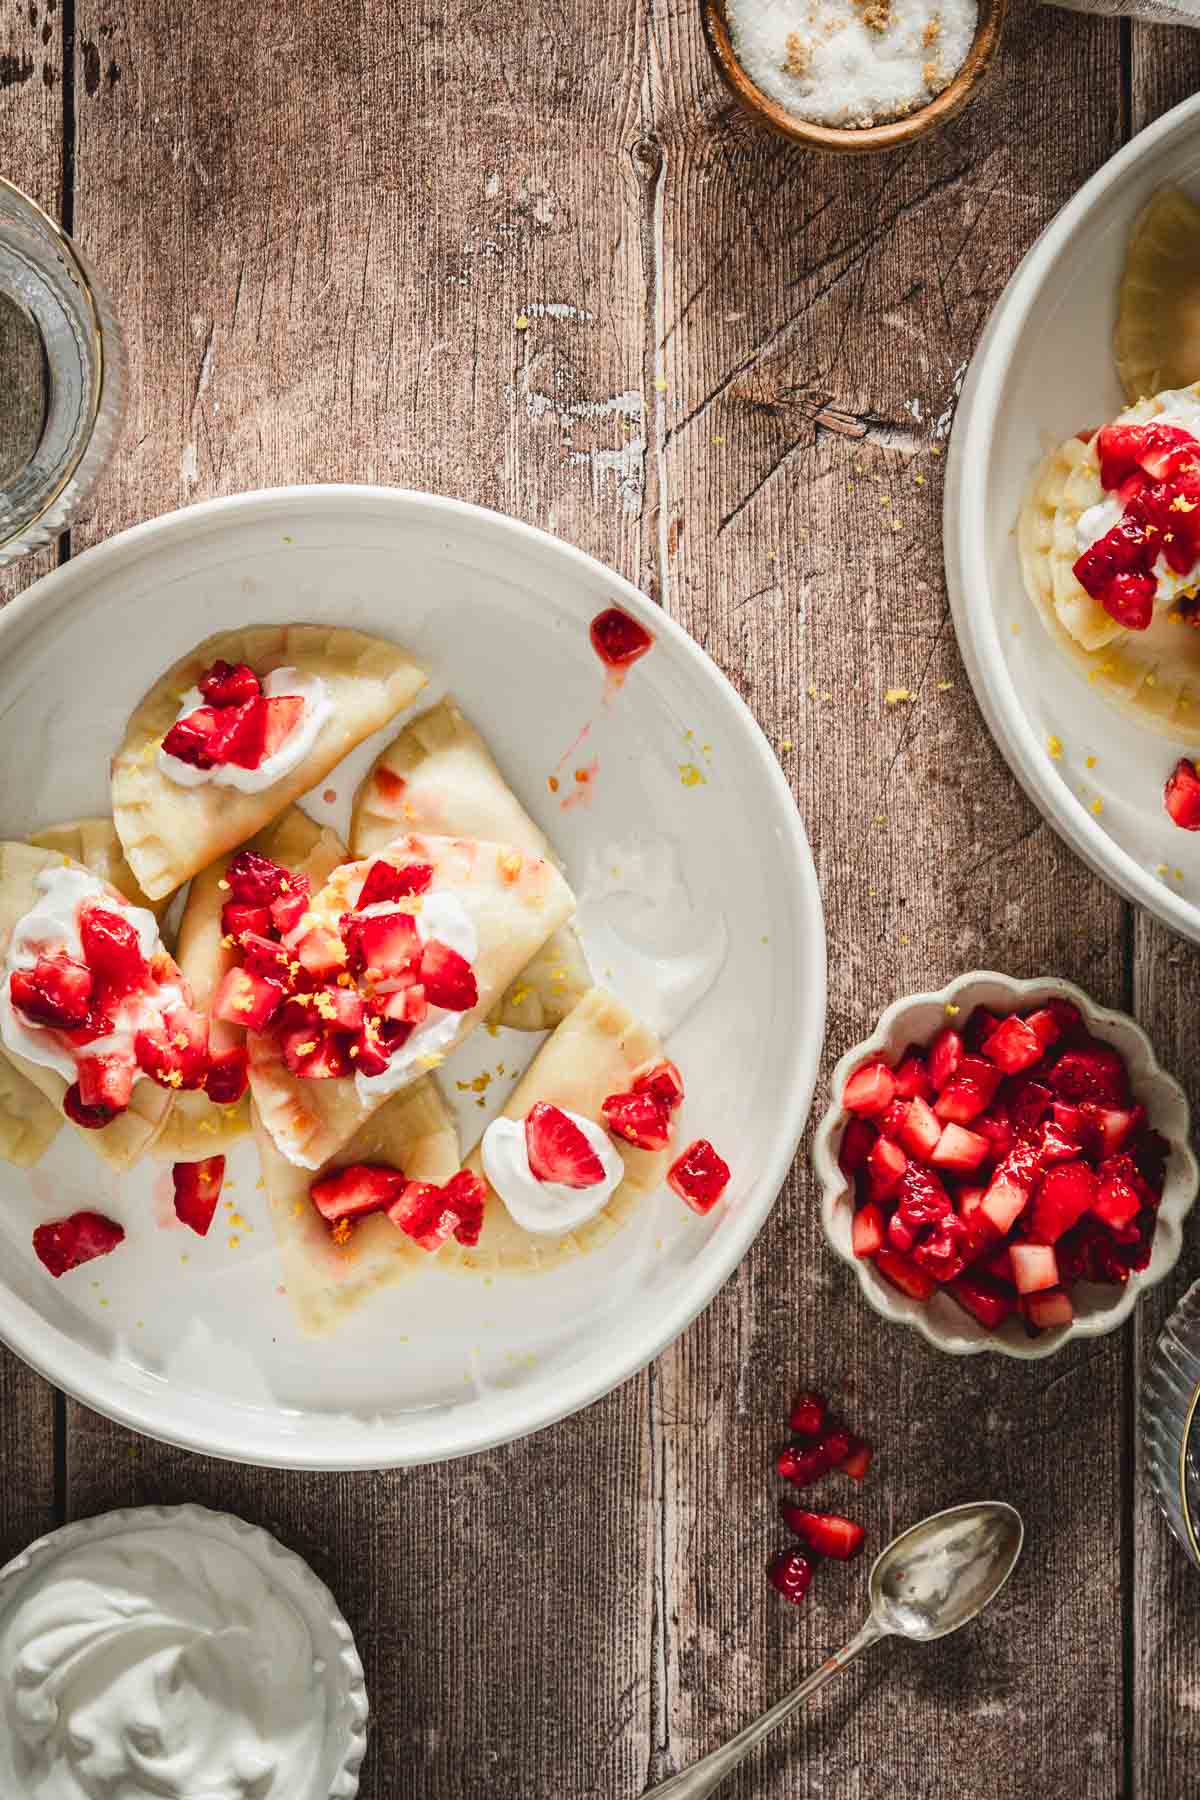
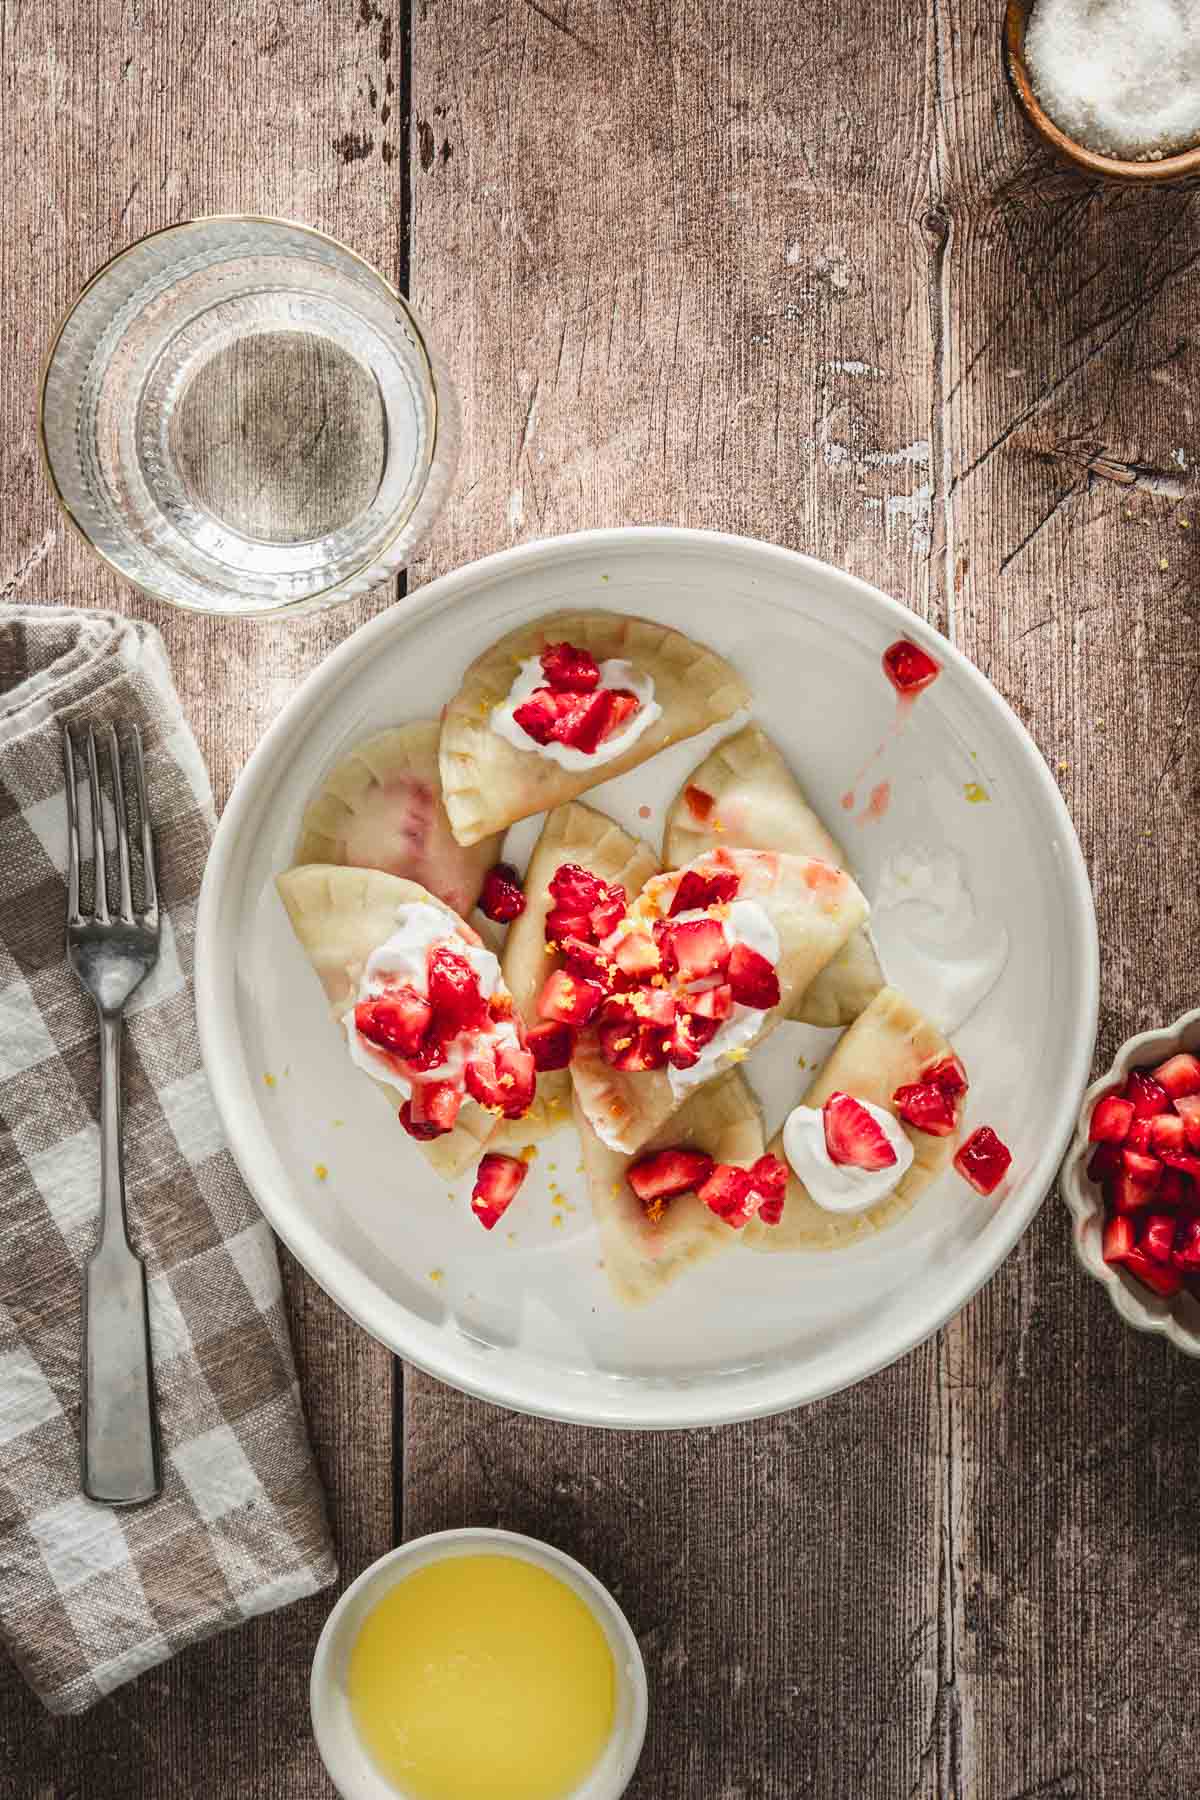
Complementary toppings – Serve with sweetened sour cream mixed with cinnamon, brown sugar, vanilla sugar, and lemon zest, or try other toppings like whipped cream or a dusting of powdered sugar for a sweeter option.
Homemade pierogi recipe cooking instructions (step-by-step)
- In a large mixing bowl, whisk together the flour and salt.
- Make a well in the center of the flour mixture. Add the egg, melted butter, and a little bit of warm water
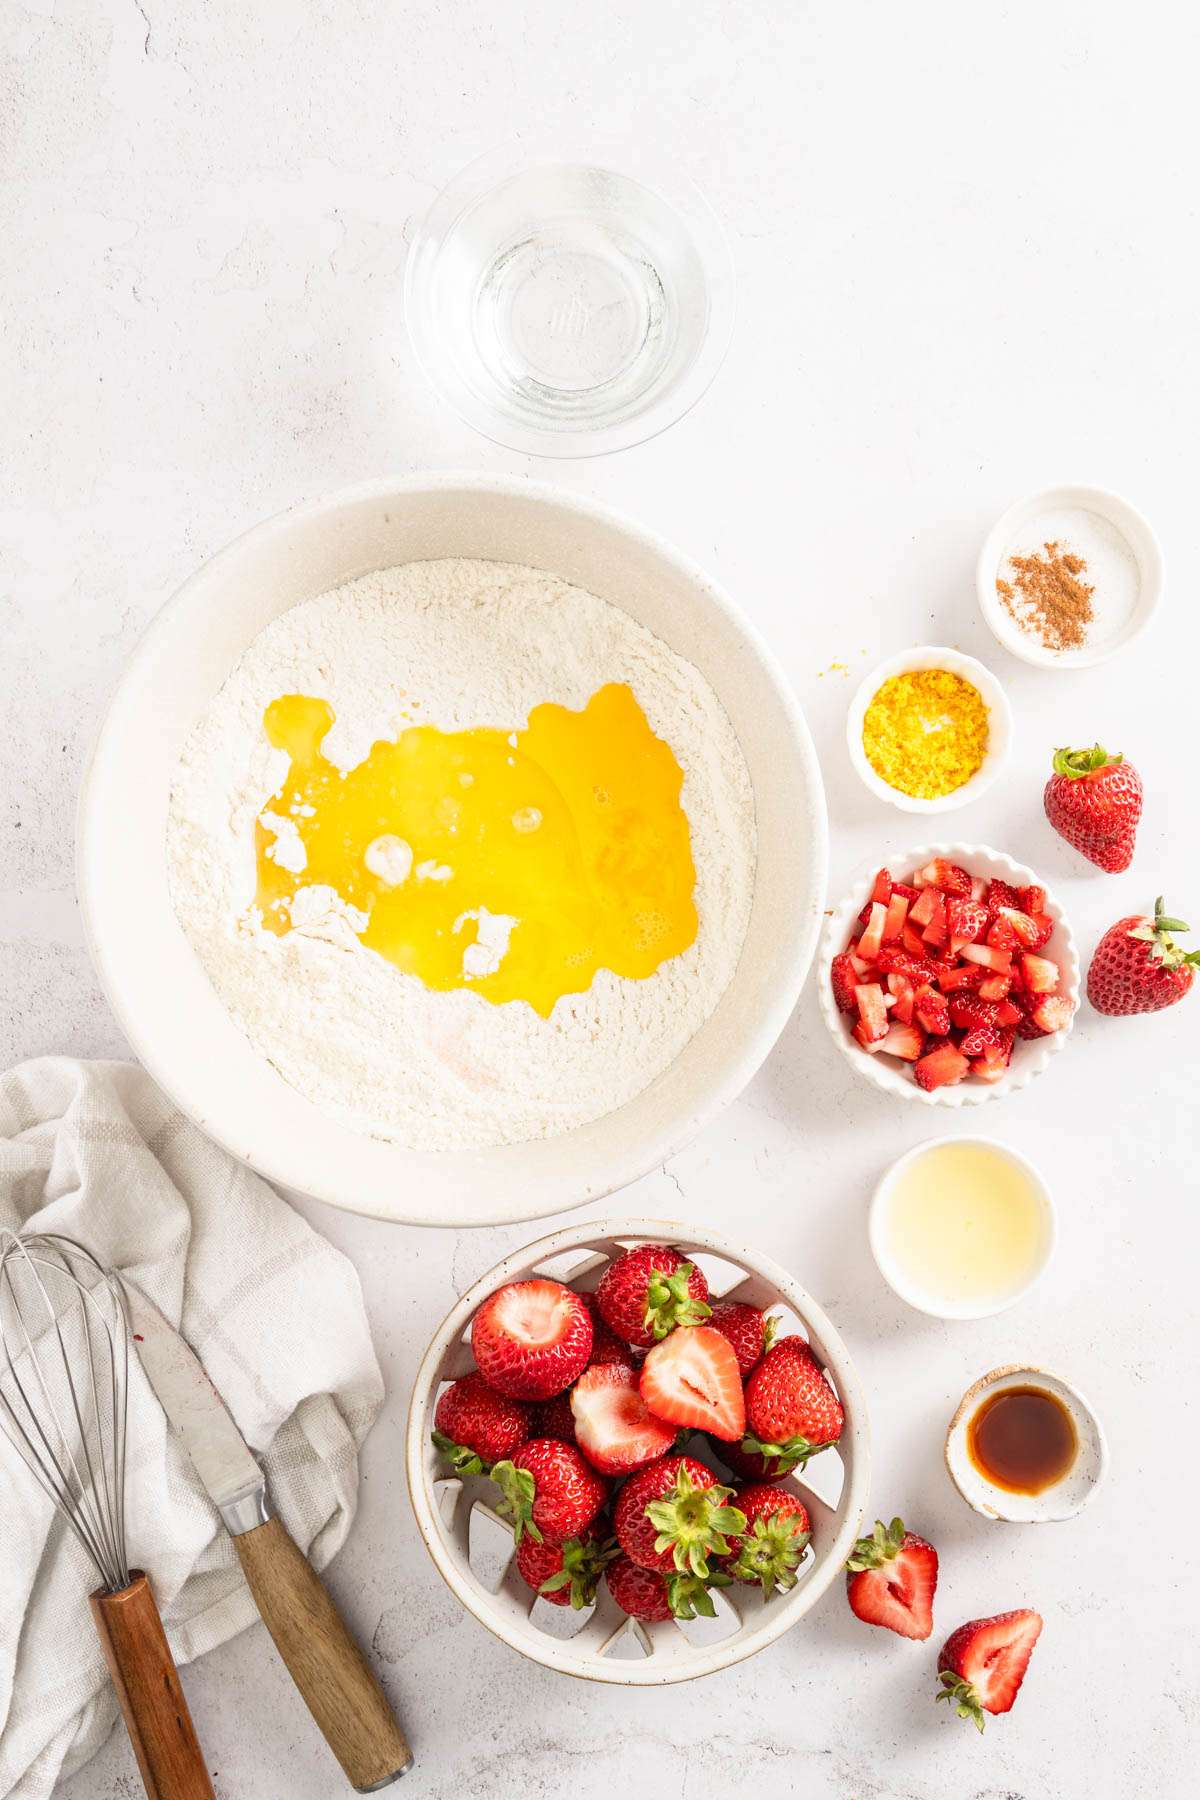
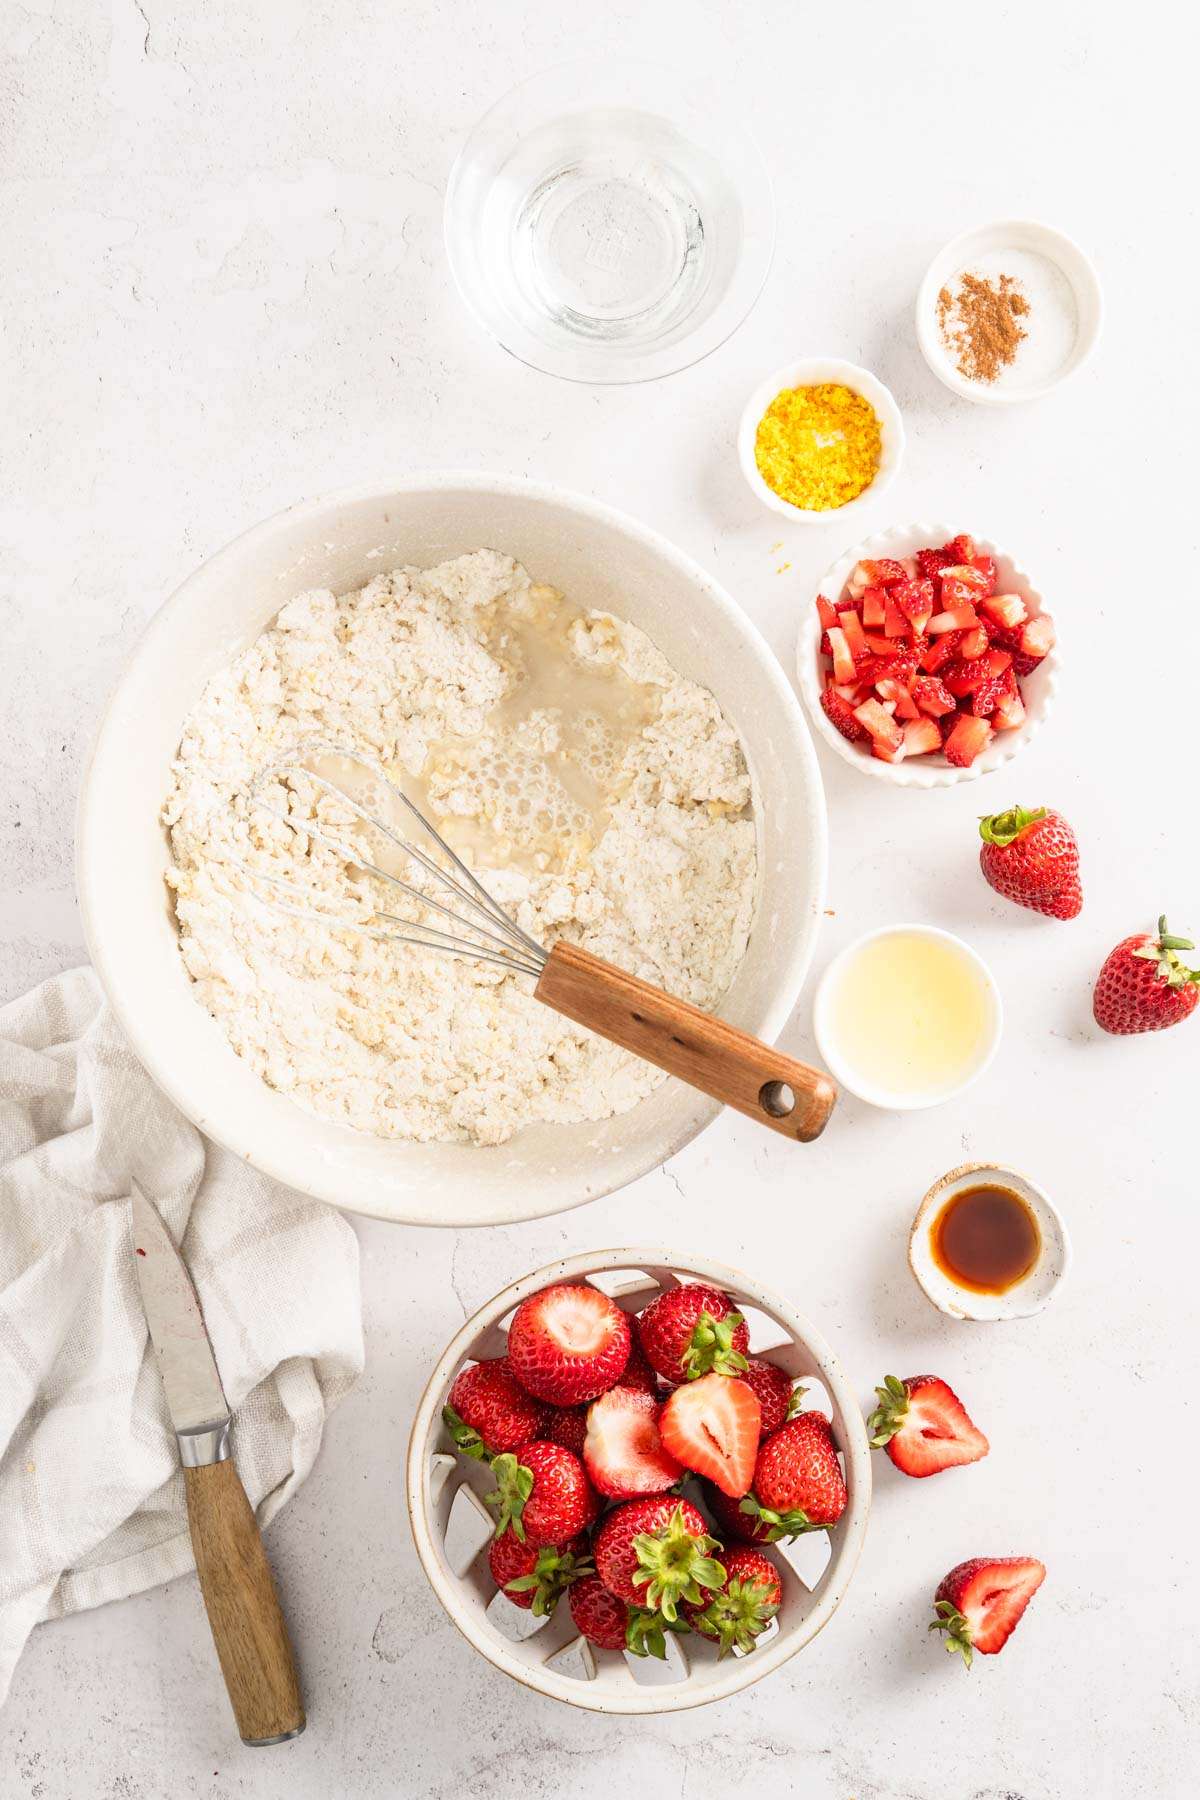
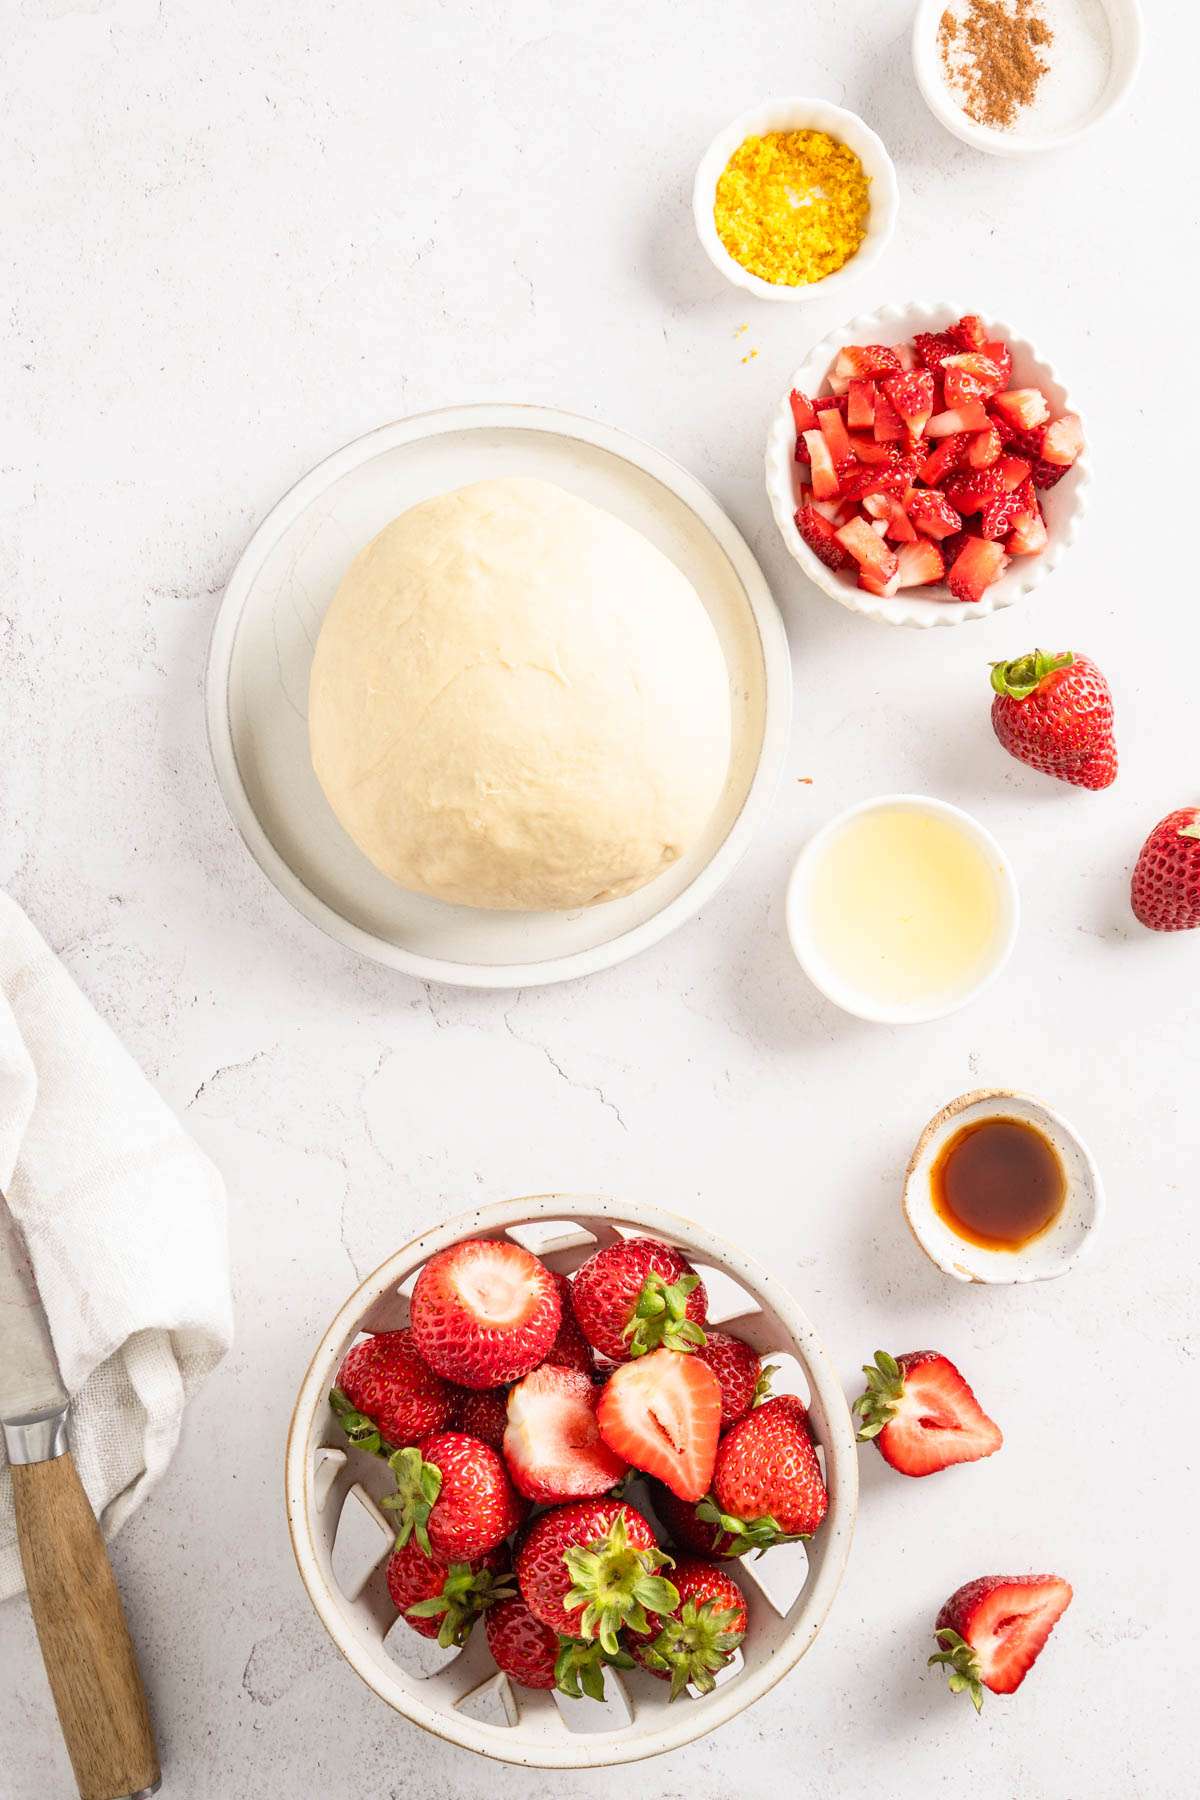
- Using your hands, gradually mix the wet ingredients into the flour until a dough forms.
- Turn the dough out onto a lightly floured surface and knead it for about 5 minutes until it becomes smooth and elastic.
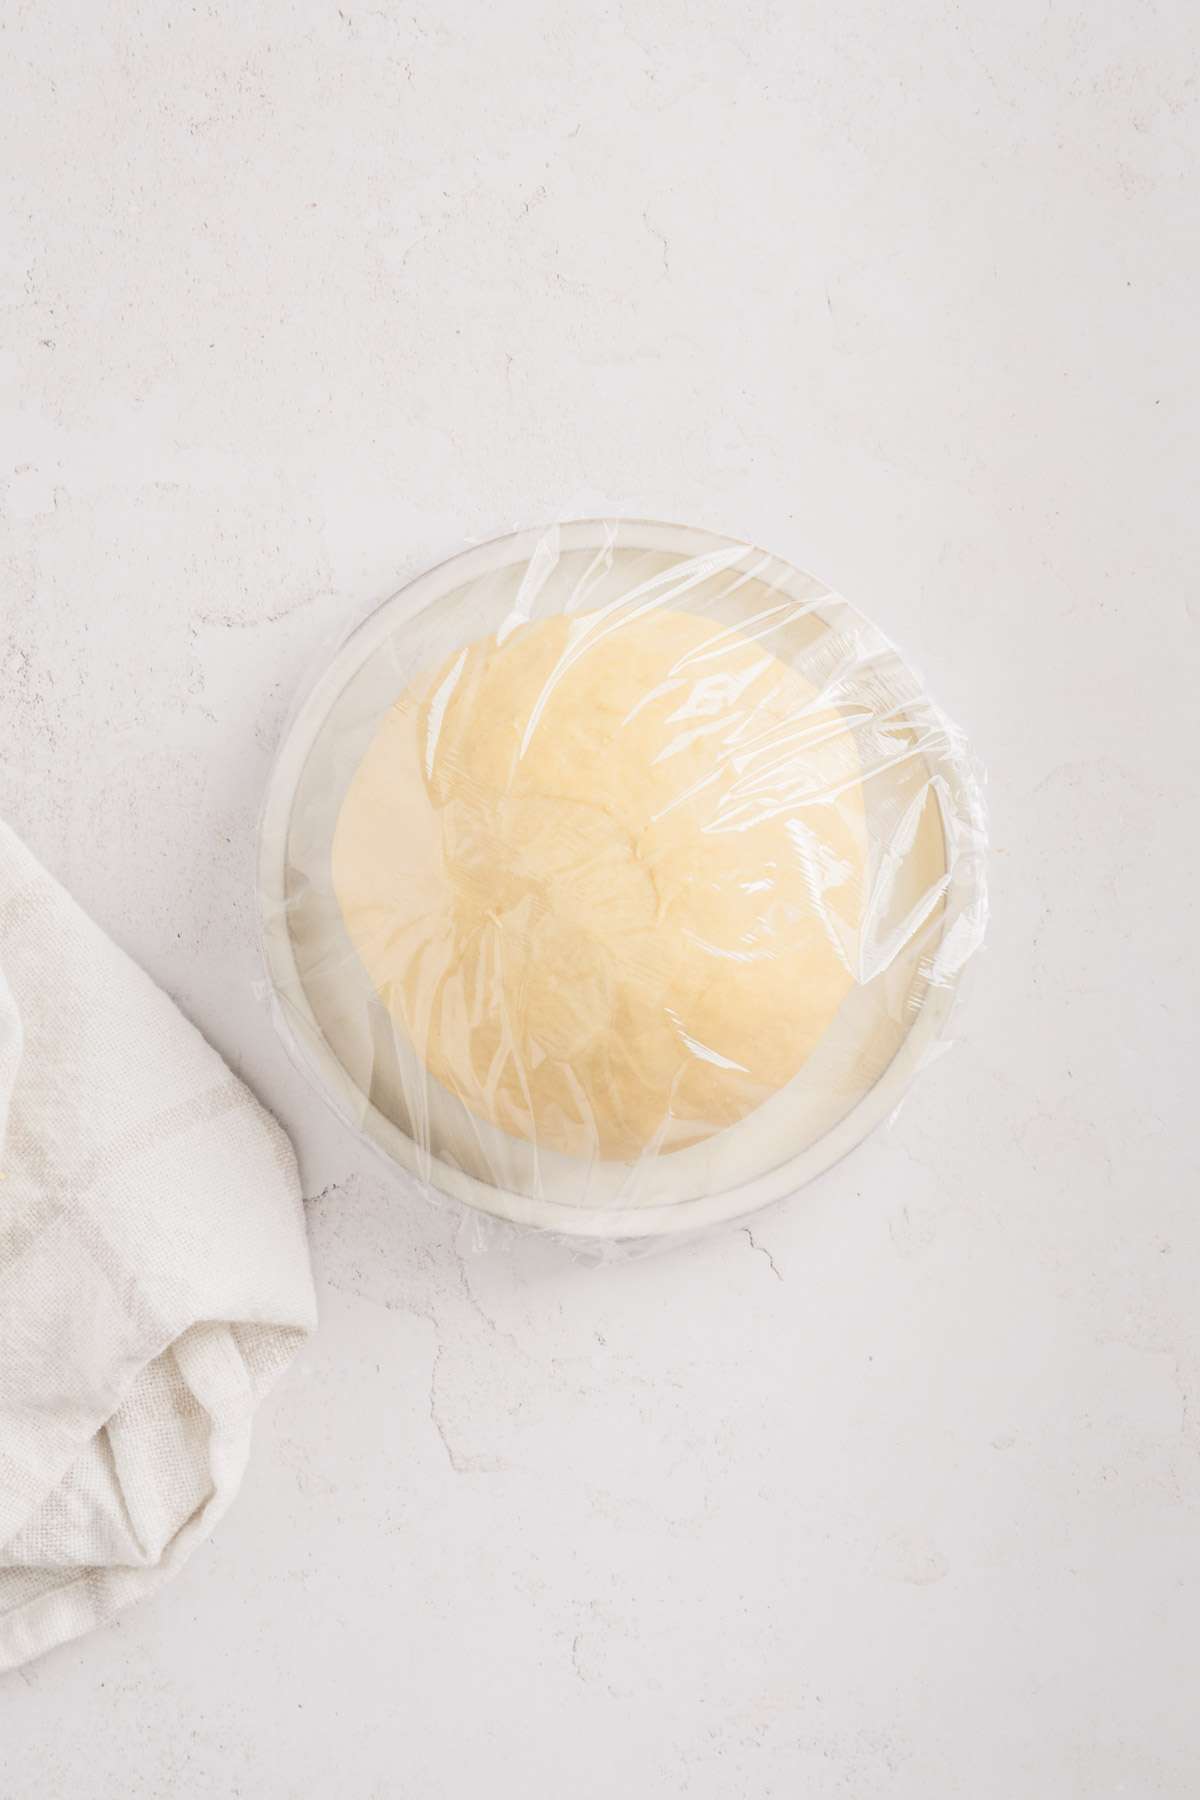
- Cover the dough with a damp cloth or plastic wrap and let it rest for at least 30 minutes.

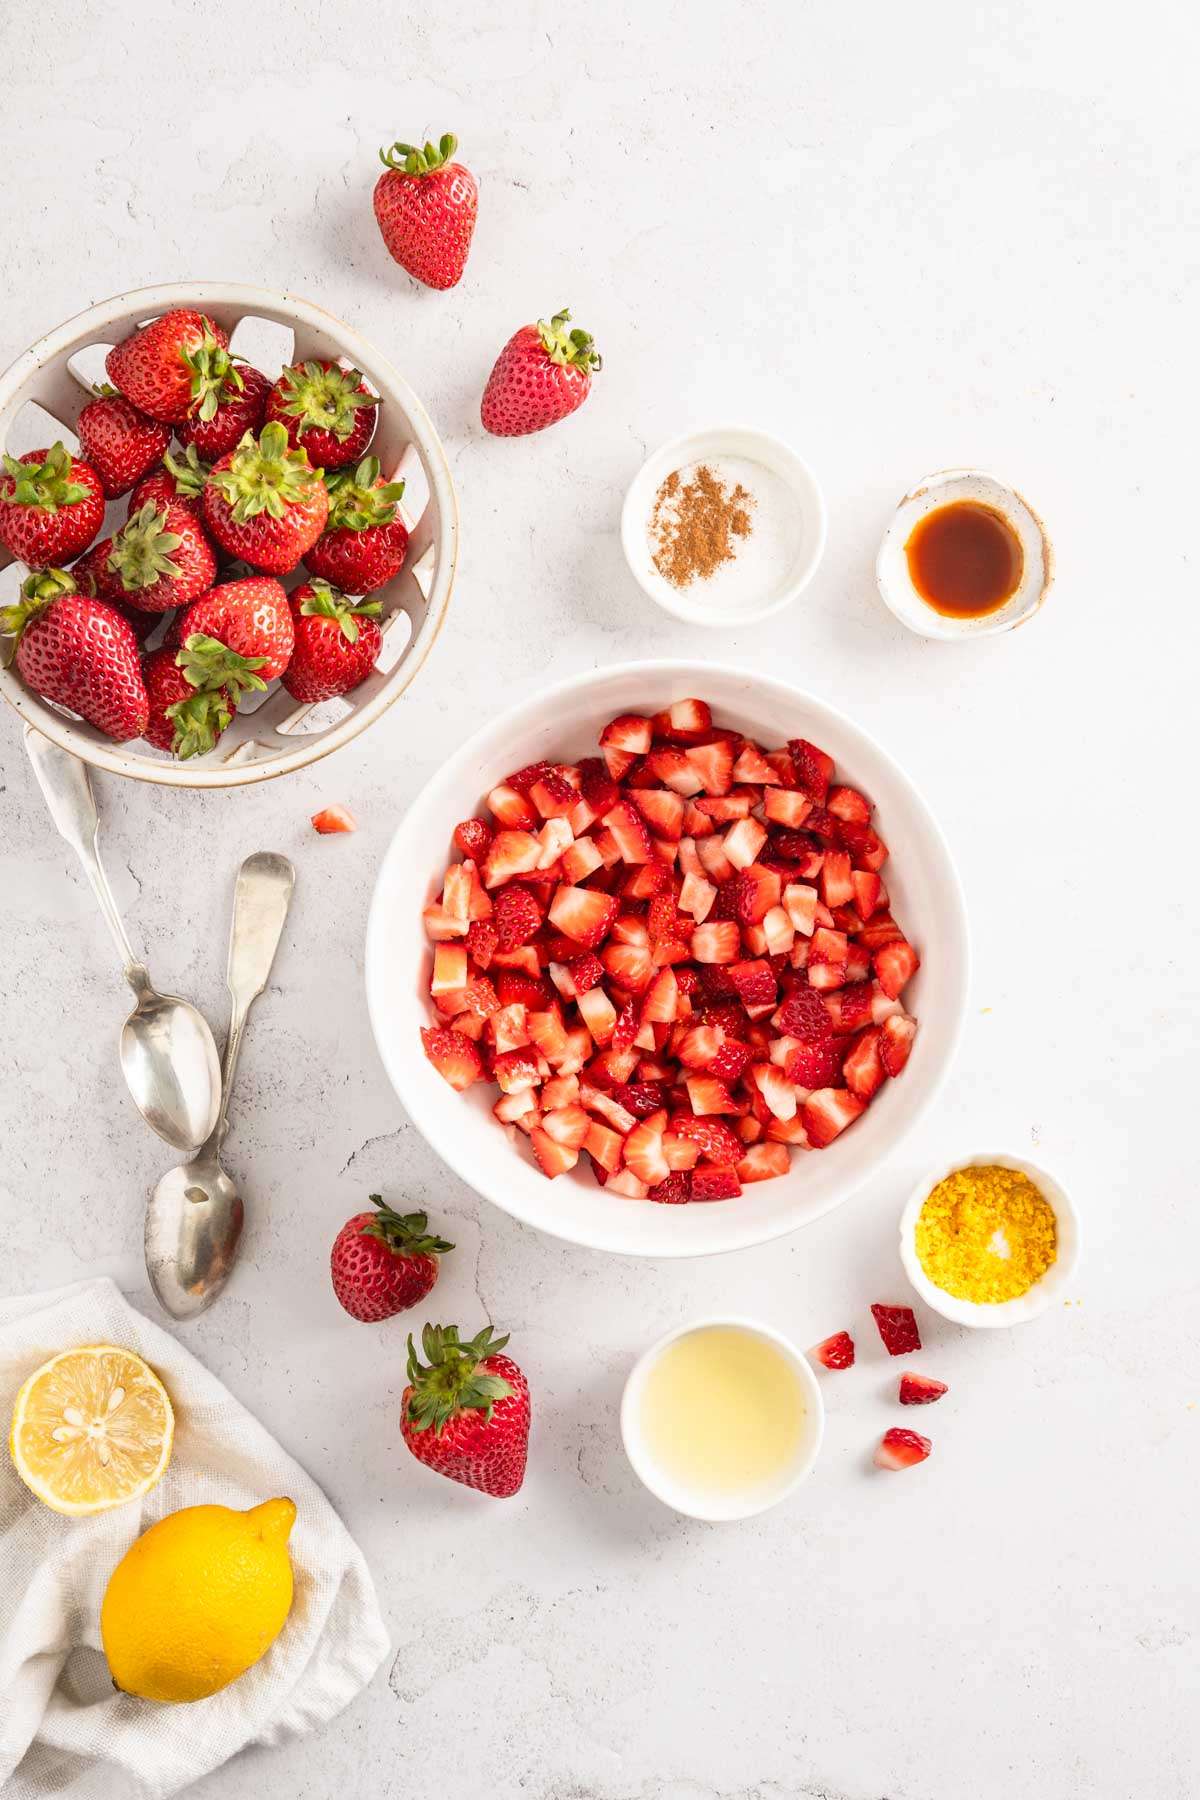
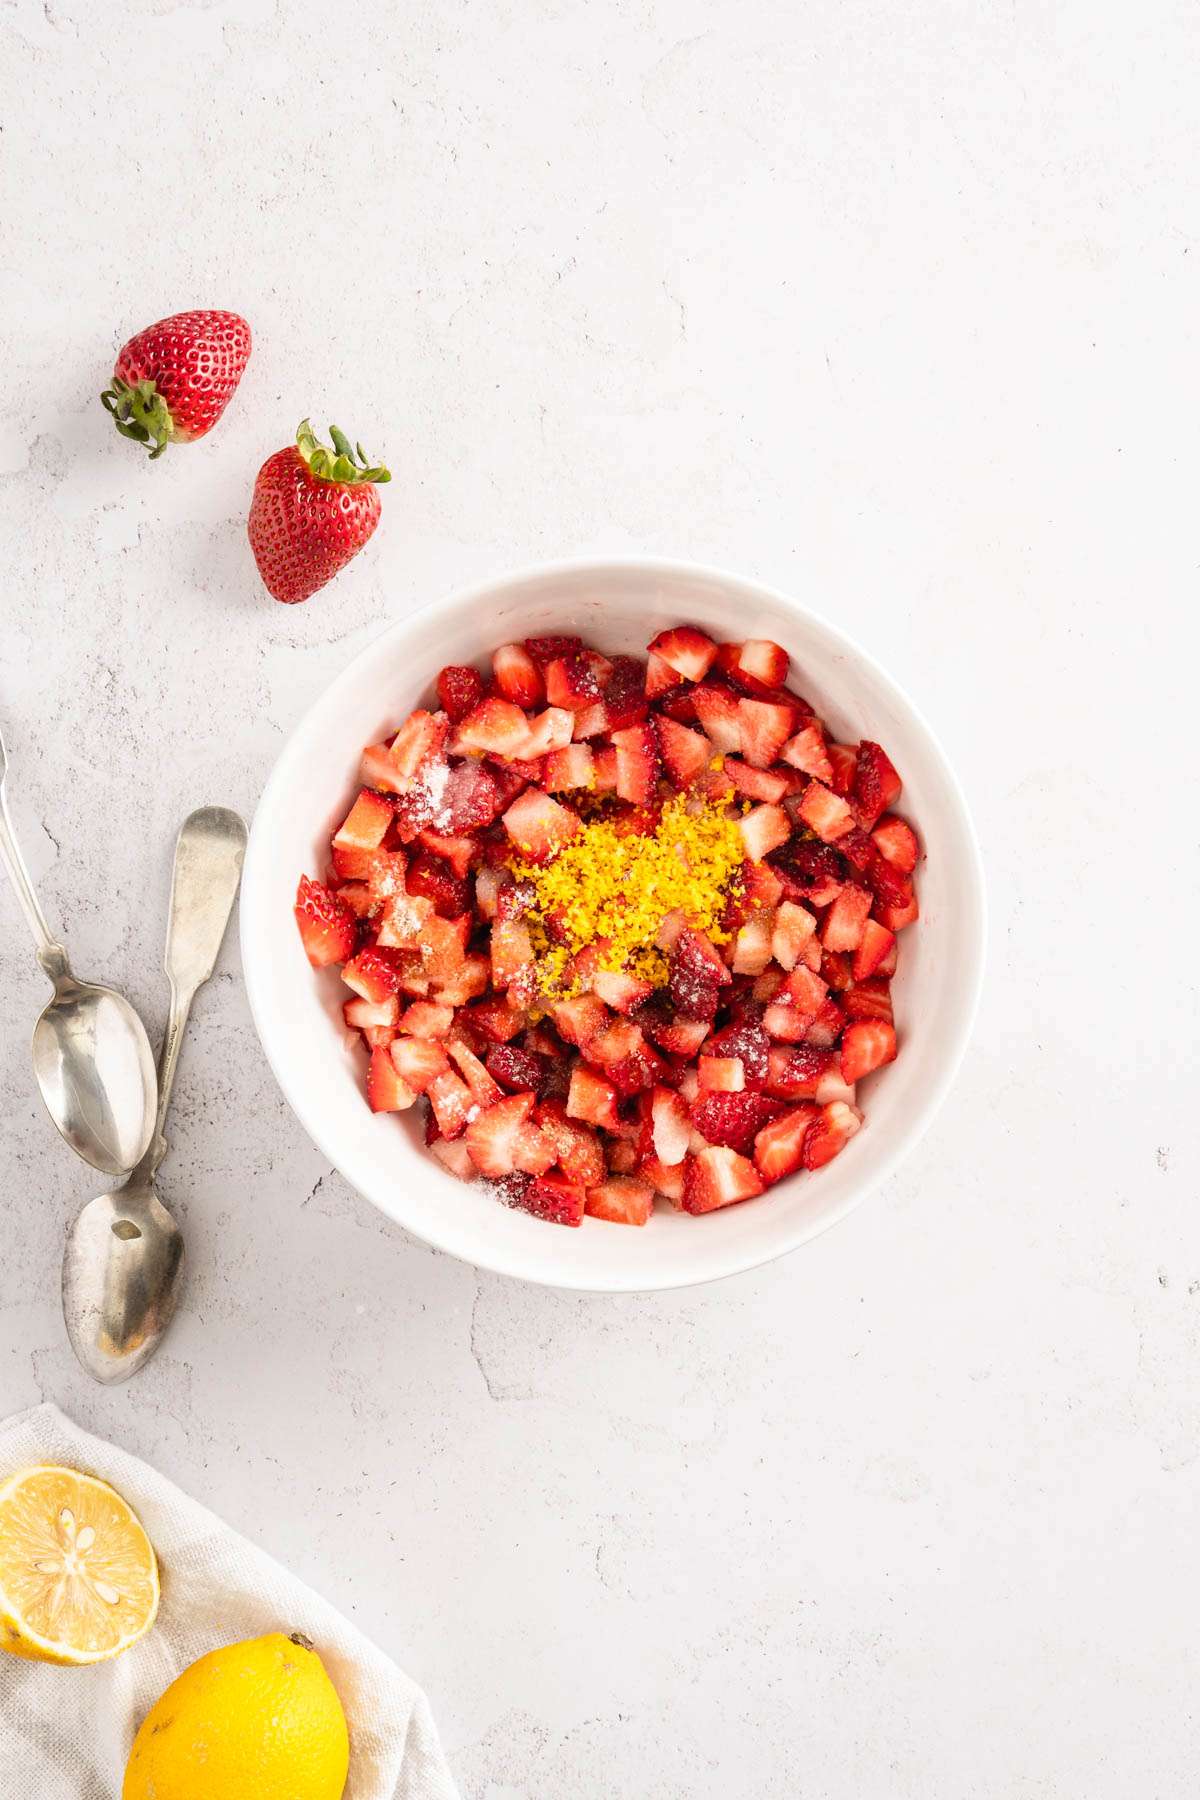
- Chop the fresh strawberries into small pieces and place them in a mixing bowl.
- Add the sugar, lemon zest, vanilla, and optional flour to the strawberries. Stir gently to combine.

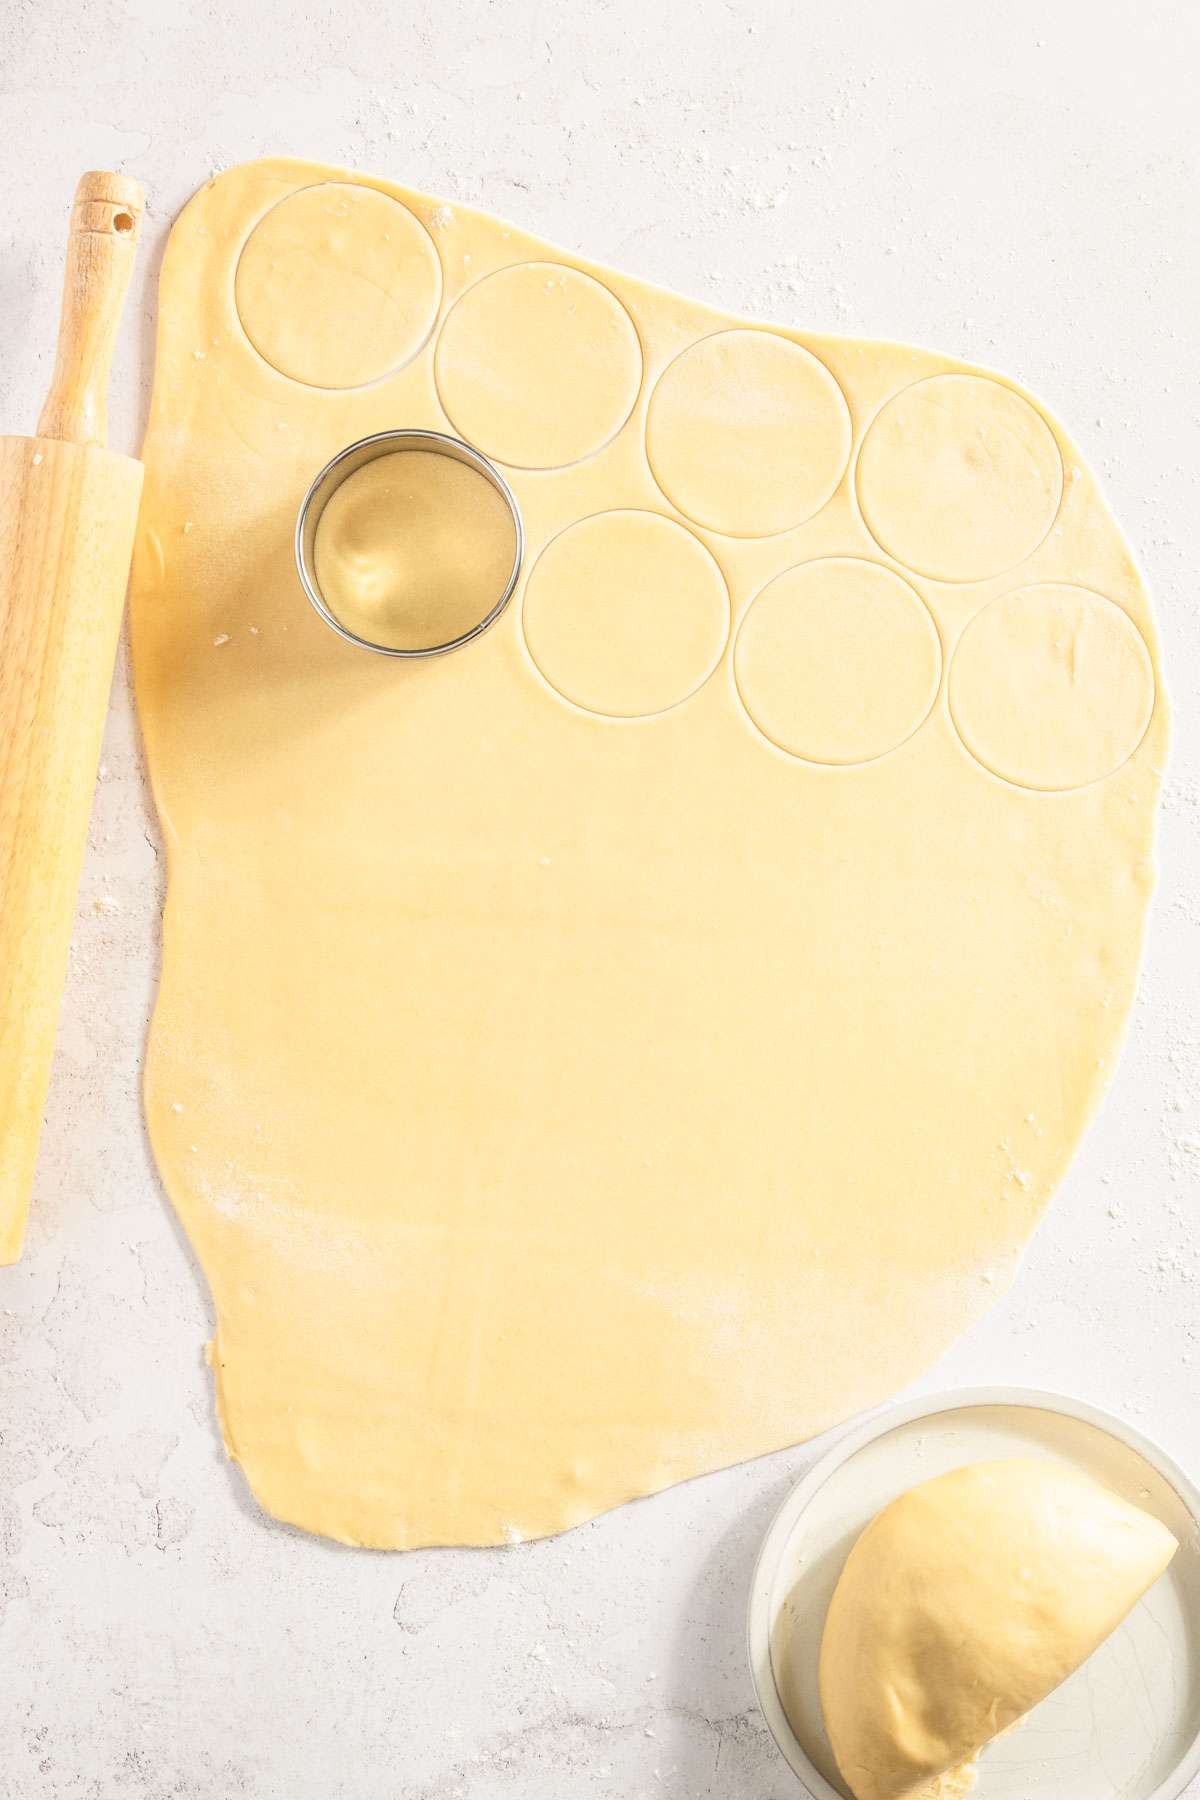
- On a lightly floured surface, roll out the dough to about 1/8 inch thickness. Cover the remaining dough and set aside.
- Using a round cookie cutter or a glass (about 3 to 4 inches in diameter), cut out circles from the dough.
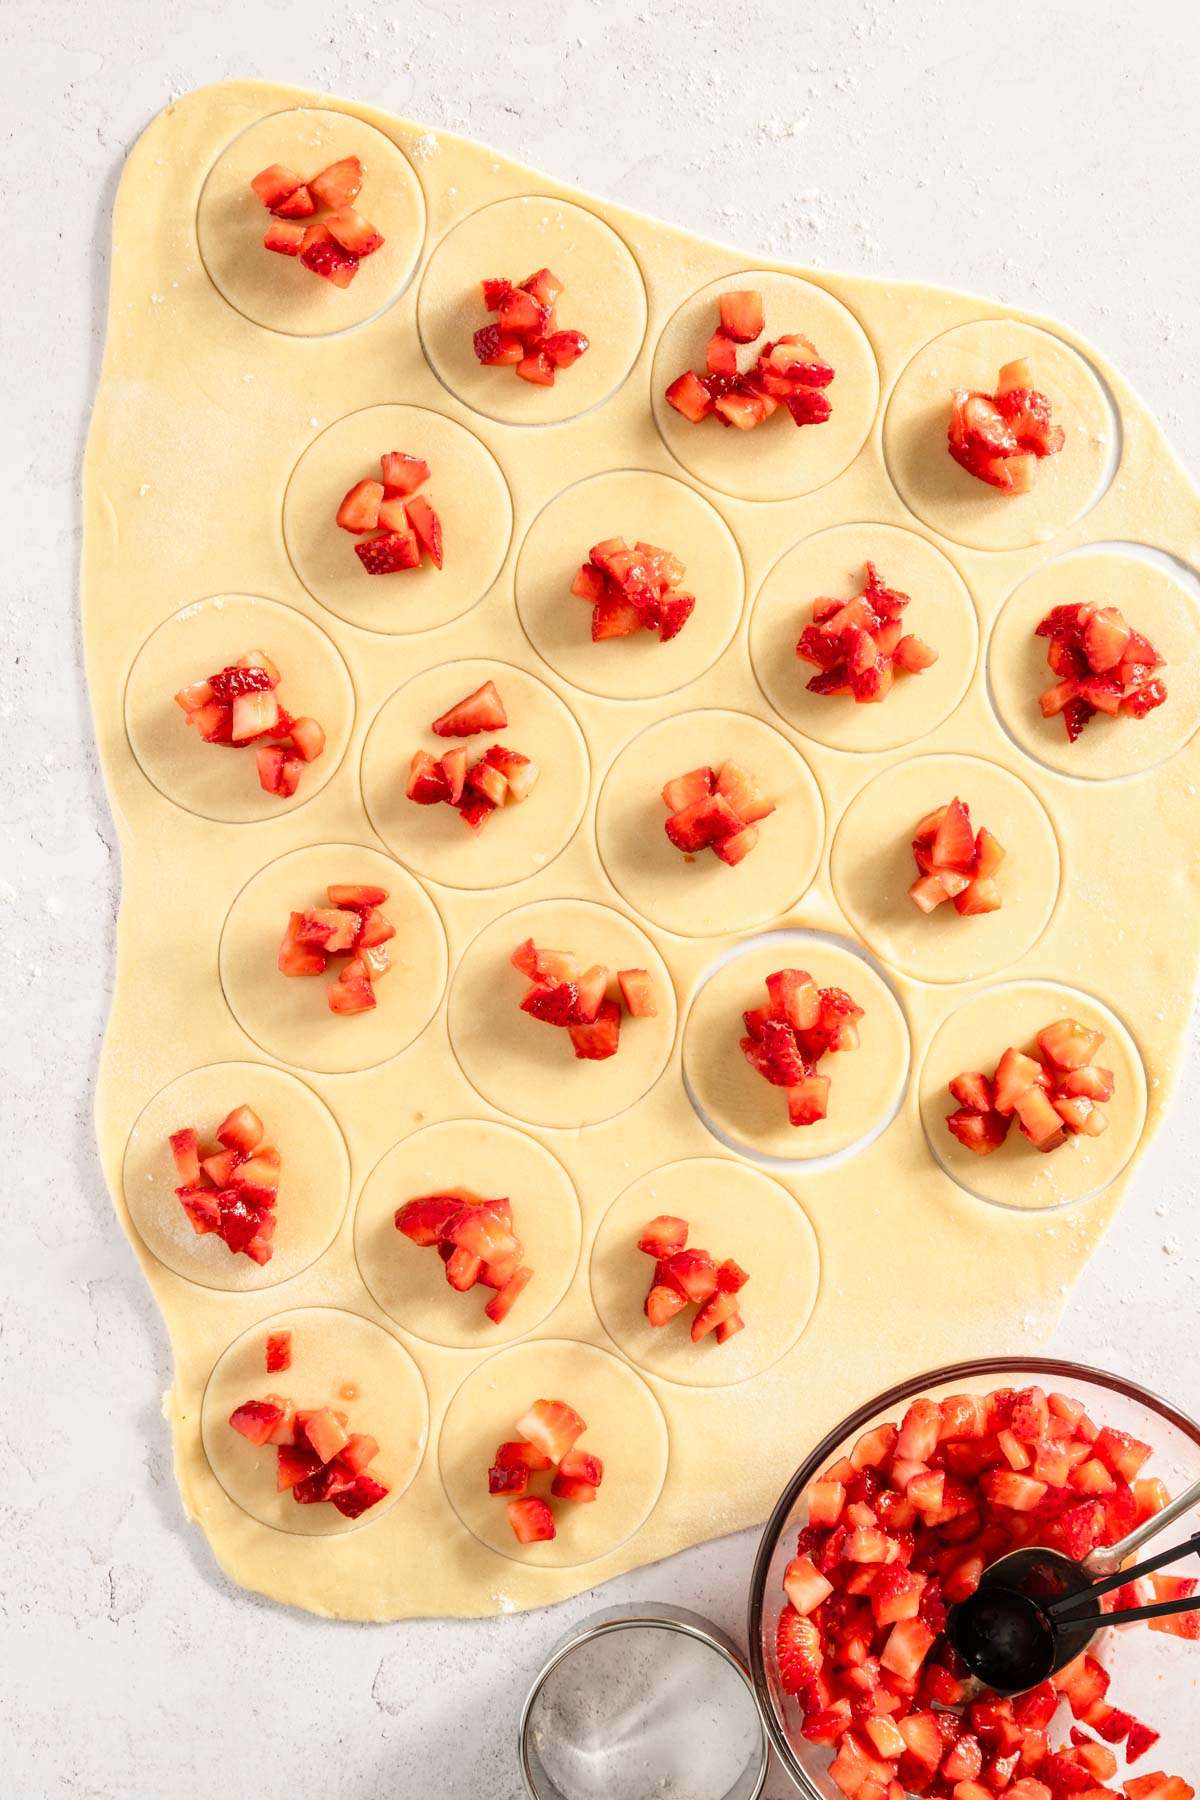
- Place a teaspoon of the strawberry filling in the center of each dough circle.
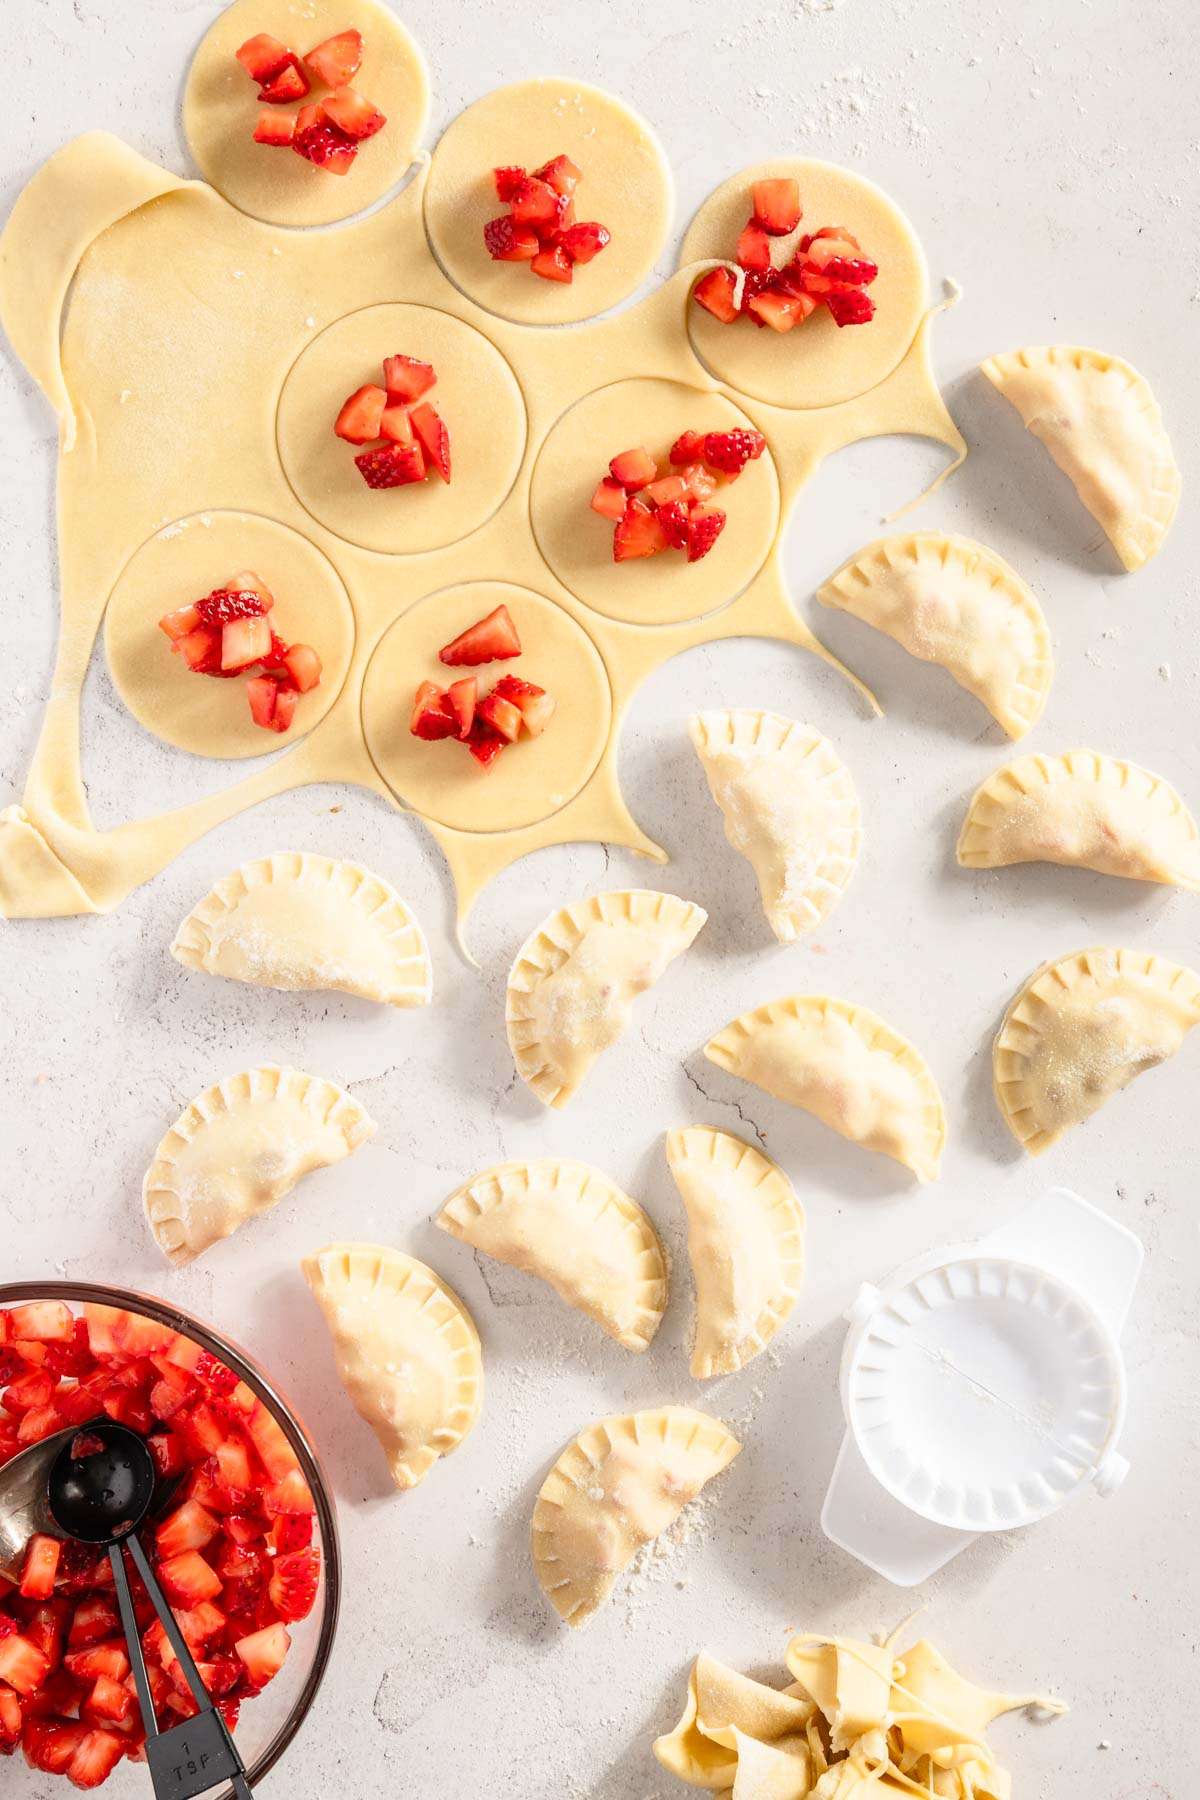
- Fold the dough over the filling to form a half-moon shape. Press the edges together firmly, then use a fork to crimp the edges and ensure they are sealed well.
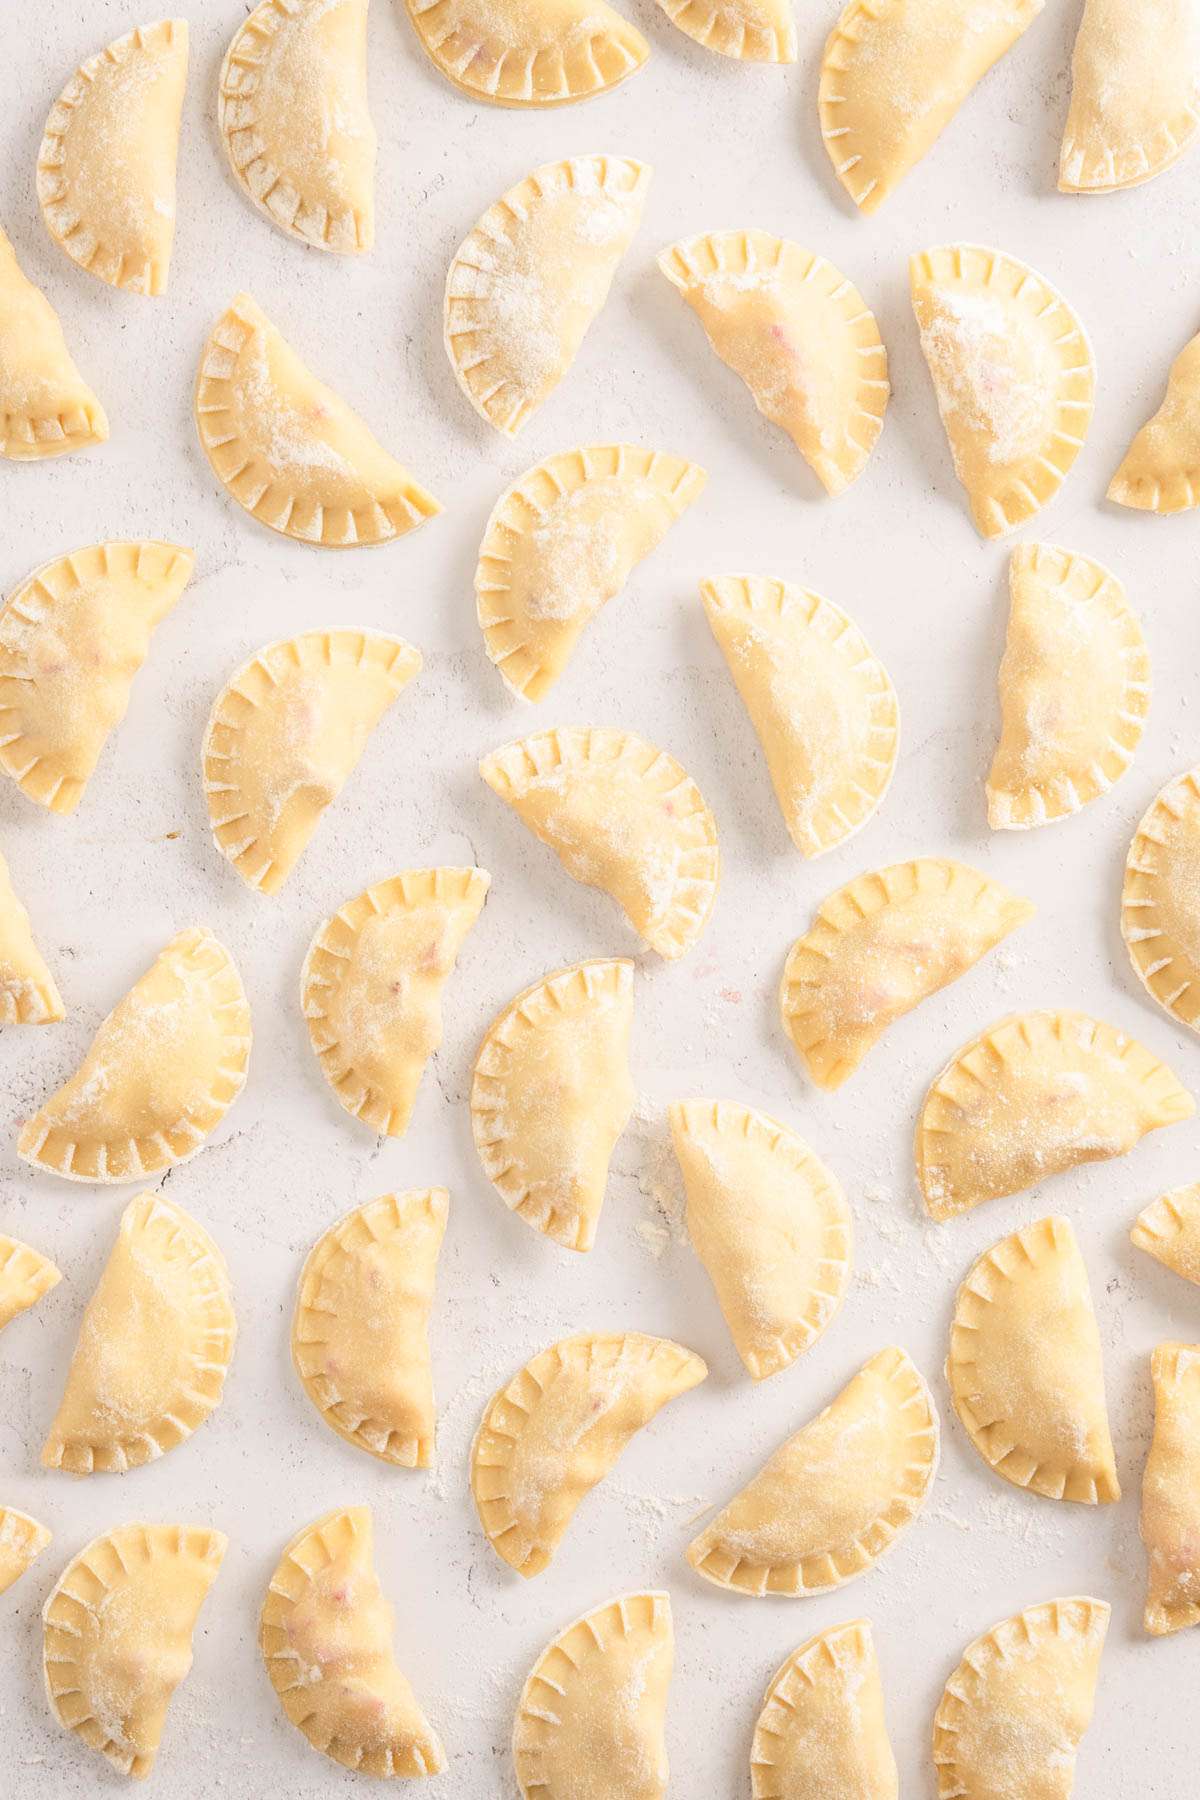
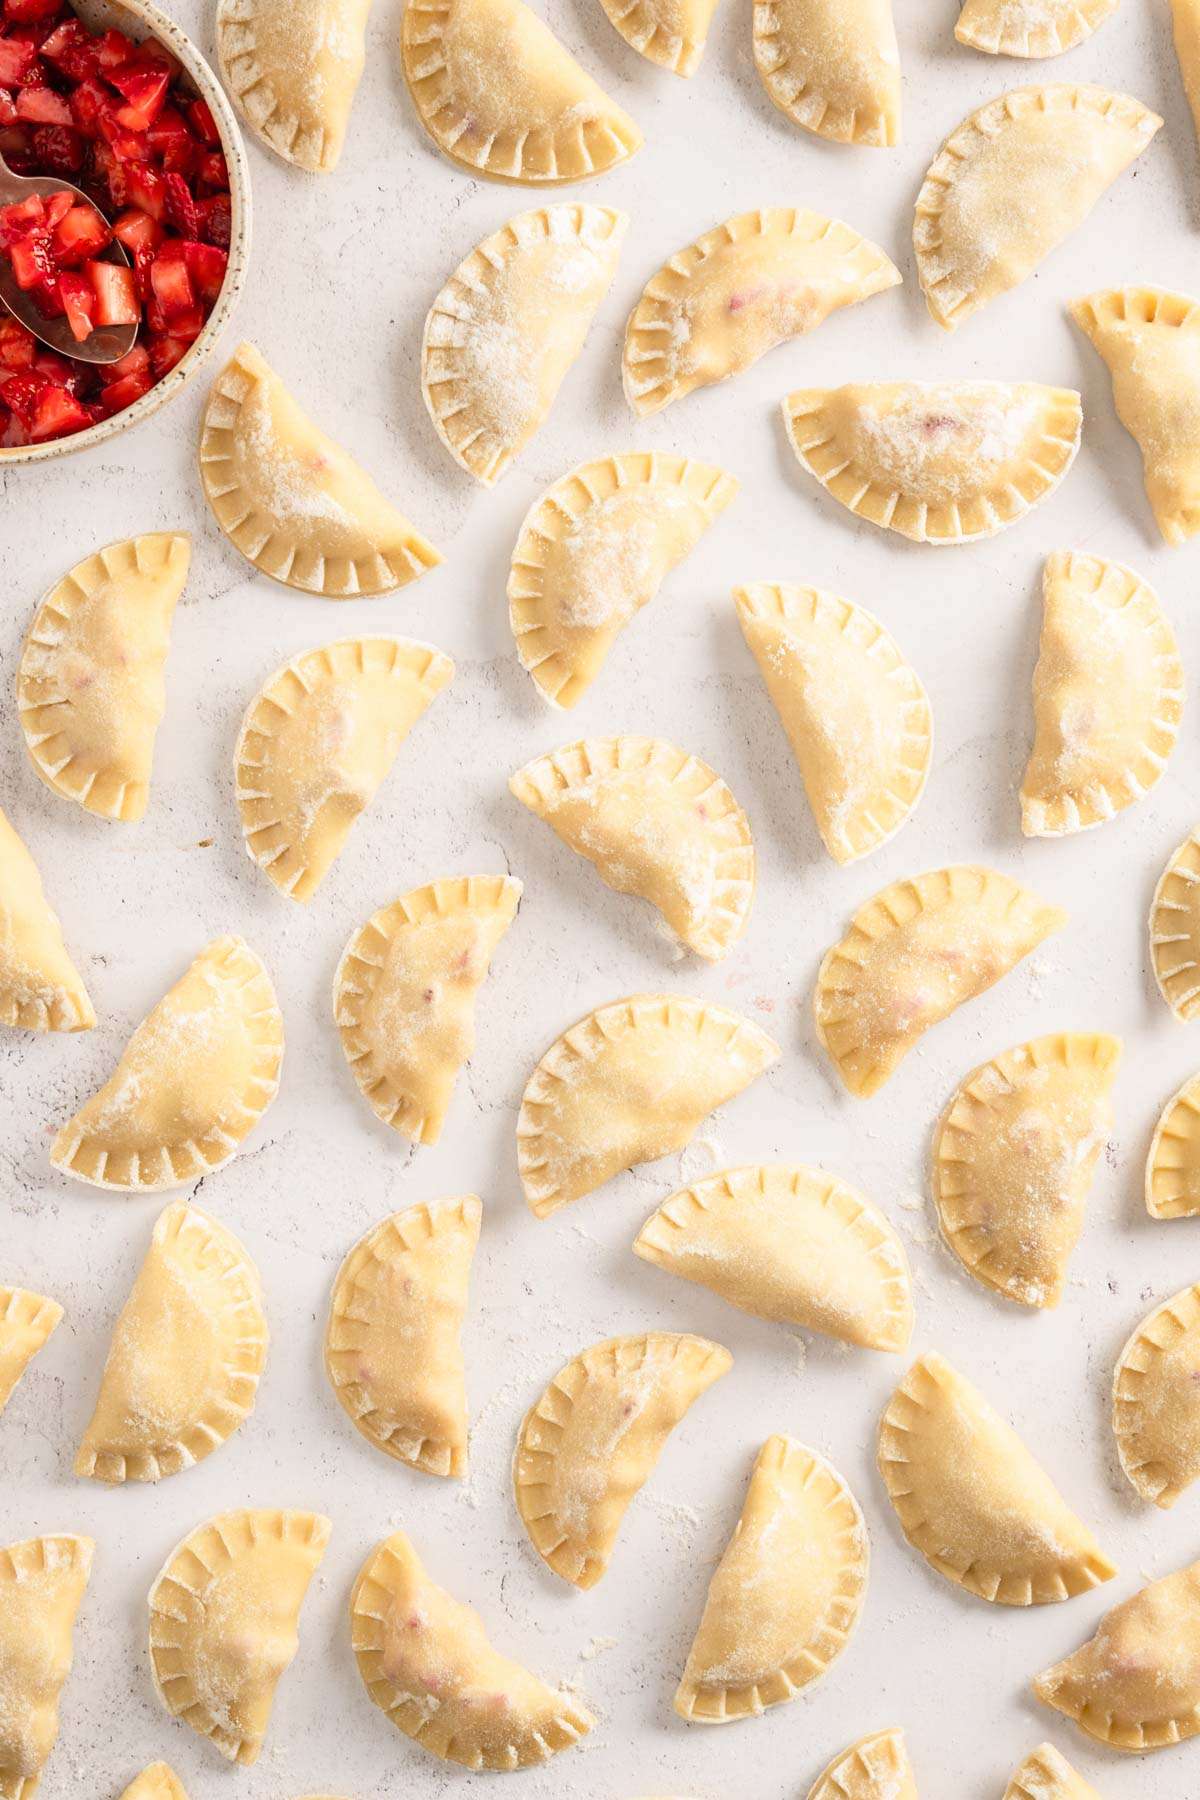
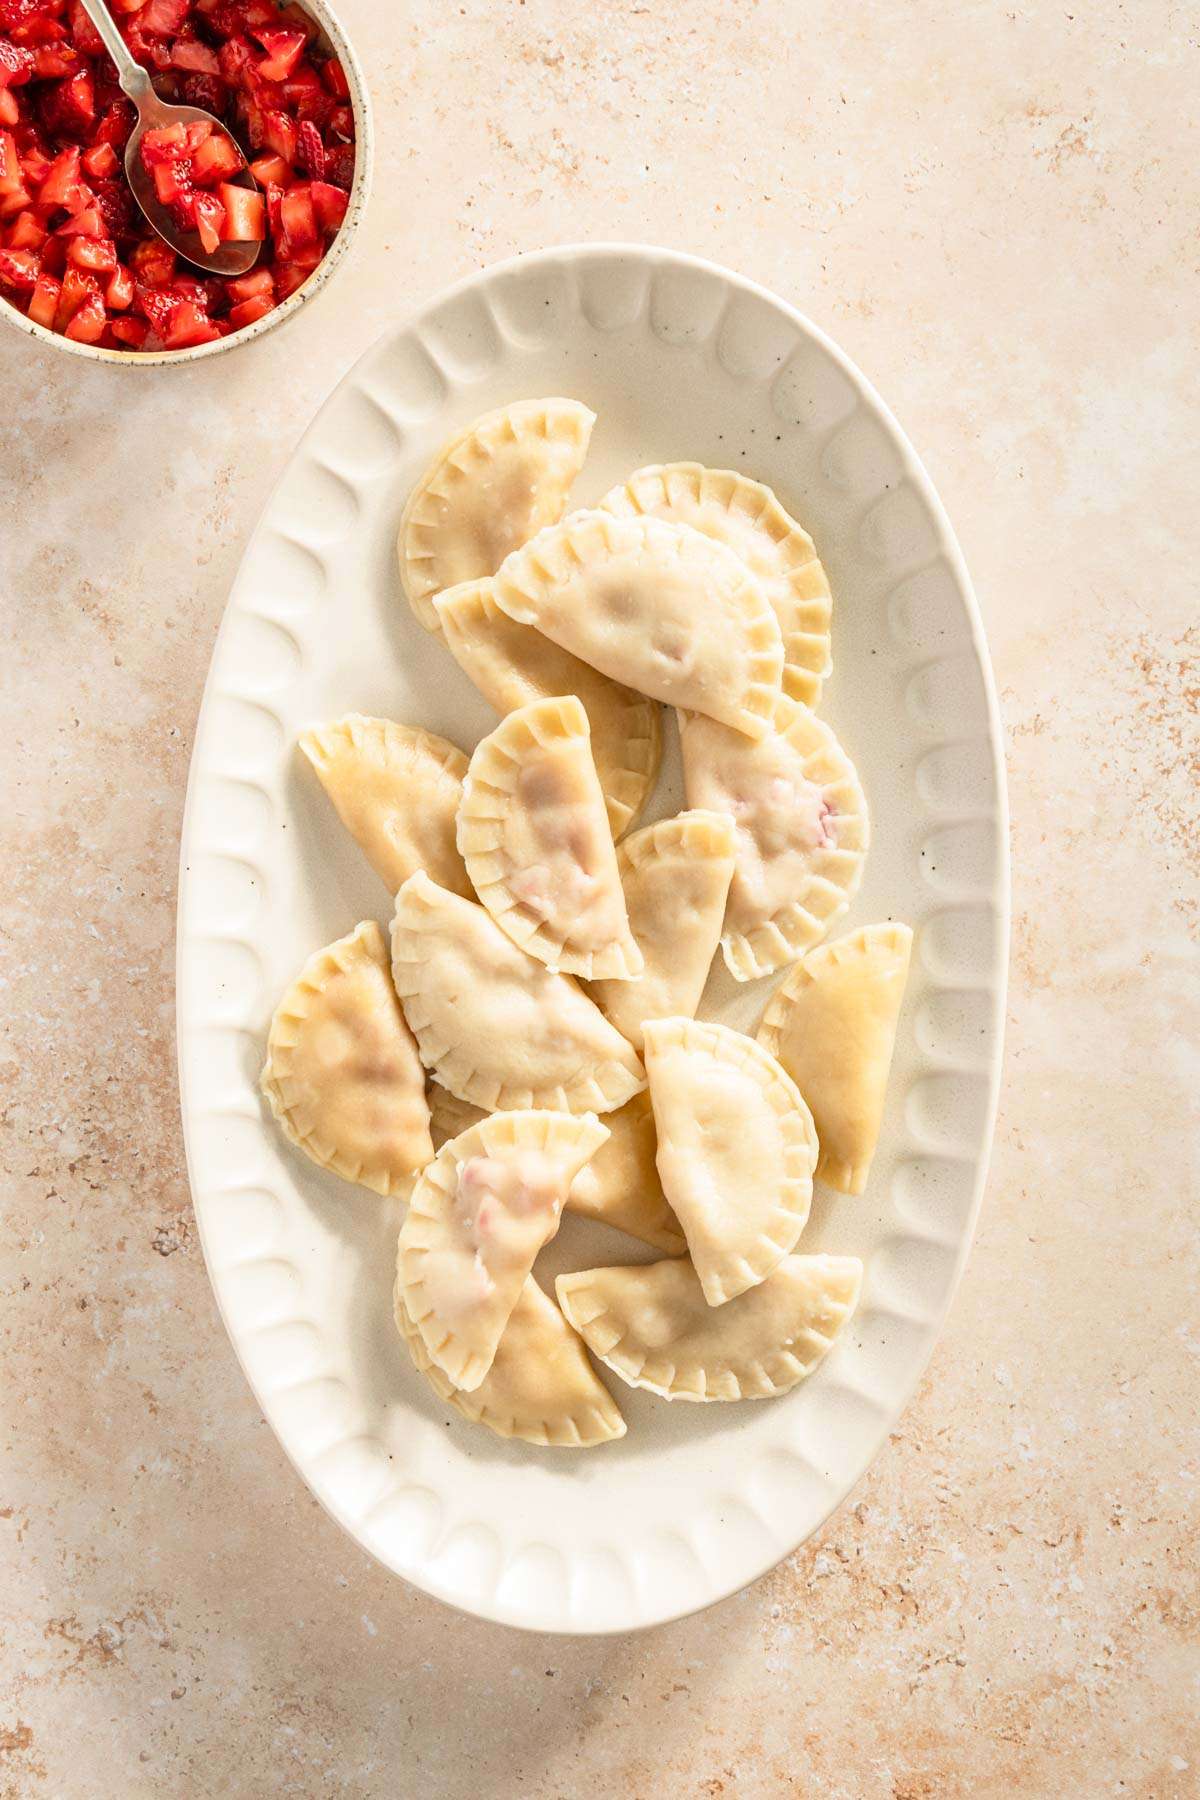
- Bring a large pot of salted water to a gentle boil.
- Carefully add a few pierogies at a time to the boiling water. Do not overcrowd the pot.
- Cook the pierogies until they float to the surface, then let them cook for an additional 1-2 minutes.
- Use a slotted spoon to remove the pierogies from the pot. Place pierogi on a baking sheet or plate to drain.
Strawberry Pierogi Tips
- Ensure the quality of the dough is not too sticky or too dry; adjust with a little more flour or water if needed.
- Don’t overfill the pierogies to prevent them from bursting during cooking.
- For a sweeter pierogi, consider adding a bit more sugar to the filling or dusting the cooked pierogies with powdered sugar before serving.
How to best enjoy Strawberry Pierogi
- Serve with a dollop of sour cream mixed with a pinch of cinnamon and lemon zest or a sprinkle of sugar.
- Top them with whipped cream.
- Pair with a scoop of strawberry or vanilla ice cream with additional strawberry sauce and sour cream for a delicious dessert.
- Drizzle with a fresh berry sauce or a simple strawberry coulis to enhance the fruit flavor.
- Dust with powdered sugar for a light, sweet finish.
- Drizzle of chocolate sauce or a sprinkle of cinnamon sugar.
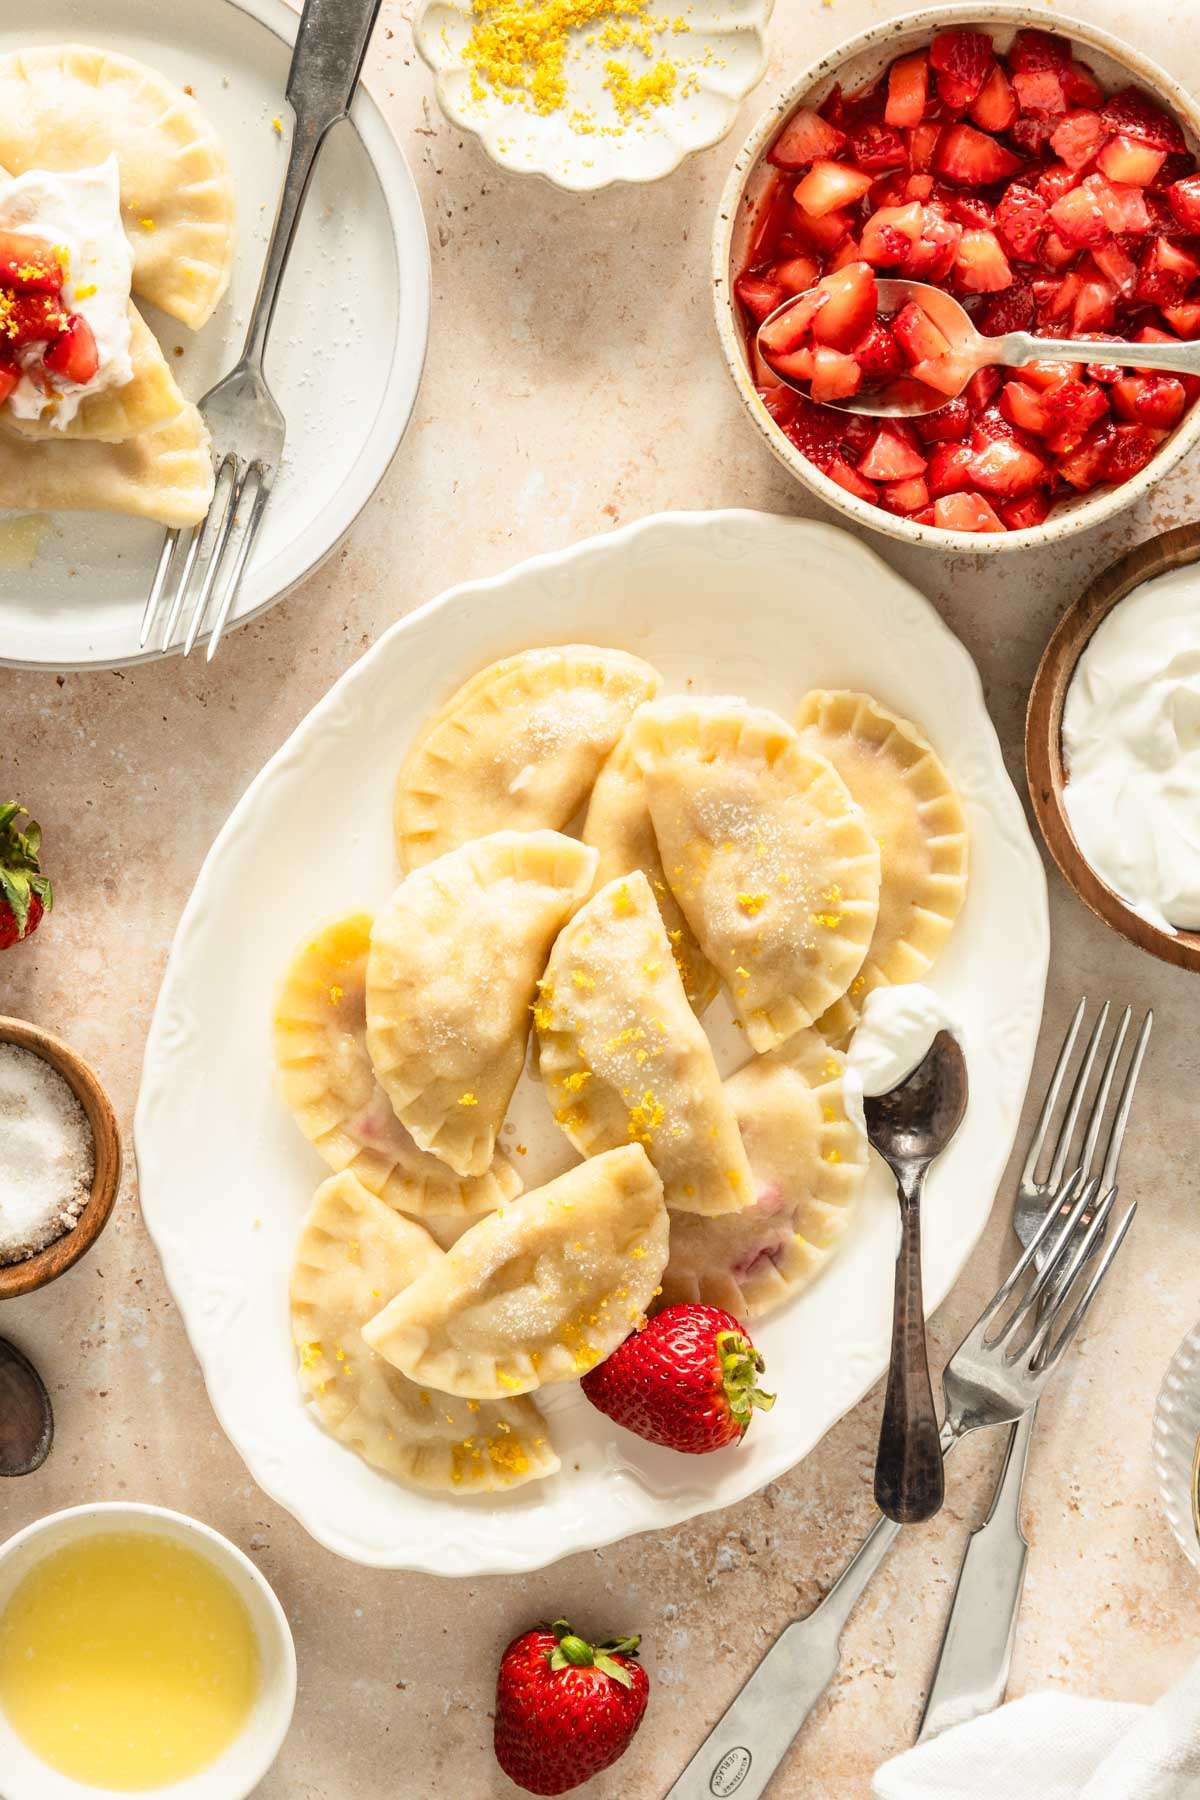
You may also like:
If you like this Strawberry Pierogi recipe, be sure to check out:
Storage instructions, reheating
- Refrigeration: Allow any leftover pierogies to cool completely. Store them in an airtight container in the refrigerator for up to 3-4 days.
- Freezing: If you want to store pierogies for a longer period, you can freeze them:
- Place the cooled pierogies in a single layer on a baking sheet lined with parchment paper.
- Freeze until solid, then transfer to a freezer-safe container or zip-top bag.
- Label the container with the date and store it in the freezer for up to 2-3 months.
Reheating Instructions
From Refrigerator:
- Boiling Method:
- Bring a pot of water to a gentle boil.
- Add the pierogies directly from the refrigerator.
- Cook for about 2-3 minutes, or until heated through and they float to the surface.
- Remove with a slotted spoon and serve immediately.
- Pan-Frying Method (for a crispier texture):
- Heat a non-stick skillet over medium heat and add a small amount of butter or oil.
- Place the pierogies in the skillet in a single layer.
- Cook for 2-3 minutes per side, or until golden brown and heated through.
From Freezer:
- Boiling Method:
- Do not thaw the pierogies before cooking.
- Follow the same boiling instructions as above, but increase the cooking time to about 5-6 minutes, or until heated through and they float to the surface.
- Pan-Frying Method:
- Heat a non-stick skillet over medium heat with a little butter or oil.
- Cook the frozen pierogies in a single layer for about 4-5 minutes per side, or until golden brown and heated through.
Serving Tips After Reheating:
- Serve the reheated Strawberry Pierogi with your favorite toppings and enjoy them warm for the best flavor and texture.
- Avoid microwaving pierogies directly from the refrigerator or freezer, as it can make the dough tough.

Strawberry Pierogi Recipe
Equipment
- mixing bowls
- measuring cups and spoons
- Rolling Pin
- knife or dough cutter
- round cookie cutter
- fork or pierogi form
- large stock pot
- slotted spoon or coleander
- cutting board
- zester
- plastic wrap or kitchen towel
- stand mixer
Ingredients
Dough
- 3 cups flour
- 1 egg
- 1 tsp salt
- 3 tbsp butter, melted
- 1 ¼ cup warm water
Filling
- 2 cups strawberries hulled
- 1 tbsp lemon zest
- 1 tsp vanilla
- 1 tbsp flour optionally
Instructions
- In a large mixing bowl, whisk together the flour and salt.
- Make a well in the center of the flour mixture. Add the egg, melted butter, and a little bit of warm water into the well.
- Using your hands, gradually mix the wet ingredients into the flour until a dough forms.
- Turn the dough out onto a lightly floured surface and knead it for about 5 minutes until it becomes smooth and elastic.
- Cover the dough with a damp cloth or plastic wrap and let it rest for at least 30 minutes.
- Chop the strawberries into small pieces and place them in a mixing bowl.
- Add the sugar, lemon zest, vanilla, and optional flour to the strawberries. Stir gently to combine.
- On a lightly floured surface, roll out the dough to about 1/8 inch thickness.
- Using a round cookie cutter or a glass (about 3 to 4 inches in diameter), cut out circles from the dough.
- Place a teaspoon of the strawberry filling in the center of each dough circle.
- Fold the dough over the filling to form a half-moon shape. Press the edges together firmly, then use a fork to crimp the edges and ensure they are sealed well.
- Bring a large pot of salted water to a gentle boil.
- Carefully add a few pierogies at a time to the boiling water. Do not overcrowd the pot.
- Cook the pierogies until they float to the surface, then let them cook for an additional 1-2 minutes.
- Use a slotted spoon to remove the pierogies from the pot. Place them on a baking sheet or plate to drain.
Notes
Nutrition
Did you make this recipe?
Tag me @sylwiavaclavekphotography or tag me using #myomnikitchen so I can see your creations! You can also leave a comment below!

Conclusion
I dare to say Polish pierogies are the best. I bet you agree with me 🙂
Imagine a plate of delicious pierogi, happiness, and comfort fueling your belly and satisfying your taste buds. Whether you have a sweet tooth or prefer savory fillings, a plate of pierogi is a perfect option.
Whether enjoyed fresh from the stove or reheated later, these pierogies offer a versatile and delicious treat for any occasion. I give you permission not to worry about the serving size either 🙂
Embrace the joy of cooking and indulging in these flavorful Strawberry Pierogies. Pair them with your favorite toppings, making each bite a celebration of a homemade meal.

FAQ
Can I use frozen strawberries instead of fresh ones?
Yes, you can use frozen strawberries. Thaw and drain them well before chopping and using them in the filling. Adjust sweetness as needed since frozen strawberries may release more liquid.
Can I make the dough ahead of time?
Yes, you can prepare the dough ahead of time. Wrap it tightly in plastic wrap and store it in the refrigerator for up to 24 hours. Let it come to room temperature before rolling and assembling the pierogies.
How do I prevent the pierogies from sticking together?
Make sure the pierogies are not overcrowded when boiling or freezing. Use parchment paper to separate layers if stacking them in containers for storage.
Can I bake the pierogies instead of boiling and frying them?
Yes, you can bake pierogies. Brush them with melted butter or oil and bake at 375°F (190°C) for about 20-25 minutes, or until golden brown and heated through.
What other fillings can I use besides strawberries?
You can fill pierogies with a variety of ingredients, both savory and sweet. Popular savory fillings include potato and cheese, sauerkraut, or meat fillings. Sweet options can include other berries, apples, or even a sweet cheese filling.
How do I know when the pierogies are cooked through?
Pierogies are cooked when they float to the surface of the boiling water and stay there for a minute or two. For baked or fried pierogies, they should be golden brown and heated through.
Can I make pierogies gluten-free?
Yes, you can use gluten-free flour to make the dough. Ensure your flour blend is suitable for dough and adjust the texture with xanthan gum or other binders if necessary.
What is the best way to serve pierogies?
Pierogies are traditionally served with sour cream mixed with cinnamon and lemon zest. You can also experiment with other toppings like whipped cream, fruit sauces, or savory options like caramelized onions.
Can I use liquid whole eggs in this recipe?
Yes, you can use liquid whole eggs in this recipe as a substitute for a whole egg. For the dough in this recipe, use 1/4 cup of liquid whole eggs to replace the 1 whole egg.
Do you have to boil pierogies before you cook them?
Yes, boiling is an essential step in preparing pierogies before other cooking methods like pan-frying or baking. Boiling helps to set the dough and cooks the filling evenly. For this delicious Strawberry Pierogi recipe, gently boil the filled pierogies in salted water until they float to the surface. After boiling, you can pan-fry them in a bit of oil or melted butter for a crispy exterior.
Are Strawberry Pierogis considered sweet dumplings?
Yes, strawberry pierogi can be considered sweet dumplings or strawberry dumplings. They are made of dough wrapped around a sweet filling. This classification aligns them with other sweet dumplings with fruit or sweet cheese fillings, making them a delightful dessert or treat.
What is the difference between Ukrainian and Polish perogies?
While both Ukrainian and Polish pierogi are beloved forms of dumplings, they differ mainly in filling and dough variations. Ukrainian pierogi, known as “varenyky,” often feature savory fillings like potatoes, cheese, and sauerkraut, as well as sweet versions with cherries or berries. The dough for Ukrainian pierogi is typically softer and thinner. In contrast, Polish pierogi, including the delightful strawberry pierogi (pierogi z truskawkami), is renowned for its versatility, filled with everything from savory meat and mushrooms to sweetened fresh strawberries. Polish pierogi dough is usually a bit thicker and more elastic, making it perfect for hearty fillings like strawberries mixed with sugar and vanilla. Both types are delicious, but their regional distinctions bring unique flavors to the table.

