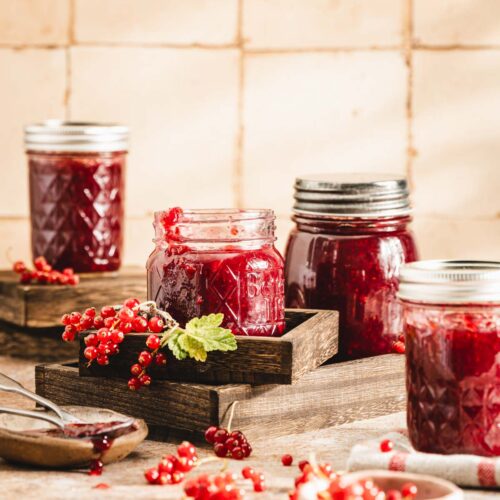
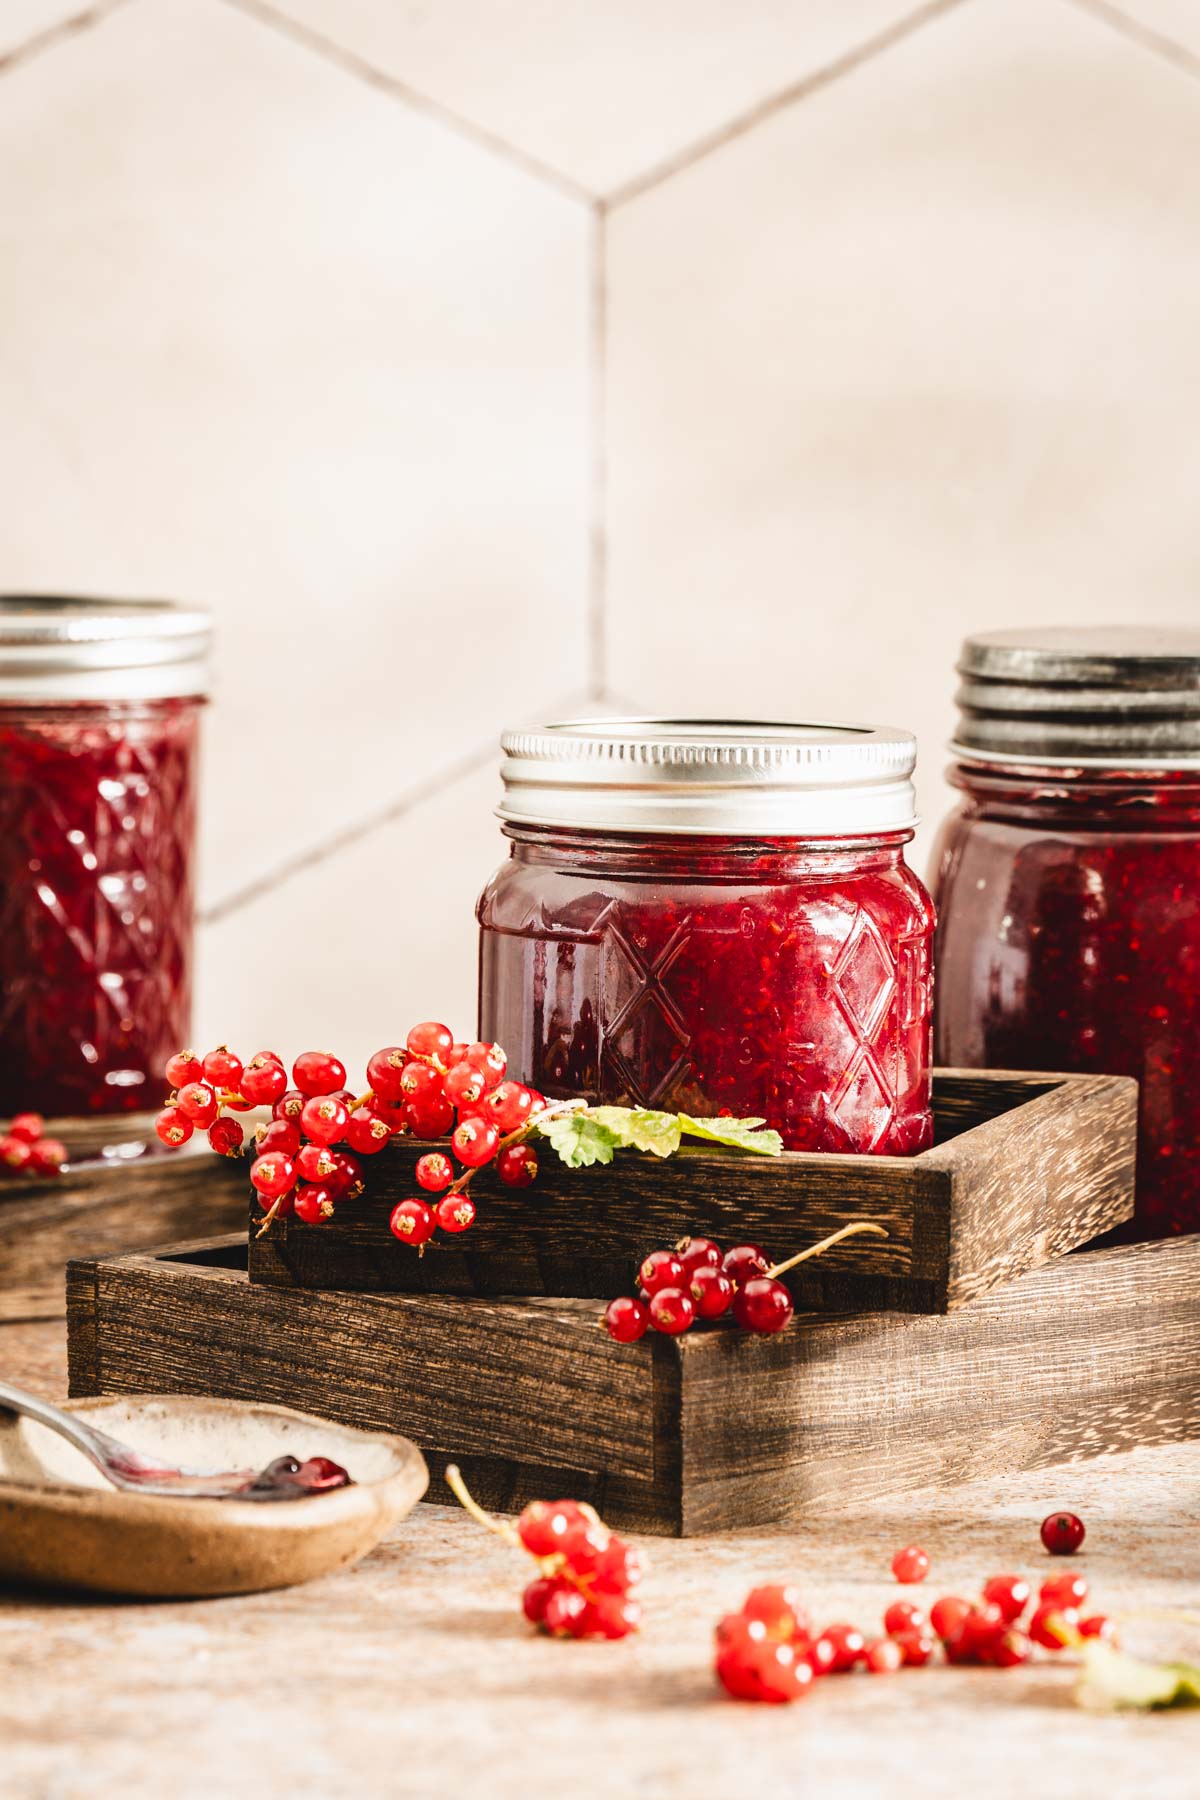
How to make Small-Batch Red Currant Jam Recipe
Homemade Red Currant Jam – Konfitura z czerwonych porzeczek bright, tart, and bursting with the flavor of fresh red currants. In Poland, this preserve has been a staple for generations.
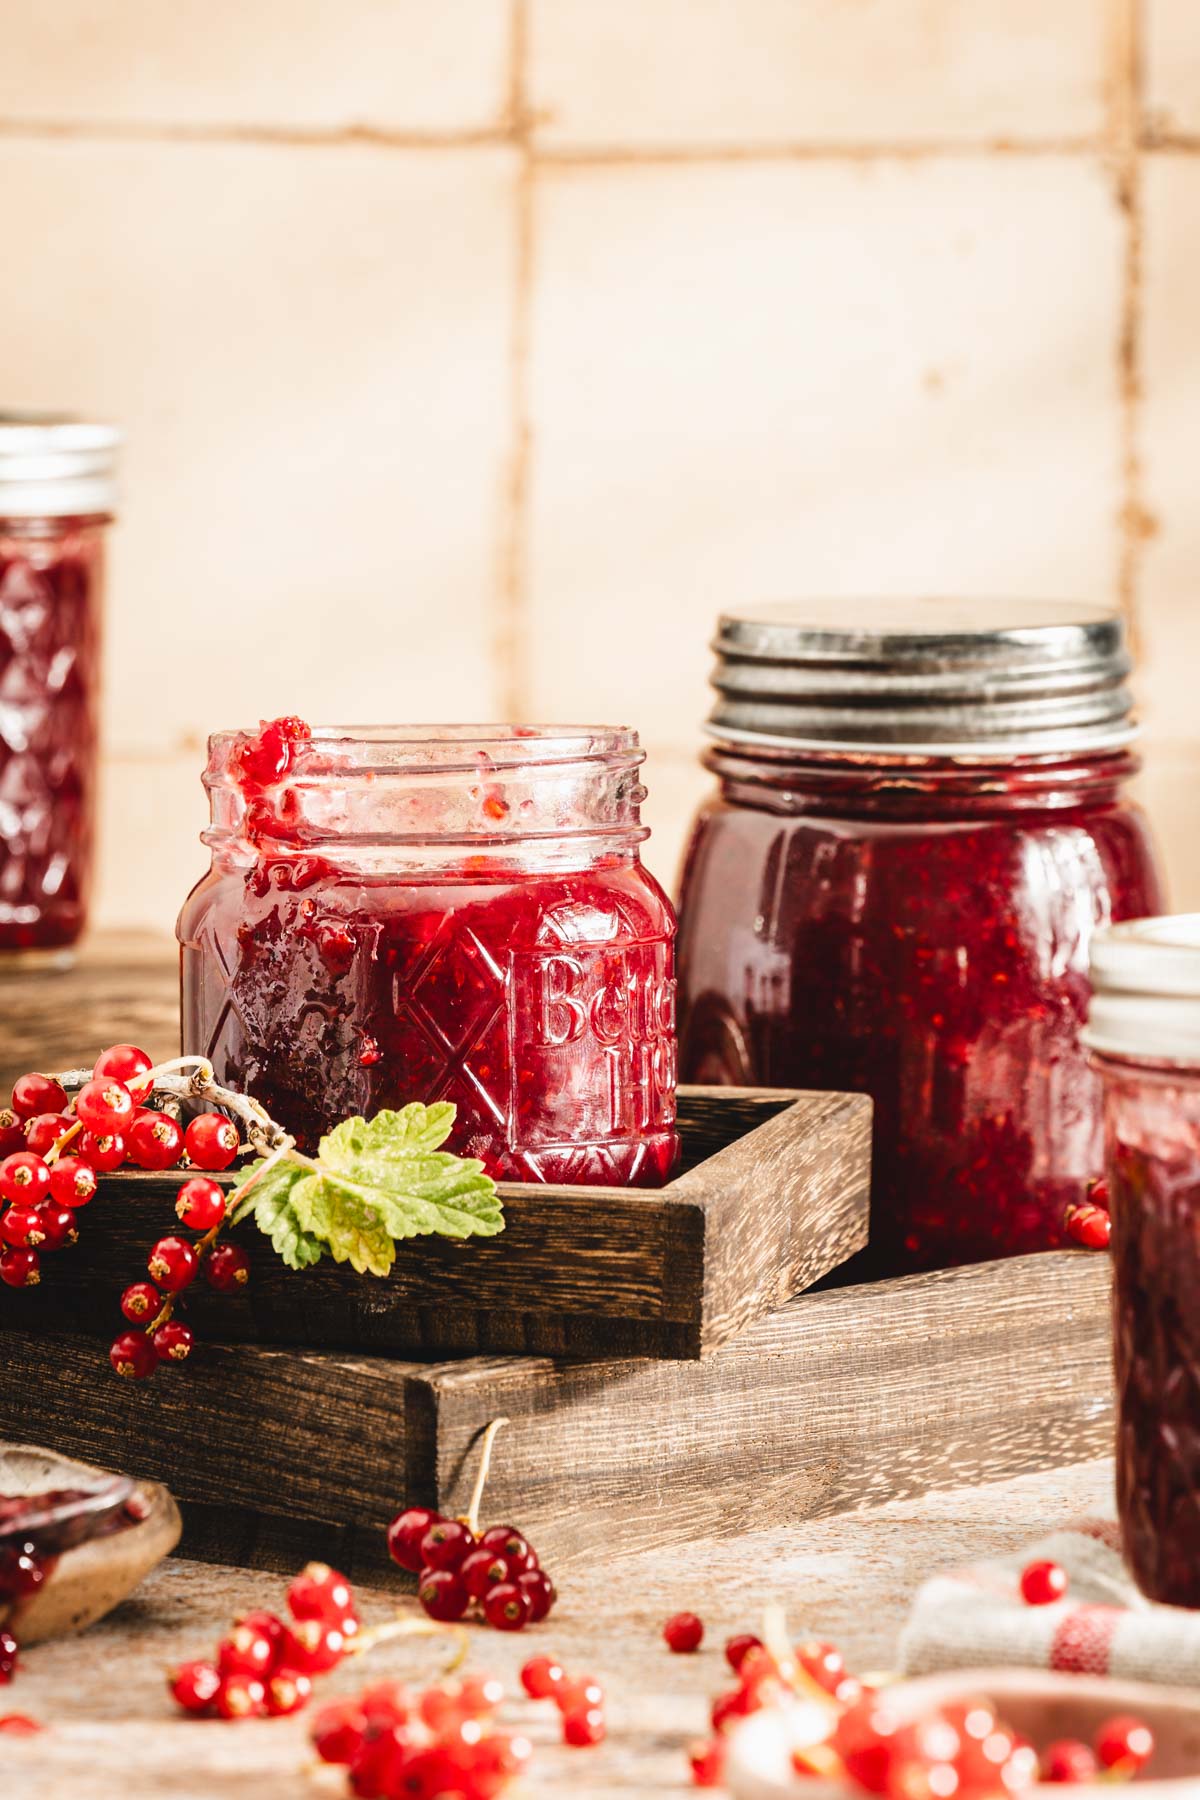
Spooned over buttered bread, layered into cakes, or served alongside roasted meats, this homemade jam is easy to make. With just a few ingredients and a little simmering, you can enjoy it long after the currant bushes have gone quiet.
Looking for more recipes like this?
How is this recipe different?
- Small batch recipe
- We used honey along with white sugar
- We added orange juice and vanilla
Key Ingredients and Substitutions
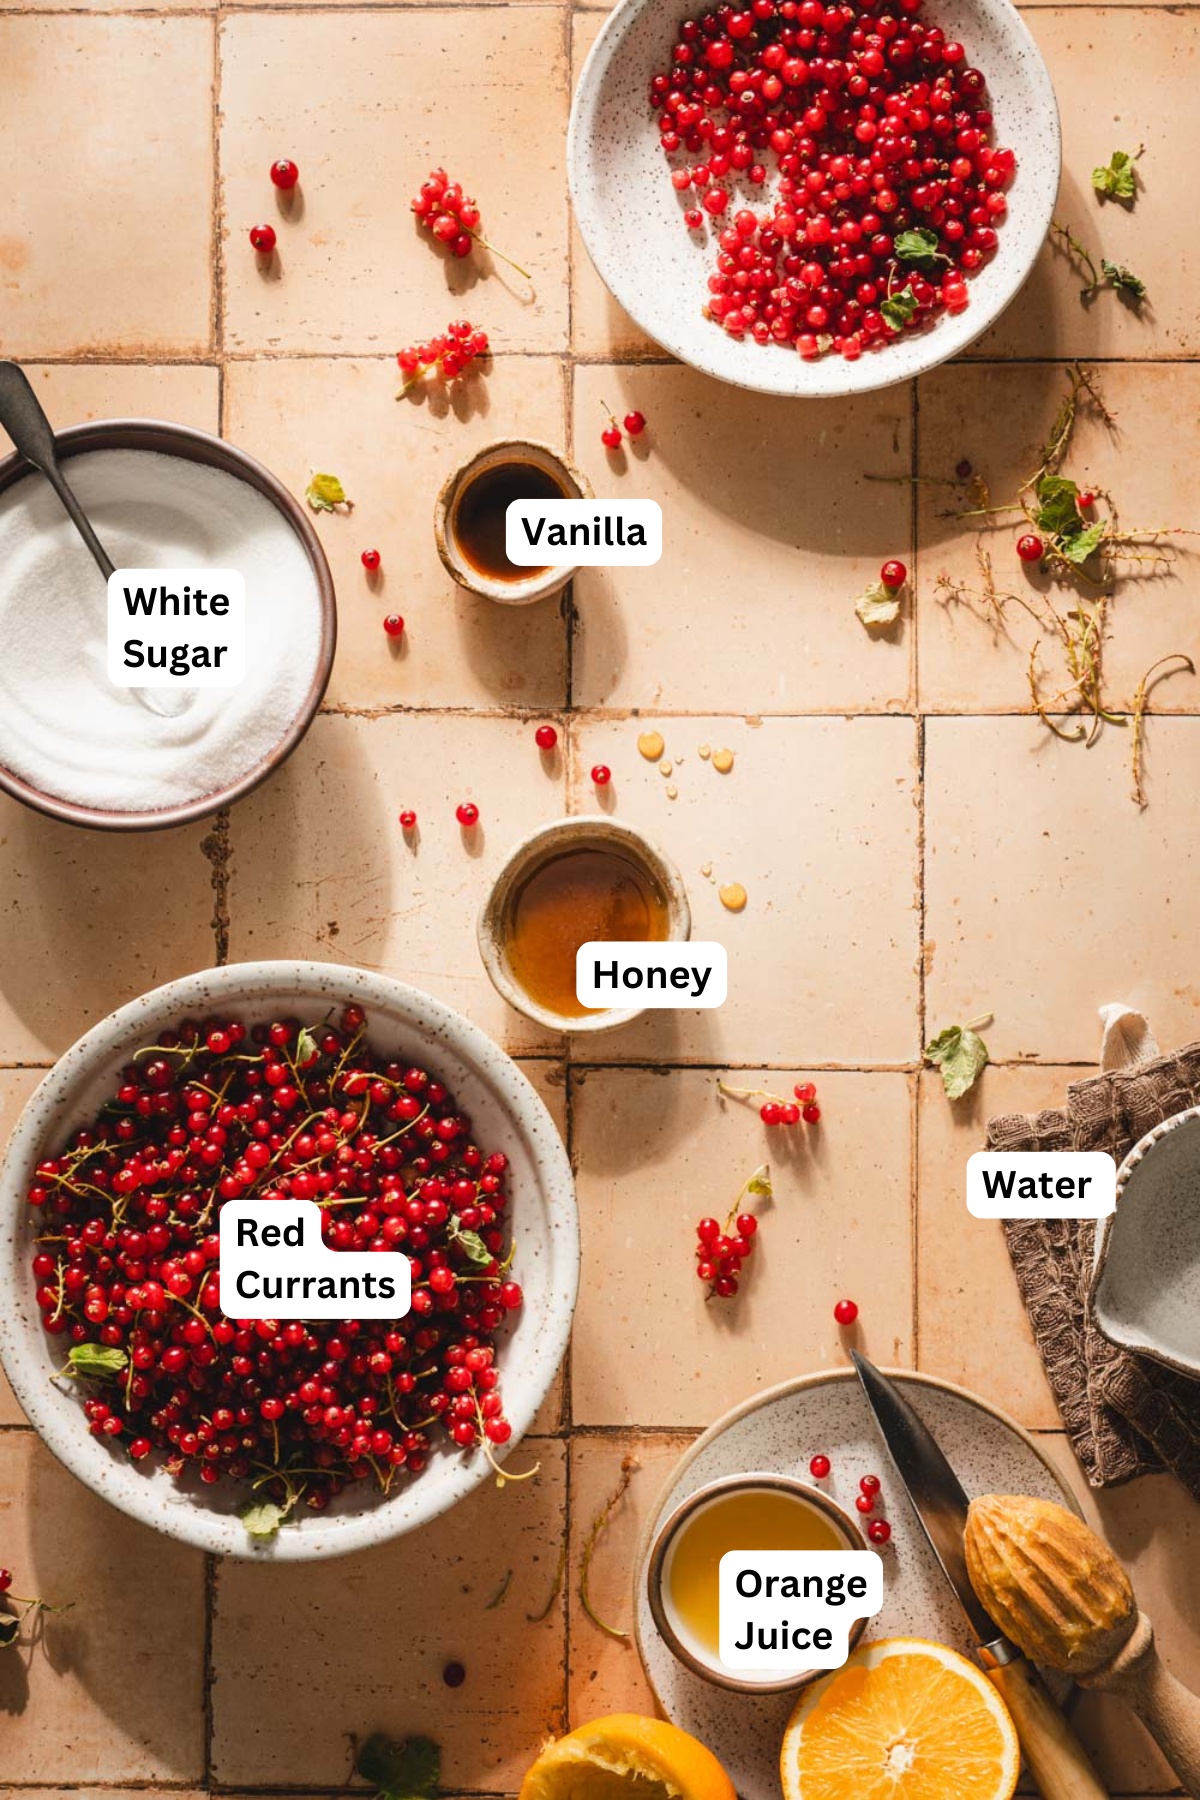
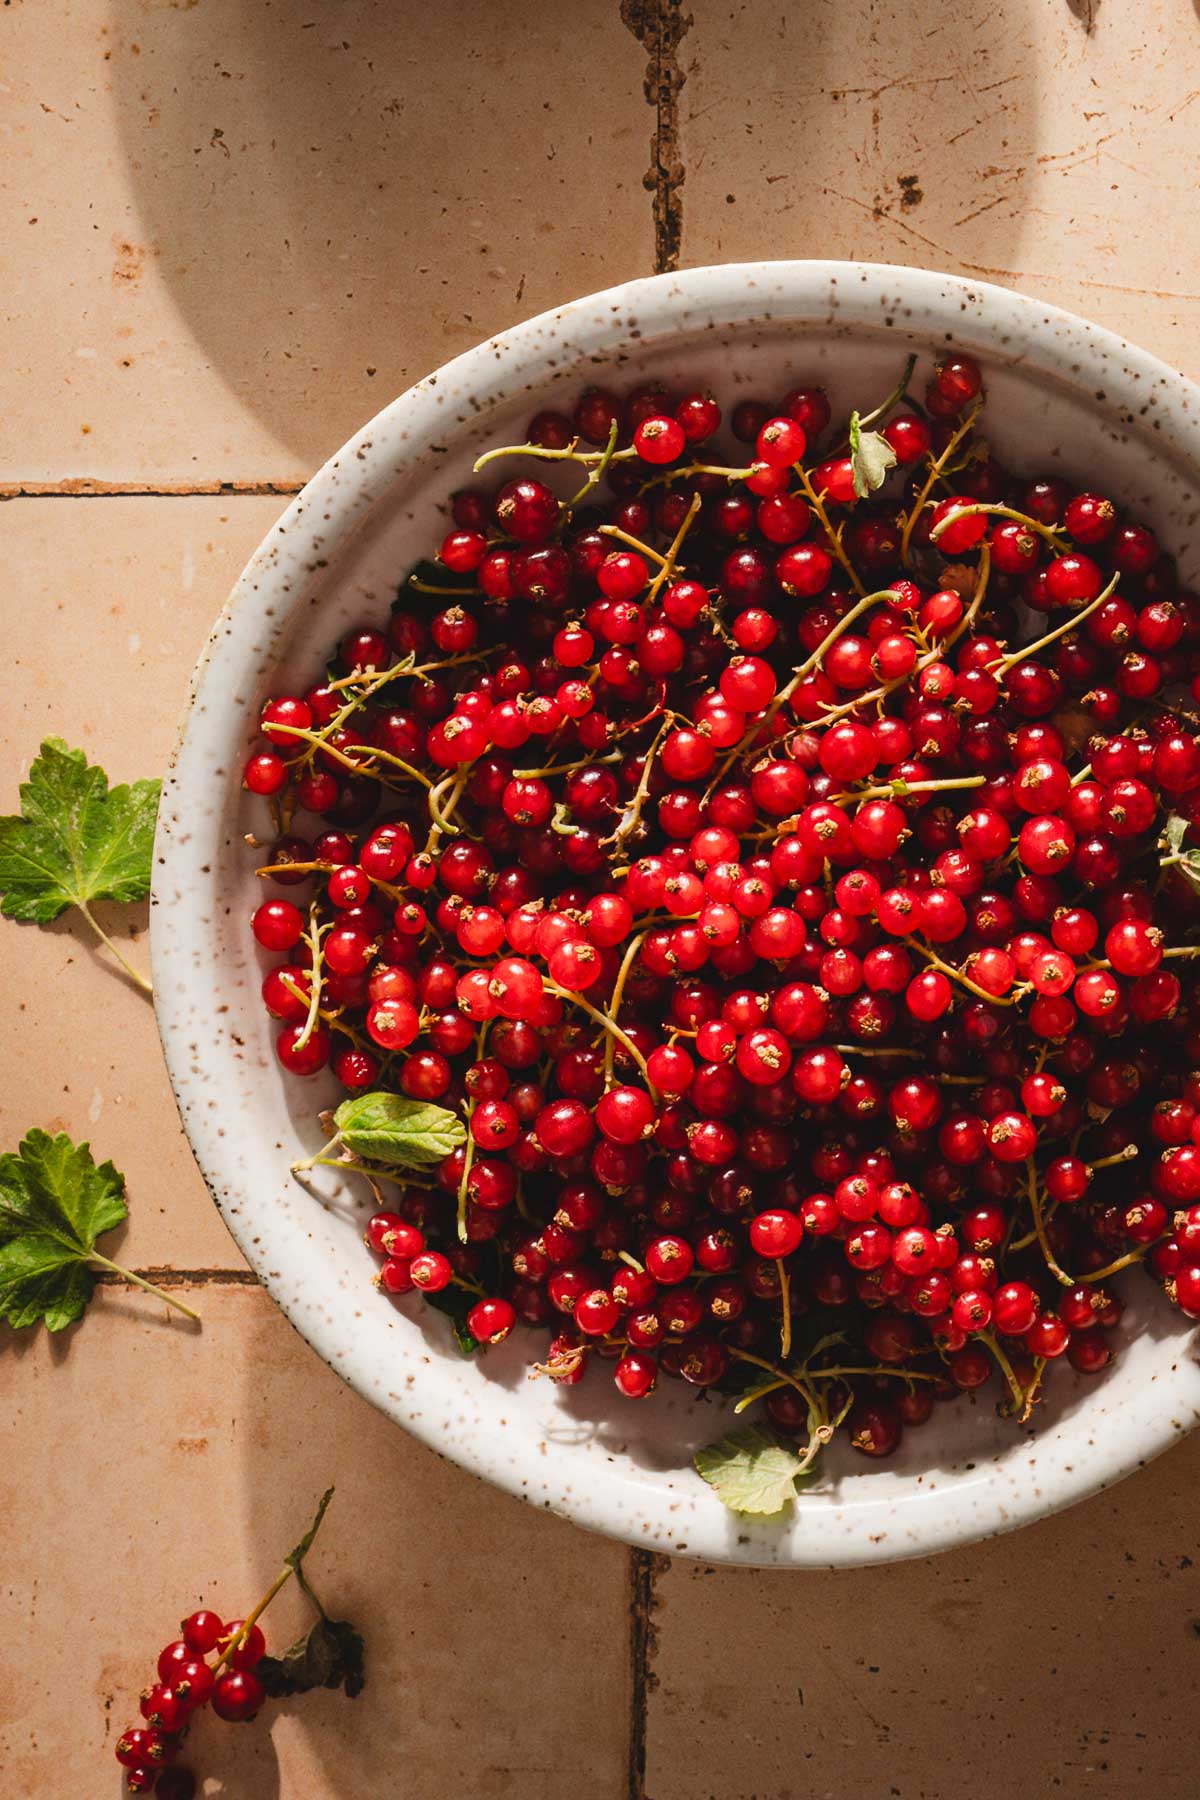
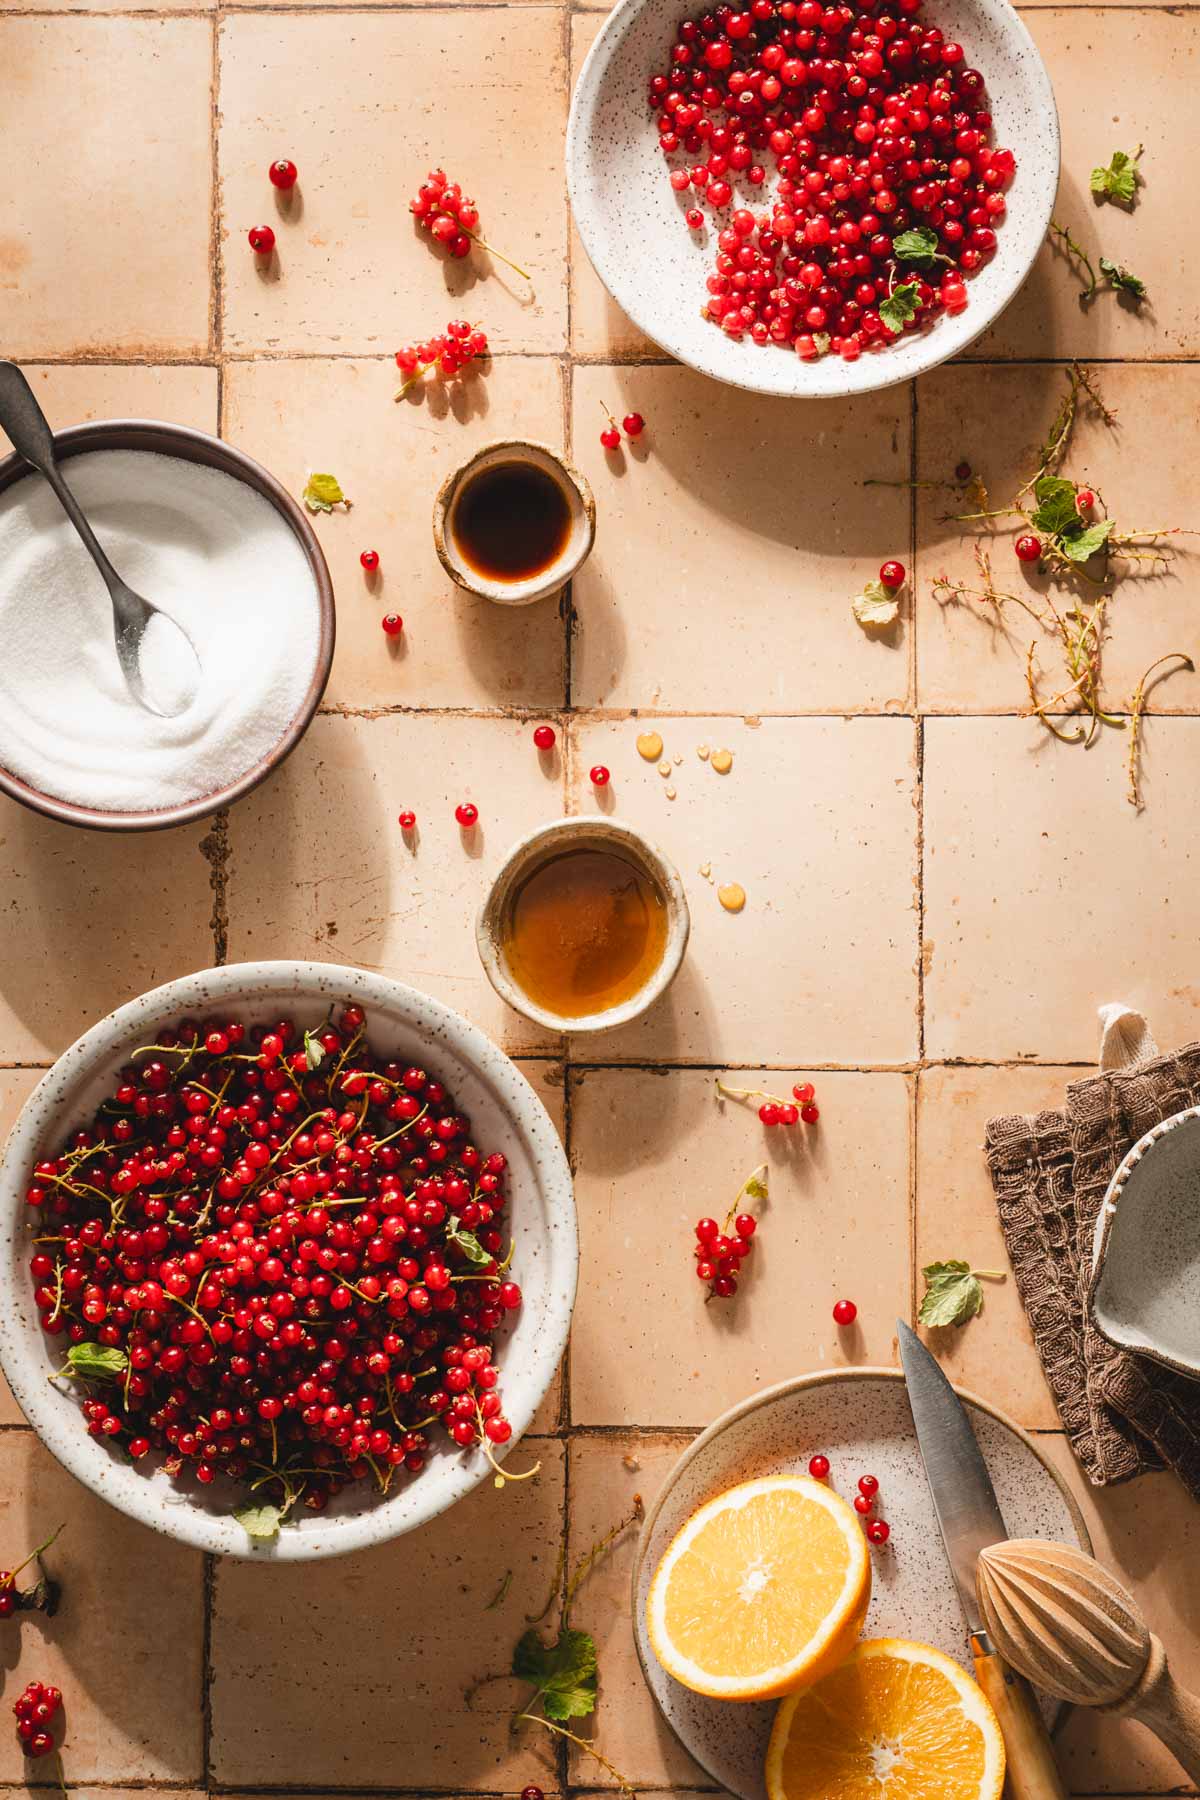
Fresh red currants are the star of this recipe, and their natural tartness means you don’t need to add much to achieve that perfect jammy balance. Choose firm, bright berries if possible, since overripe fruit can dull the flavor and color. If you can’t find red currants, white or black currants, goosberries, or even a mix with raspberries will give a similar effect, though the flavor will be slightly less sharp.
Sugar helps the jam set and keeps it shelf-stable. I keep the sugar level moderate so the currants’ natural tang shines through. You can adjust the amount of sugar if you prefer a sweeter spread. Adding a spoonful or two of honey rounds out the flavor with a subtle floral note. If you want to play around, you can test with brown sugar for a deeper, caramel-like taste, but it will darken the jam slightly.
A splash of orange juice replaces part of the water in this recipe, adding just enough citrusy sweetness. If you want something brighter, lemon juice and lemon zest work beautifully too. Both options are great. It depends on whether you want soft citrus warmth or a sharper, zesty lift.
Finally, a touch of vanilla is optional but highly recommended if you want a jam that leans more toward dessert pairings. It softens the tartness. If vanilla isn’t your style, you could try an herbal note instead. Add a sprig of thyme simmered briefly in the pot for a savory-leaning finish.
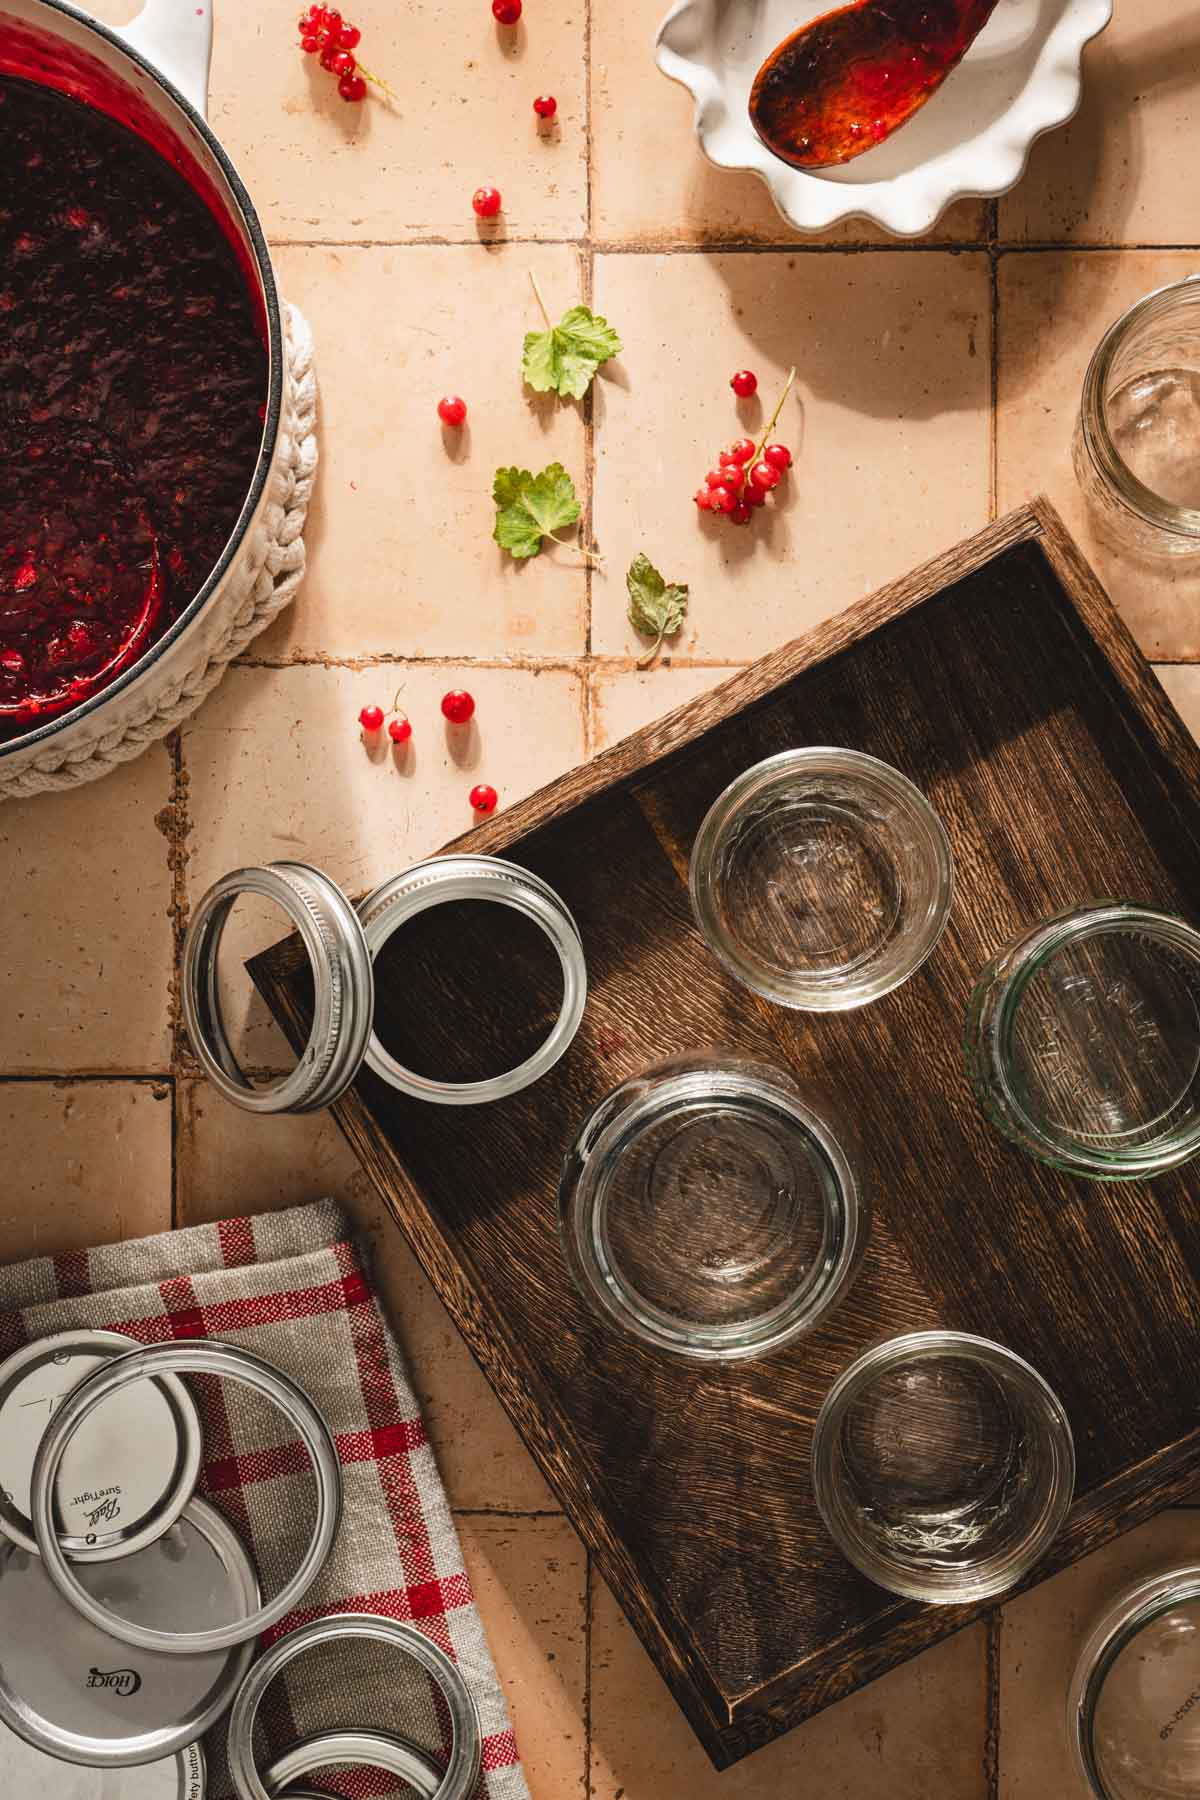
Equipment you will need
- large saucepan or jam pan
- wooden spoon
- small plate (for the wrinkle test)
- large cooking pot
- potato masher or immersion blender
- sterilized jars with lids
- fine mesh strainer or food mill (if making jelly)
- small bowl
- ladle and funnel (for easy jar filling)
- small jars
How to Sterilize Jars for Jam
Sterilizing jars properly is just as important as making the jam itself. It keeps your preserves safe, fresh, and shelf-stable.
Steps to Sterilize Jars
- Clean jars and lids with hot, soapy water. Rinse well.
- Place jars (not the lids) in a 250°F (120°C) oven for about 15 minutes, or submerge them in boiling water for 10 minutes.
- Simmer lids in hot (not boiling) water for 5 minutes. Don’t put them in the oven, as high heat can damage the sealing compound.
- Always pour hot jam into hot jars. Cold jars can crack when hit with hot jam.
- Wipe jar rims, place lids on immediately, and tighten lightly. Invert jars for 5 minutes to create a vacuum seal, then turn upright to cool.
Top Tips & Common Mistakes to Avoid
- Keep jars hot until use – don’t sterilize too early; if jars cool, condensation can invite bacteria.
- Leave headspace – about ½ inch (1 cm) at the top of the jar prevents overflow and helps seal properly.
- Wipe the rims – a sticky rim can stop the lid from sealing.
- Don’t reuse old lids – jars are fine to reuse, but lids should be new for each batch.
- Don’t overtighten – screw the lids on snug but not overly tight. A little give helps air escape for a better seal.
- No shortcuts – simply rinsing jars isn’t enough—heat sterilization is key for safety.
Top Tips
Choose ripe but firm berries – overripe currants can make the jam dull in flavor and color; firm berries keep it bright and tangy.
Small batches cook best – less fruit in the pan means quicker cooking, which helps preserve that vibrant ruby-red color.
Adjust the sugar to taste – start with less and add more if needed; the natural tartness is what makes red currant jam so special.
Don’t skip the plate test – it’s the easiest way to check the set without overcooking (which can turn jam thick and gummy).
Flavor at the end – if adding vanilla or herbs, stir them in during the last few minutes so they stay fresh and aromatic.
Sterilize jars properly – hot jam in hot jars keeps it safe for long-term storage and prevents spoilage.
How to make it
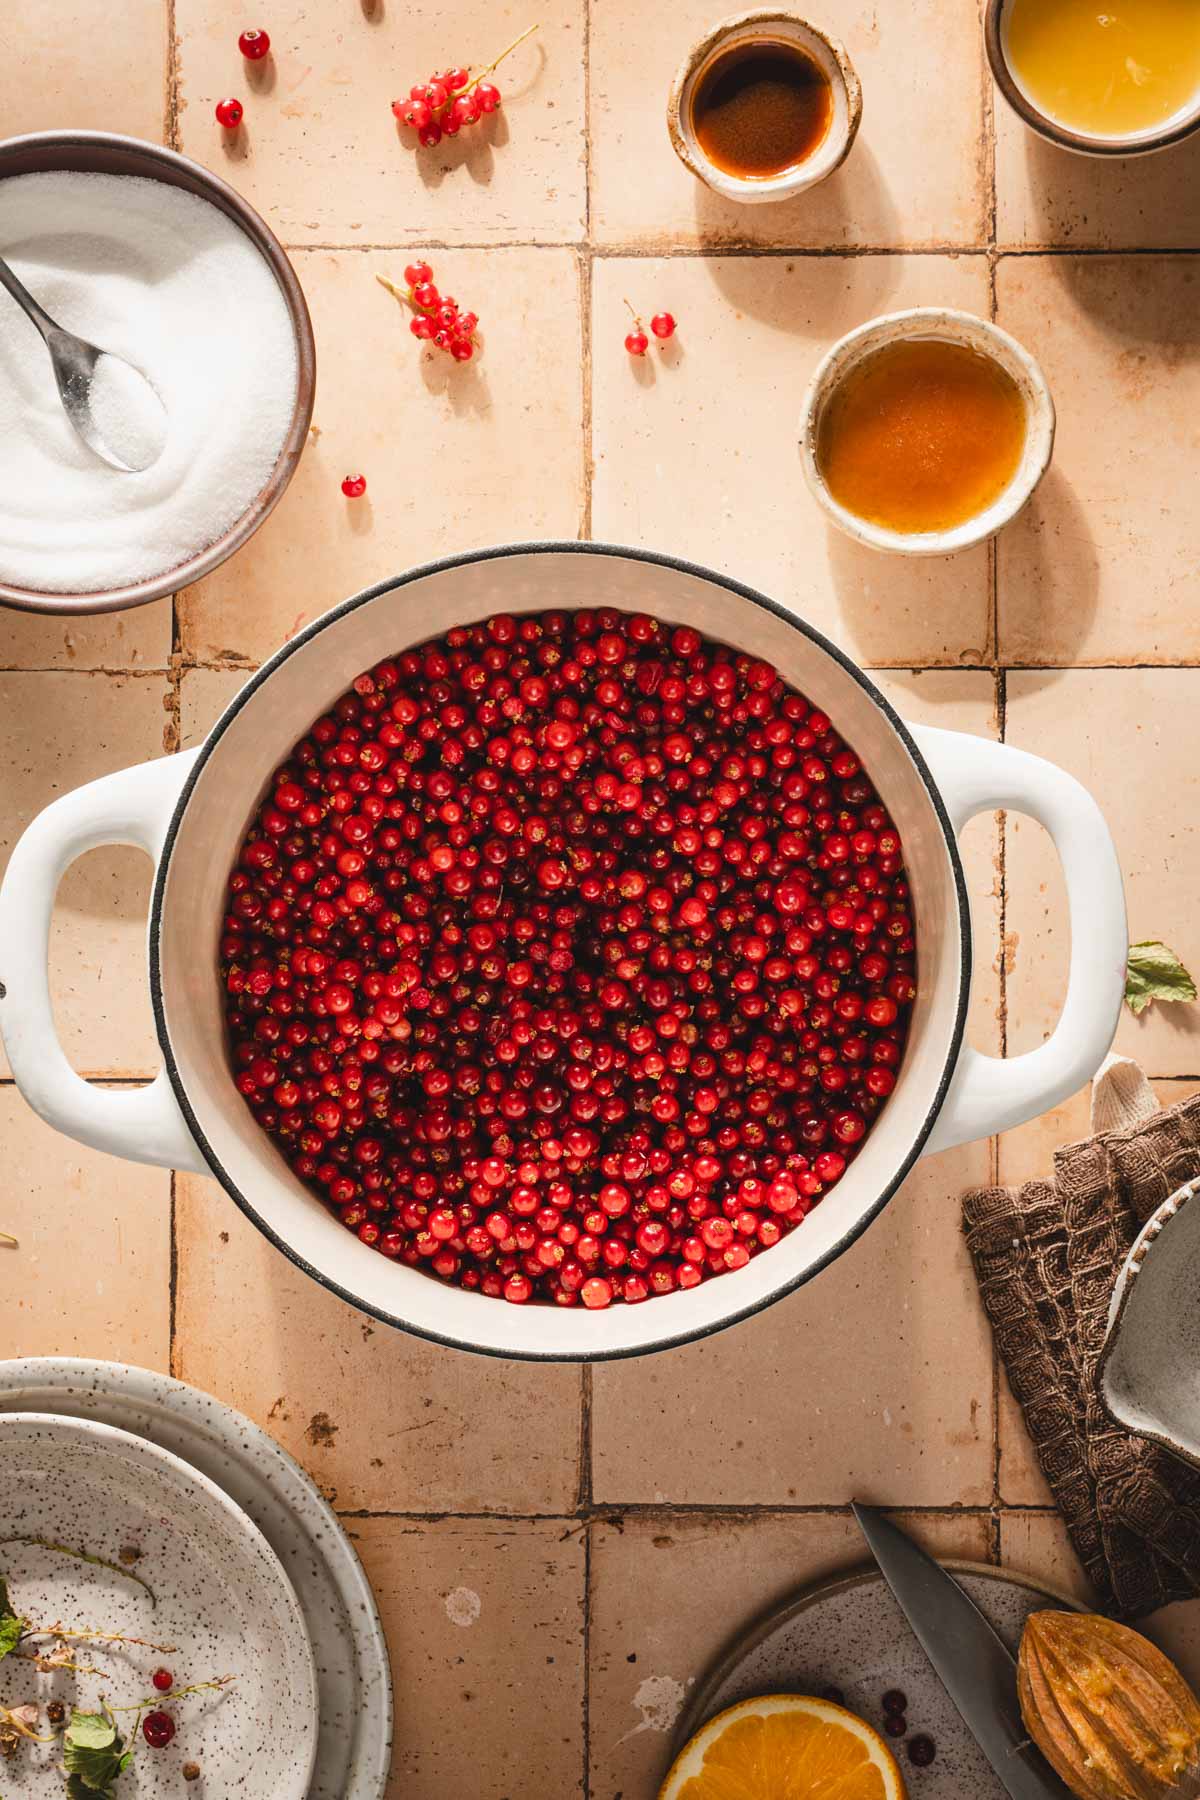
- Rinse red currants gently and remove stems.
- In a large saucepan, combine currants, orange juice, and water. Simmer over medium-low heat until currants burst and release their juice (about 5–7 minutes).

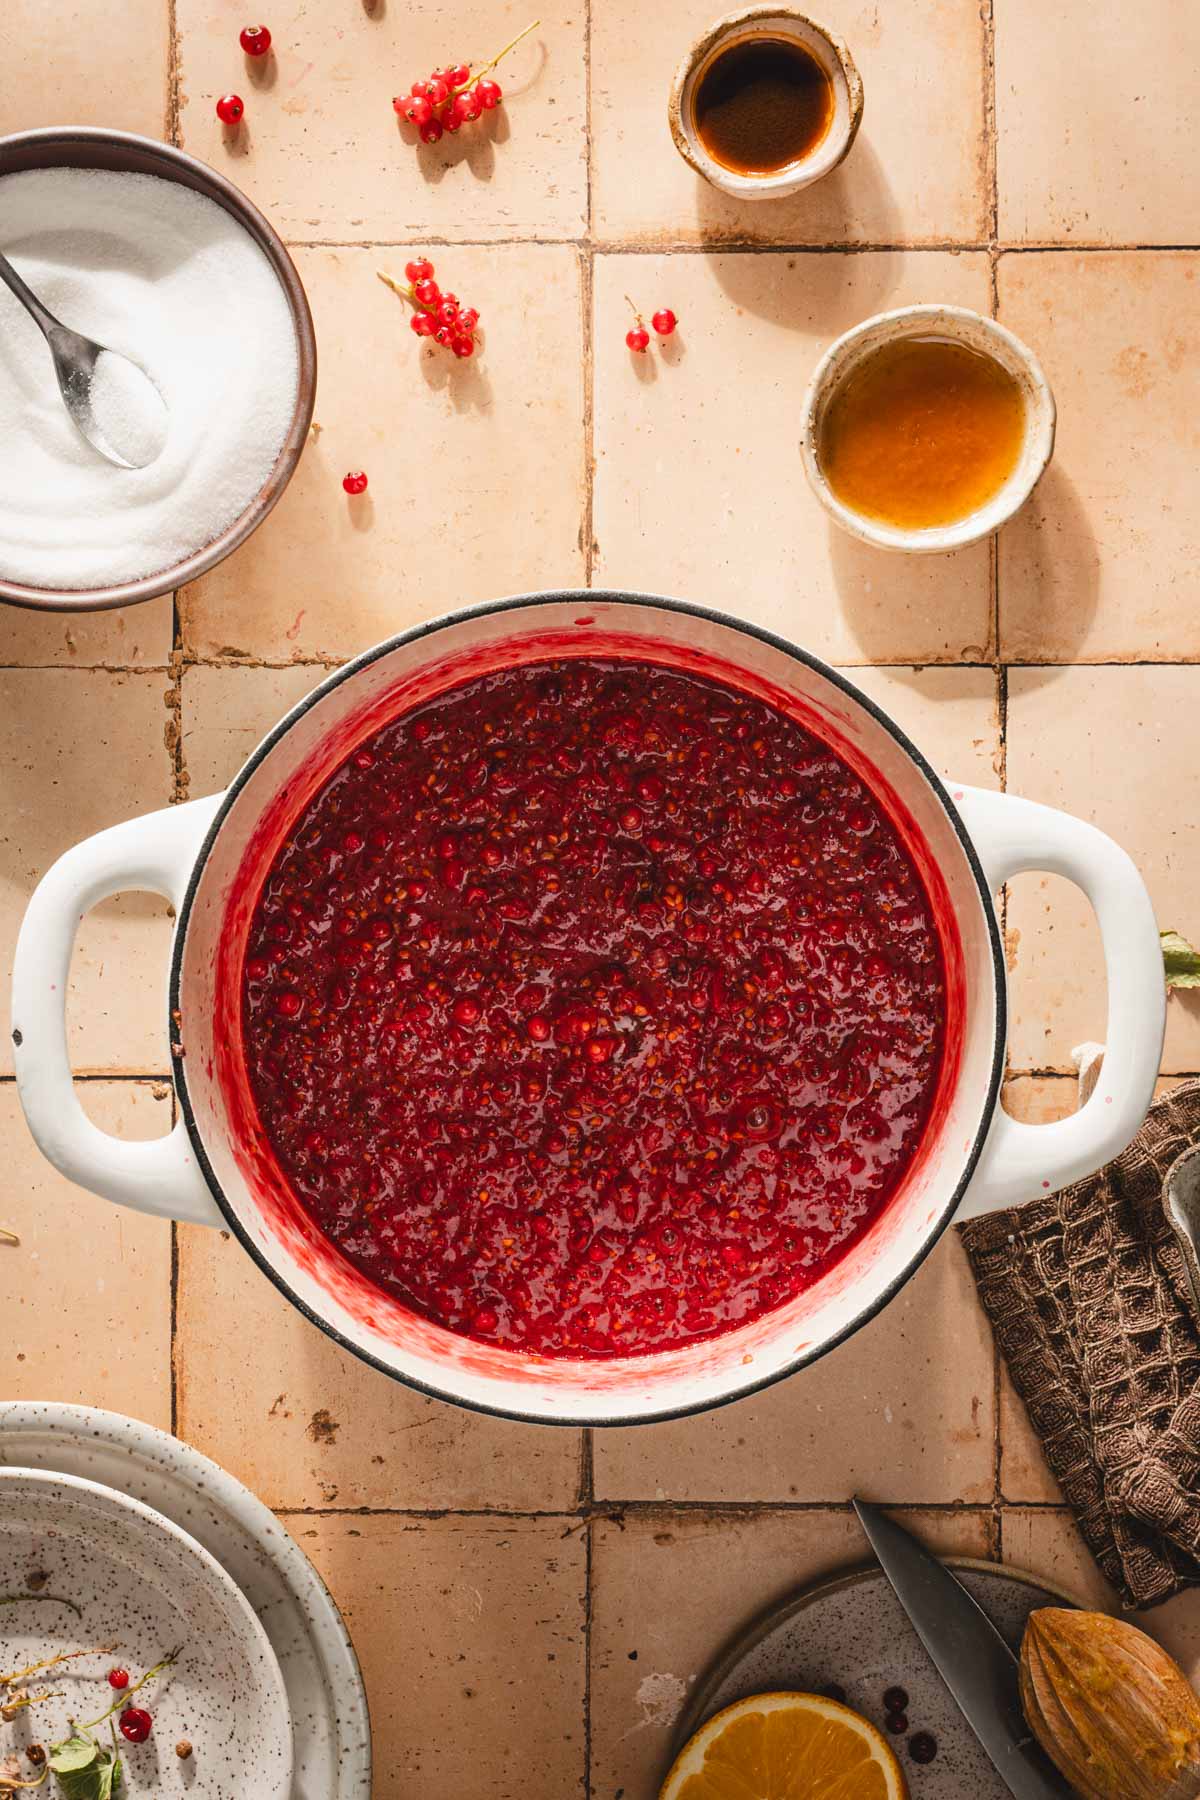
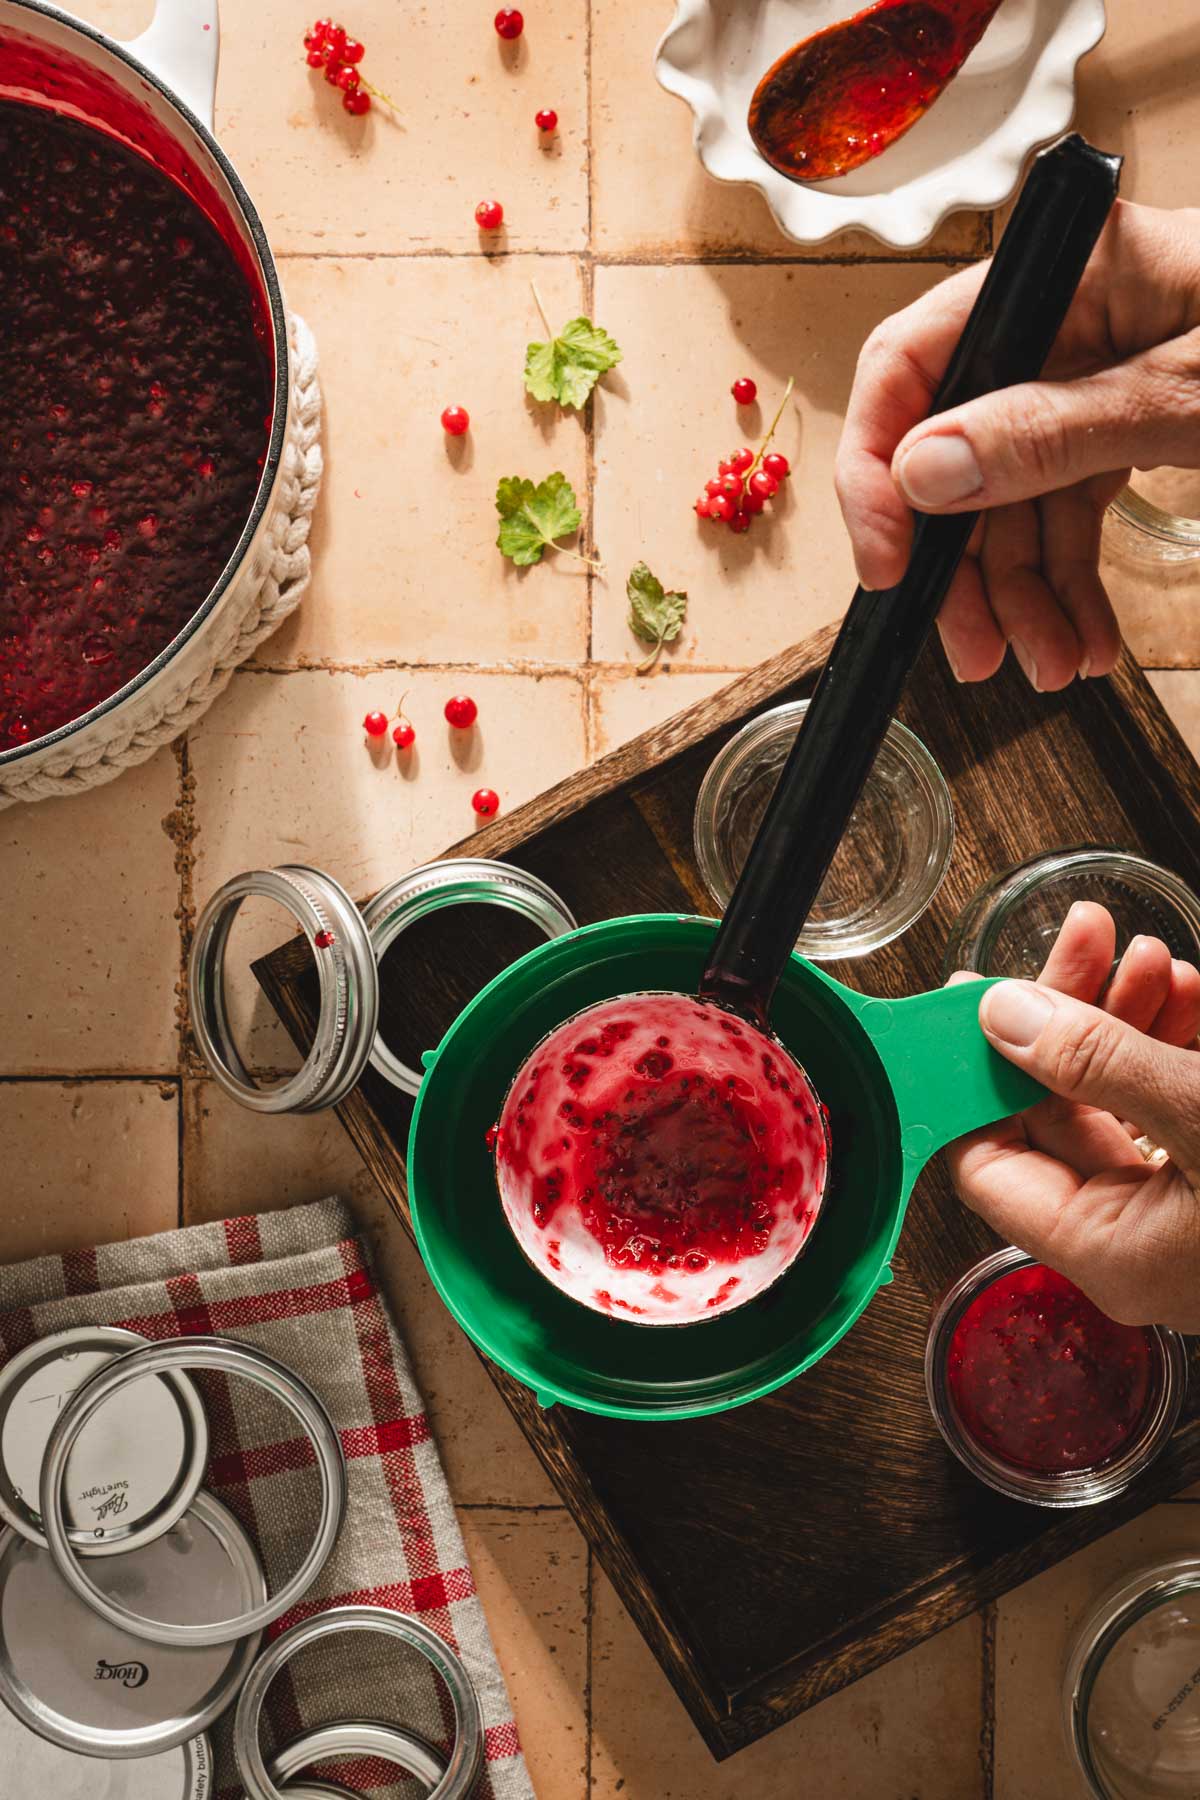
- Use an immersion blender to lightly pulse the jam. Stop blending when you’ve broken down some berries but still have chunks for texture.
- If you prefer a smooth jelly, press the mixture through a fine mesh strainer to remove skins and seeds, then return the juice to the pan.
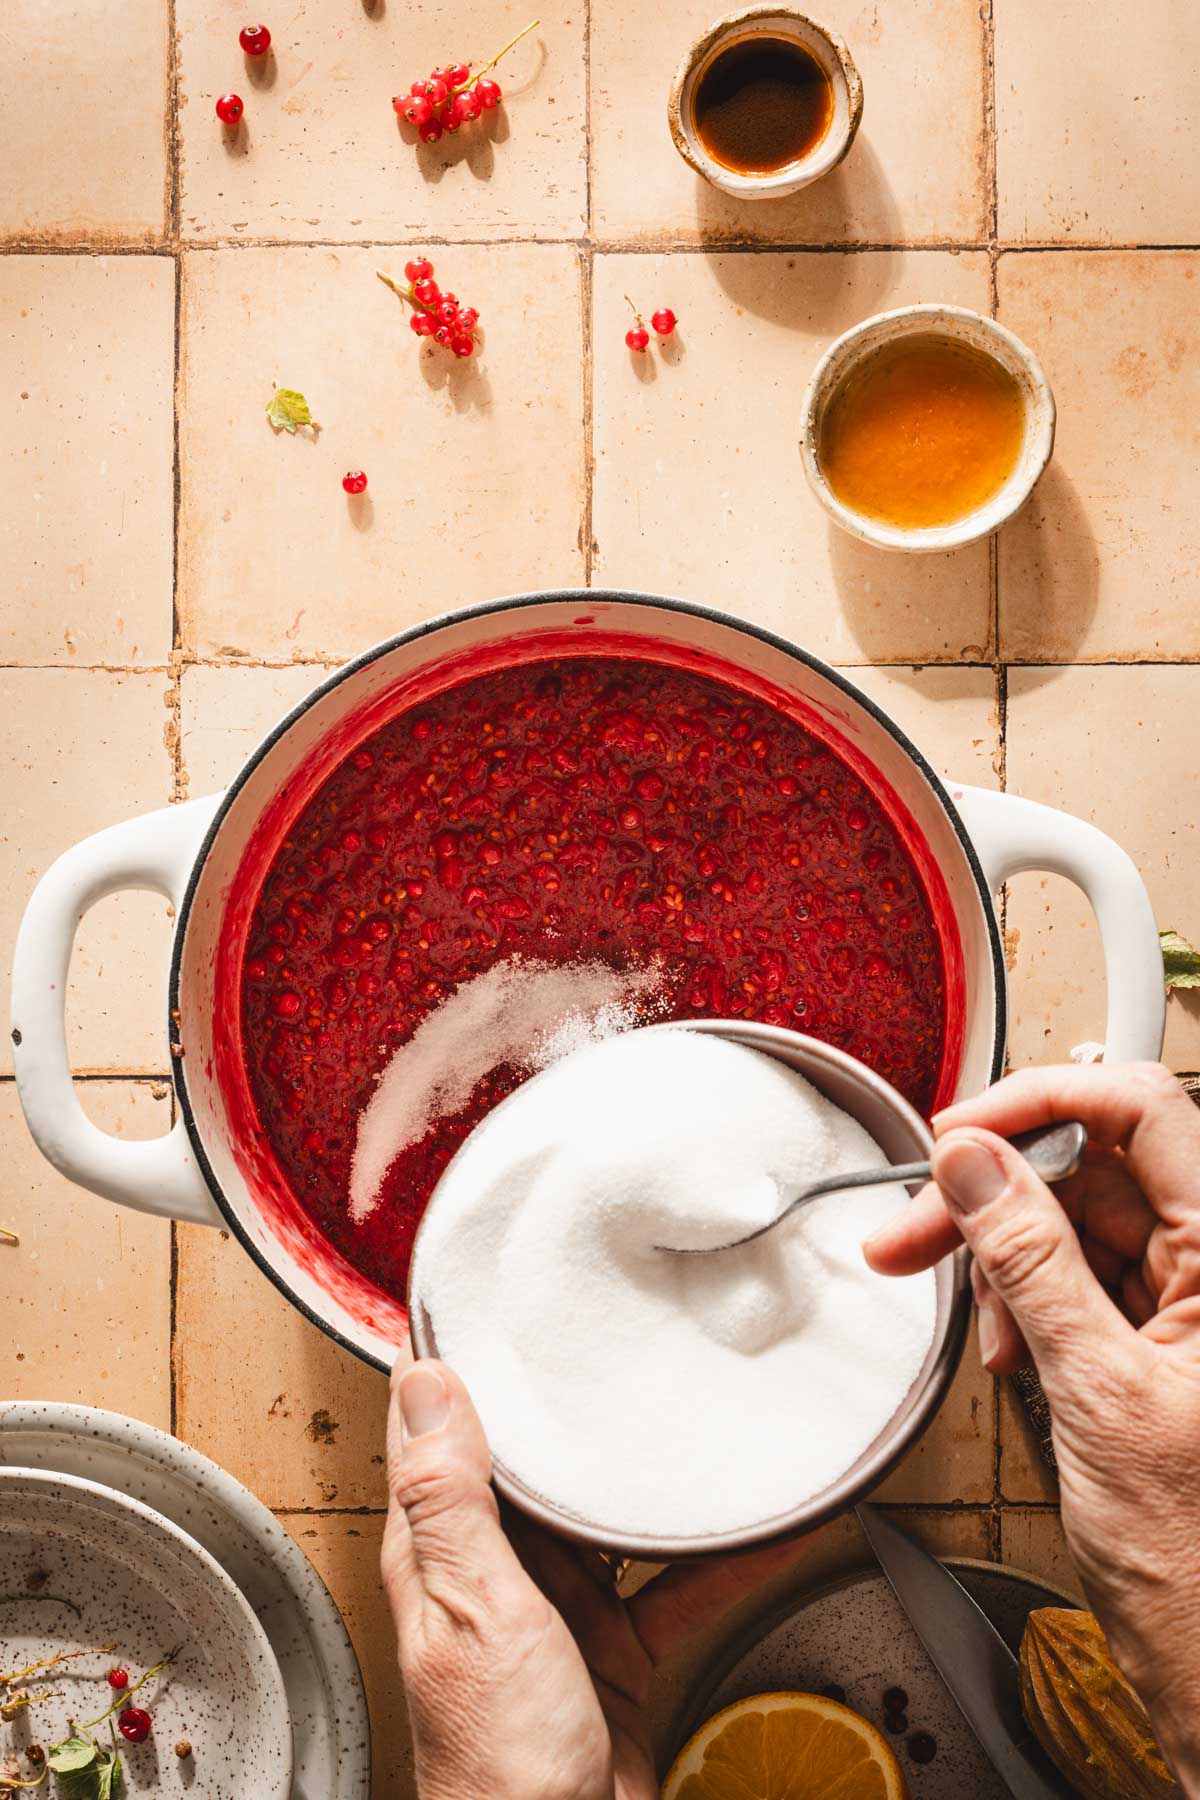
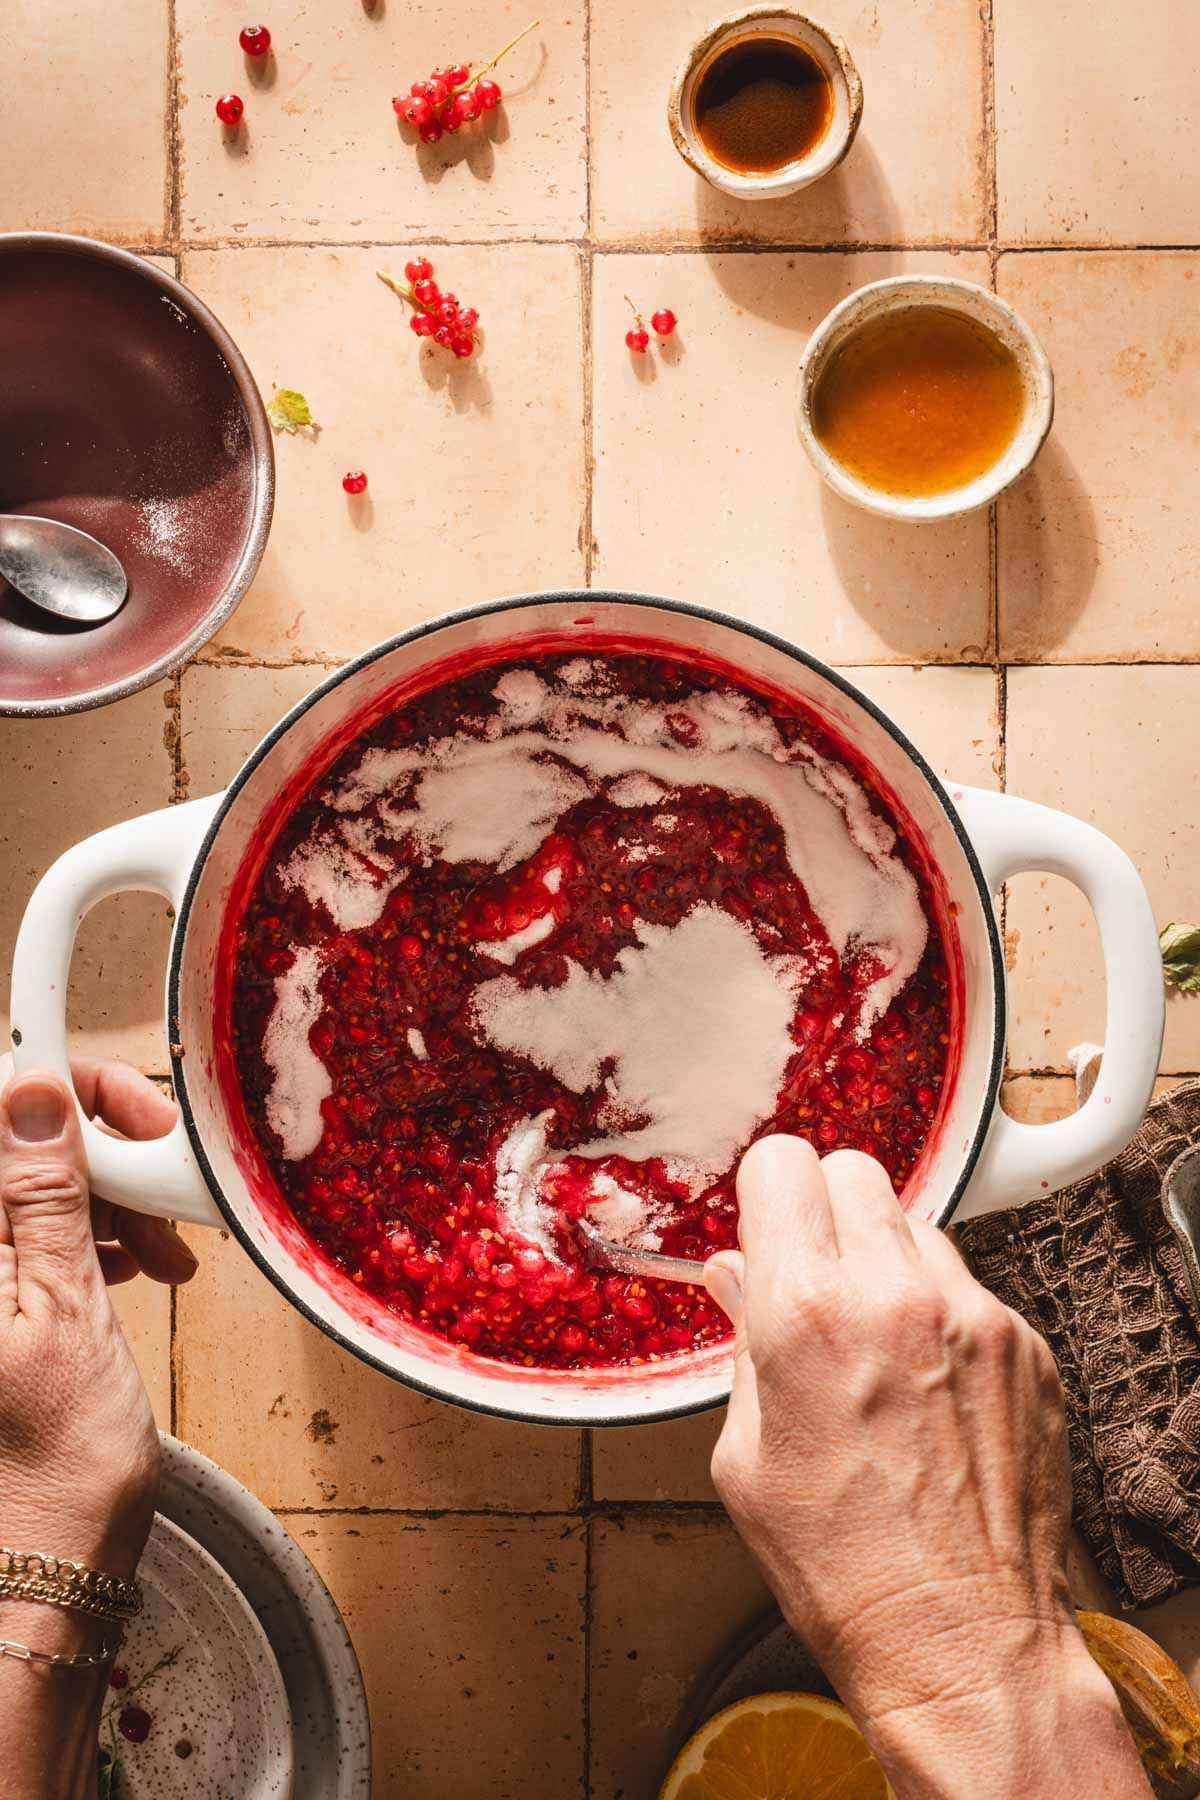
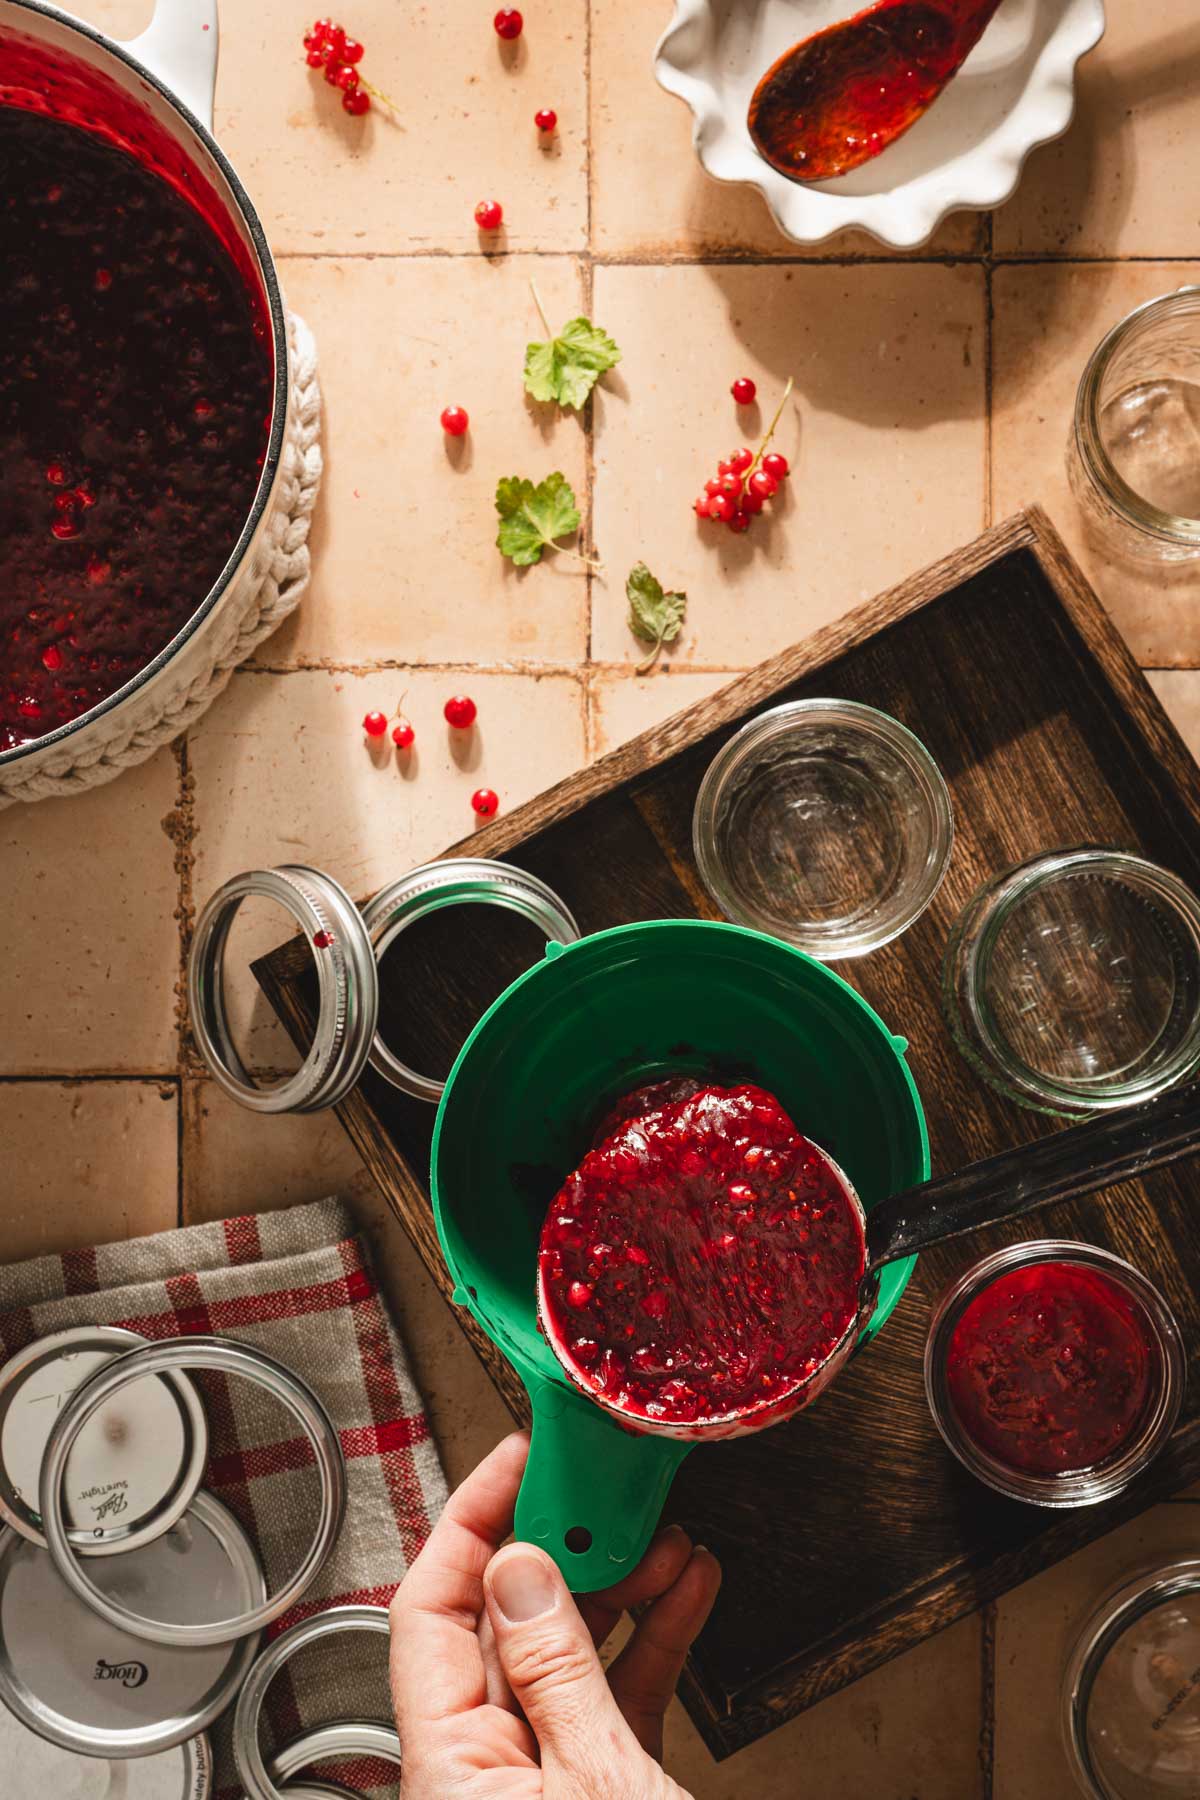
- Stir in sugar. Cook over medium heat, stirring often, until sugar dissolves and mixture thickens slightly.
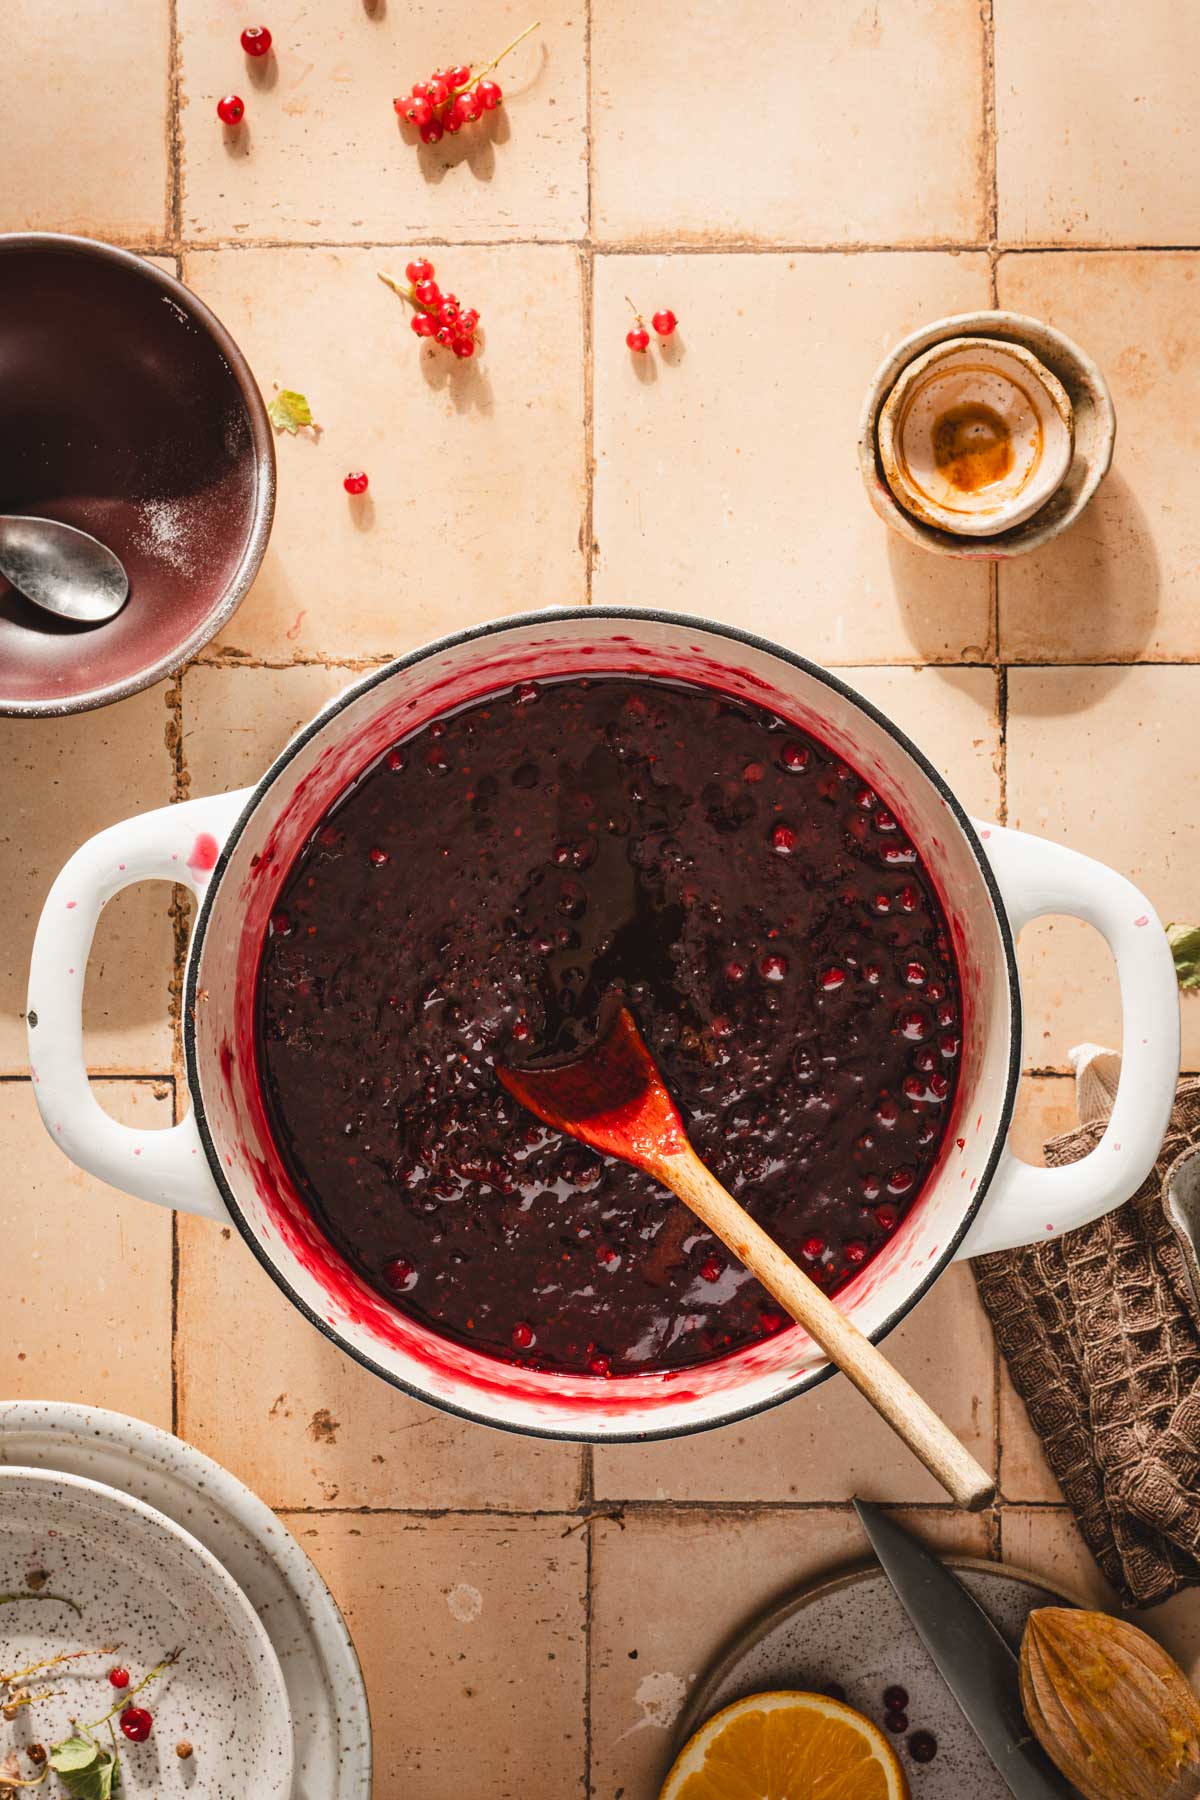
- Continue cooking for 10–15 minutes, or until jam reaches your desired thickness. Use the plate test: place a small spoonful on a chilled plate, let it sit for 30 seconds, and push it with your finger—if it wrinkles, it’s ready.
- Remove pan from heat. Stir in honey and vanilla. Mix well until combined.
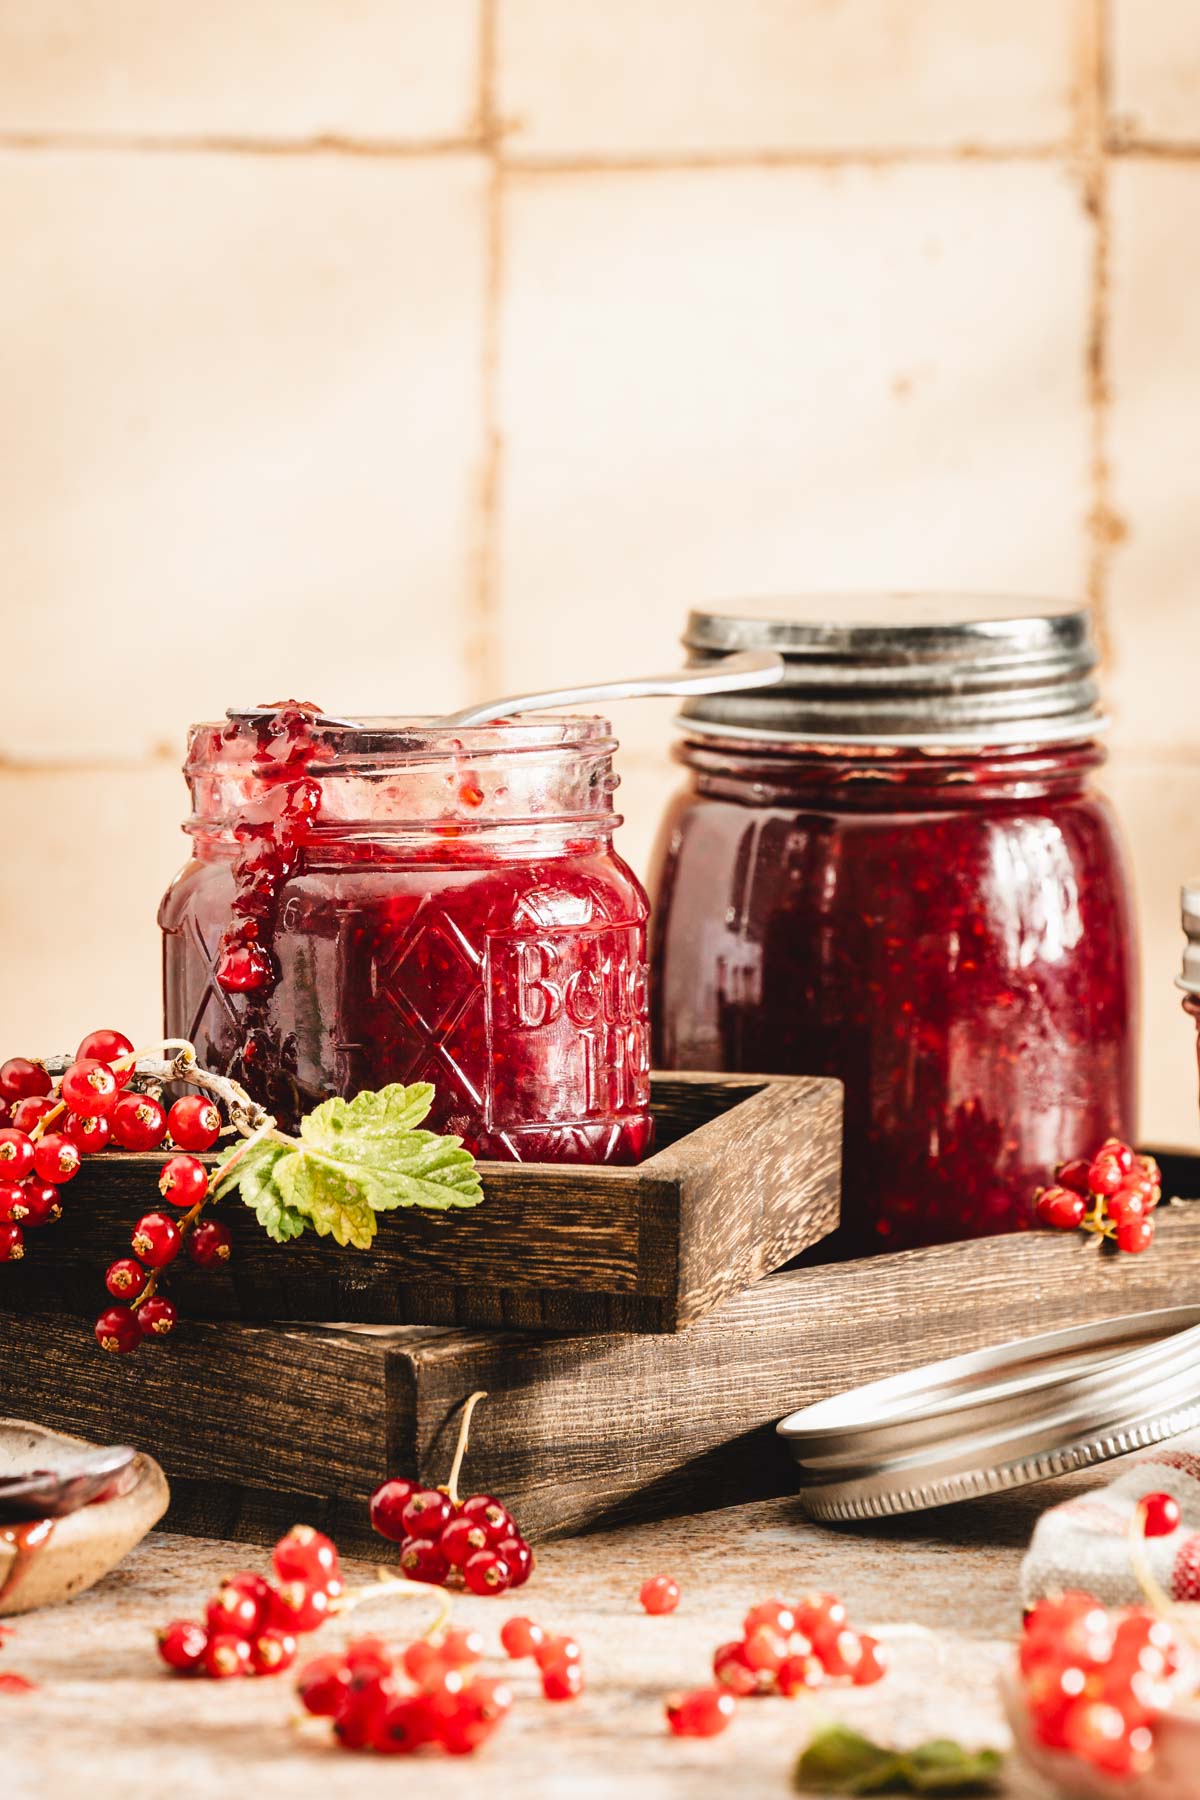
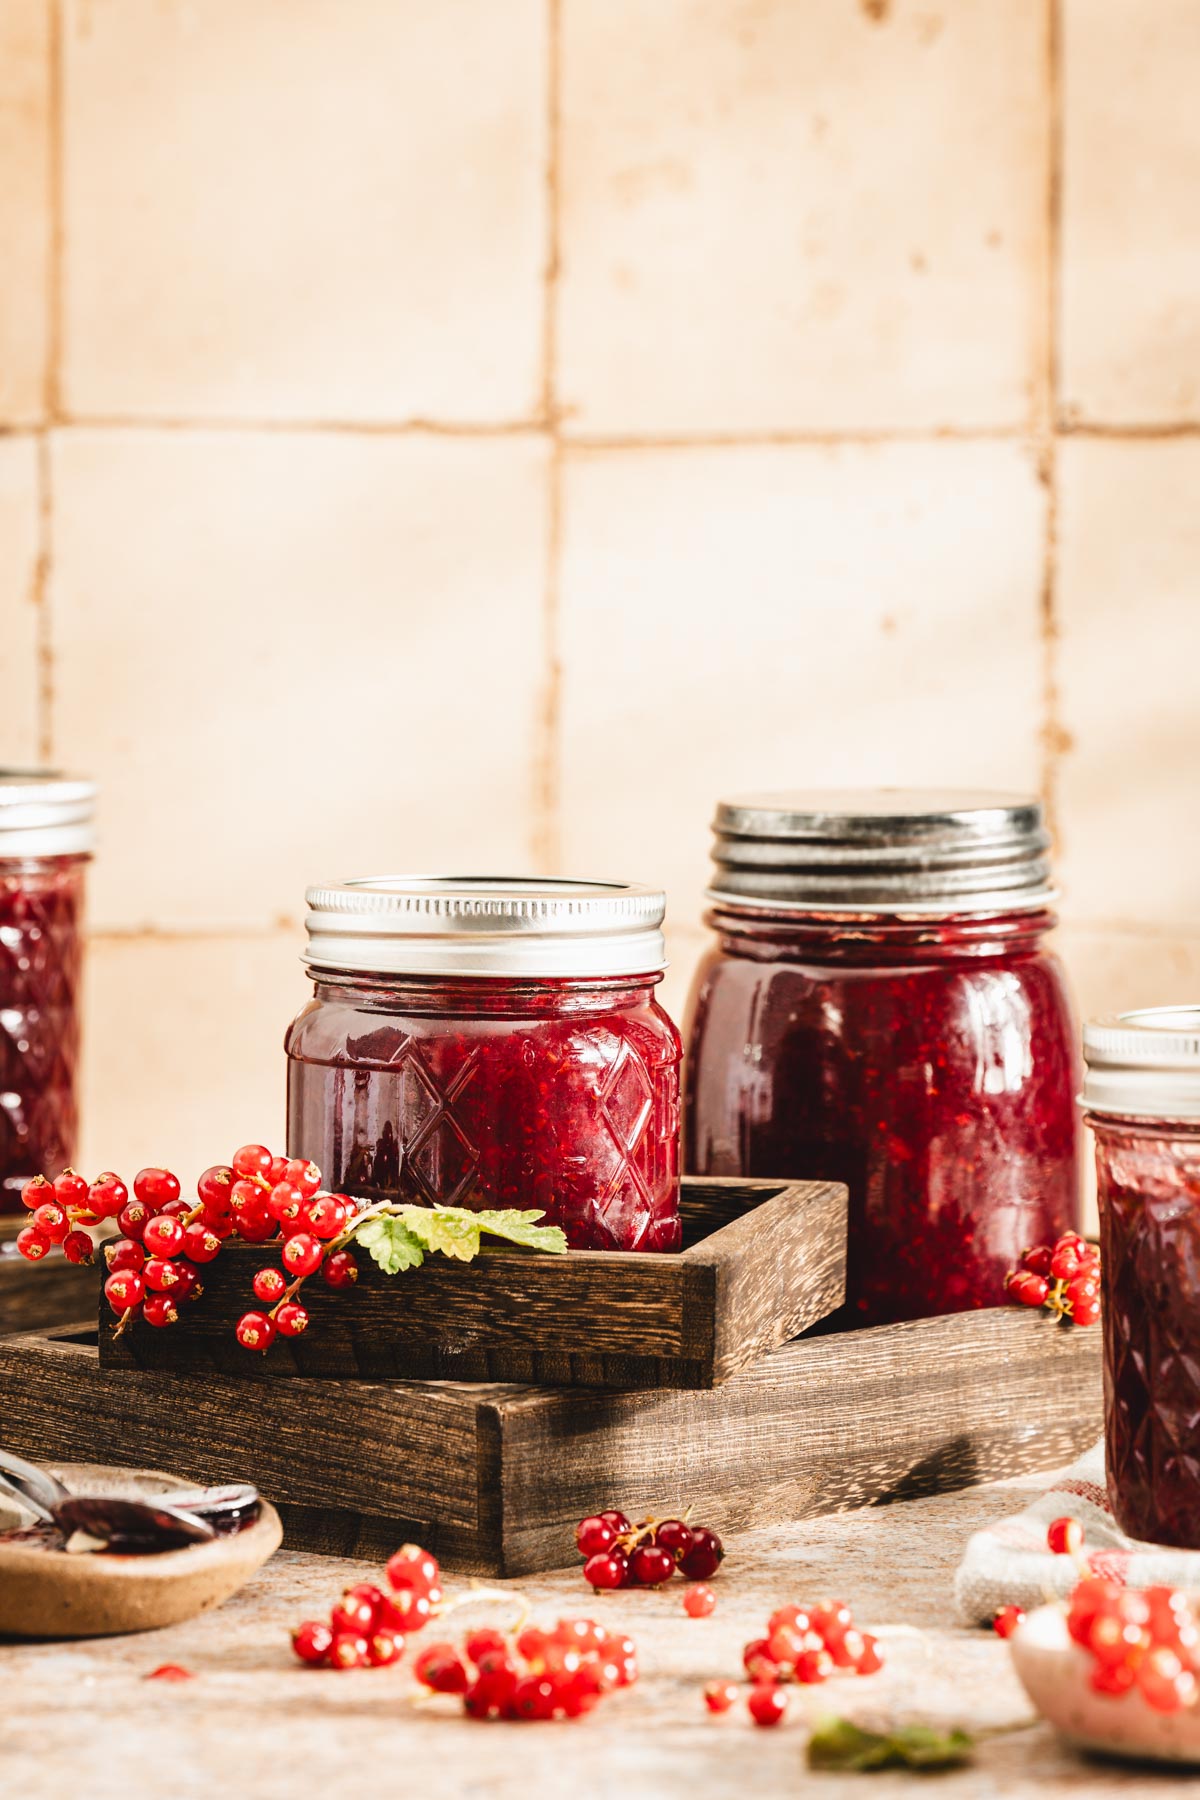
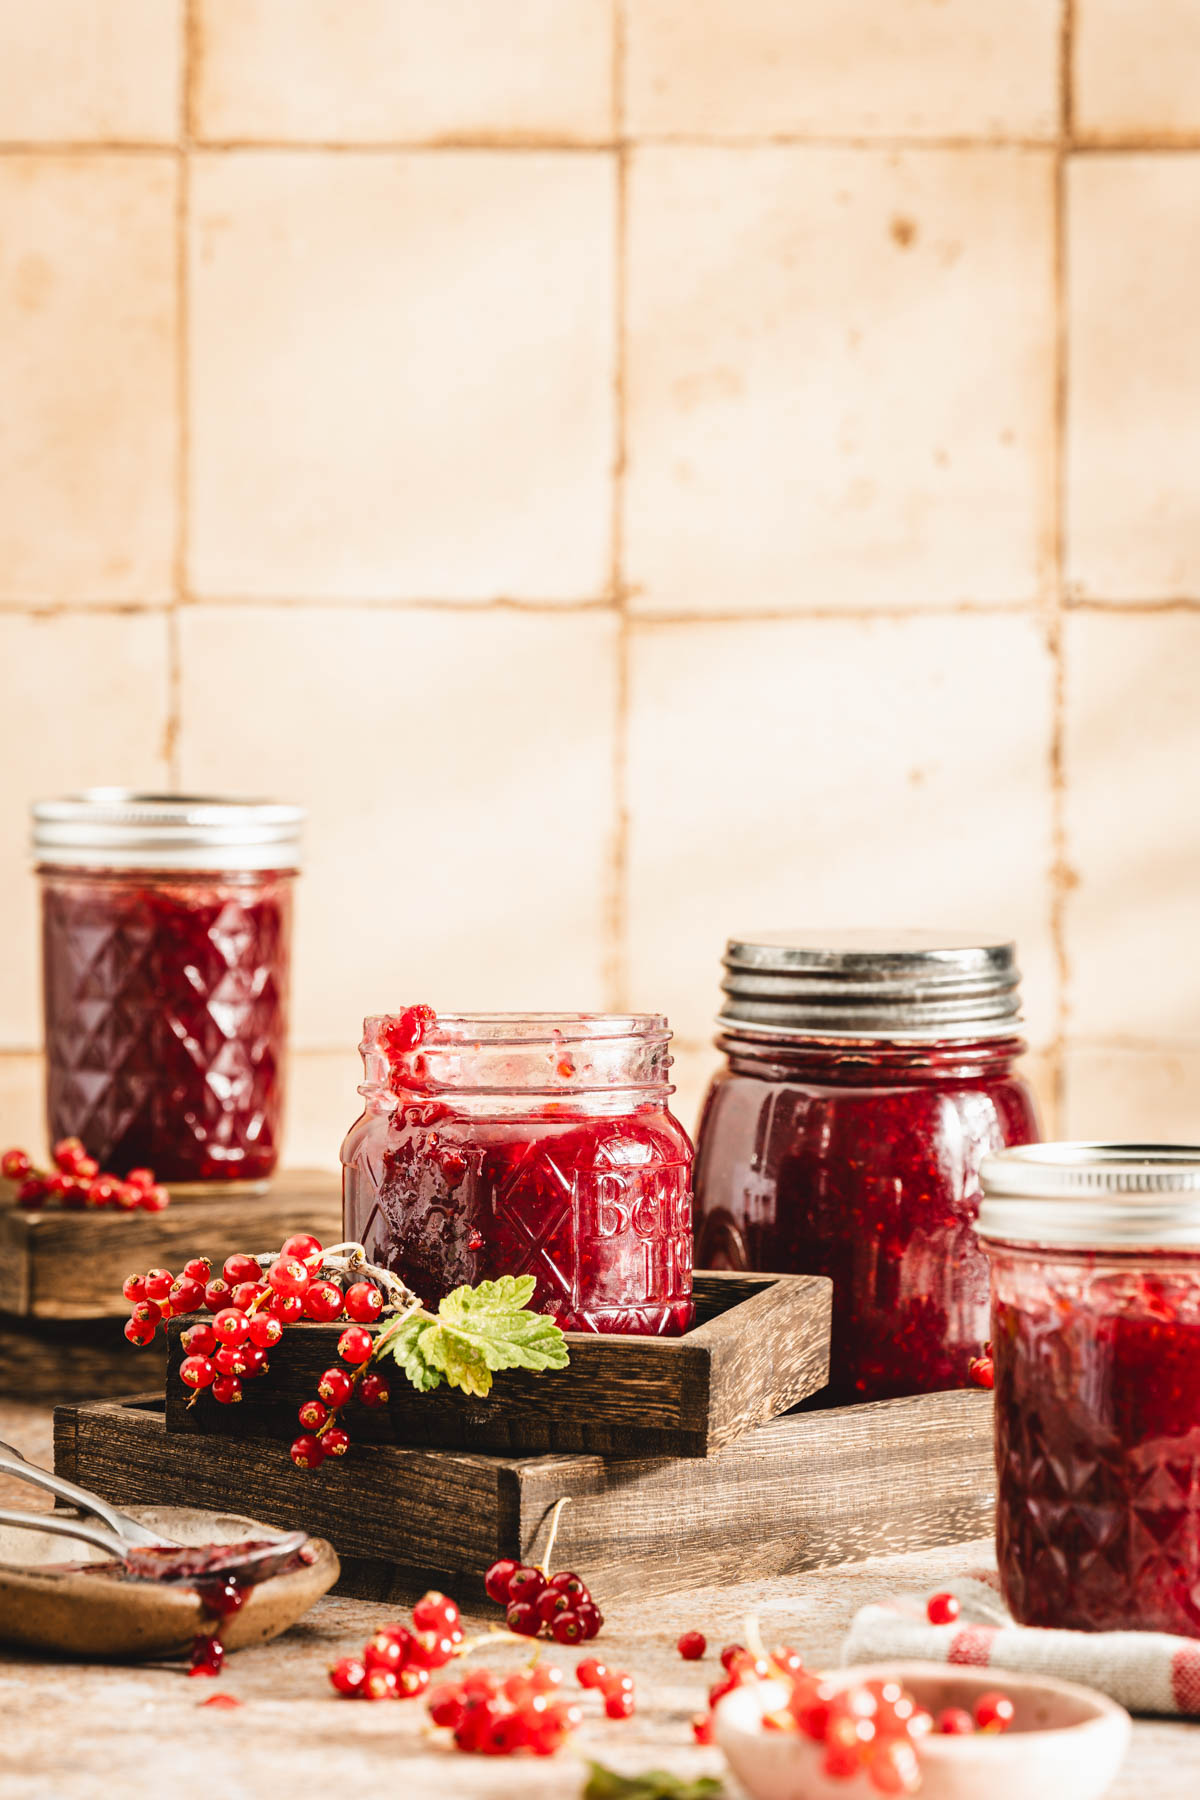
- Pour hot jam into sterilized jars, seal immediately, and invert jars for 5 minutes to create a vacuum seal. Cool and store in a cool, dark place. Refrigerate after opening.
Best ways to enjoy this delicious jam
Classic toast & butter – Spread over warm bread or fresh rolls.
Cheesecake or ice cream topping – spoon over sernik or other desserts.
Glaze for meats – brush over roast pork, duck, or chicken.
Swirl into yogurt or oatmeal – adds a pop of color and a burst of flavor.
Thumbprint cookies – fill the centers with jam before baking.
Pair with cheese boards – perfect with soft cheeses like brie or creamy goat cheese.
You may also like:
Storage instructions, reheating
Unopened jars – store in a cool, dark place like a pantry or cupboard. Properly sterilized and sealed jars can last up to 12 months.
Opened jars – once opened, keep the jam in the refrigerator and use within 3–4 weeks. Always use a clean spoon to prevent contamination.
Freezing option – if you want to make extra or preserve the jam for longer, it freezes well. Leave some headspace in the jar or use freezer-safe containers. Thaw in the fridge before use.
Avoid direct sunlight & heat – Both can darken the jam and alter the flavor.
Tips for Keeping Redcurrant Jam Fresh
- Always use clean utensils – never dip a used spoon back into the jar; it can introduce bacteria and mold.
- Leave proper headspace – when jarring hot jam, keep about ½ inch (1 cm) at the top so the lid can seal properly and prevent overflow.
- Check seals – after jars cool, press the center of the lid. If it doesn’t pop back, the jar is sealed correctly.
- Keep jars upright – store jars upright to maintain the seal and prevent leaks.
- Refrigerate after opening – even properly sealed jars should be kept cold once opened to maintain freshness and prevent spoilage.
How to make Small-Batch Red Currant Jam Recipe
Equipment
- saucepan
- wooden spoon
- small plate
- immersion blender
- jars with lids
- ladle and funnel
- large cooking pot
Ingredients
- 1 kg red currants rinsed and stems removed
- 500 g sugar
- 3 tbsp orange juice replace part of the water
- 30 ml water use less if currants are very juicy
- 3 tbsp honey added at the end, for flavor
- 1 tsp vanilla extract optional, added at the end
Instructions
- Rinse red currants gently and remove stems.
- In a large saucepan, combine currants, orange juice, and water. Simmer over medium heat until currants burst and release their juice (about 5–7 minutes).
- Use an immersion blender to lightly pulse the jam. Stop blending when you’ve broken down some berries but still have chunks for texture.
- If you prefer a smooth jelly, press the mixture through a fine mesh strainer to remove skins and seeds, then return the juice to the pan.
- Stir in sugar. Cook over medium heat, stirring often, until sugar dissolves and mixture thickens slightly.
- Continue cooking for 10–15 minutes, or until jam reaches your desired thickness. Use the plate test: place a small spoonful on a chilled plate, let it sit for 30 seconds, and push it with your finger—if it wrinkles, it’s ready.
- Remove pan from heat. Stir in honey and vanilla. Mix well until combined.
- Pour hot jam into sterilized jars, seal immediately, and invert jars for 5 minutes to create a vacuum seal. Cool and store in a cool, dark place. Refrigerate after opening.
Notes
Don’t skip the plate test – it’s the easiest way to check the set without overcooking. Flavor at the end – if adding vanilla or herbs, stir them in during the last few minutes so they stay fresh and aromatic. Sterilize jars properly – hot jam in hot jars keeps it safe for long-term storage.
Nutrition
Did you make this recipe?
Tag me @sylwiavaclavekphotography or tag me using #myomnikitchen so I can see your creations! You can also leave a comment below!
Conclusion
Bright, tart, and bursting with flavor. This Red Currant jam captures the best of the season.
With just a few ingredients and simple steps, you can create a versatile preserve that shines on toast, desserts, and even savory dishes. A touch of honey, a hint of orange, and vanilla make this version unique.
FAQ
Why is my jam runny?
This usually means it didn’t cook long enough to reach the proper set. Use the plate test: place a small spoonful on a chilled plate, wait 30 seconds, and push it—if it wrinkles, it’s ready. If your jam is still runny, simmer a few more minutes and test again.
Can I use frozen currants?
Yes! Thaw them first and drain excess liquid. They may require slightly less water when cooking.
Why didn’t my jar seal?
Make sure jars and lids are properly sterilized and that you leave about ½ inch (1 cm) of headspace. Lids should be hot and tightened snugly but not over-tightened. Invert jars for 5 minutes after filling to create a vacuum seal.
Can I make a red currant jelly instead of jam?
Absolutely! After simmering, press the mixture through a fine mesh strainer to remove skins and seeds, then continue cooking. This will give you a silky, seed-free jelly.
Can I use brown sugar instead of white sugar?
Yes, but it will change the jam’s flavor and appearance. Brown sugar adds a caramel-like depth and makes the jam slightly darker. For best results, replace just part of the sugar (¼–⅓) to balance complexity with the currant’s bright, tart flavor. Too much brown sugar may affect the set, so keep white sugar as the main sweetener.
What is a water bath, and do I need it?
A water bath (boiling water bath) is a method of preserving jam by submerging filled jars in boiling water for 10–15 minutes. This kills bacteria, yeast, and mold, and ensures a strong vacuum seal. It’s especially important if you want to store jam in your pantry for months. Inverting jars can work short-term, but a water bath is more reliable for long-term preservation and safety.
Do I need to adjust the water bath time for high altitude?
Yes! At higher elevations, water boils at a lower temperature, so you’ll need to increase the processing time to ensure jars seal properly and the jam is safe. A general rule is:
- 1,001–3,000 ft: add 5 minutes
- 3,001–6,000 ft: add 10 minutes
- 6,001–8,000 ft: add 15 minutes
- 8,001–10,000 ft: add 20 minutes